Free Video Editing Software That Can Crop Videos on Computer
MiniTool MovieMaker
MiniTool MovieMaker is a cool movie editing and free video editing software for windows 7/8/8.1/10/11 that can crop videos in minutes.
It also comes with a wide range of transitions, filters, pan and zoom effects, captions, and stickers to spruce up your video. At the same time, you can use one-click embedded templates to create unique slideshows and share them with the world.
It allows you to crop a part of a video by dragging or using a preset aspect ratio. Follow the guide below:
MiniTool MovieMakerClick to Download100%Clean & Safe
Step 1. Download, install, and launch this free video editing software on your computer.
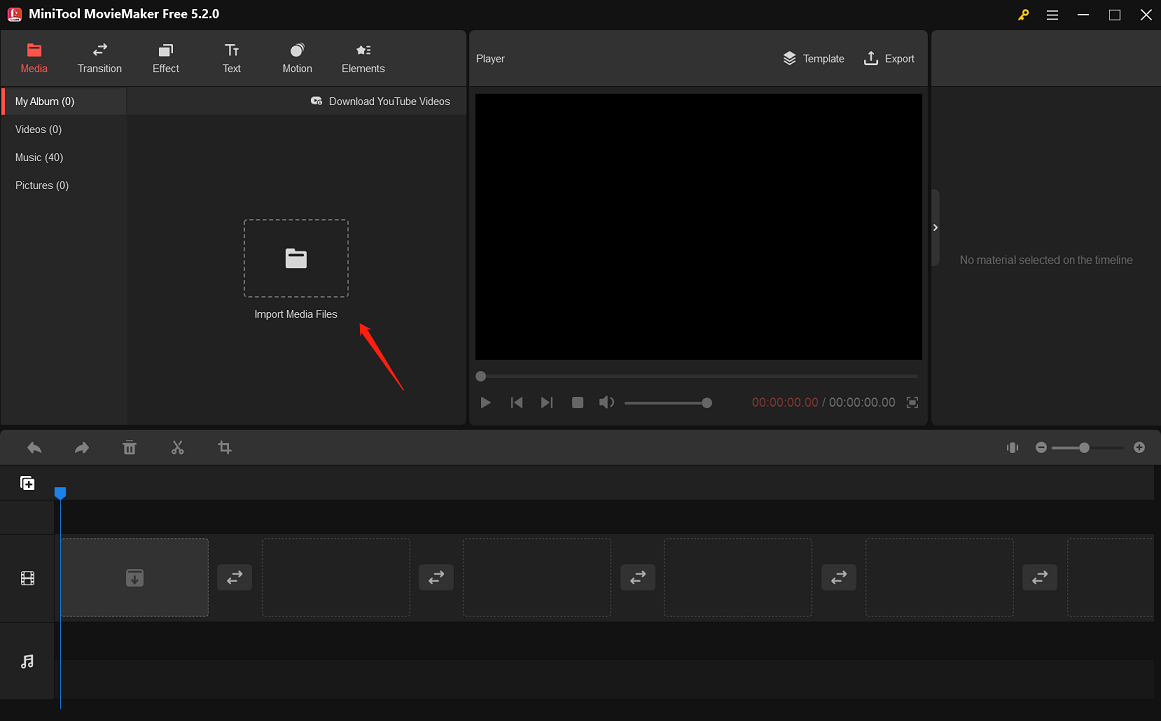
Step 2. Close the pop-up window to access the main interface.
Step 3. Click on Import Media Files under the Media tab, choose the videos you want to upload and click on Open.
Or, click on the More icon at the top right of the interface, mouse over the File and Import Media, and click on Import From PC to upload the desired videos. The video will then automatically appear in the best free video cropping software, where it can be cropped afterward.

Step 4. Click the + button or drag and drop the videos to add them to the timeline.
Step 5. Click the video you are ready to crop and click the Crop icon on the toolbar above the timeline. Then, the Crop window will pop up within seconds.
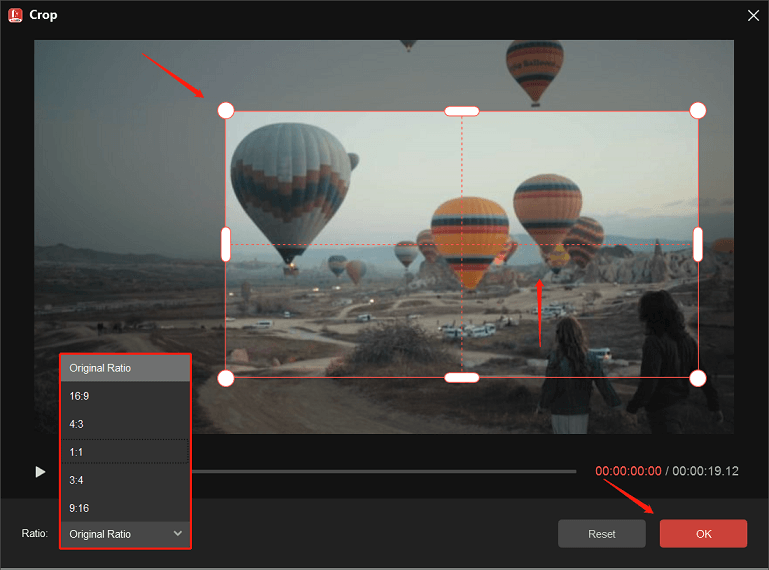
Step 6. Hover over any edge point of the crop box until a double arrow appears, drag the mouse inwards to the desired size, then use the mouse to move the crop box to the desired location.
Note: There are a total of eight edge points located at the top, bottom, left, right, top left, top right, bottom left, and bottom right. You can choose one to help you crop the video clip. Alternatively, you can select the desired ratio from the Ratio drop-down list (Original ratio, 16:9, 4:3, 1:1, 3:4, 9:16).
Step 7. Click on the OK button to save the changes.
Step 8. Click the Play button in the Player window or press the Space on your keyboard to preview the cropping effect.
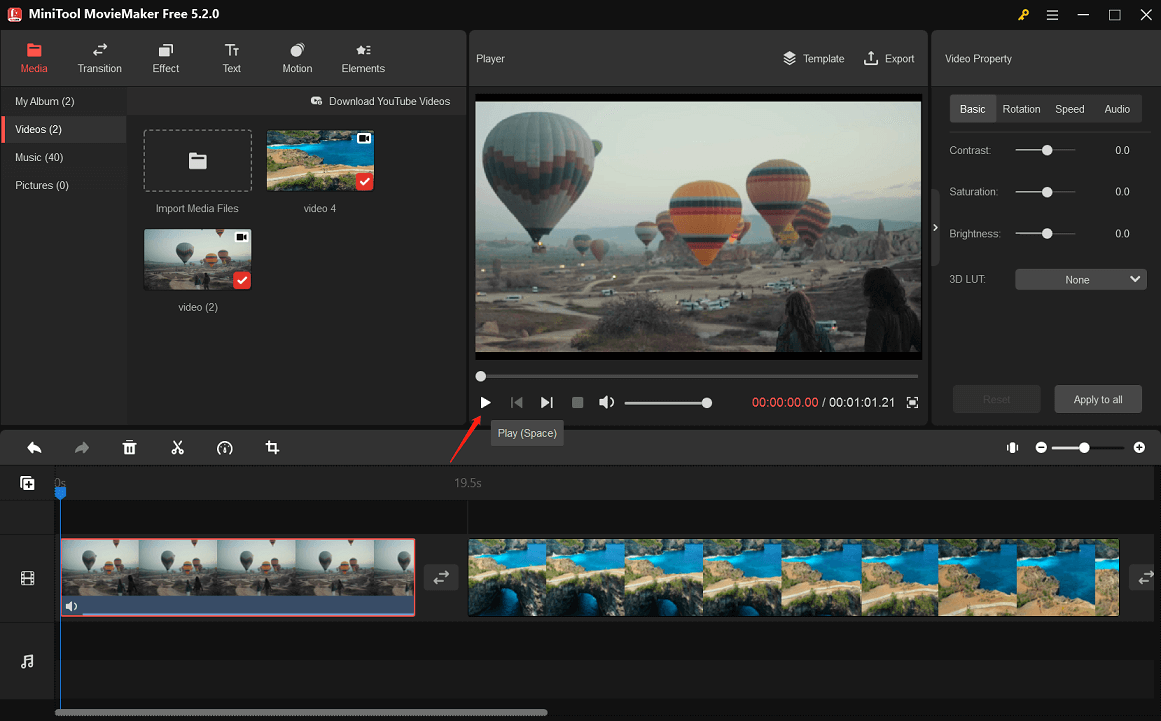
Step 9. Click the Export at the top right of the Player window to save the cropped video.
You can do more than just crop videos with MiniTool MovieMaker. It allows you to:
- Split or trim videos
- Rotate videos
- Flip videos
- Revere videos
- Change video speed
- Unmute or mute videos
- Combine videos into one
Animotica
Animotica is a video cropping application for Windows 10. Unlike other cropping tools, it keeps the aspect ratio of the cropped video by applying a blurred background. For instance, if you want to crop a video with a 4:3 aspect ratio, the video will still have the same aspect ratio even if you only crop a portion of it. Afterward, the background will become blurry and take up the remaining space.
With the help of Animotica, you can share your videos on different social media platforms. You can crop each side of the video using the sliders. Besides, its easy-to-use interface and free version allow you to add a watermark on output media files.
If you want to learn more about cropping with a free video cropping software with no watermark, check out this article that can teach you how to crop photos on your iPhone or iPad: [Step-by-Step Graphic Guide] How to Crop a Photo on iPhone/iPad?
Easy Video Maker
Easy Video Maker is also a free video editing software that can crop videos in many formats easily. It is compatible with Windows XP, 7, 8, and 10. With its Free Video Cropper, users can crop the desired format videos for free.
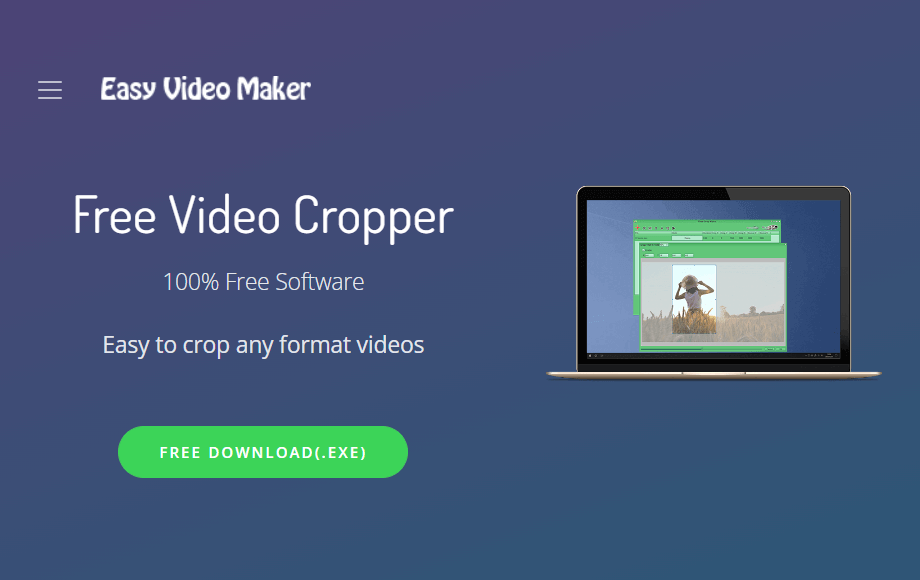
Here’s how to use Free Video Cropper to crop a video:
Step 1. Launch the Free Video Cropper on your computer to access its main interface.
Step 2. Click the Red Plus button in the upper left corner of the screen and choose a video you want to crop.
Step 3. Click the video on the panel and click the Crop button to crop the video in the “Video Crop” UI.
- Tick the Enable checkbox in the “Video Crop”
- Move the arrows at the top four corners forward or backward in the direction, hold down the right mouse button, and then drag the cropping box to freely select the area you want to keep.
- Customizethe values for its height and width, as well as the X and Y axis values to crop a video into a certain size.
Step 4. Click the Settings button to choose an output format and click the Render button to save it to your computer.
Share this article: 4 Best Video Croppers – How to Crop a Video Windows 10
Filmora
Filmora is one of the most advanced video editing apps in the industry. You can use it to crop your video footage on Windows and Mac. Also, it lets you select a common aspect ratio from the list and easily crop or resize a video. Its interface can be a little difficult to navigate if you’ve never used a complex video editing program. But it offers you a massive library of effects that help you to create extraordinary videos.
Moviemator
Moviemator is another free video editing software that can crop videos on Windows and Mac. It’s often used to create photo slideshows and makes it easy to split videos, trim videos, rotate videos, and more. Additionally, Moviemator brings advanced editing features like video overlay (PIP) and stabilization to Mac and Windows.
VideoProc
On both Windows and Mac, you can edit, crop, capture, and convert videos using the desktop application VideoProc. You can crop your video using the tool’s presets, which include 1:1, 4:3, 16:9, and more. Also, it lets you adjust the screen size and dimensions of the video with ease. Since it supports hardware acceleration, you will not encounter any lag when editing movies or long videos.

VSDC
VSDC is a free video editing software for windows that can crop videos. It is very easy to crop a video with VSDC. With its cropping box, you can resize it to choose the wanted part of the video.
It also retains the same aspect ratio or resolution after cropping and expanding the cropped part to fit the dimensions perfectly. In addition, you can set the pixel values to specify the portion to remove.
Free Video Editing Software That Can Crop Videos Online
Animaker
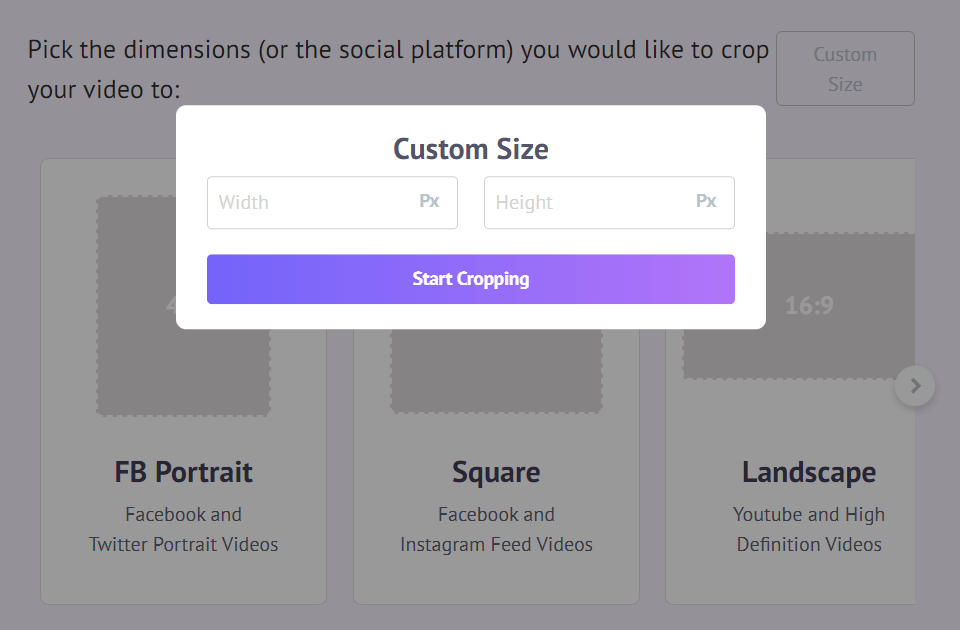
With its crop video tool, you can quickly crop a video for the web and different social media sites. It has a manual drag & drop and aspect ratio option features. Follow these steps to learn how to crop a video with Animaker:
Step 1. Go to its official website and register or log in to an account.
Step 2. Choose a social media platform or set a custom size in the dashboard to crop your video. For example, Facebook and Twitter Portrait Videos (4:5), Facebook and Instagram Feed Videos (1:1), Youtube and High Definition Videos (16:9), etc.
Step 3: Head to the Upload tab in the main menu bar and click the Upload button at the bottom of the page. Then, click on the uploaded video to put it onto the canvas.
Step 4: Crop the video and keep the wanted part.
- Click the Crop button to begin cropping the video.
- Drag and hold any of the handles from the corners to scale them up or down.
- Move it to fit the size.
- Click the Apply button to save the cropped videos.
Step 5. Click the Publish button and select Download Video from the pop-up window to save it to your computer. Or, you can share it instantly inside the app to different social media sites.
Clideo
Clideo is a free video editing software that can crop videos online. You can use it to upload your videos from your Windows, Android, or iPhone. If you have a Drop box or Google Drive account, you can add your video and crop it up to 500MB for free. After you’ve cropped and converted your file, you can save it to your computer or return it to Dropbox or Google Drive.
Ezgif
Ezgif gives you the ability to trim the unwanted parts of your video. It can also be used for cropping MP4, MOV, AVI, or WEBM file dimensions. With its graphical crop tool, it lets you manually set the desired dimensions and top or left starting point. If your browser is compatible with the format of the uploaded video, you can apply this tool to choose the area to crop over the video preview. The output will not be affected if the video preview occasionally has reduced quality. Aspect ratio presets are available here to make the video square, 3:2, 16:9, 4:3, and more.
InVideo
InVideo is another free video editing software that can crop videos online. It is mainly used to produce video content for social media. You have access to all the essential tools to edit and optimize your videos.
Online Video Cutter
Online Video Cutter primarily focuses on how to cut or trim videos online, but it can also be used to crop videos. It enables you to frame the video to the wanted part or change the frame ratio. It leaves no watermark behind.
Veed
Veed provides you with the crop functions to crop your video files online. Your videos can be resized to fit any social media platform, including YouTube, Twitter, TikTok, Instagram, Snapchat, and others. With its professional video cropping tool, you can also crop Zoom videos, iMovie videos, and Premiere videos.
Here are the steps:
Step 1. Go to Veed’s official website and hover over the Products drop-down list. Then, navigate to Tools > Toolkit > Crop to start cropping your video.
Step 2. Click the Choose Video to access the New Project window.
Step 3. Click to browse to upload your video file or drag and drop your video into the dashed box.
Step 4. Click on the image of the video and drag the corners to resize. Alternatively, click Settings and choose a preset canvas size, such as YouTube or Instagram Stories, to automatically crop it.
Step 5. Click Export to download the cropped video. As soon as you’re done, you can post the cropped video for your followers to view on social media platforms.
WeVideo
WeVideo is a video editing app with a timeline that allows you to crop videos online. To begin cropping your video with WeVideo, just double-click the video on the timeline and look for the crop icon. WeVideo will do the rest for you.
Bottom Line
Following careful consideration of all the options on our list, MiniTool MovieMaker is regarded as the top free video editing software that can crop videos. It’s a great option whether you want to freely choose an aspect ratio or move the crop box around to change height or width.
If you have any questions about how to crop videos or other suggestions, you can contact us at [email protected].
User Comments :