If you want to perfect your videos, make the videos more creative, or protect your privacy, you can use video masks. This post released by the movie maker of MiniTool will introduce the detailed steps to mask a video.
The mask tool can remove all the flaws, unwanted elements, and blemishes from your video content. In this post, let’s look at the detailed guide to mask a video in CapCut, FlexClip, and Filmora.
What Is Video Masking?
To better mask a video, you must first know the meaning of video masking. Mask refers to covering a video screen with a layer of mask with adjustable transparency. By adjusting the shape, size, and transparency of the mask, creators can partially block or adjust the video image.
Masking is one of the newer mainstream technologies available with video editors to optimize your videos creatively.
Video masks are widely used. For example, when making tutorial videos, masks can highlight key steps to help the audience better understand the content of tutorial videos. When making travel vlogs, you can use the mask function to block passers-by in the screen to highlight the scenic spots themselves.
Main Types of Mask
Different video editors provide video masking tools in different shapes. Here are various main types of masks to help you mask a video.
Horizontal (Linear) Mask
You can create a gradient mask on a video or image to make certain areas of the video or image opaque or translucent.
Mirror Mask
A mirror mask can adjust the video by setting up the size, position, rotation, and feather. You can create a mirrored flip video or picture.
Circle Mask
A circle mask is usually used to create some visual effects related to circles, such as rendering videos or pictures as circles or highlighting an object.
Rectangle Mask
A rectangle mask is used to create some videos or pictures related to screen segmentation, picture-in-picture, etc., such as split-shot effects in movies, picture-in-picture effects in broadcasts, etc.
Heart Mask
A heart mask is used to hide certain areas of videos or pictures. It is usually used to create romantic, warm, or festival-related videos or pictures, such as Valentine’s Day videos, wedding videos, etc.
Star Mask
A star mask is used to create some videos or pictures related to stars, the night sky, and the universe, such as starry sky photography videos, science fiction movies, etc.
Draw Mask
If you use the function of the draw mask, you can create complex masks in any shape by dragging control points and modifying B-Splines. Besides, you can zoom in and out on the player screen and draw the mask shape precisely.
#1 How to Mask a Video in CapCut
As a powerful and easy-to-use video editor, CapCut helps a majority of video creators create good videos. CapCut gives you access to all popular songs, effects, and masks on TikTok to make your video outstanding.
In CapCut, the mask function is cleverly integrated into the editing process, allowing users to add various creative effects to videos easily.
The Features of CapCut
- It allows you to add video masks to create illusions.
- It allows you to play multiple clips simultaneously overlapping one onto the other.
- It supports you in displaying videos inside shapes, like circles, stars, hearts, and more.
- It helps you turn ordinary videos into works of art. In addition to masking the video, you also can adjust position, rotation, feathering, etc.
- It is free of charge, watermark-free, and web browser-friendly.
Steps for Masking a Video in CapCut
How to mask a video in CapCut? Here are the detailed steps to help you mask videos in CapCut.
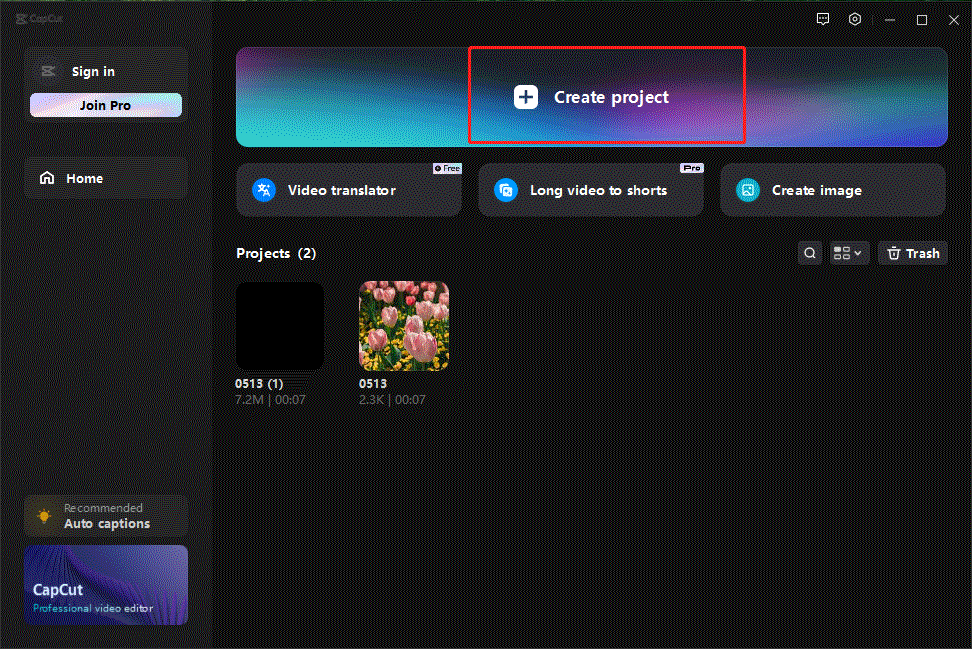
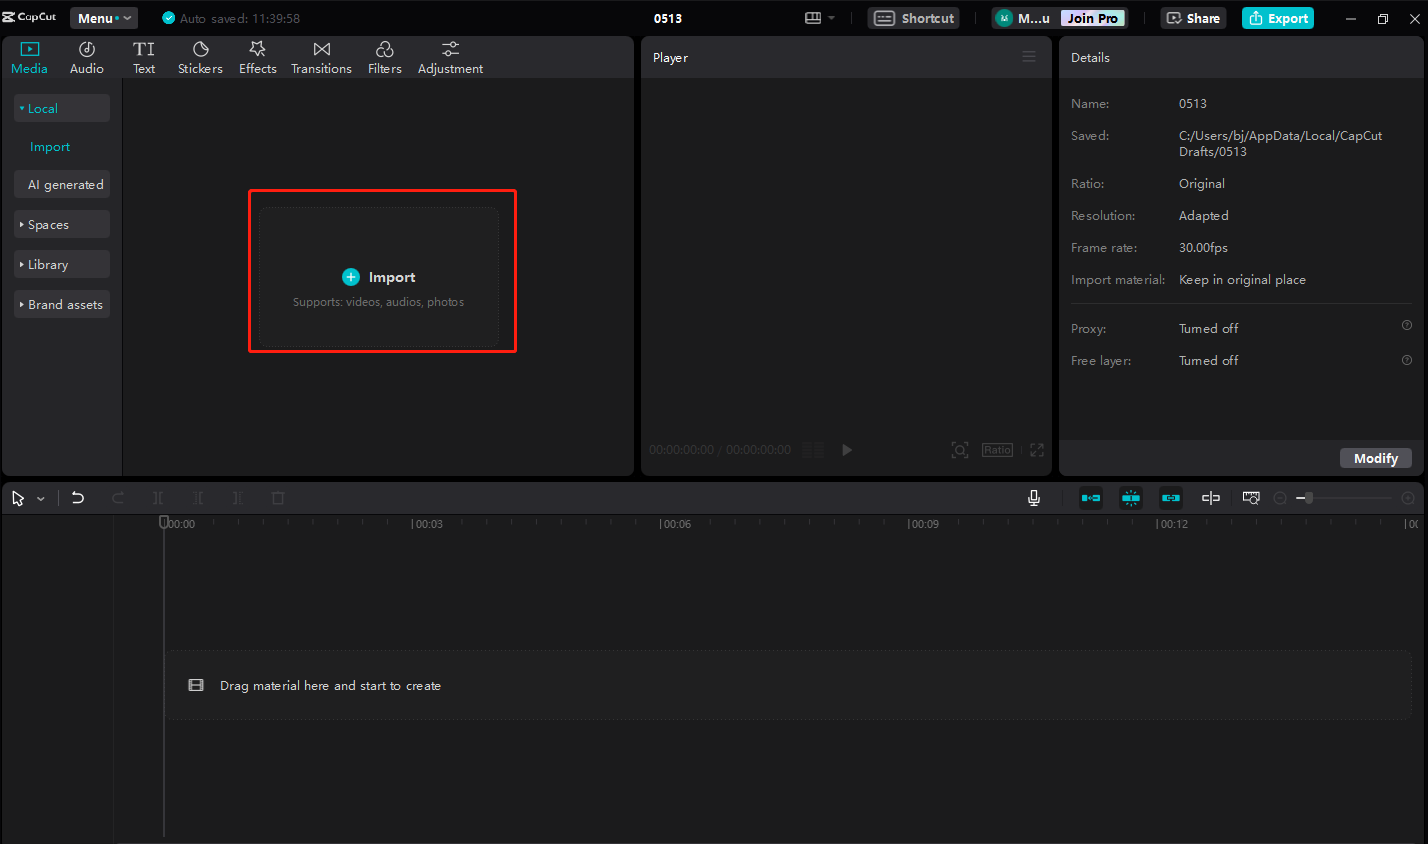
Step 1. Download, install, and open CapCut. Then click Create project to enter the main interface.
Step 2. Click Import to import your media files.
Step 3. Drag and drop the media files to the timeline.
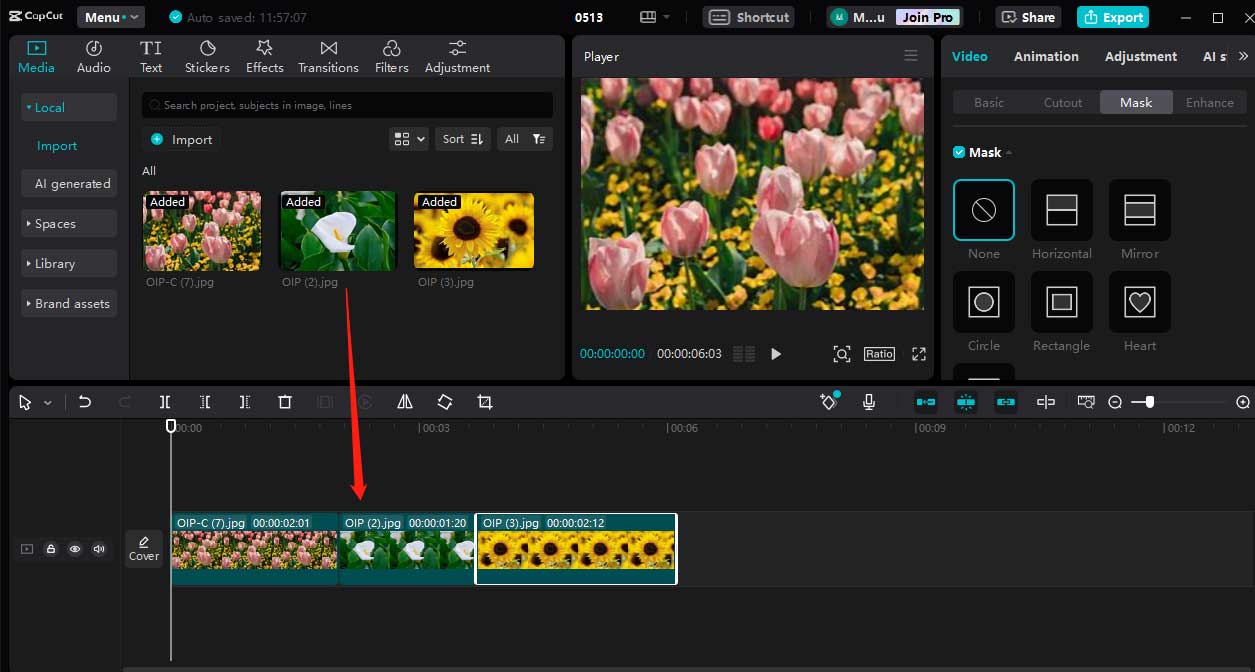
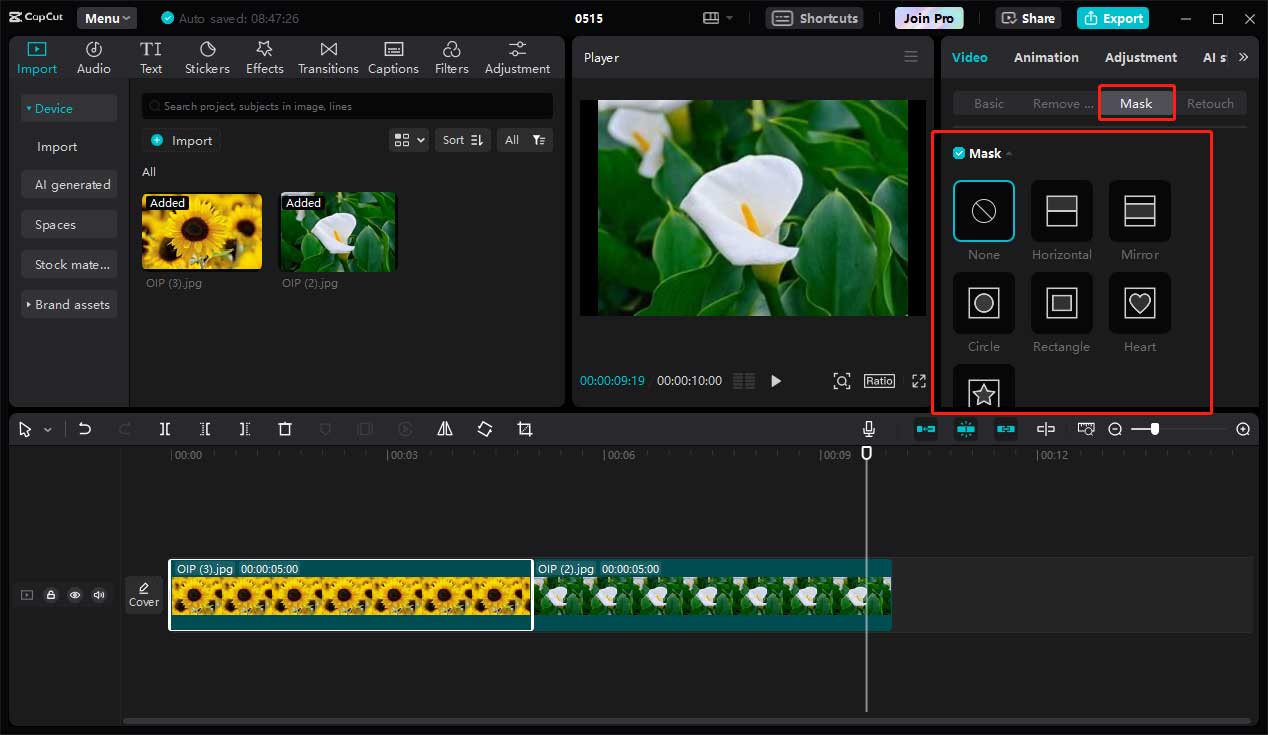
Step 4. Click Mask from the menu in the top-right bar. Then choose a mask to overlay your target video clip.
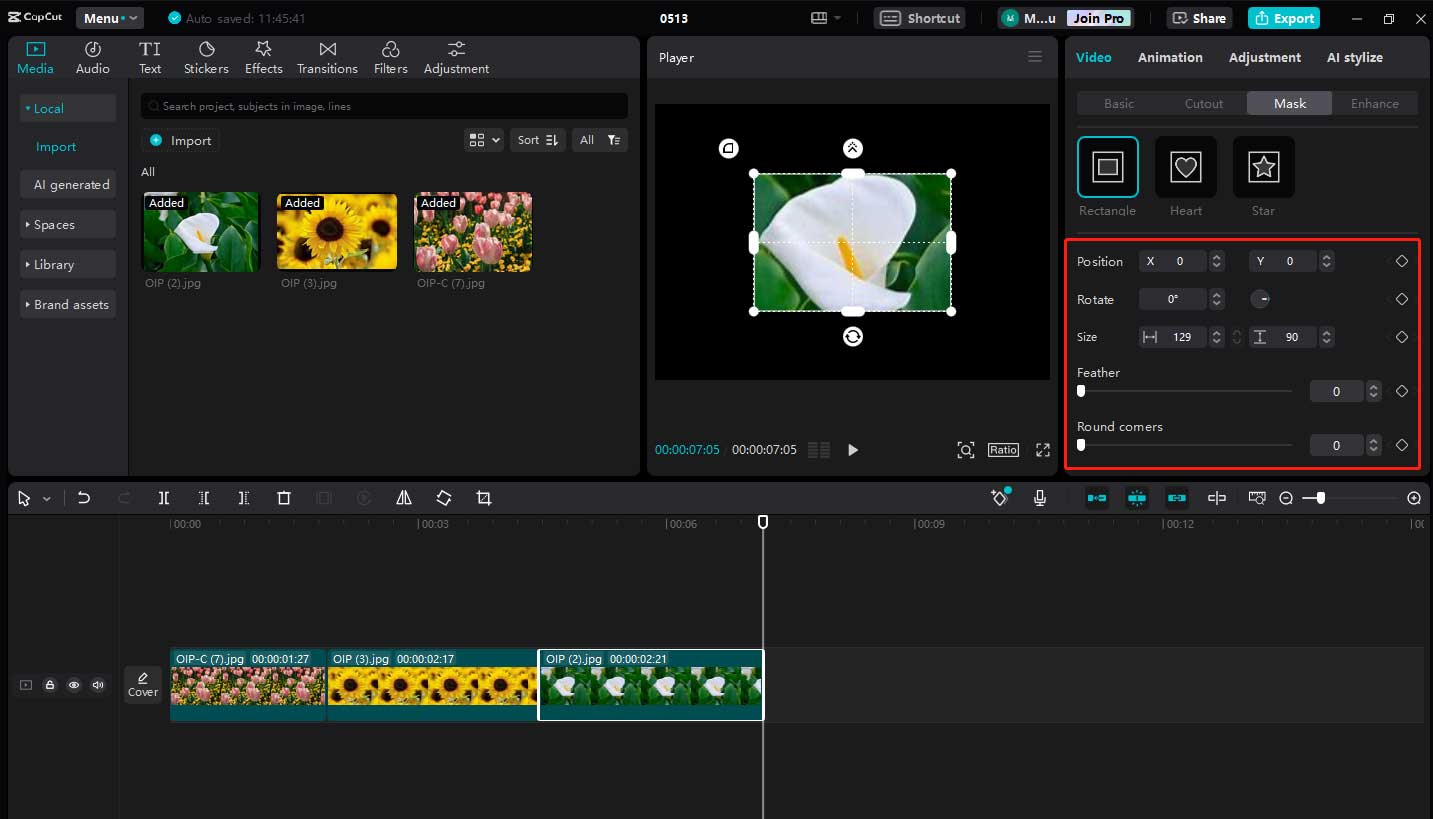
Step 5. You can further edit the position, rotation, size, feather, and round comers of the selected mask.
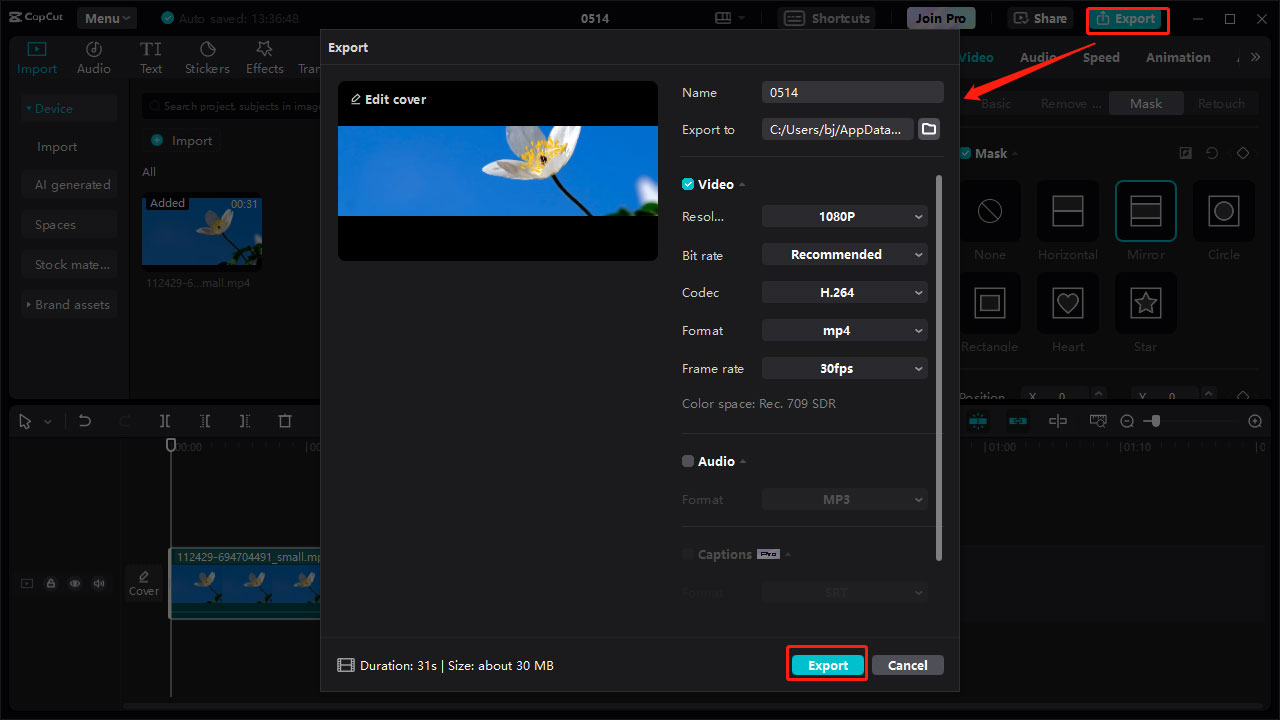
Step 6. Click Export to name your project. Then set the resolution, frame rate, quality, file format, etc. In the end, choose Export to export your work.
#2 How to Mask a Video in FlexClip
FlexClip is a free online video editor and video production tool. The mask tool in FlexClip makes it simple to blur specific areas of your videos. The tool is designed to be user-friendly and does not require any video editing skills.
FlexClip offers a clean and simple interface without compromising on offering rich features and mask resources. It is easy for you to find a suitable mask to hide or reveal your videos.

The Features of FlexClip
- It provides various shapes of masking resources to help realize all your ideas.
- It can help you easily create a text mask with an image or video online.
- It allows users to create videos with various effects such as text, music, and animation.
- It provides various video templates.
- It supports sharing your work on social media platforms with one click.
Steps for Masking a Video in FlexClip
How to mask a video in FlexClip? Here are the detailed steps to help you mask videos in FlexClip.
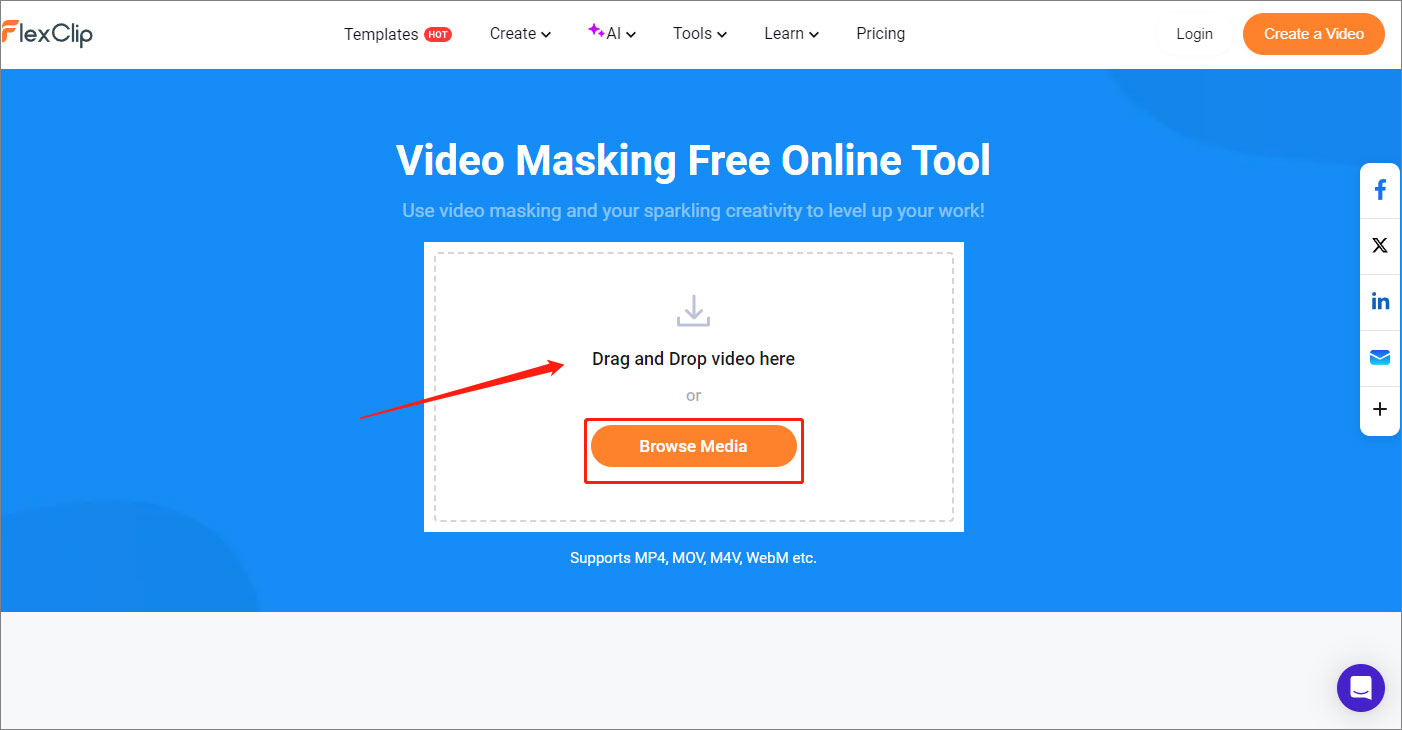
Step 1. Open FlexClip and import your media files. You can drag and drop your files into the white box or click Browse Media to choose your files from your PC.
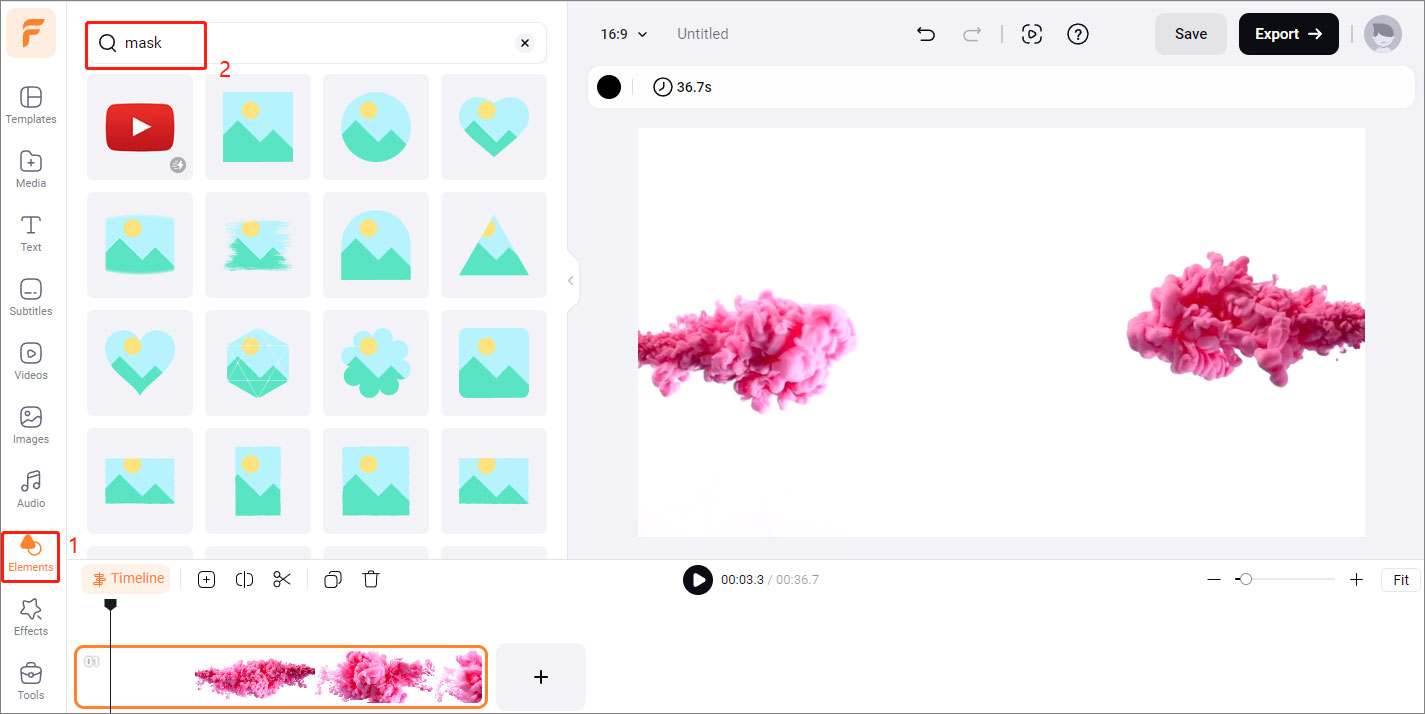
Step 2. Click Elements fromthe left menu and enter mask in the search bar above.
Step 3. Choose a mask you want.
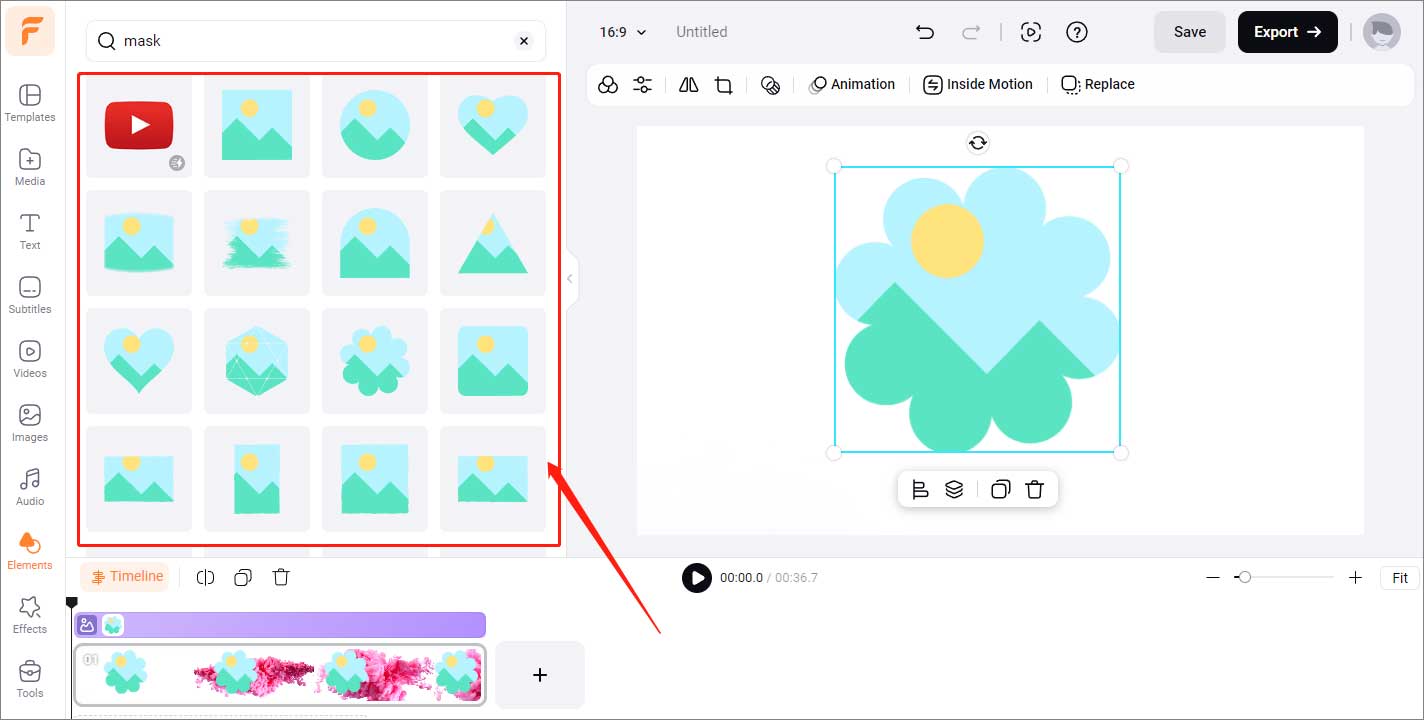
Step 4. Adjust the size and position of the mask in the preview window or adjust the duration of the mask on the timeline, etc.

Step 5. Finally, click Save to save your video or click Export to export your video.

#3 How to Mask a Video in Filmora
Filmora is an easy-to-use video editor with useful masking features. It provides various masking presets to make masking easy for you. Filmora saves you from the trouble of creating masks by yourself.
Besides, you can even import your masking tool from your system to make a selection. Once you’ve masked your subject or object in a video, you can use the blending mode of Filmora.
The Features of Filmora
- It offers over 8 different mask shapes and tools.
- It features AI smart masking.
- It provides advanced video editing tools like Chroma Key and Green Screen.
- It provides lots of templates to help you create videos.
- It can adjust your video’s speed with better control of your keyframes to create unique cinematic effects.
Steps for Masking a Video in Filmora
How to mask a video in Filmora? Here are the detailed steps to help you mask videos in Filmora.
Step 1. Download, install, and open Filmora.
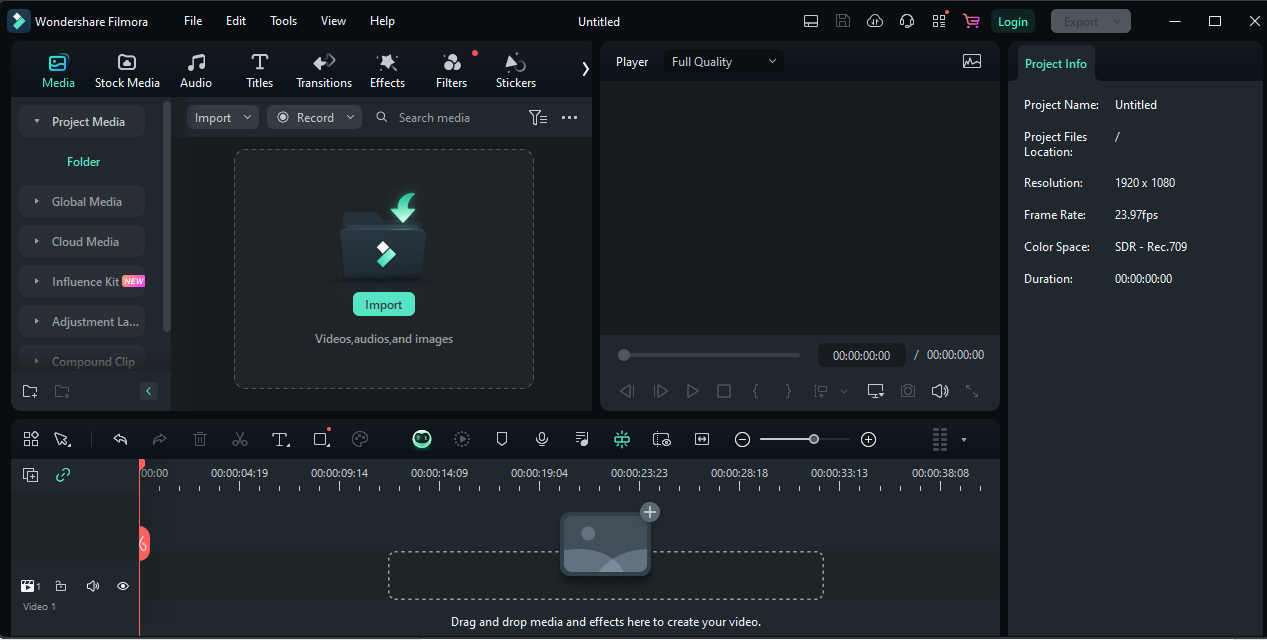
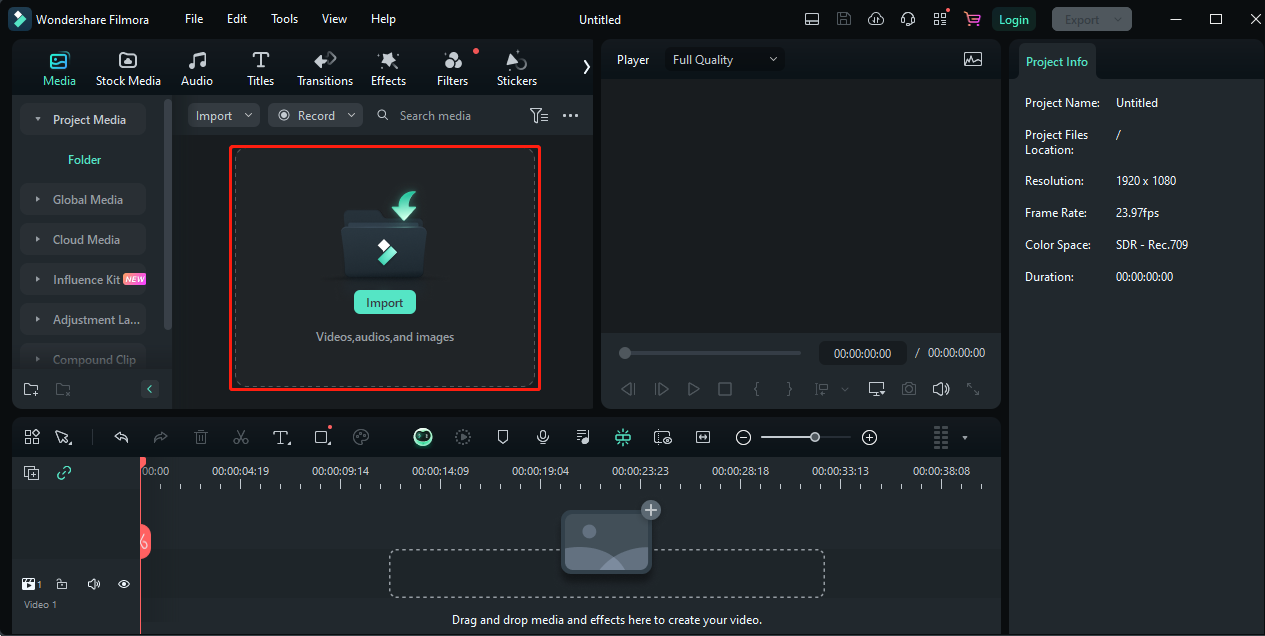
Step 2. Click Import Media to import your media files.
Step 3. Drag and drop the media files to the timeline.
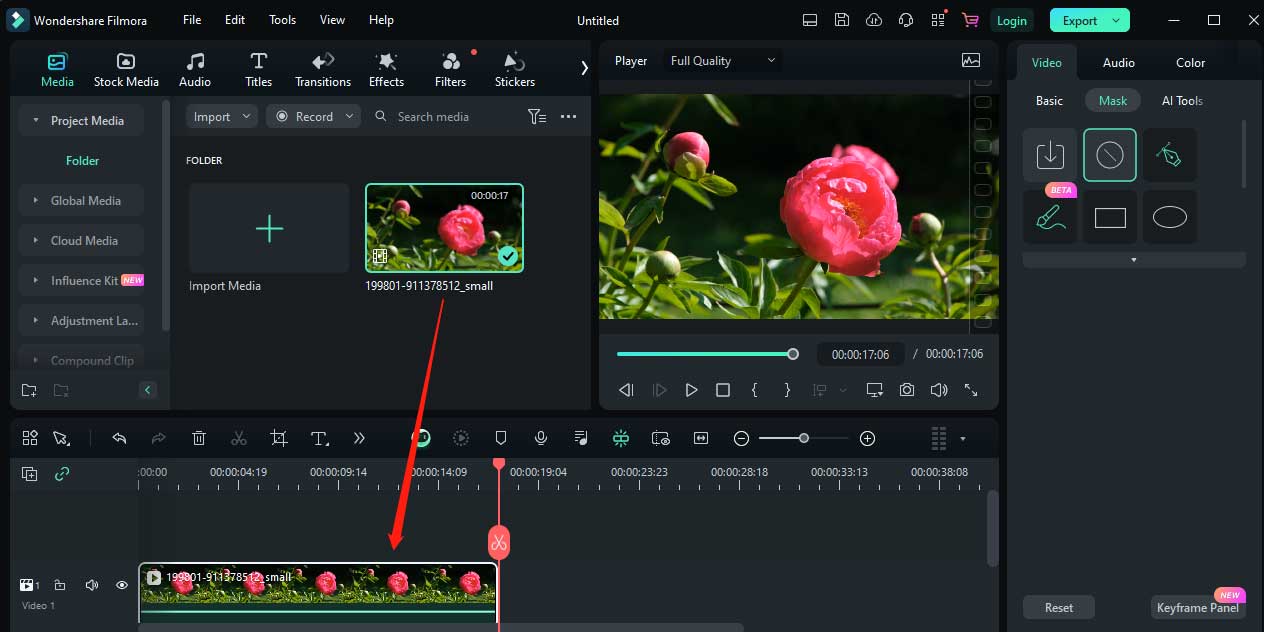
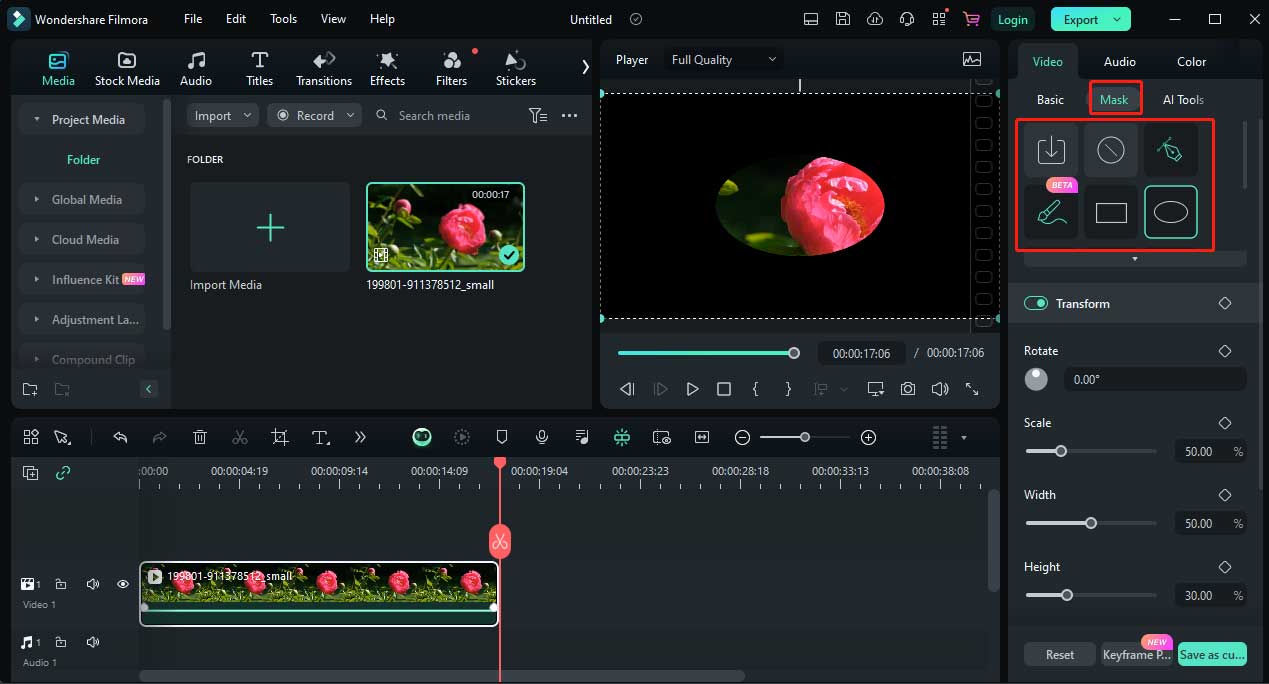
Step 4. Click Mask from the menu in the top-right bar. Then choose a mask to overlay your target video clip.
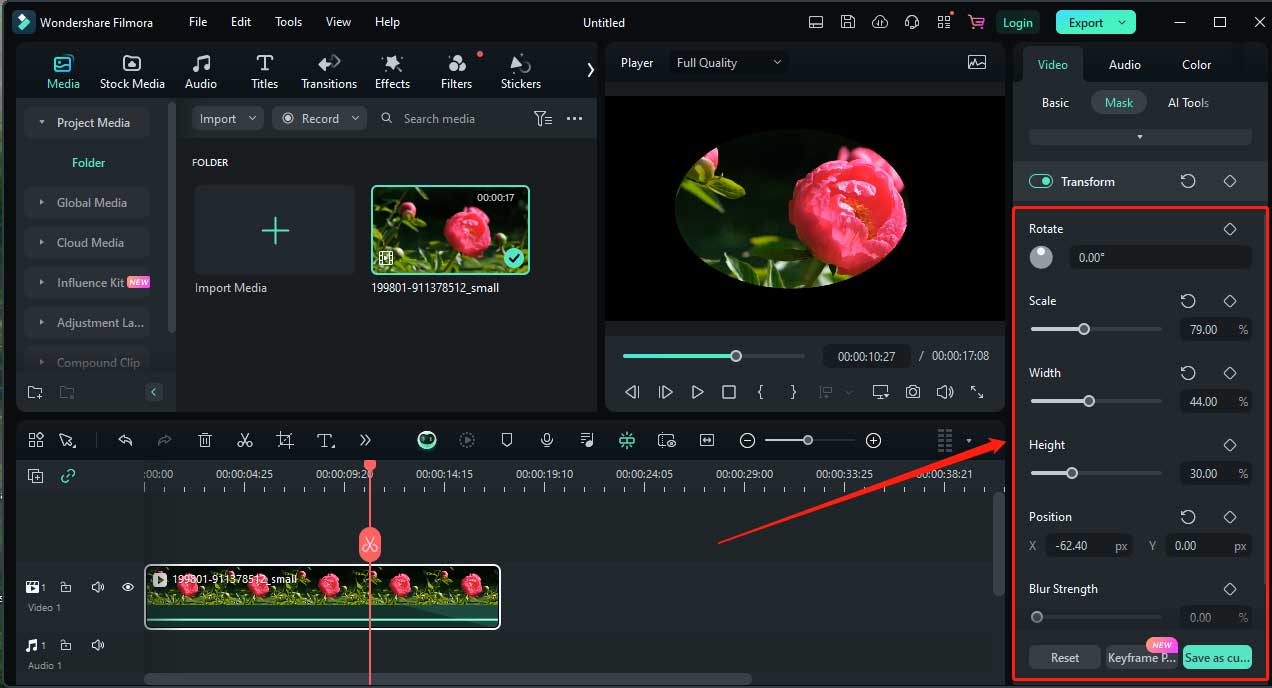
Step 5. You can edit the position, rotation, width, height, scale, and blur strength of the selected mask.
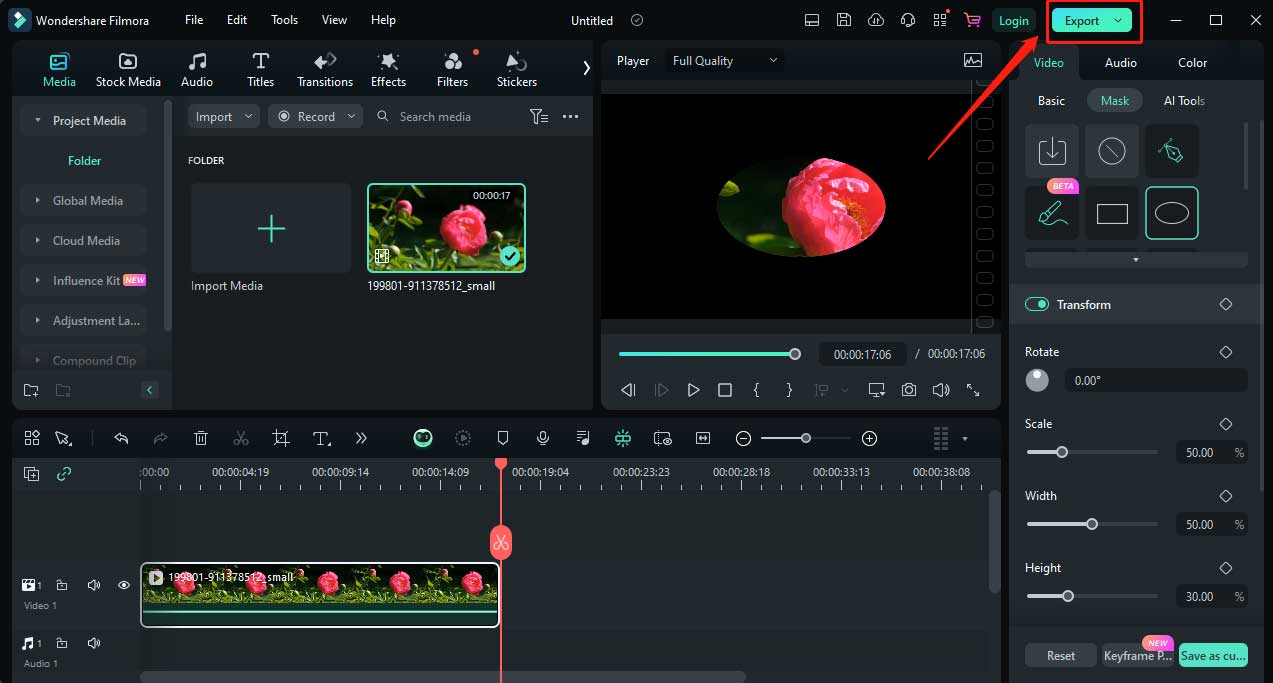
Step 6. In the end, click Export to export your video.
To Wrap Things Up
The above are the detailed steps to mask a video in CapCut, FlexClip, and Filmora. I hope this article will be helpful to you. To make your videos more creative, go and have a try!
Also read:
User Comments :