When talking about video editors in Windows operating system (OS), it will remind me of several official programs including the Video Editor utility in Microsoft Photos application, Windows Movie Maker, as well as Clipchamp for Windows 11. So, we will discuss how to use those Windows video editors one by one.
How to Use Video Editor Windows 11/10?
First of all, let’s see how to make use of the Video Editor feature in the Photos app based on the Win11 environment.
Step 1. Find and Open Video Editor
There are many ways to open Windows 11 Video Editor. You can select the one you prefer to launch it. Most directly, you can click on the search icon (magnifier) on your taskbar, input “video editor” in the blank in the new popup, press Enter key on your keyboard, and find and click on the best-matched result to open Video Editor.
Step 2. Create a New Project and Add Source Media File
When entering the main interface of the Video Editor, the first thing you need to do is to create a new video project and upload your source video clips and photos to its platform.
Video Editor doesn’t allow you to upload music and songs audio files here.
Just click the New video project button to start creating a new video. Then, name your video or skip it.
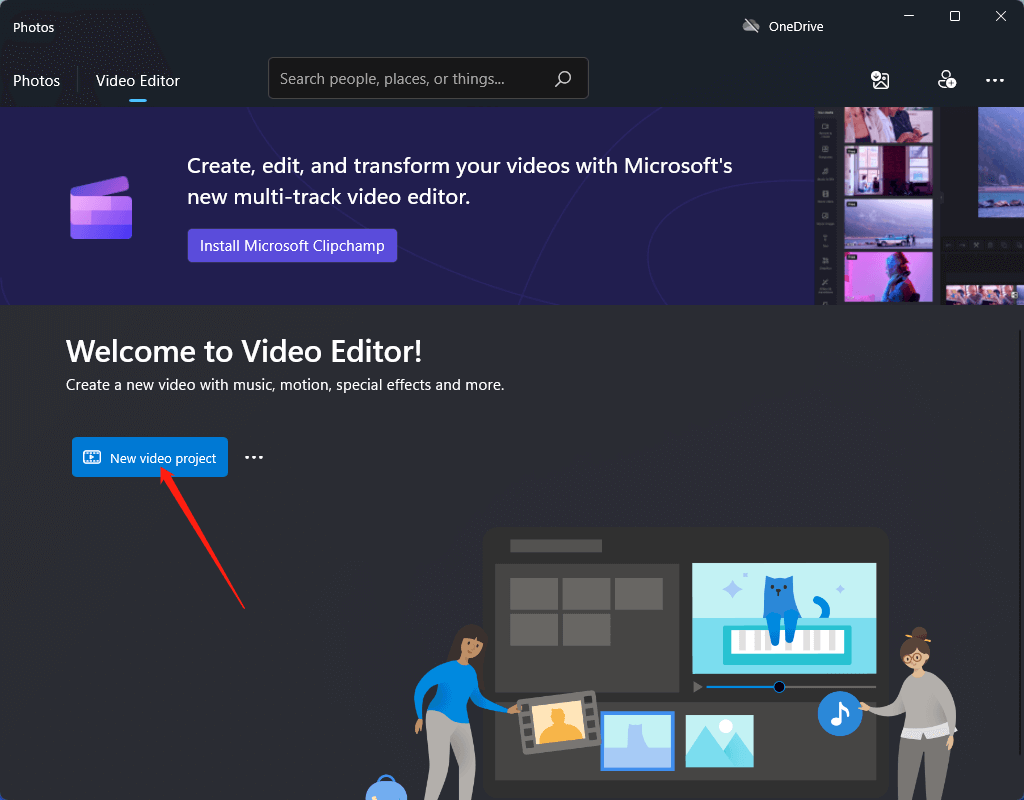
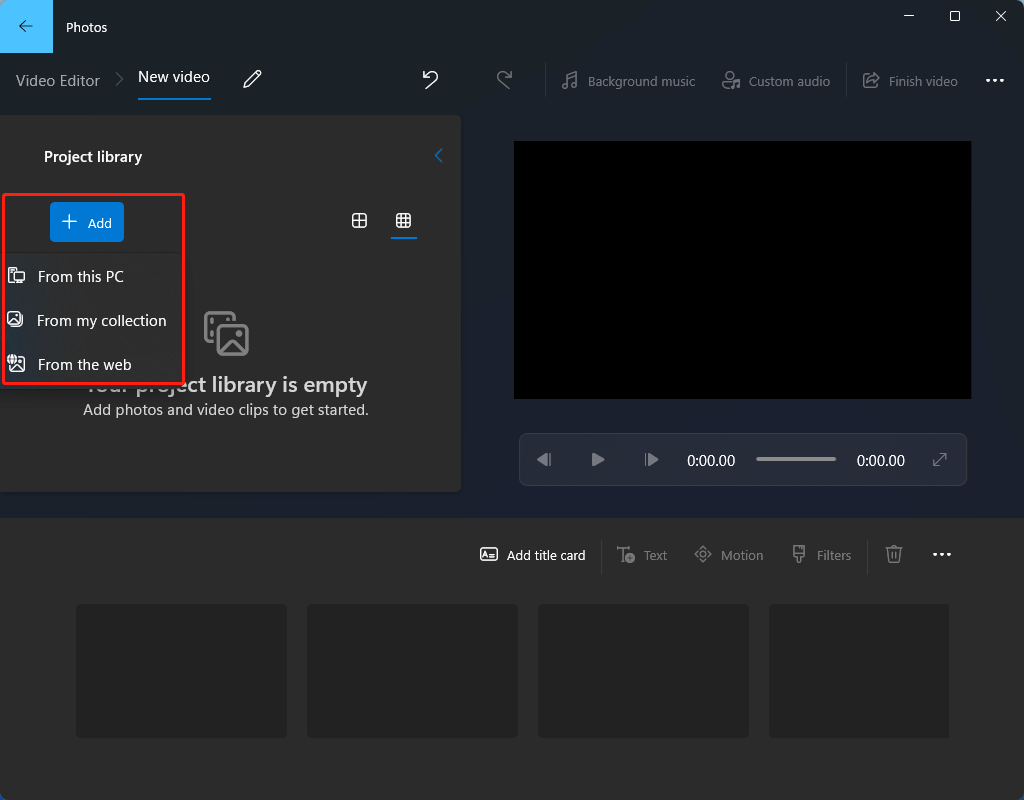
Next, click the Add button to upload your media files to the project library.
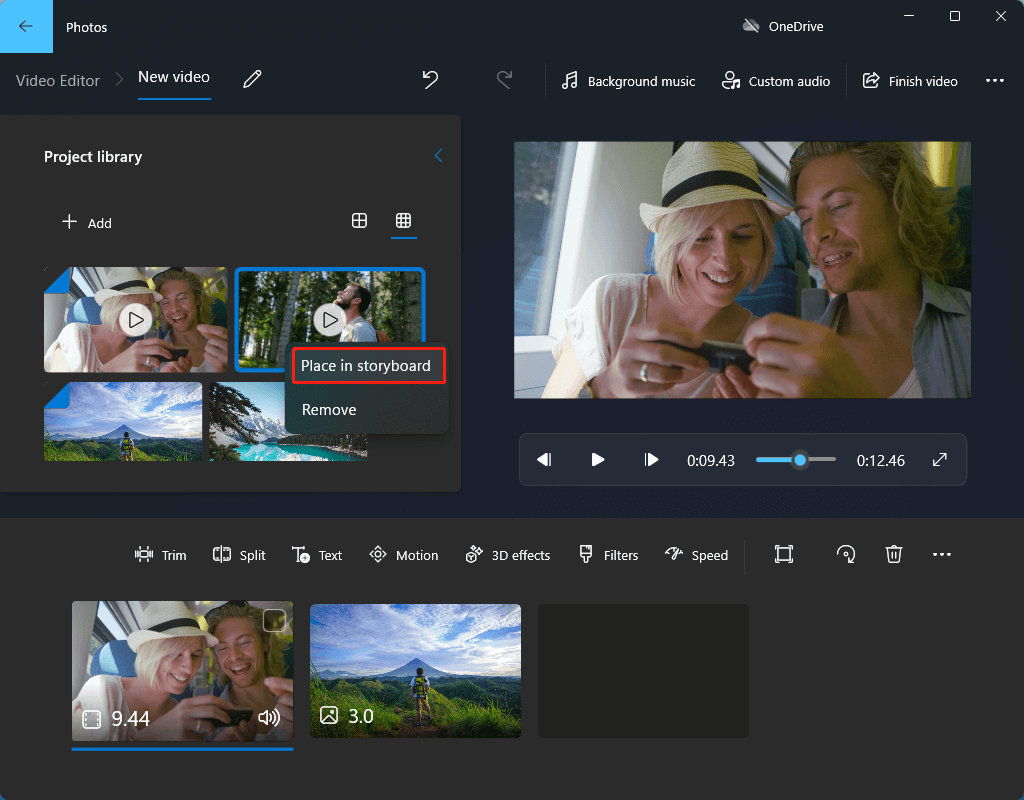
Then, add the media files to the timeline. You can either drag and drop the target file(s) to the target position on the timeline or right-click on the target file(s) and choose Place in storyboard.
Step 3. Edit Video Clips
Then, you can start editing your media files on the storyboard.
Trim a Video Clip
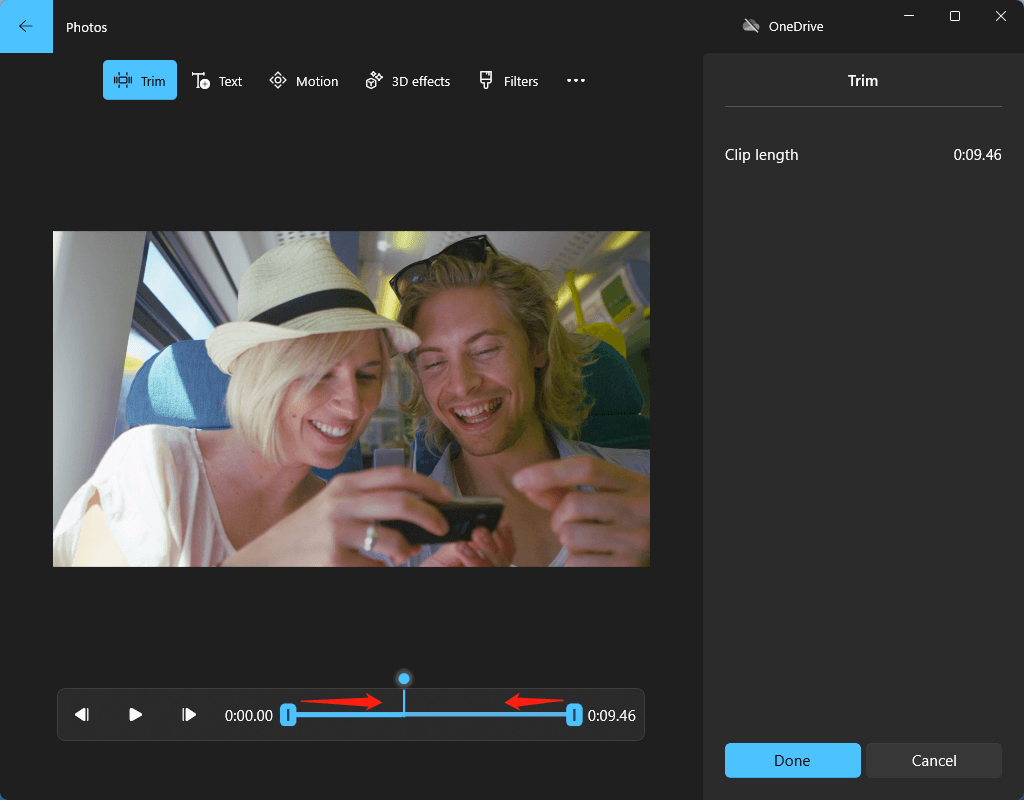
Click on the target video clip on the storyboard and select Trim on the upper toolbar. In the next window, pull the sliders on both ends to the center until where you’d like them to be to cut off the unwanted start and end parts. Click Done to save the change.
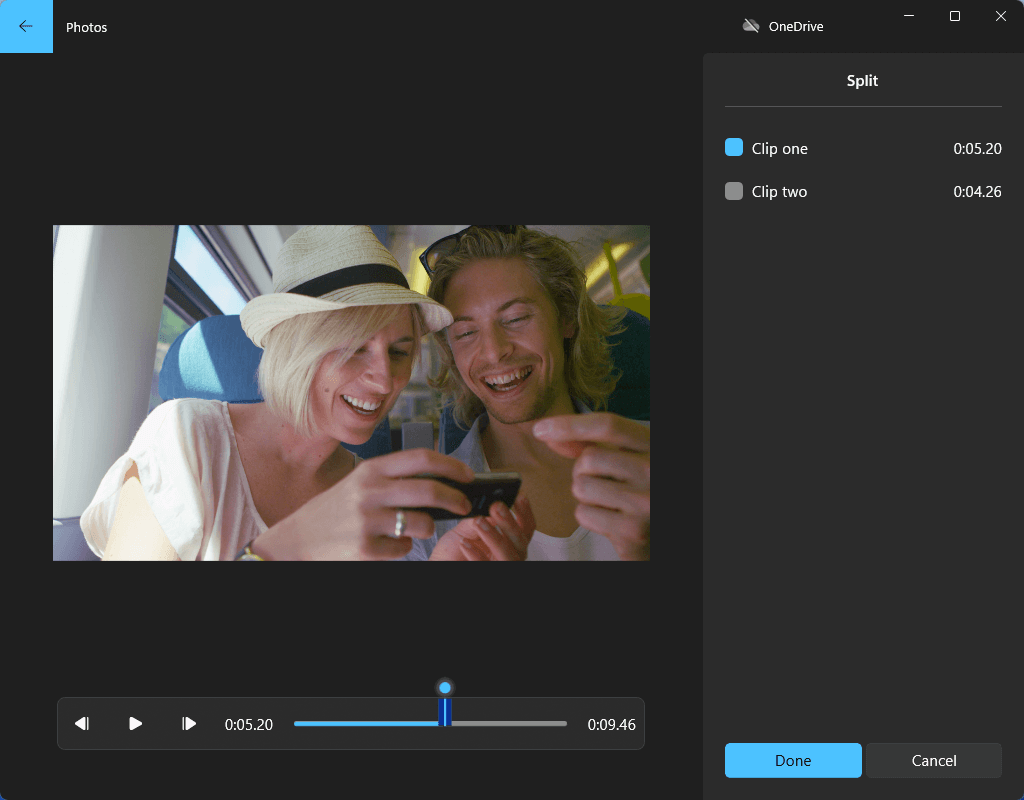
Split a Video Clip
Select the target video clip and click on the Split option. Then, pull the cursor to where you’d like to separate the clip into two pieces.
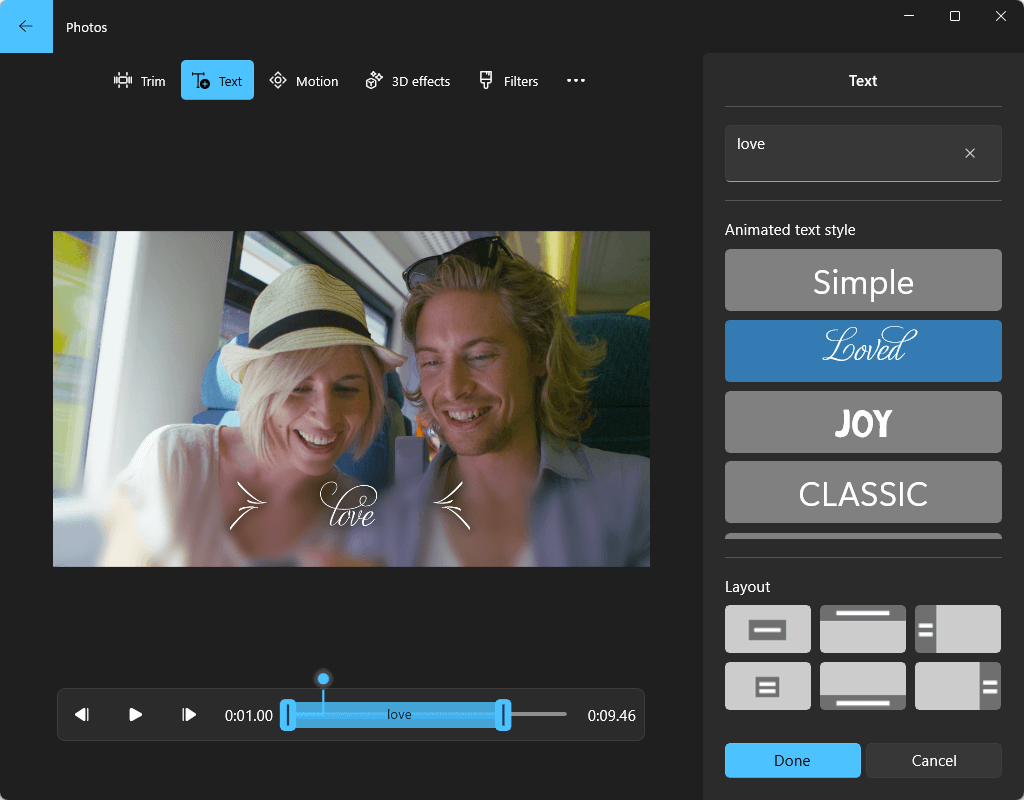
Add Texts to a Video Clip
Choose the target video and choose Text from the upper menu. Then, type your text and select an animated text style and layout for it.
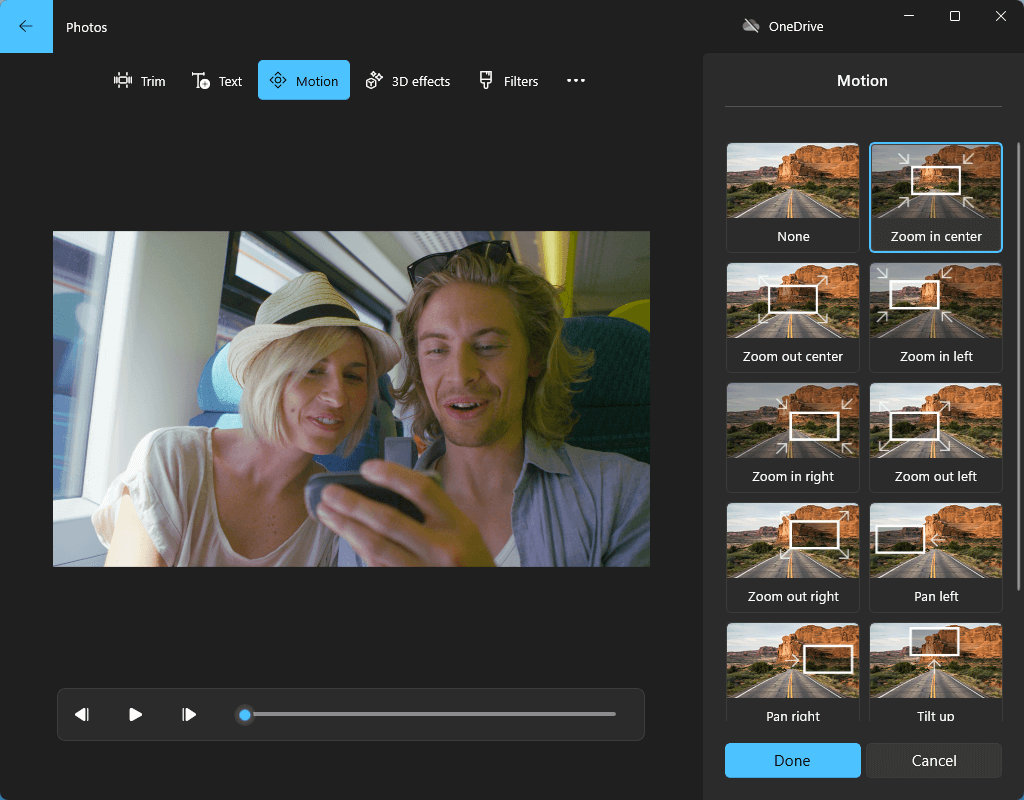
Add a Motion to a Video Clip
When choosing the target video clip, click Motion from the toolbar. Then, pick up a motion you like from the list on the right.
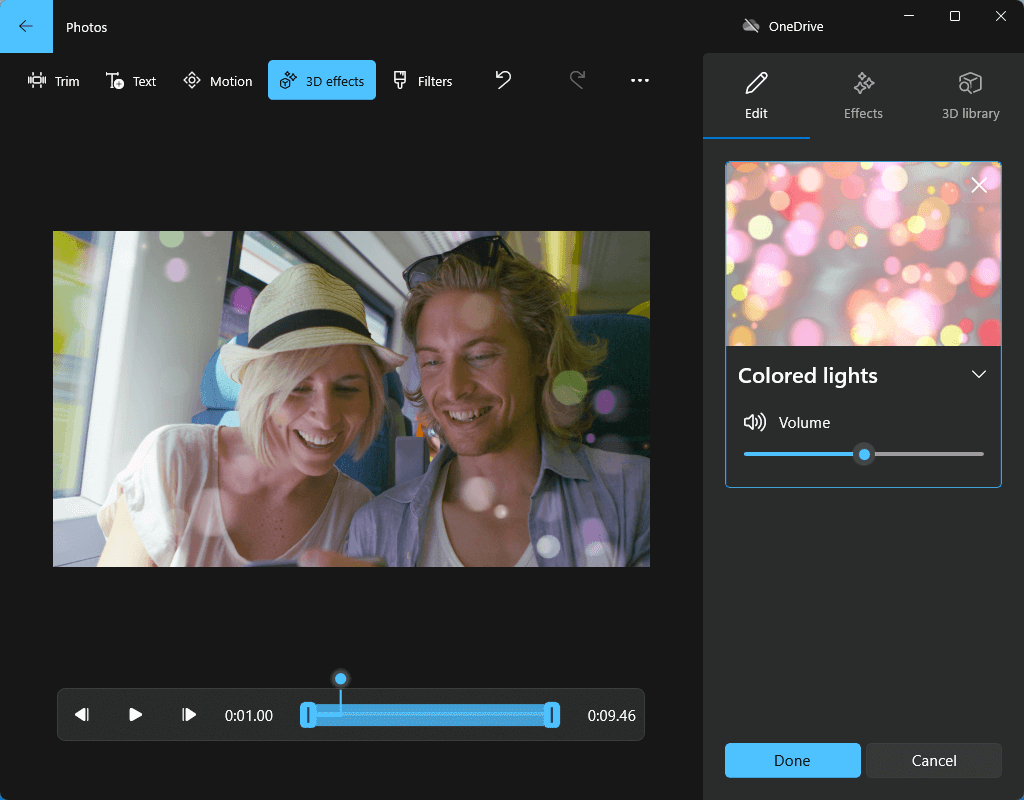
Add 3D Effects to a Video Clip
Similarly, activate the target video clip and click 3D effects. Then, choose a 3D effect from the list or 3D library. You can also edit your selected 3D effect.
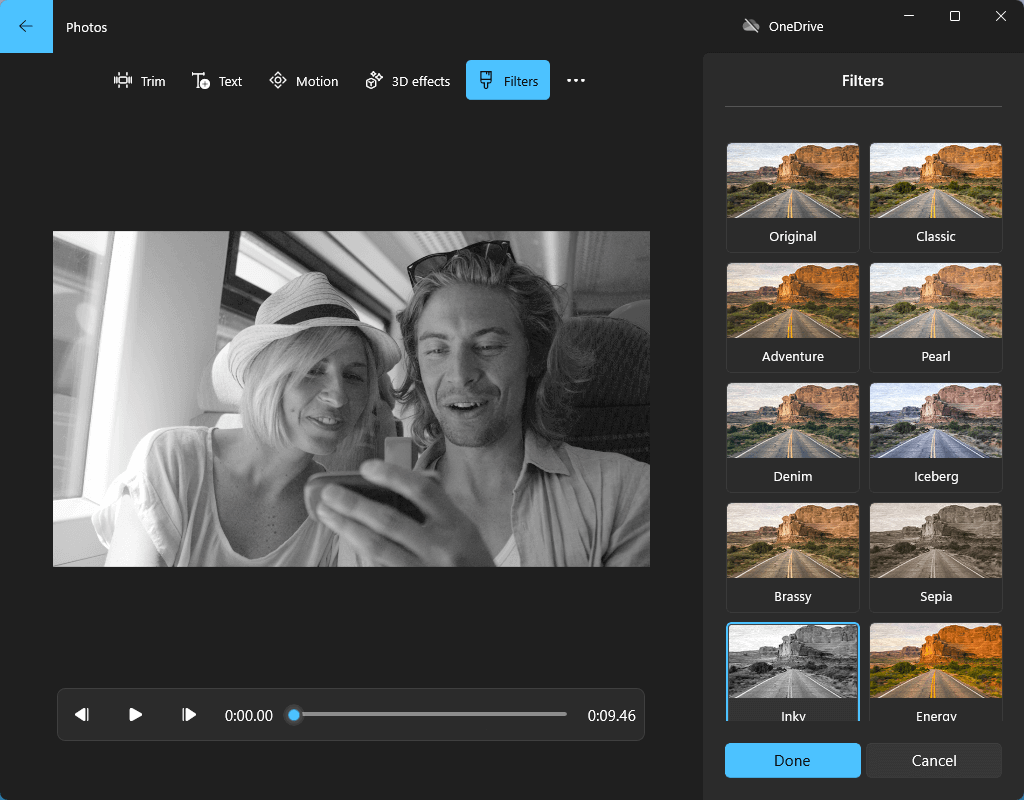
Add Filters to a Video Clip
Besides, you can add a filter to a video by first selecting the video and then clicking Filters. Next, assign a type of filter from the available filters.
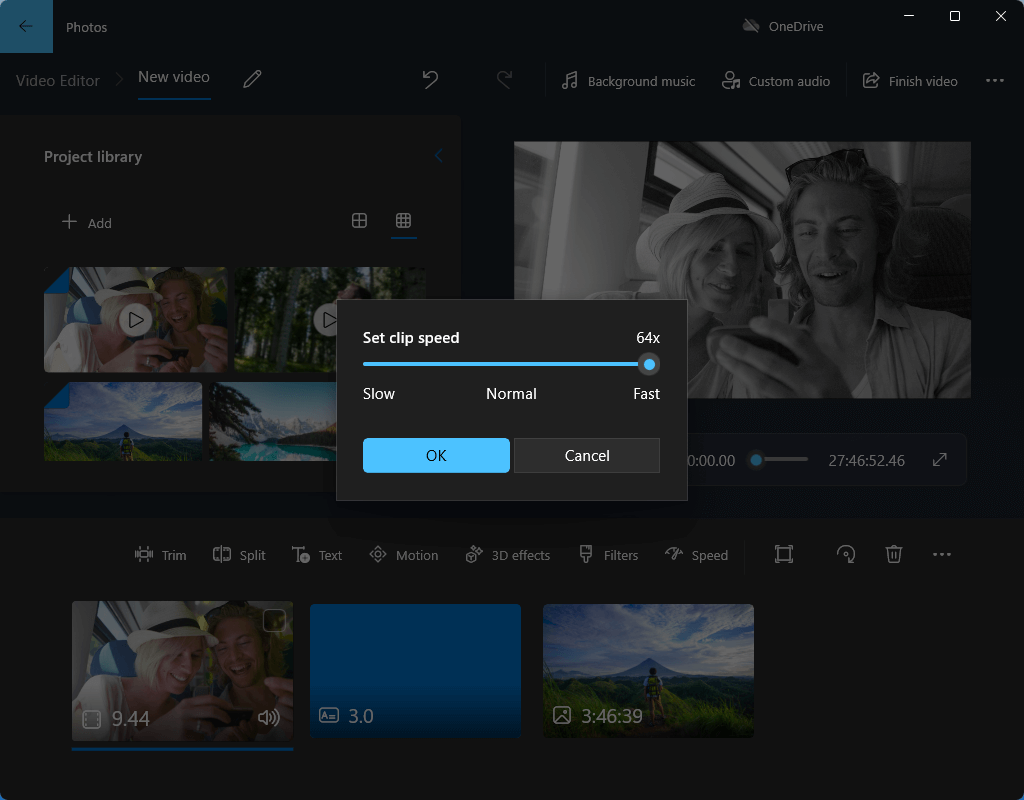
Change the Speed of a Video Clip
You can alter the speed of a video using the Speed option on the toolbar. Or, right-click on the video and select Edit > Speed. You are able to speed up a video to reach 64x of its original speed or slow down it to 0.02x of its original speed.
Step 4. Edit Photos
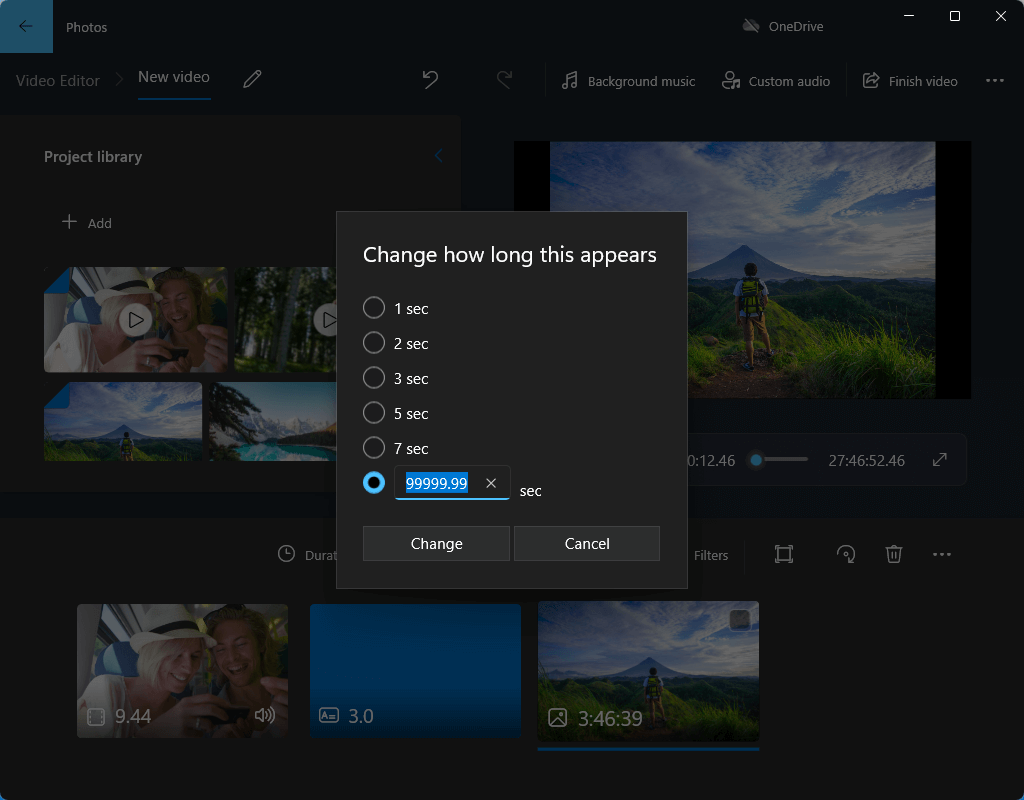
Next, let’s see what we can do to the pictures and images that we added to the storyboard. Actually, you can add texts, motions, 3D effects, and filters to photos just like adding them to video clips. In addition to those, you can change the duration of an image. Just right-click on the target photo and select Duration; or, click on the target photo and click Duration on the toolbar.
- 1 second
- 2 second
- 3 second (default)
- 5 second
- 7 second
- Customization
As for the customized photo duration, it ranges from 0.01 to 99999.99 seconds.
Step 5. Add Audio to Your Video
Then, you can decorate your video with an audio effect.
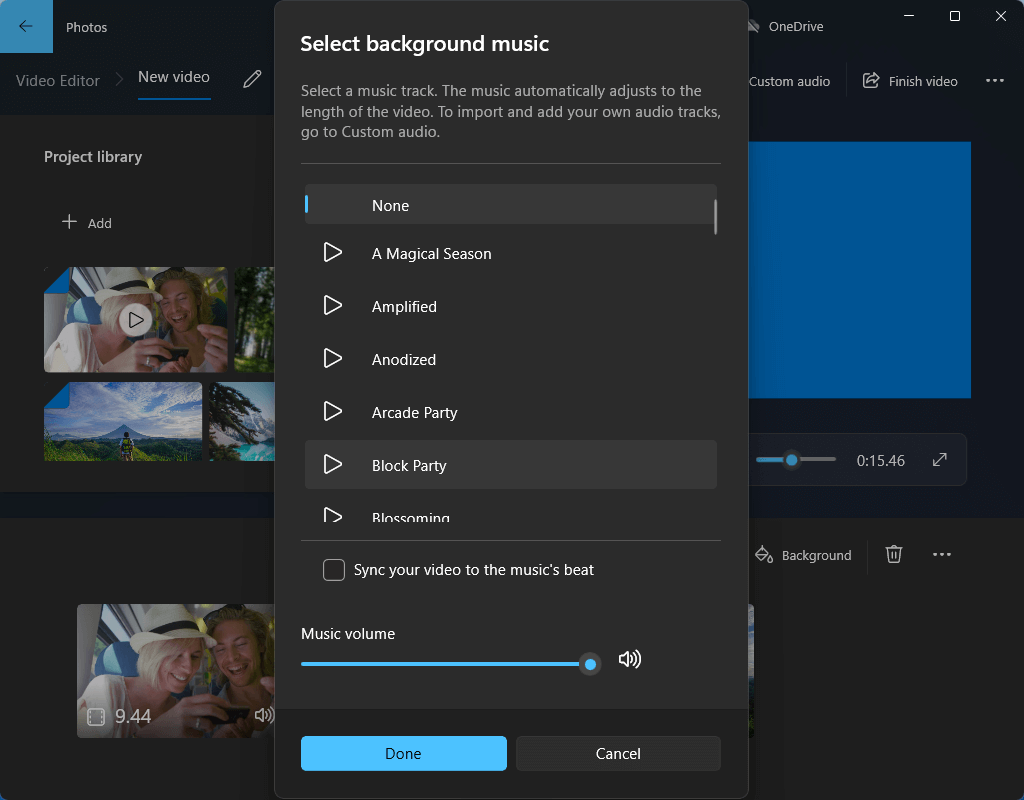
Background Music
Usually, you can add background music to your video. Just click Background music from the upper-right section and select a music track from the list. You can adjust the volume of the music.
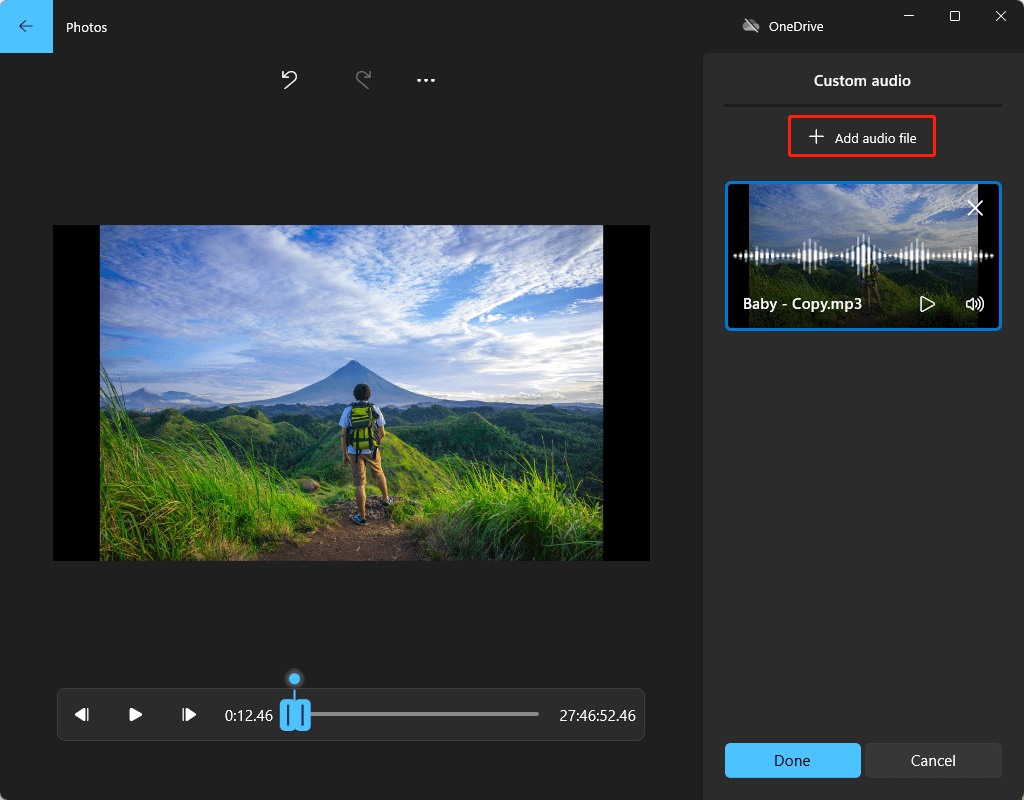
Custom Audio
Or, you can create a personalized sound effect for your video. Click Custom audio from the upper right and upload your own music, narration, or sound effect files.
Step 6. Additional Editing
Besides the above editing, there are many other things that Video Editor can do to your source media files:
- Handle black bars in video clips and photos.
- Rotate a video or photo.
- Cut/copy/paste a video clip or photo.
- Change the video aspect ratio.
- Set a theme for your video
- …
Step 7. Add a Title Card
Furthermore, you can add a title card to your video. It is better to be placed at the very beginning of the whole video. Just click Add title card option (sometimes, it may be hidden in the three dots list) in the toolbar. Then, drag the title card to where you need it to be on the storyboard.
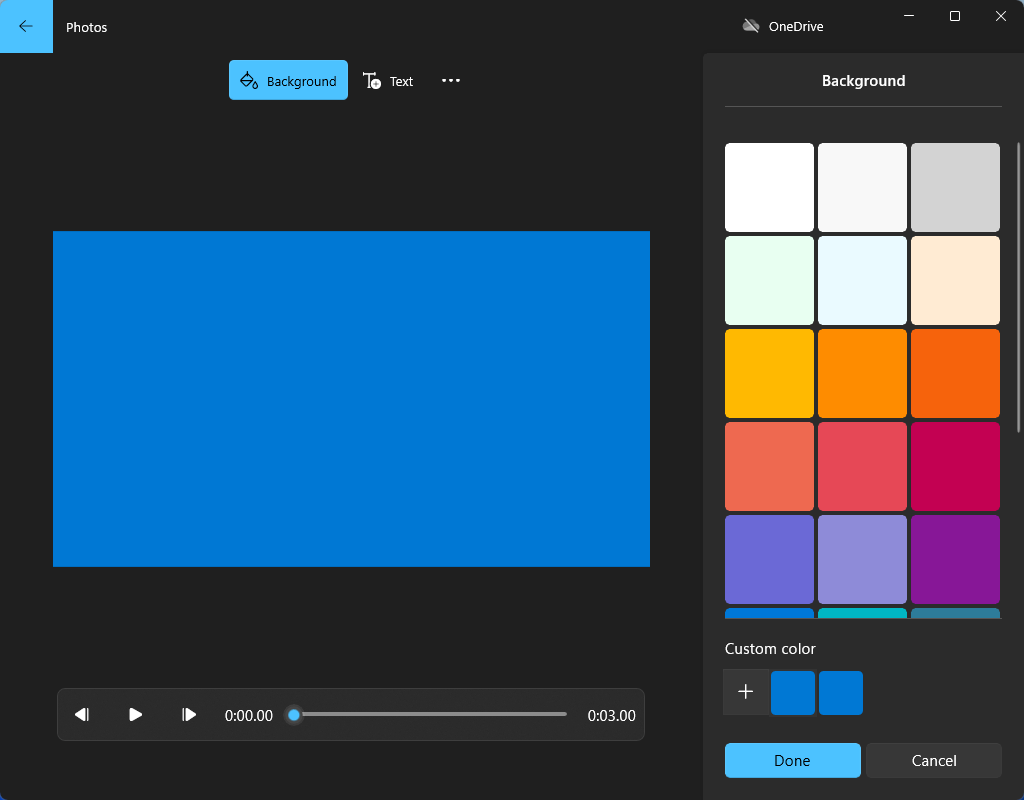
When the title card is selected, you can specify its duration, text, and background.
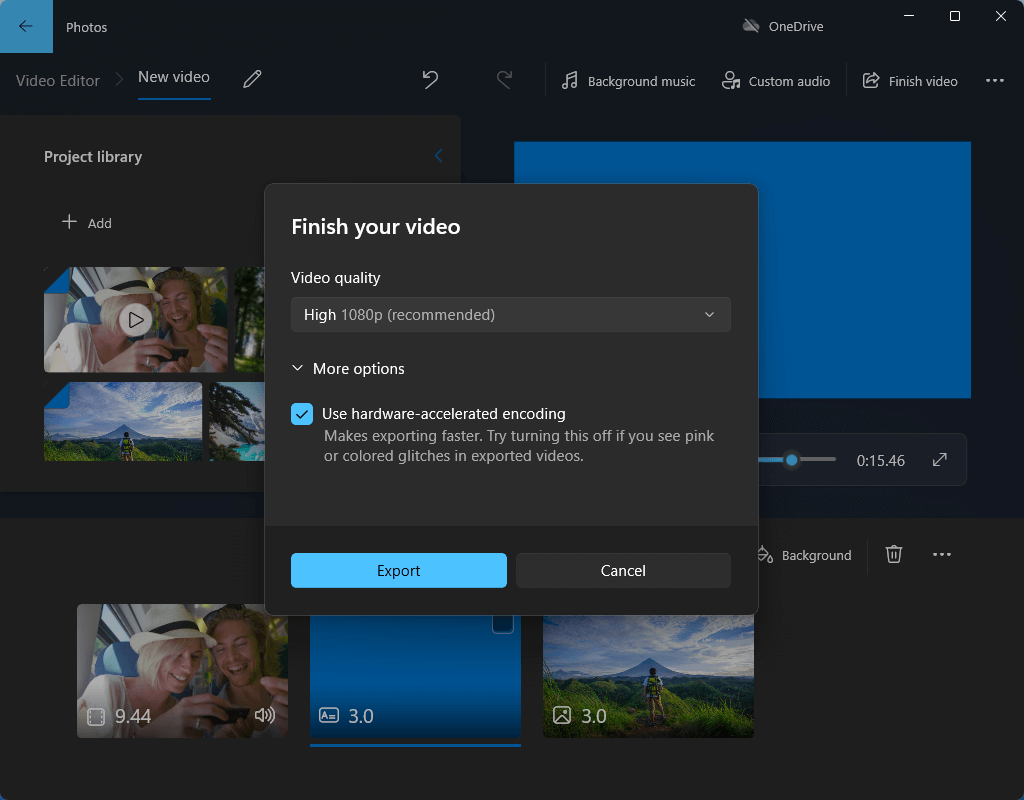
Step 8. Export Your Video
Finally, when you have done all the settings for your new video, you can export and save it. Click Finish video from the upper right and choose a video quality to save.
Now, you can enjoy the new video created by Video Editor.
Microsoft released a new version of the Photos app for Windows 11 in October 2022, which integrates iCloud but excludes Video Editor, People, Albums, and Collection tools. If you need to use those utilities, you have to get the Microsoft Photos Legacy.
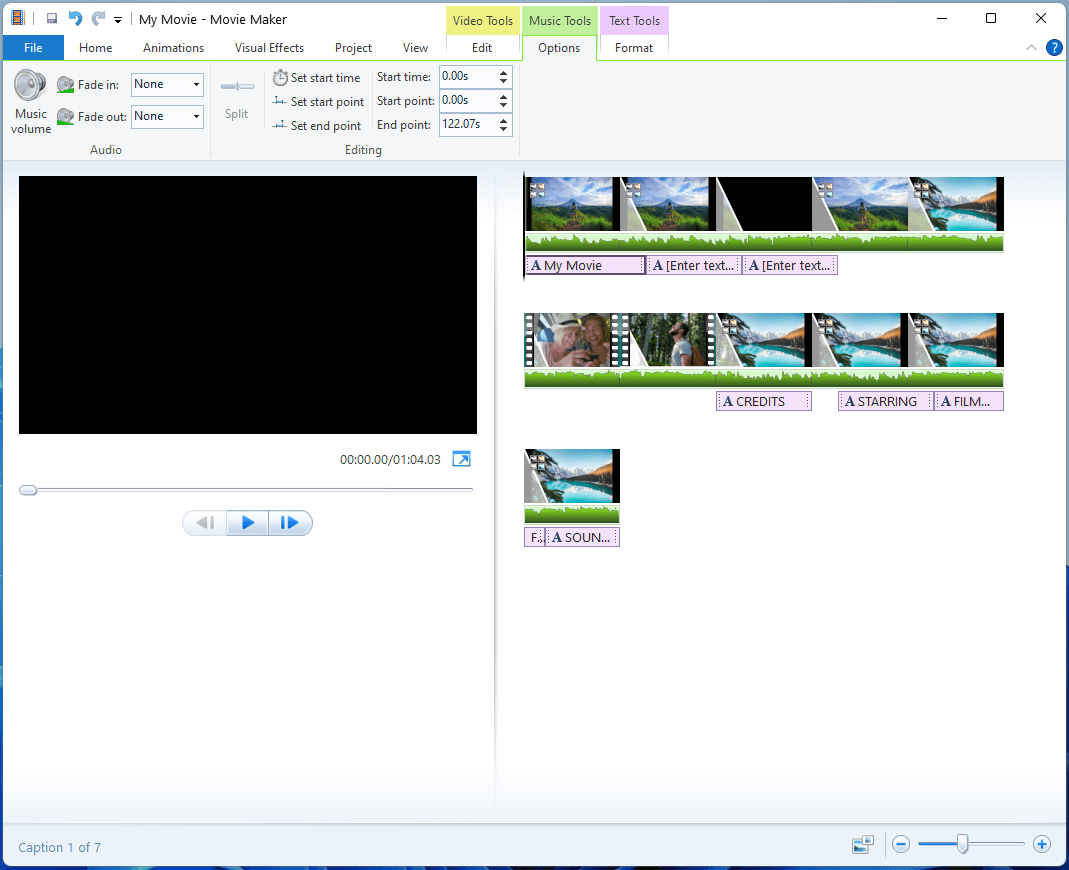
How to Use Video Editor – Windows 11 Movie Maker?
Actually, the steps for making a video with the well-known Movie Maker is similar to those by Video Editor.
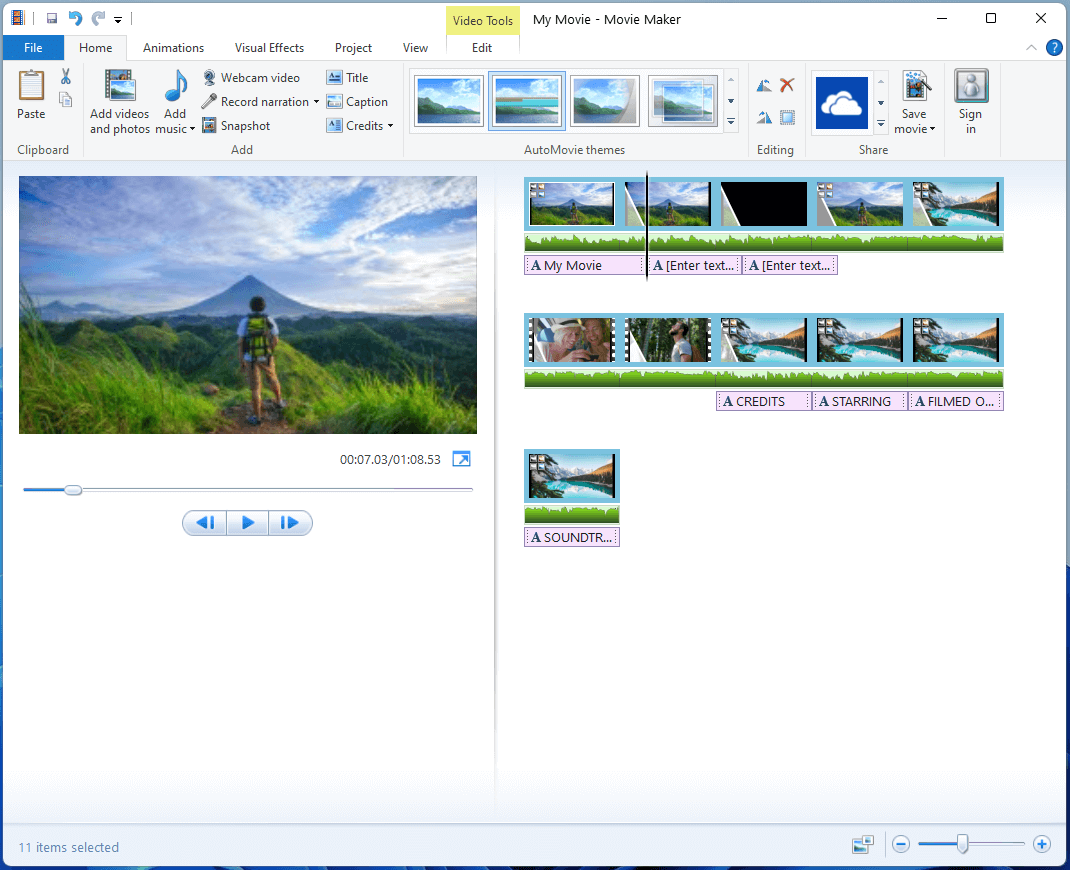
1. Open Windows Movie Maker in Windows 11 and go to its Home tab.
2. Add media files to the app, videos, photos, and music.
3. Choose to add title, caption, or credits to the video.
4. Select an AutoMovie theme for your video.
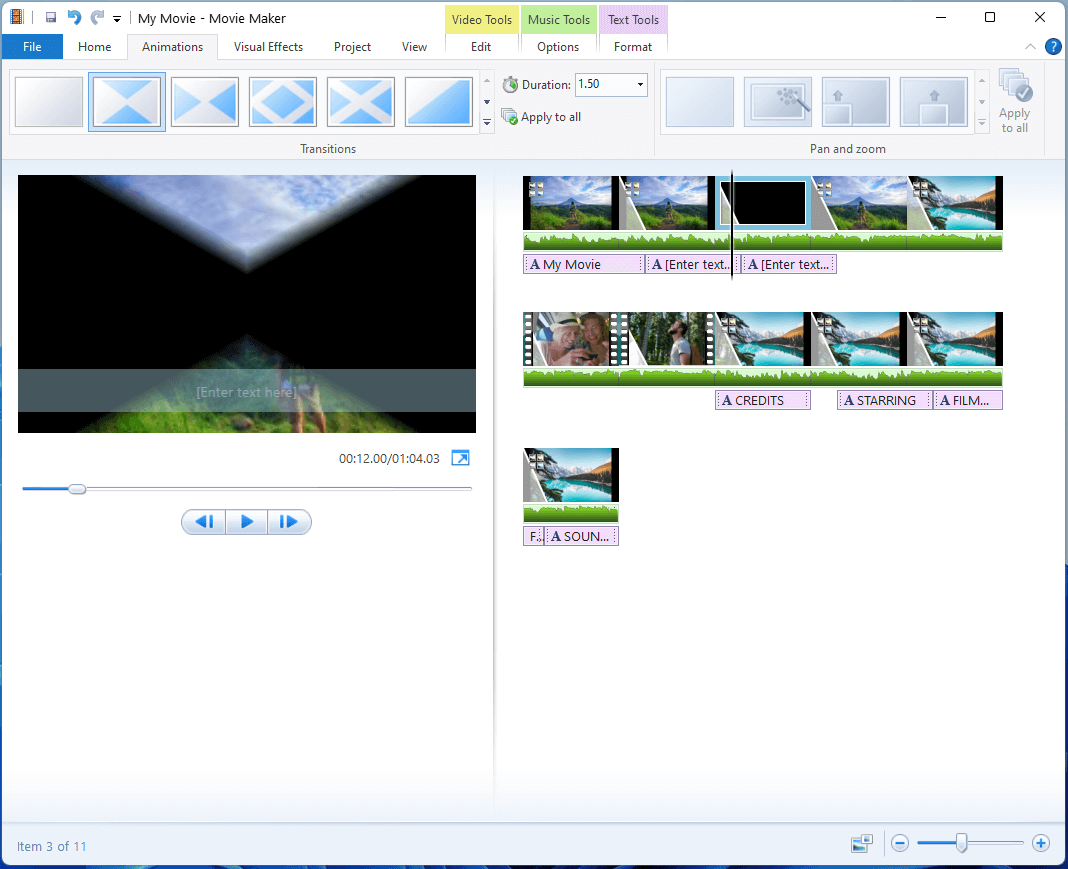
6. Move to the Animations tab and select transitions to your video. You can also choose pan and zoom styles.
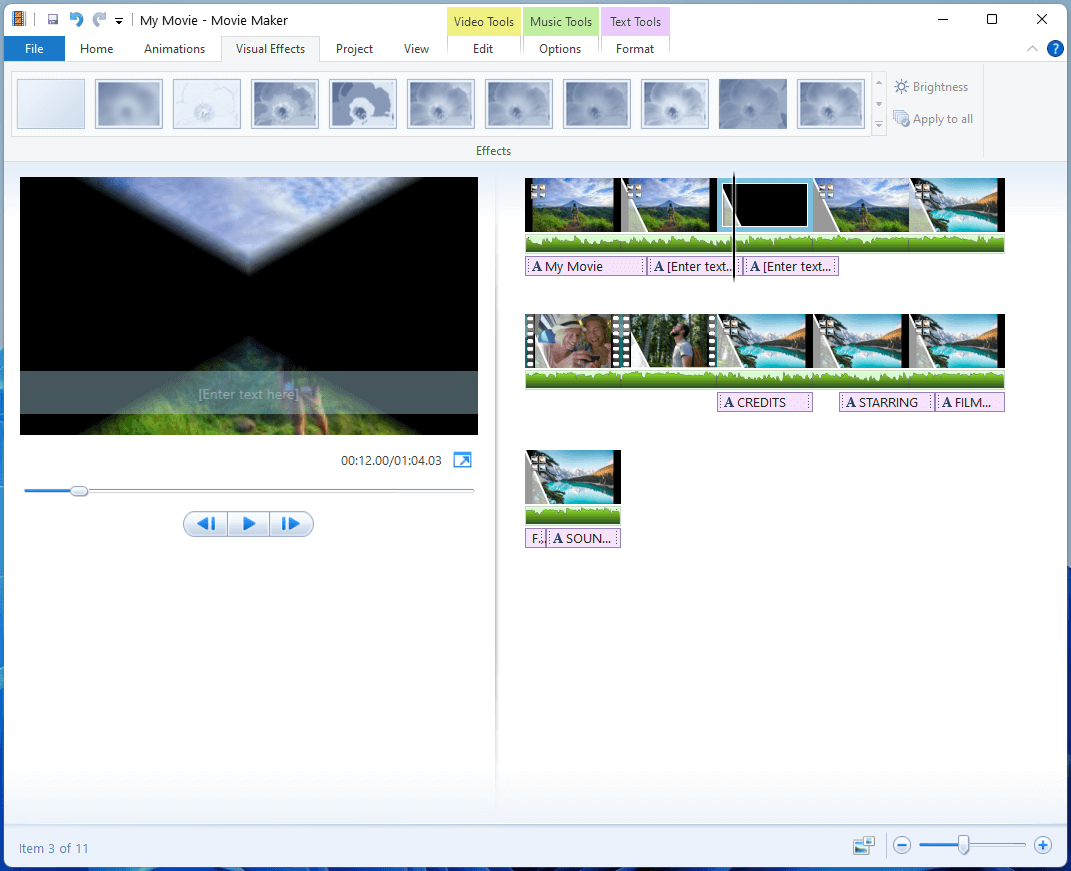
7. Go to the Visual Effects tab to pick up a visual effect.
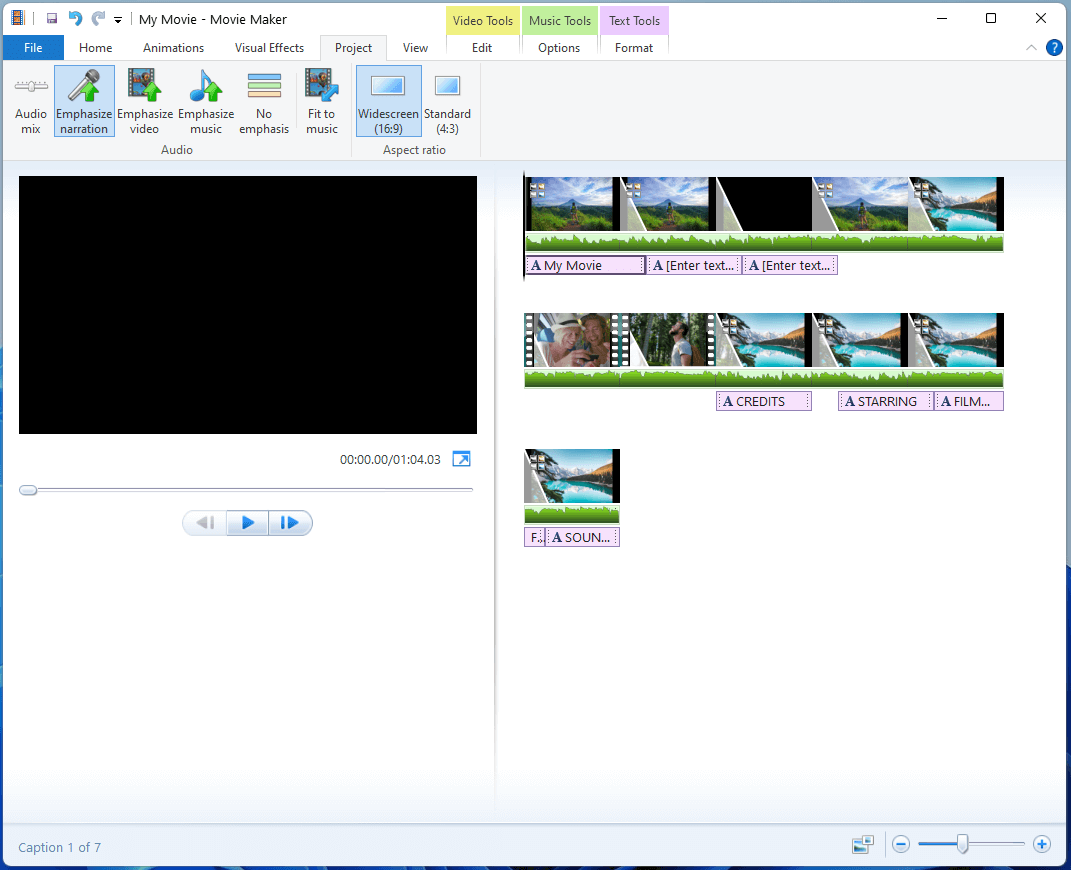
8. In the Project tab, you can do the following operations.
- Audio mix
- Emphasize narration
- Emphasize video
- Emphasize music
- Fit to music
- Change aspect ratio
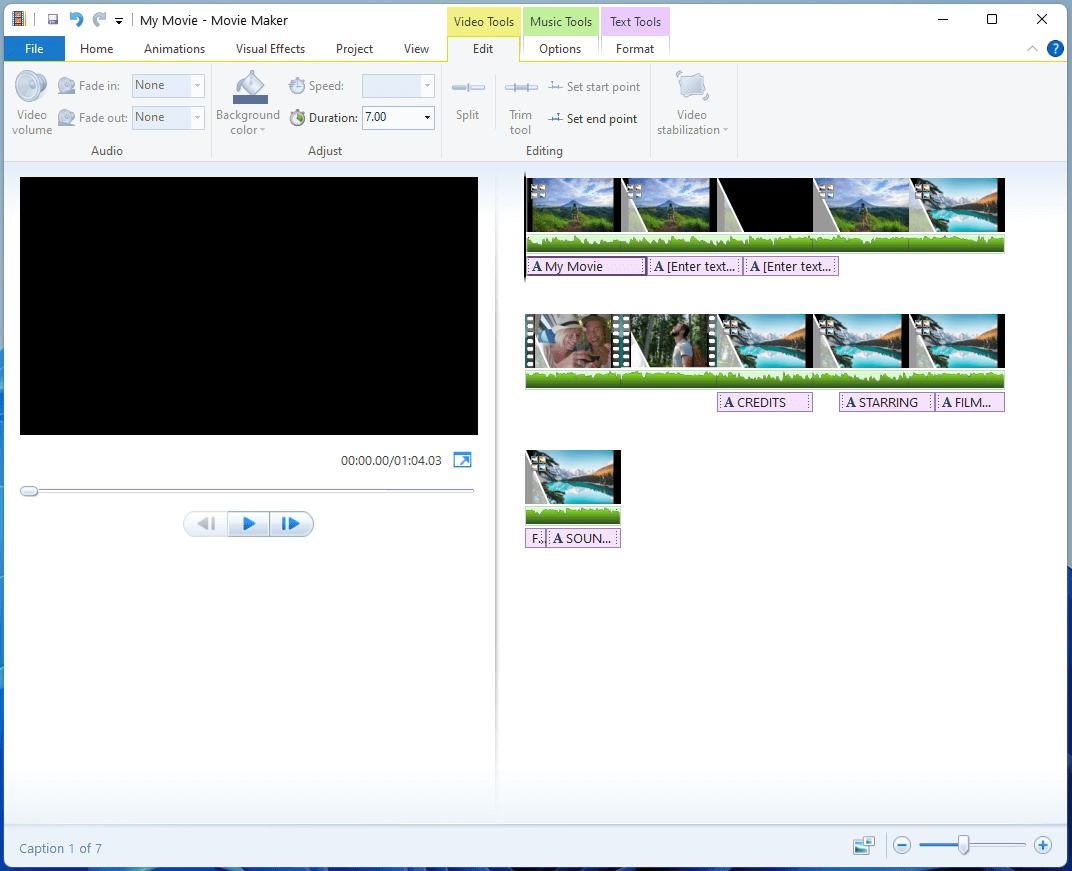
9. Edit videos with Video Tools.
- Adjust speed
- Split/trim
- Video stabilization
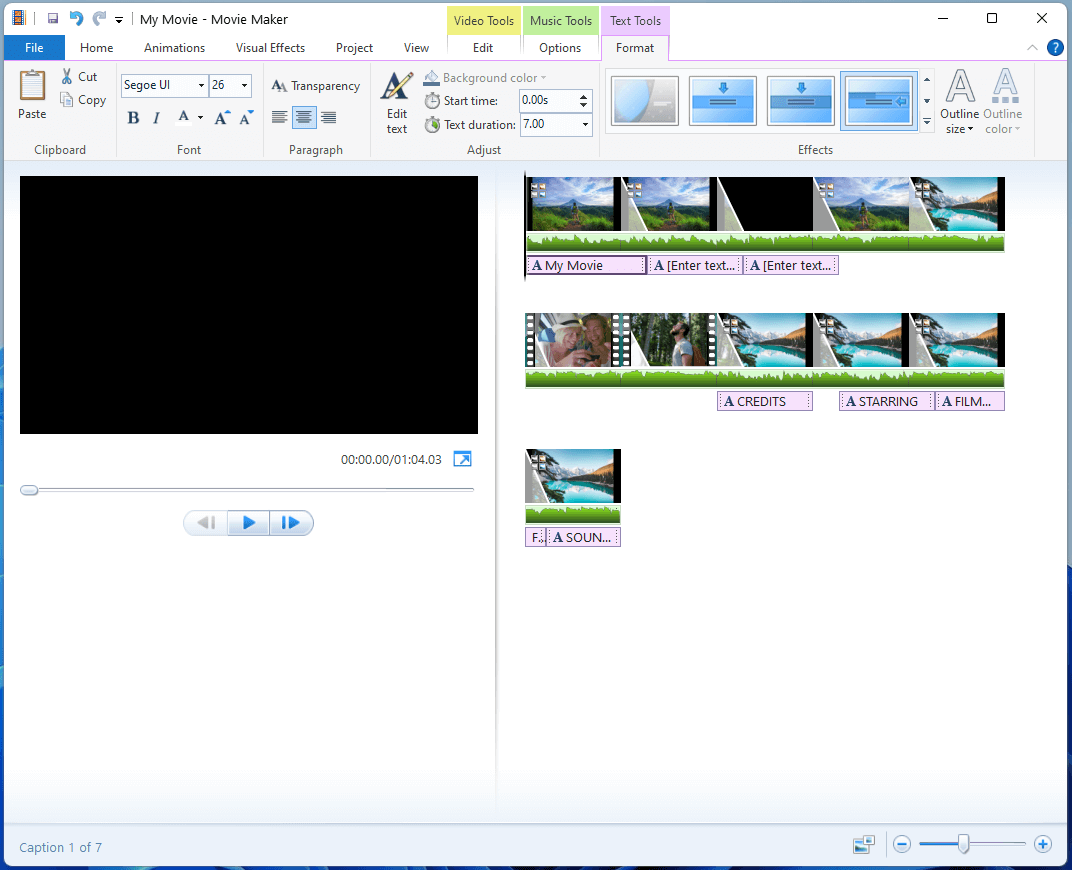
10. Edit photos with their background color and duration.
11. Edit the audio of the below aspects.
- Change volume
- Fade in/out
- Split audio
12. Edit text like in a Word document.
13. Shift back to the Home tab, click Save movie, and choose a setting to export the video.
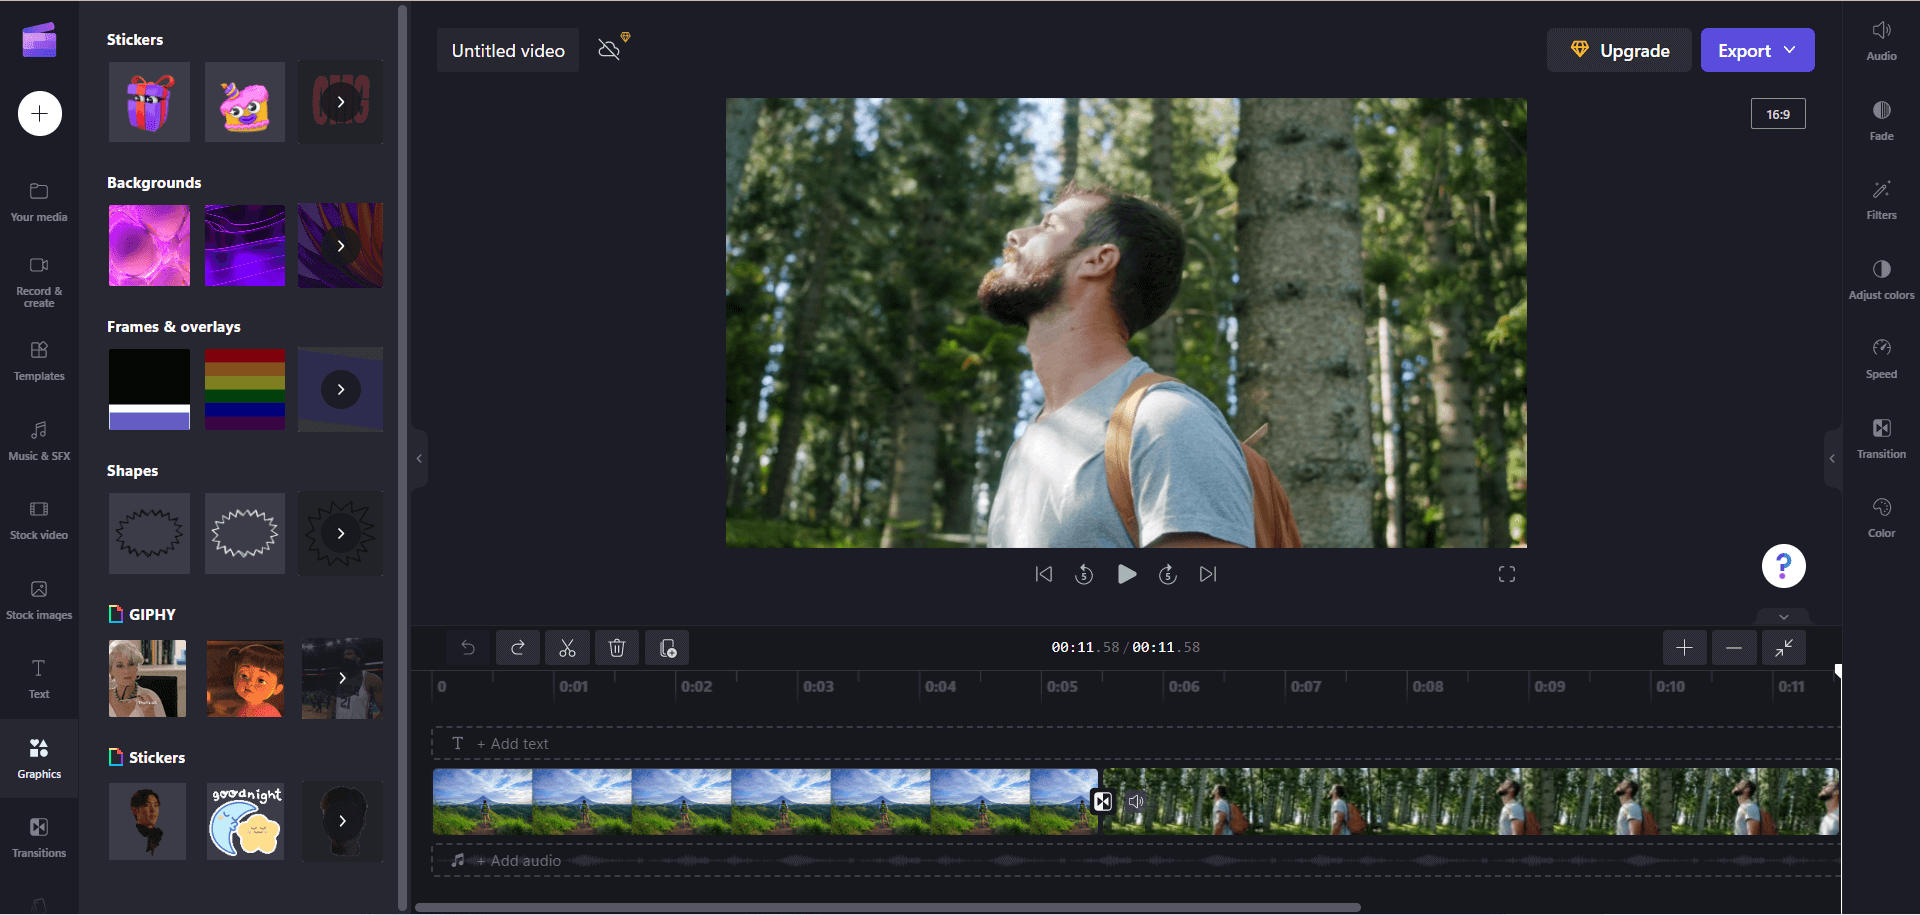
How to Use Video Editor Windows 11 Clipchamp?
Now, let’s see how to take advantage of the newly recommended video editing software – Clipchamp to build a new video. The following guide is based on its online version.
- Sign in to Clipchamp service on app.clipchamp.com.
- Select Create a new video.
- In Your media tab, click Add media to upload your source files.
- Add media files to the timeline.
- Then, you can edit your video with the tools in the left menu including Record &Create, Templates, Music & SFX, Stock video, Stock images, Text, Graphics, Transitions, and Brand kit.
- When you finally get your video done, click Export from the upper right and choose a quality to save your work.
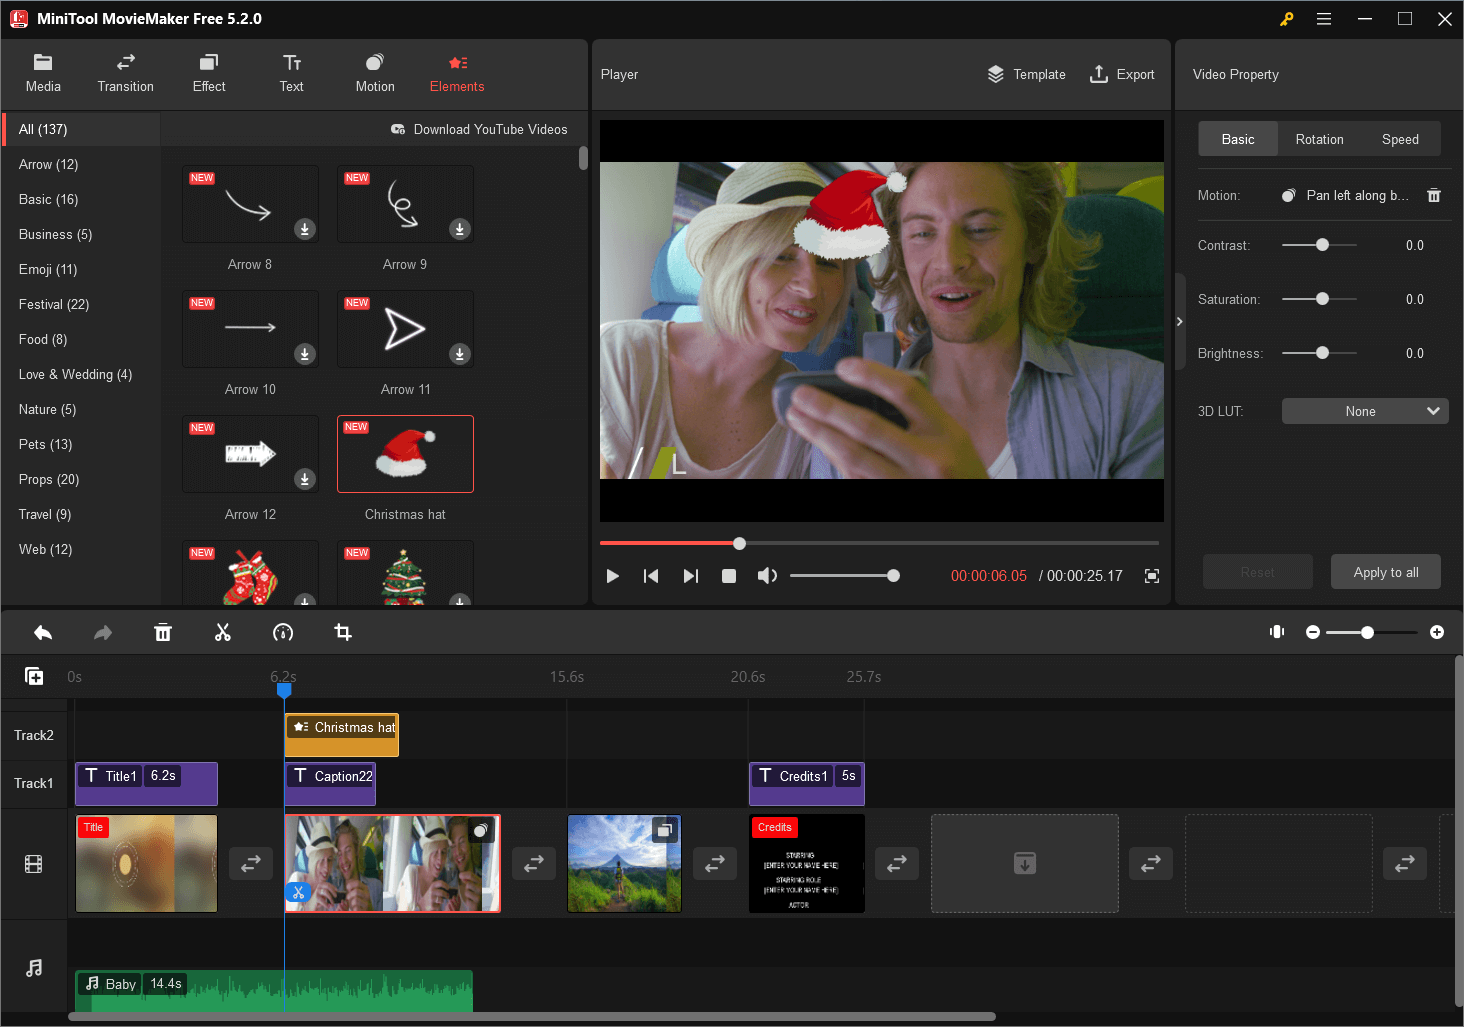
How to Use Windows Video Editor – MiniTool MovieMaker?
Finally, let’s have a look at how to rely on a third-party Windows 11 video editor to create a video. It will take MiniTool MovieMaker, a professional and easy-to-use video editing program for example.
MiniTool MovieMakerClick to Download100%Clean & Safe
- Download, install, and launch MiniTool MovieMaker on your PC.
- Go to the Media tab on its main interface.
- Click Import Media Files to upload your source videos, photos, or music.
- Put those media files in the below timeline.
- Click on the target media file on the timeline and start editing. You can add a transition between two media files, add texts/motion/effect/elements to a video or photo, as well as add stock music or your uploaded song to your video.
- You can further change the contrast, saturation, and brightness of your video; flip or rotate your video; split, trim, or crop your video; as well as reverse your video.
- As for the audio file, you can change its volume and fade in/out it.
- Finally, click Export to save your video with customized settings.
Until now, you have learned how to use video editor Windows 11 very well. No matter which Windows video editor you come across in the future, you won’t worry about where to start editing your videos!
Also read:
- Video Editor Reviews Windows 7 – Edit Videos Without Watermark
- Does Windows 11 Have a Video Editor – Yes, It Has Many!
- The Low Quality Video Maker: A Meme-Worthy Phenomenon or an Editing Nightmare?
- The Rise of Short Video: How to Make, Edit, and Engage with Short-form Content
- [Review] A Full Introduction to Web Browser Video Editors
About The Author

Position: Columnist
Helen is a tech writer with over 10 years of experience. She specializes in creating easy-to-follow guides for video editing, media file conversion, and computer performance. Helen doesn't just write—she tests every software herself and listens to feedback from users and experts. Her goal is to make complex programs simple so that everyone can solve their tech problems with confidence.
User Comments :