The video editing process starts before you even open up your PC and editing program. As you shoot, you may consider what you need for video editing. Better yet, take into account your edit before you take it. If you have a plan, it will be easier to realize your ideas by taking the required photos. If you get it right before the shoot, we promise you’ll thank yourself later.
Quality Editing with Enough Footage
Gathering more and enough footage for your video editing is a great way to avoid getting into trouble in the process. Otherwise, in the case of a lack of footage, you may need to reshoot, which cannot help but waste too much time. The following are some basic shooting tips:
Two or more shots are required. You will no longer be bothered by running out of film or not being able to take more pictures. Today, digital storage is affordable and readily available. You can use the extra space to capture different images or scenes. In other words, you’d better take more shots than you originally planned to have more options when editing. More shots in one shot are usually preferable to fewer shots.
Let the record showcase. Likewise, you want to shoot more shots than necessary and want them to last longer than you need. Start recording a few seconds before the action, then continue recording for a few seconds after. Those extra seconds will allow you to cut in and out of the appropriate time points.
Recommend post: How to Solve the Problem “Movie Recording Stopped Automatically”?
Get as many as possible. Keep filming for at least 10 seconds. It applies the regular rules even if the action only lasts a few seconds or if you record still footage without any action. Even if you just press the record button or move away from the camera, there may be vibrations or sounds. A 10-second recording ensures at least some footage is available and offers your camera sufficient time to stabilize.
Read the Room. When nobody or nothing is creating a sound, every recording situation has a particular audio quality. Room tone is what experts refer to as background noise, room noise, or the sound of silence. Gather a small amount of room tone from each location. Later on, it could help fill odd audio gaps in your edit.
Choose the Right Video Editing App
One of the most crucial elements of learning video editing basics is choosing the right video editing app. There are a variety of video editing apps available in the social media industry, some of which are easier to use than others.
Here, MiniTool MovieMaker is recommended for you to make beautiful and fascinating movies. For beginners, it is one of the greatest free video editing services. Its user-friendly interface and lovely movie templates make it simple and quick to create stunning movies.
Now, follow these how-to guides to master the basic video editing techniques provided by MiniTool MovieMaker.
Download and Install
MiniTool MovieMakerClick to Download100%Clean & Safe
Step 1: Go to its official website or click the above Free Download to get the installation package and find it in the Downloads on your PC.
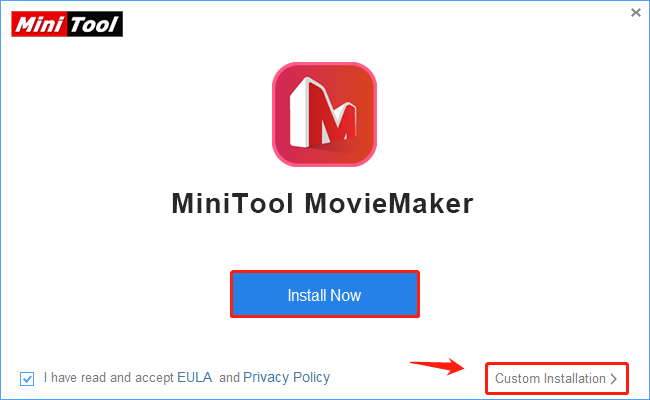
Step 2: Double-click the installation package and head to the following welcome interface.
Step 3: Click Install Now to install the video editing app. Also, you can click Custom Installation to change the save path if needed.
Create and Save Your Project
For every MiniTool MovieMaker user, you can create your projects with its rich features and enjoy an engaged editing experience. Here’s how to do it:
Step 1: Click the Start Now from the pop-up window to open it.
Step 2: Close the Register window.
Step 3: Click the New Project in the Project library window.
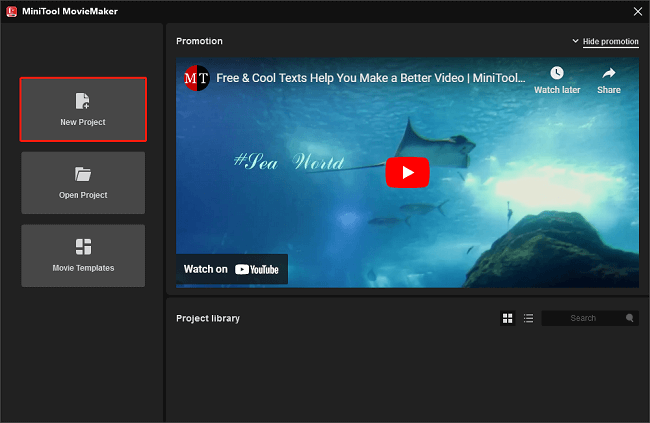
Alternatively, you can close the Project library window, locate the More icon in the upper right corner of the screen, select the File option, and click the New Project.
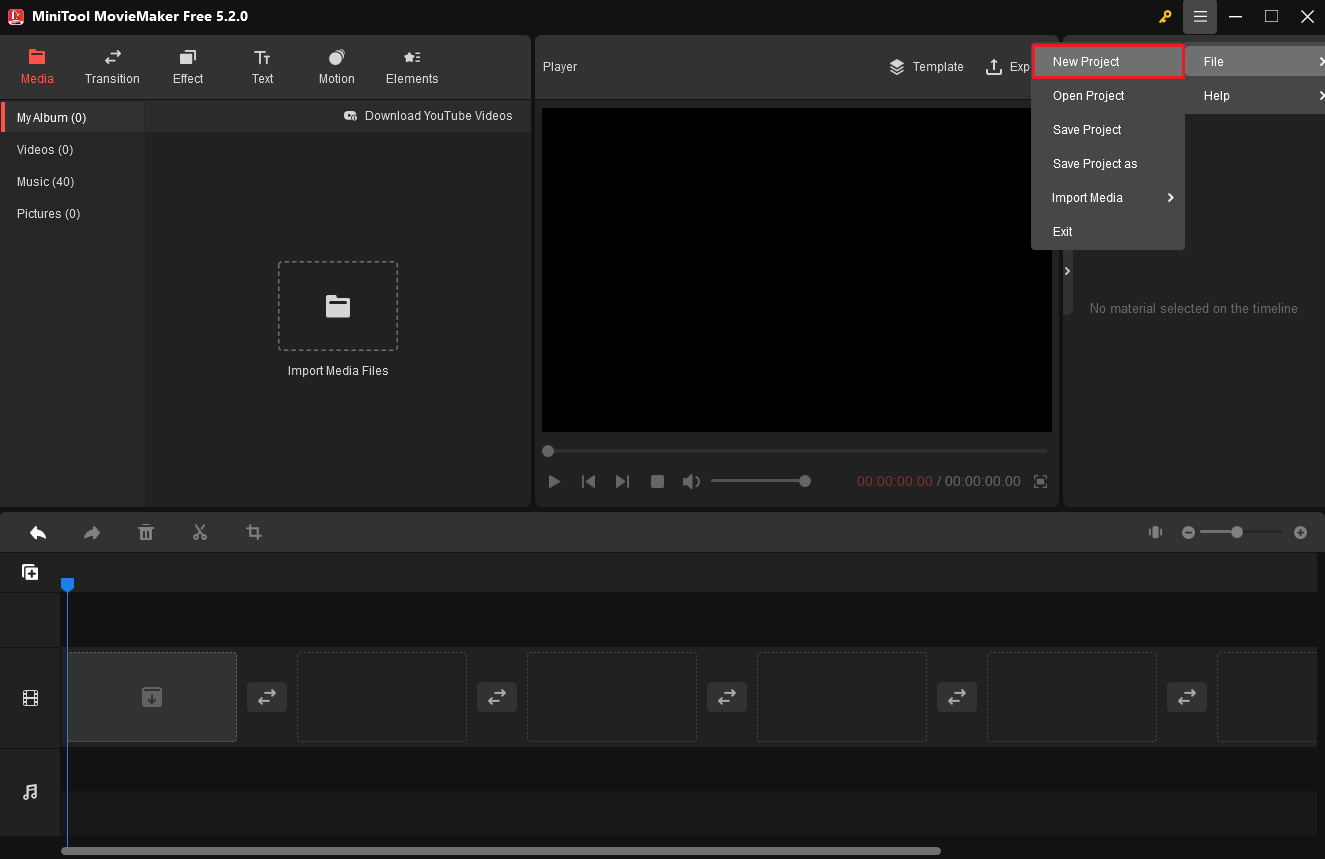
Step 4: Click the Import Media Files under the Media tab in the upper left corner of the screen to import your media files.
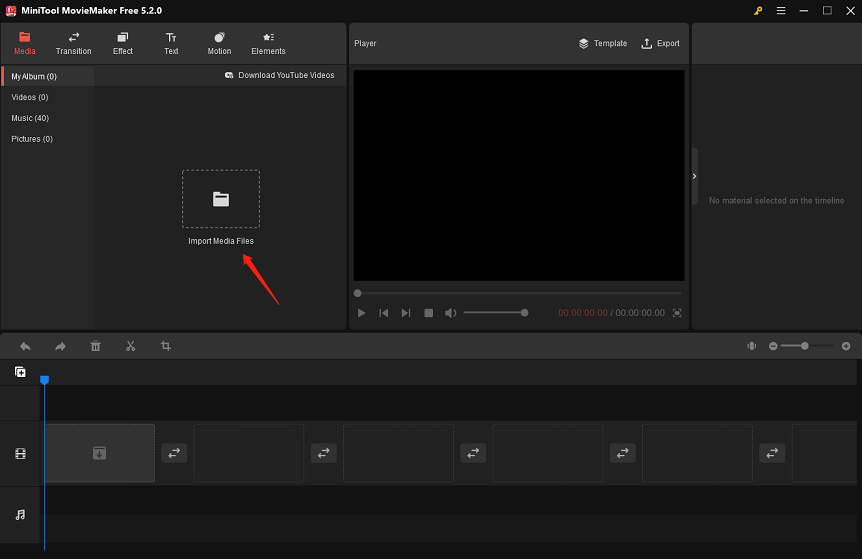
Or, you can follow the steps to import the media files: click the More icon > Hover over the File option > Hover over the Import File option > click the Import From PC.
Step 5: Check the media files in the Media tab.
Step 6: Drag and drop the files into the below timeline or click + icon to add them.

Step 7: Add the desired transitions, effects, text, motions, and elements by clicking the + icon or dragging.
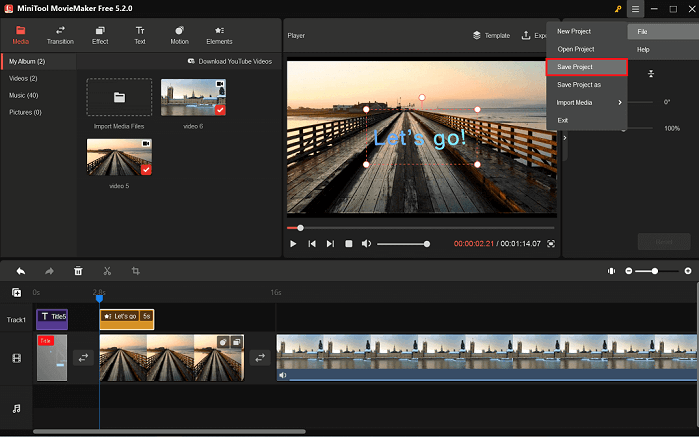
Step 8: Click the More icon, hover the mouse over the File option, and select Save Project or Save Project as to save the edited project.
Use Movie Templates
If you want to quickly and easily create a movie in minutes, MiniTool MovieMaker offers you beautiful movie templates, including festivals, love, travel, family and friends, etc. Here’s how to do it:
Step 1: Click the Movie Templates from the Project library window. Or, click the Template in the upper right corner of the Player window.
Step 2: Choose the desired movie template in the Movie Templates window.
Step 3: Click the Next button to import the media files that number is the same as the number of the media files in the template you choose, then the files will be automatically embedded into the movie template.
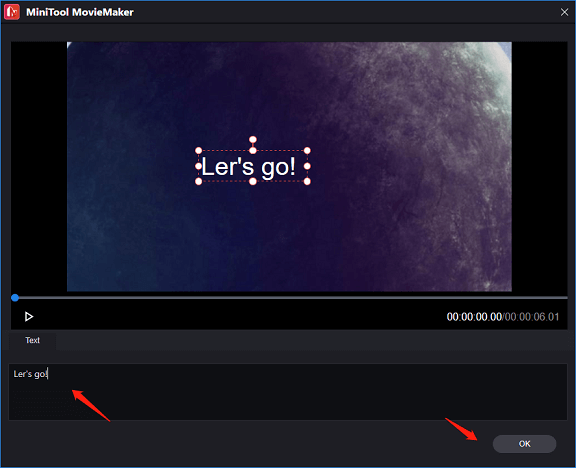
Step 4: Hover the mouse over the file below the Title, click on T to type the text from the pop-up window, and click on OK to save the change.
Step 5: Drag the files with the mouse to adjust the order based on your requirements.
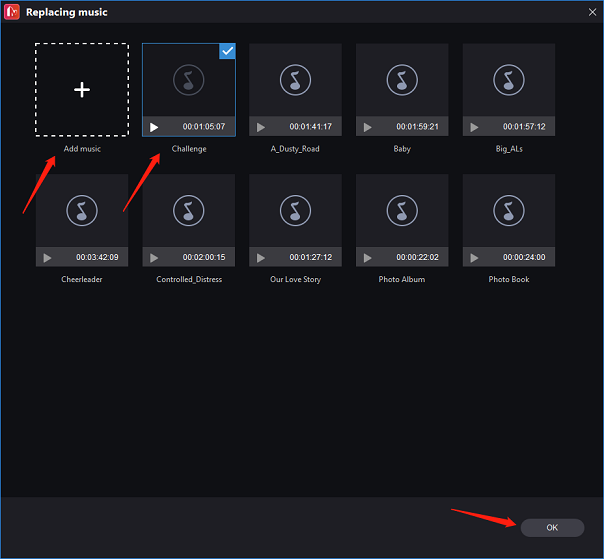
Step 6: Click the Replace Music button to choose or add the desired music and click on OK to save the replacement.
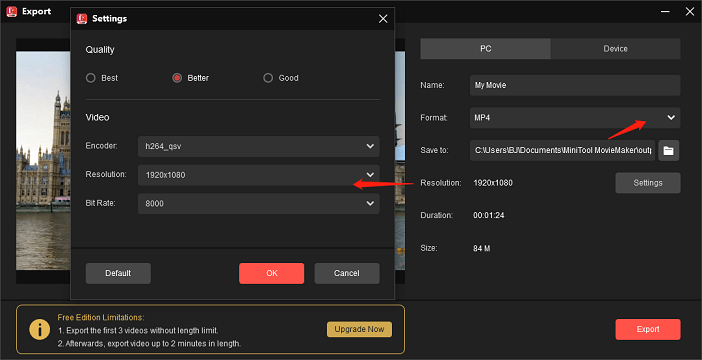
Step 7: Click the Export button to access the Export window. Then, you can rename the movie, choose the destination folder and output format, and change the resolution settings.
Step 8: Click the red Export button to export the movie. When the export process is done, you can click the Find Target button to locate the exported movie.
Main Features of MiniTool MovieMaker:
- It is a free, no ads, no bundle, watermark-free video editing app for you to create various movies and videos.
- It supports you to import the video formats including 3gp, mov, avi, flv, mkv, mp4, vob, etc,
- It supports you to import audio formats including mp3, flac, m4a, m4r, wav, aac, amr, ape, etc.
- It supports you to import the picture format including png, bmp, ico, jpg, jpeg, gif, etc.
- There are 9 tracks available for adding captions and animated elements.
- You can also adjust the speed of the video, flip the video vertically or horizontally, and rotate the video from 0° to 360°.
- MiniTool MovieMaker runs on Windows 7/8/8.1/10/11.
- In addition, you can export your video in the formats that can be played on different devices including iPhone, Smartphone, and Galaxy note.
Practical Video Editing Basics
There is more than one method to edit videos. Your creative thoughts will dictate how the project is edited. Some of the tried-and-true basic video editing principles can simplify your workflow and frees you from tedious learning. Here are several practical video editing basics to think about:
Plan Ahead
It doesn’t have to be overly complicated to create, but you should have a clear arrangement for the project’s theme design and material preparation. You can develop a rough outline of your plan, or even better, a shot list that details the visual and audio components of each scene. If you want to add voiceover or narration, you can prepare a script to describe the key points you want to express. It’s best written to sound natural. After that, you can make changes until it makes sense.
Make Use of Establishing Shots
The audiences like to feel like where they are. While close-ups and medium scenarios can show action up close, they often ignore the character’s (or subject’s) environment. The environment of the characters (or subjects) is frequently missed in close-up and medium scenes, which focus on the action in close detail. A scene’s broader context is revealed in an establishing shot, which lets your audience grasp how everything fits together and get fully immersed in the scene.

Keep an Eye on the Tempo
By changing the duration of the clips, you can create different rhythms for different scenes. In some scenes, such as action scenes, the rhythm can convey tension quickly; in other parts, such as dialogue or interview sessions, the rhythm is slower, more leisurely, and more reflective.
Slow-moving scenes often require fairly long shots, perhaps only one continuous clip, while fast-moving scenes often use shorter clips. If your video rhythm changes too frequently or unexpectedly, it may upset your viewers. Try to keep your scenarios relatively consistent.
Select a Color Scheme
If necessary, you can use a color correction application to give your video a more realistic appearance. Many editing applications also allow you to color grade your footage, which is the process of adjusting the contrast and brightness of your photographs for artistic rather than functional reasons. Although color grading isn’t required, it can reveal mood and character and help set the tone of your story. Don’t overdo it; small modifications make a big difference.
Don’t Underestimate the Importance of Sound
High-quality audio can also be found in the video. To make dialogue stand out and prevent rapid volume fluctuations, you can balance the levels between tracks. Split edits are great for connecting audio between two separate clips or scenes, because they, like J-cut, modify the sound before the visual.
Music Should Be Included
More than any other feature of video, your music should be carefully crafted to add to the immersive feel. If you wish to share your video publicly, please ensure that the track you choose is royalty-free or that you have acquired the relevant rights.
Don’t let the music dominate your soundtrack. Silence effects can create a noticeable (and sometimes uncomfortable) void and add suspense by focusing the viewer’s attention on the screen. You can break the silence by using the tone of the room unless the silence effects are intentional.
Conclusion
It’s not tough to make a watchable video. If you need to get ready before starting video editing, this article lists high-quality editing with enough footage, chooses the best video editing program, and learns some useful video editing basics that will help you make brilliant movies.
Please feel free to email [email protected] if you have any questions or comments about MiniTool MovieMaker.
Other helpful posts for you:
User Comments :