In this post from MiniTool MovieMaker, we’ll show you how to separate audio from video in DaVinci Resolve to edit or move video or audio clips individually.
DaVinci Resolve is a professional video editor that’s equipped with rich features, such as cropping, color grading, video stabilization, various effects and tools for audio post-production, and more.
Sometimes you need to separate your audio or music from your video so you can edit them individually in DaVinci Resolve. How to do this? This post offers a detailed guide on how to detach audio from video in DaVinci Resolve.
How to Separate Audio from Video in DaVinci Resolve
First, you need to download and install DaVinci Resolve on your computer. This video editor is available on Windows, macOS, and Linux. You can get it from the app’s official website.
Step 1. After installation, open DaVinci Resolve on your computer.
Step 2. Right-click on the Media Pool and select Import Media to open your video and drag and drop it to the video timeline.
Step 3. In DaVinci Resolve, you have two methods to separate audio from video. First, go to the Edit page.
Option 1: Use the Link Clips option
Right-click on the video clip and uncheck the Link Clips option from the drop-down list. Or, just click on the clip and then click the Link button below the video player. Then, you can move and manipulate the video or audio clips independently.
If you want to delete the video clip or audio clip, just right-click on it and select Delete Selected. Also, you can trim the video but without removing the audio sections, and more.
Option 2: Extract audio in the Media Pool
In DaVinci Resolve, you can also extract audio from a video in the media pool to separate it from the video.
After importing your video into the Media Pool, select and right-click on the clip, and choose the Extract Audio option. As a result, you’ll get a WAV audio file.
With both methods, you can easily separate audio from video in DaVinci Resolve for further editing.
How to Quickly Export Only Audio from DaVinci Resolve
Apart from that, many people wonder how to export only audio from DaVinci Resolve. Here’s a clear guide for you. Follow these steps and extract your favorite background music from a video in DaVinci Resolve.
Step 1. Launch DaVinci Resolve, right-click on the Media Pool and select Import Media to open your video. Then, drag and drop it into the video timeline.
Step 2. Click Deliver at the bottom to open Render Settings.
Step 3. Drag the slider under Render Settings -Custom Export until you see Audio Only, and select it.
Step 4. Go to the Audio tab in the middle, then expand the Format menu to choose an audio format MP3 or WAVE.
Step 5. Browse for a folder to save your audio file.
Step 6. Click Add to Render Queue and then click Render All.
An Alternative to DaVinci Resolve to Edit Videos
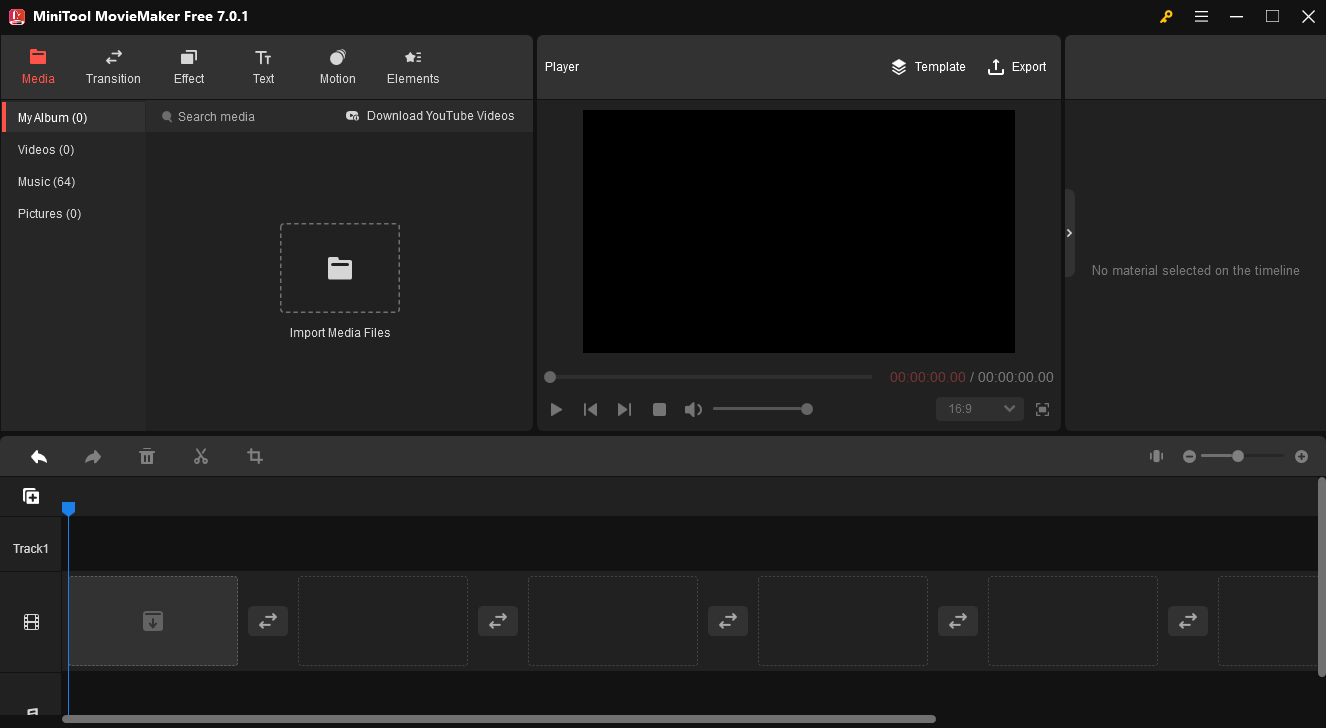
MiniTool MovieMaker is one of the best alternatives to DaVinci Resolve for beginners to create stunning videos on their PCs. This video editor is simple to use and has a user-friendly interface.
MiniTool MovieMakerClick to Download100%Clean & Safe

With MiniTool MovieMaker, you can crop videos, trim videos, split videos, apply filters, add a transition between two video clips, add text and stickers, extract audio from video, change the video aspect ratio, etc. After editing, MiniTool MovieMaker lets you export the video in 1080p for free and without watermarks.
Conclusion
This post provides you with a detailed guide on how to separate audio from video using DaVinci Resolve. Follow the steps below to detach audio from video in this app and make any edits you want.
If you like this post, you don’t want to miss:


![How to Fix the DaVinci Resolve Media Offline Issue [Full Guide]](https://images.minitool.com/moviemaker.minitool.com/images/uploads/2023/03/davinci-resolve-media-offline-thumbnail.jpg)


User Comments :