To split and trim videos on Windows, import the target clip into a video editor, locate the exact position, and click the split icon or trim the video with one click. For this purpose, you can use MiniTool MovieMaker for precise splitting and trimming, or try Microsoft Photos Legacy for quick edits.
Splitting and trimming are basic and frequently used video editing skills. They can remove unwanted footage, split long clips into segments, and control the overall pacing of the result. To help you split and trim videos on Windows, I’ll introduce three reliable tools: MiniTool MovieMaker and Microsoft Photos Legacy. Select the right tool based on your needs.
| Video Splitter/Trimmer | MiniTool MovieMaker | Microsoft Photos Legacy |
| Platform | Windows 10/11 | Windows 10/11 |
| Precise Editing (frame level) | Yes | No |
| No Watermark | Yes | Yes |
| Price | Free + Ultimate | Free |
| Maximum Output Resolution | 4K (free) | 1080P |
| Output Video Format | MP4, MKV, AVI, WebM, MOV, and WMV | MP4 only |
How to Split and Trim Video Using MiniTool MovieMaker
Fast Track:
- Install MiniTool MovieMaker.
- Import the target video.
- Split the video into segments.
- Trim the beginning or end of the video.
- Export the video.
MiniTool MovieMaker is a video editor without watermark, designed for beginners, casual users, and social media content creators to edit and create videos. It’s one of my favorite tools for completing common editing tasks, such as splitting, trimming, cropping, and adding text. How to split and trim videos in the software? Follow me!
Step 1: Get the Video Splitter and Trimmer
Make sure MiniTool MovieMaker is installed on the PC or laptop.
MiniTool MovieMakerClick to Download100%Clean & Safe
Step 2: Add the Target Video
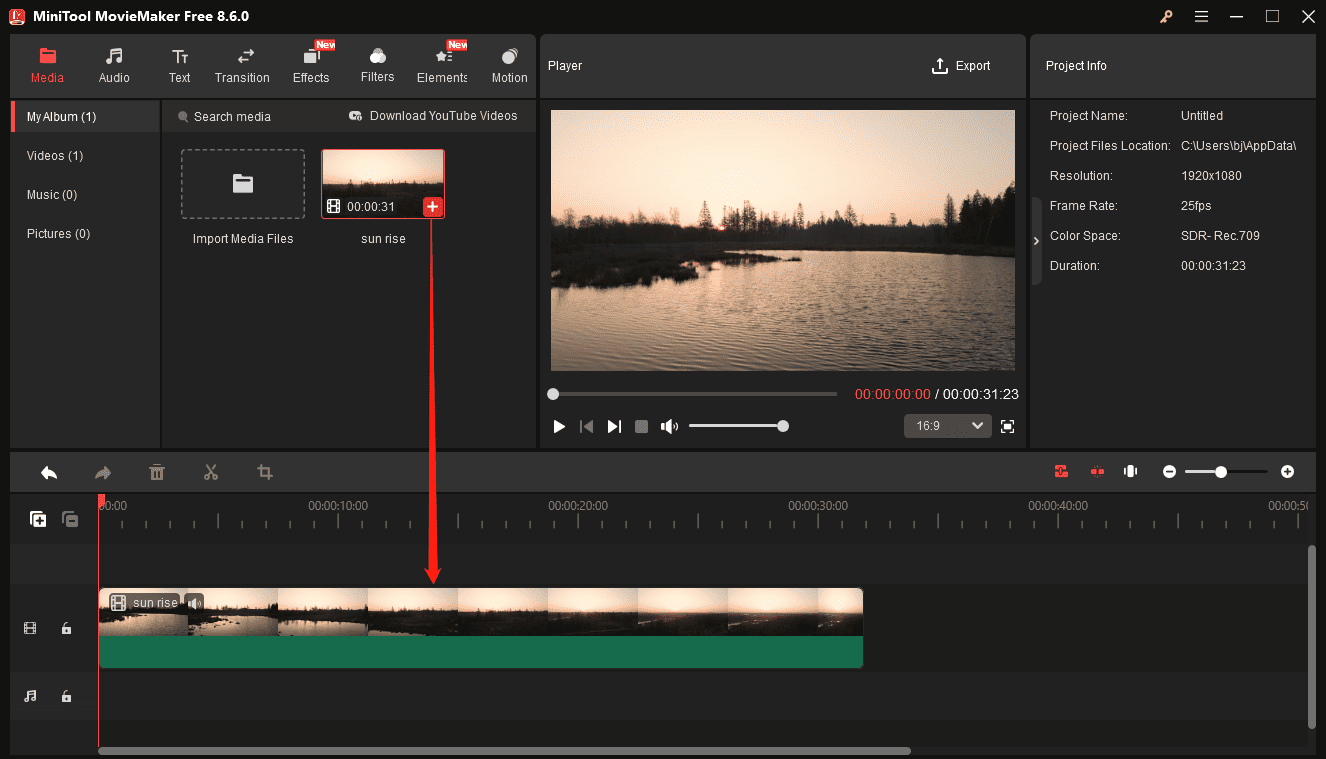
Launch MiniTool MovieMaker and click the New Project button to access the main interface. On the left side, click Import Media Files and add the desired video file. Then, drag and drop it to the timeline to begin editing.
Step 3: Split the Video
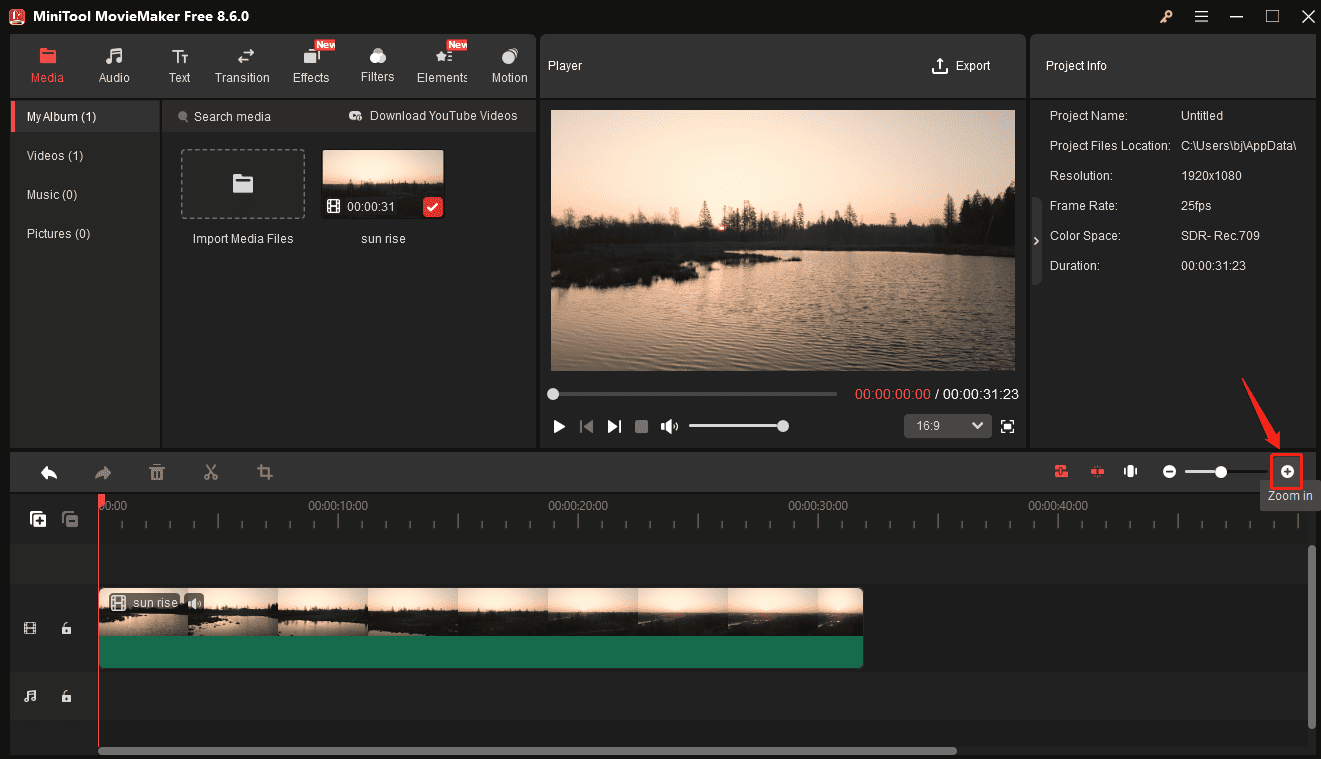
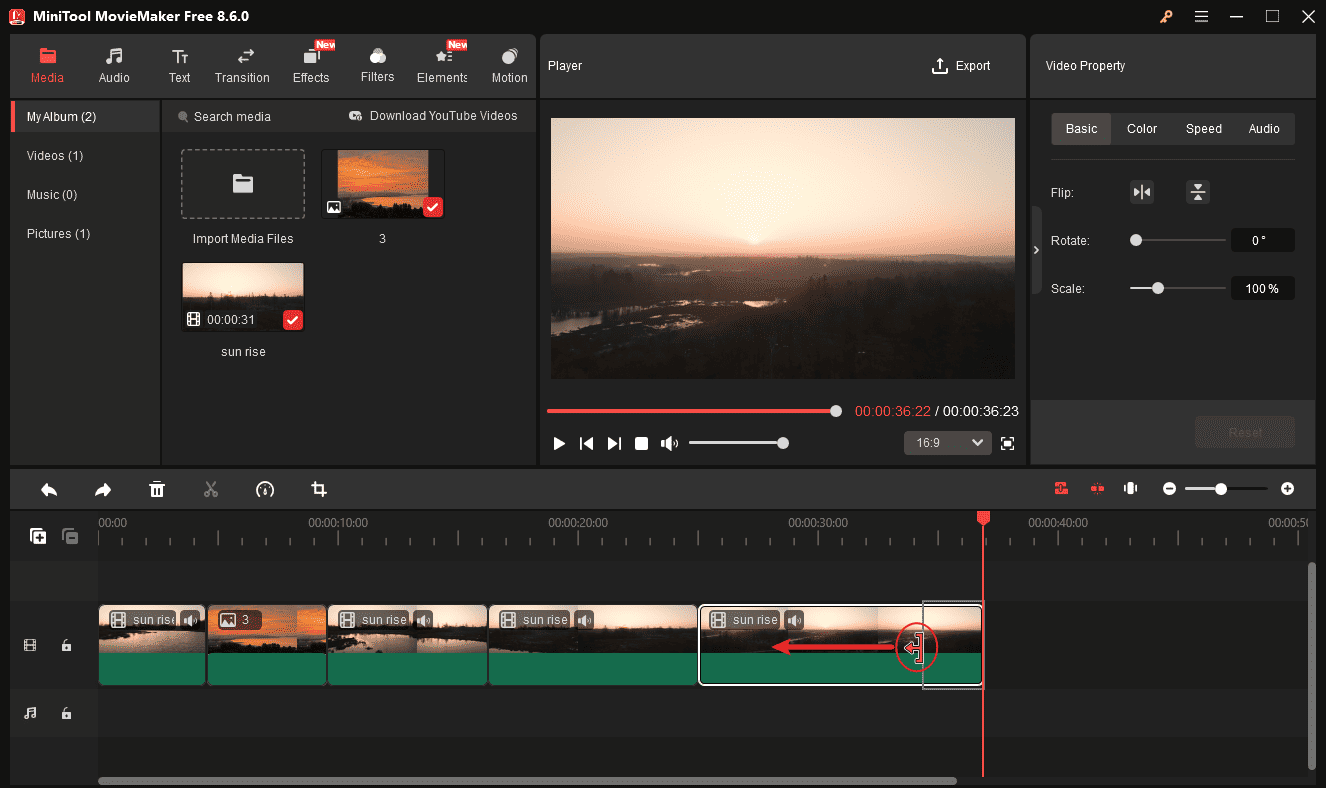
To split the video precisely, click the Zoom in icon on the right side of the timeline toolbar to zoom in on the timeline.
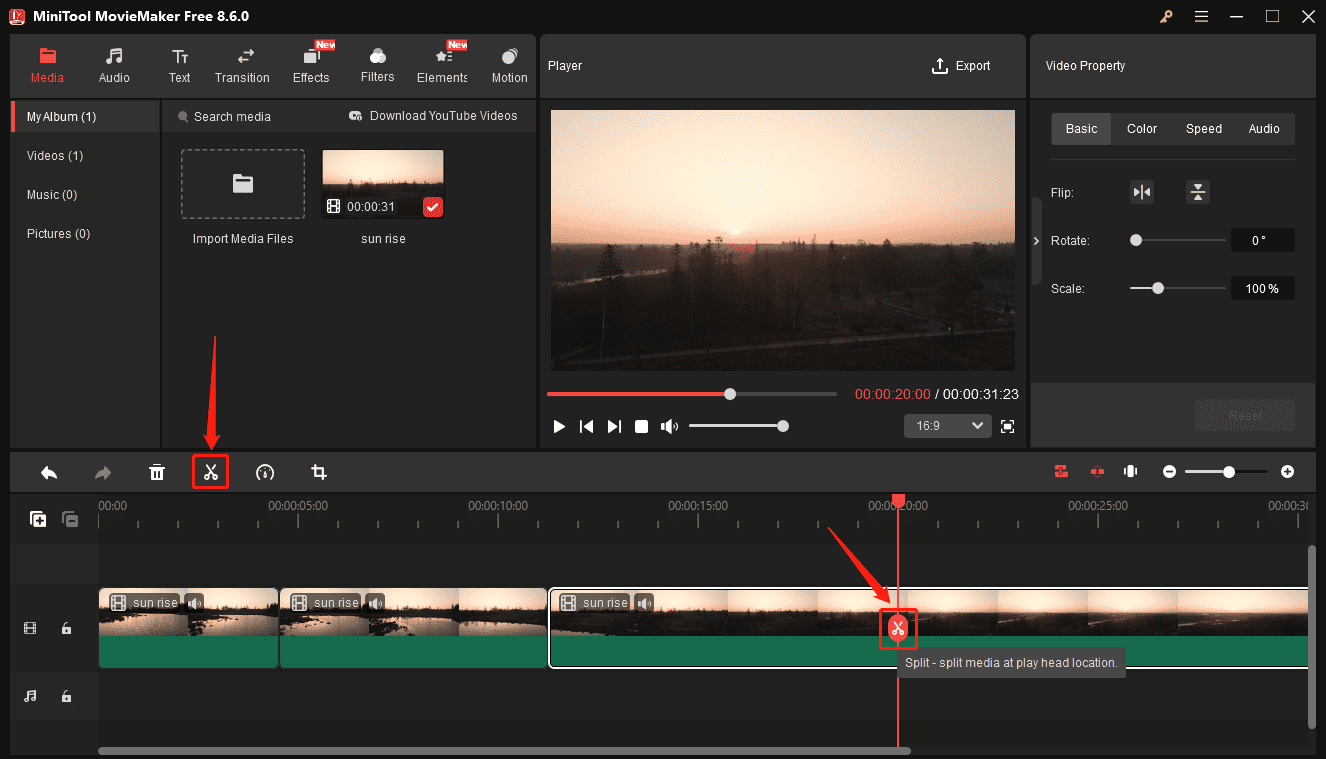
Next, drag the red playhead to the desired position where I want to make the first cut and click the Split icon to split the video into two clips. Repeat this step until the entire video is divided into as many segments as needed.
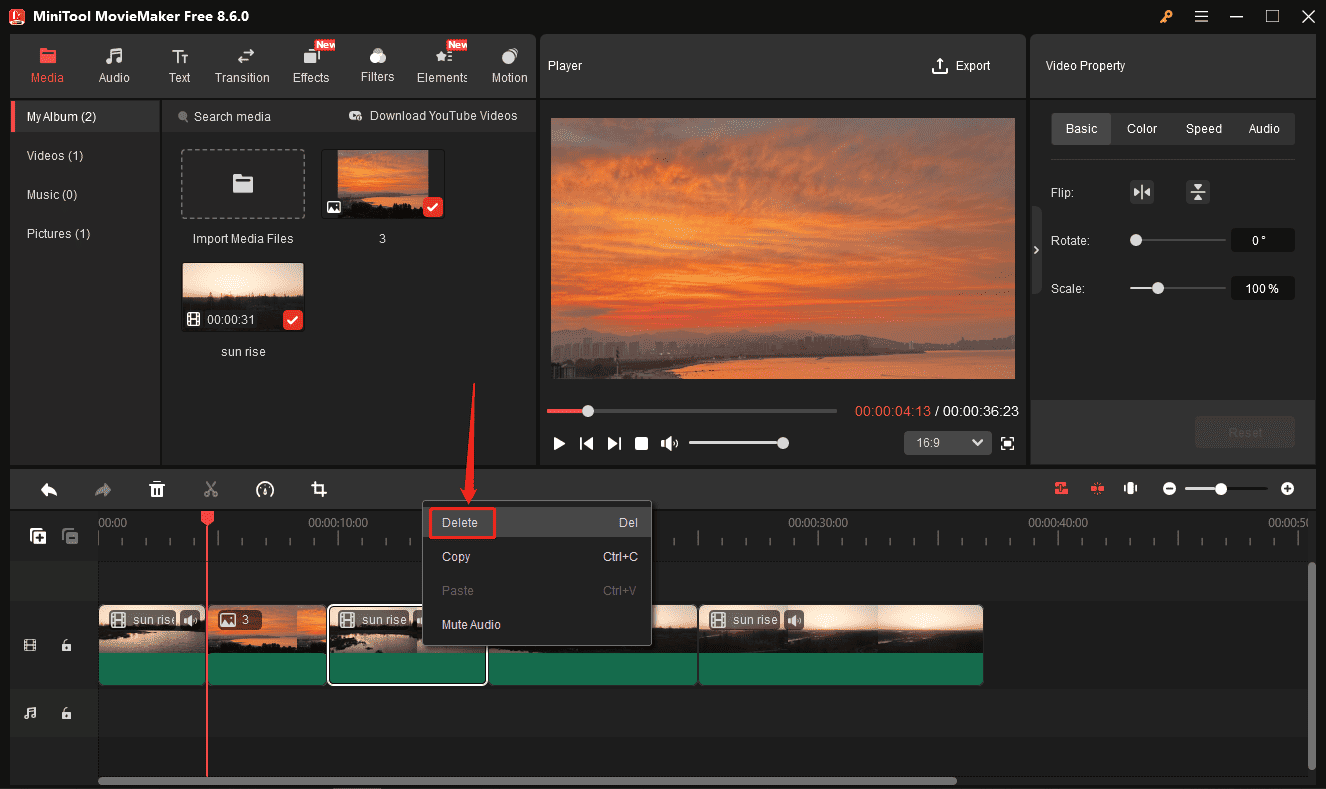
Then, I can easily delete a middle clip by right-clicking and selecting Delete. I can also insert new videos and images into the timeline or apply filters and effects to specific parts of the video.
Step 4: Trim Video
Hover over the beginning or end of the video until the Trim icon appears, drag the icon inward, and release the mouse to remove the unwanted sections immediately.
Step 5: Export the Result
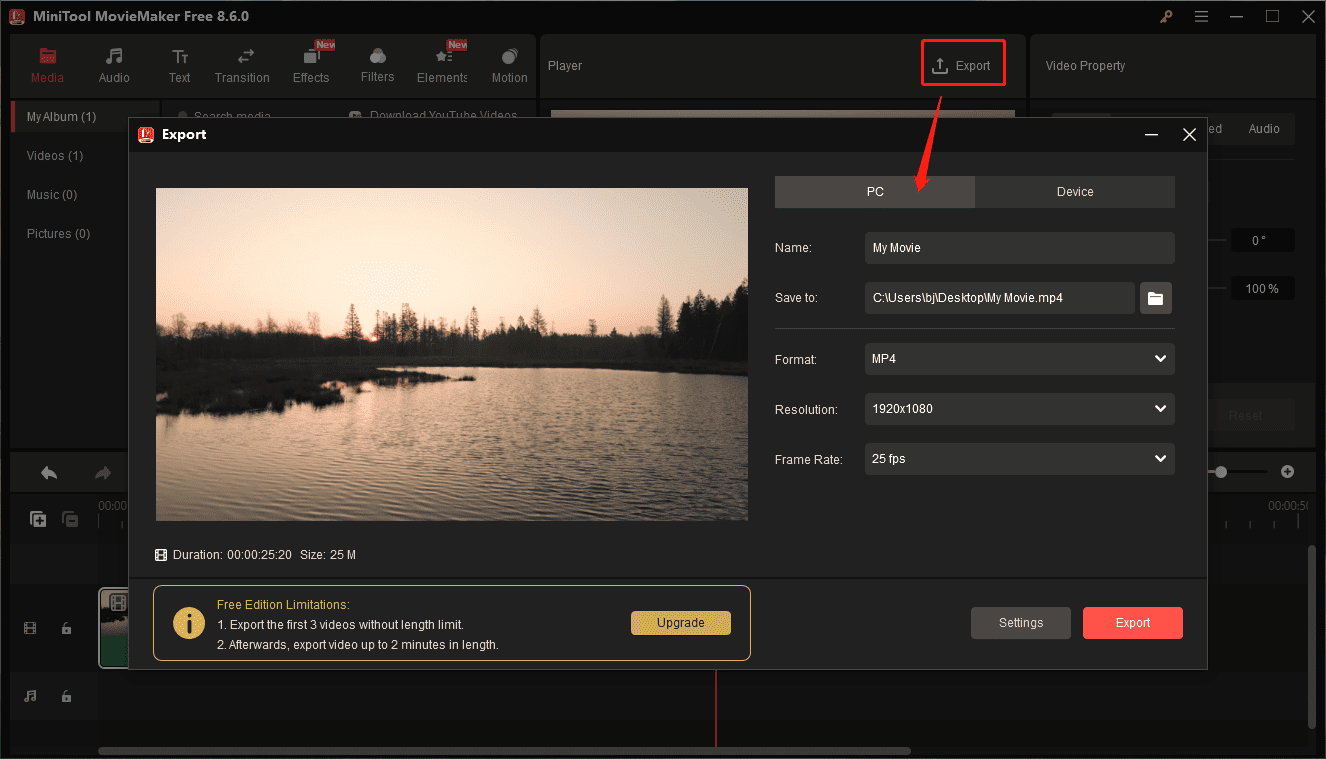
Click Export in the upper-right corner to open the Export window. The output format is set to MP4 by default. To change it, expand the Format menu and select from AVI, MKV, WebM, MOV, or WMV. I can also change the resolution and frame rate. Finally, click Export to start processing the video.
Benefits of MiniTool MovieMaker:
- Ease of use: An intuitive interface makes navigation and edits easy. A beginner without experience can master how to use the software.
- Precise splitting/trimming: Accurately locate the desired frame for splitting and trimming by zooming in on the timeline.
- No watermark: It won’t add a watermark on the exported video, ensuring clean and professional-looking results.
- 4K export: Export videos up to 4K resolution to maintain high quality.
Undoubtedly, MiniTool MovieMaker is an excellent video trimmer and splitter with great precision.
Trimming is intuitive. You drag the left or right edge of your clip in the timeline to shorten it, or you can use the Split tool to cut it at the cursor location. There’s no chance of having empty space in your video, since the clips always snap together after you make a trim.https://www.pcmag.com/reviews/minitool-moviemaker
How to Split and Trim Video Using Microsoft Photos Legacy
Fast Track:
- Open Microsoft Photos Legacy.
- Add the desired video.
- Split the video.
- Trim the video.
- Save the result.
Microsoft Photos Legacy includes a free Video Editor that offers basic video editing features, such as trimming, splitting, motion, text, and filters. The Video Editor is free to use and doesn’t leave a watermark on the result. Here’s how to split and trim videos using Microsoft Photos Legacy.
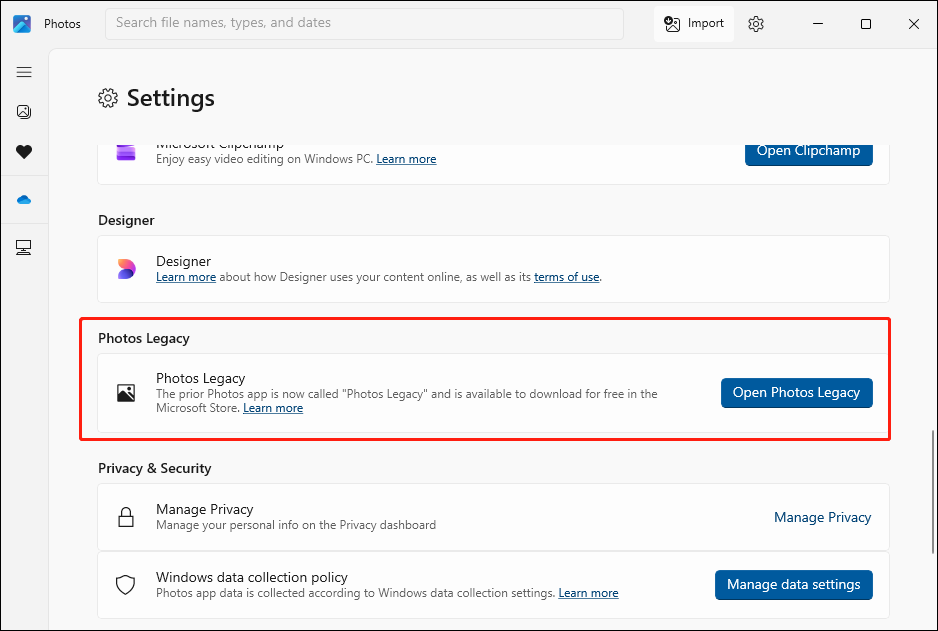
Step 1: Run Microsoft Photos Legacy
Launch Microsoft Photos Legacy and click Video Editor at the top to enter the main interface.
Step 2: Import the Video
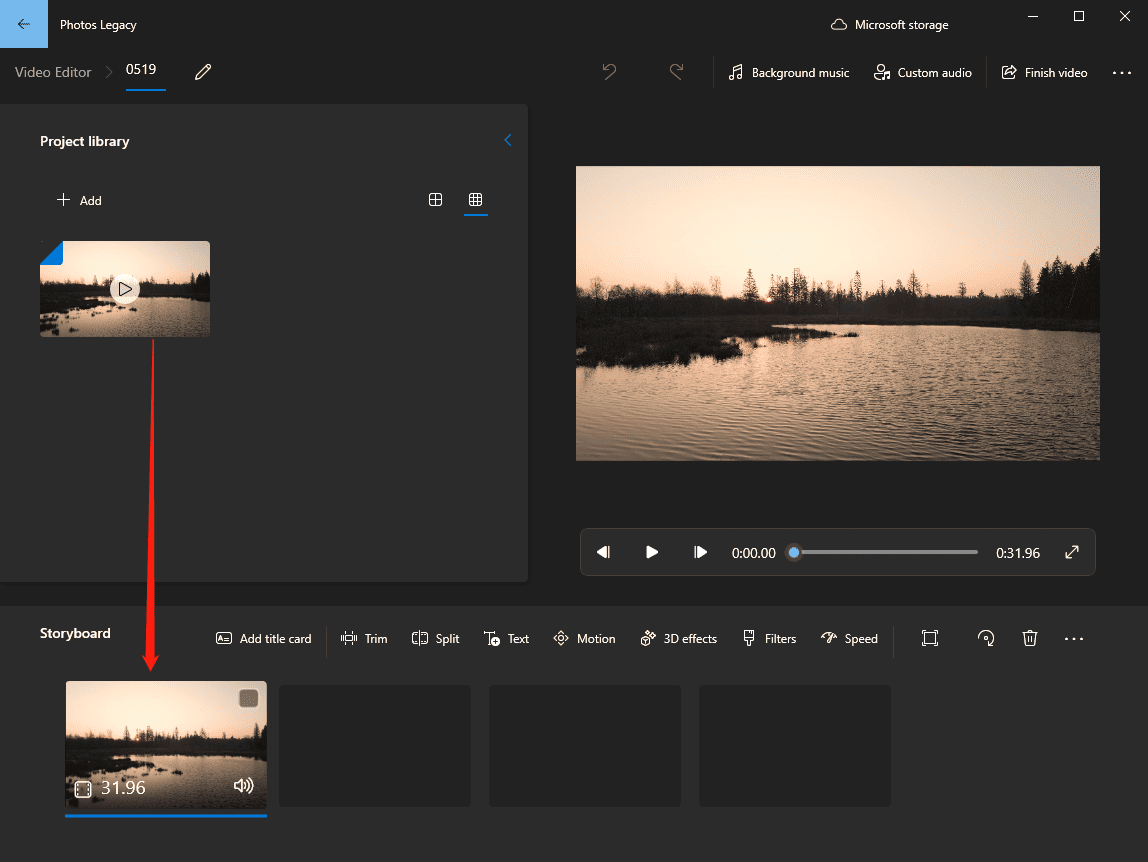
Click the + Add option in the Photo library to import the desired video and drag it to the storyboard.
Step 3: Split the Video
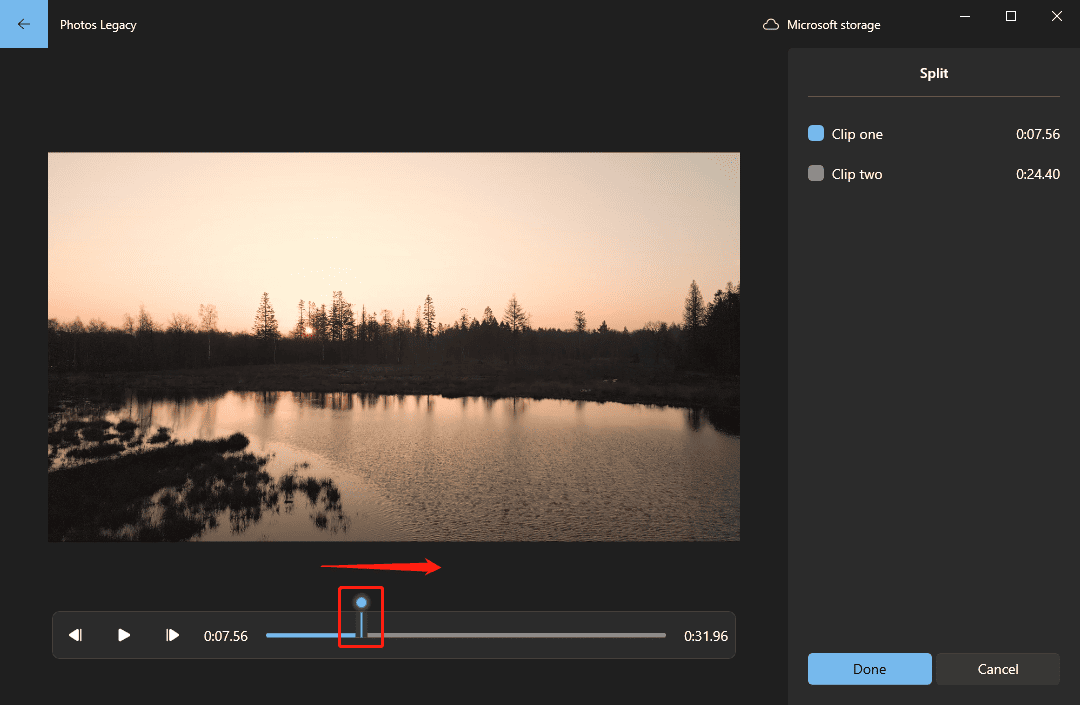
Click the Split option on the storyboard toolbar. On the next window, drag the slider to the desired place where I want to make the first cut, and click Done. Then, the video will be split into two clips. For more segments, select a clip, click Split, and repeat the step.
Step 4: Trim the Video
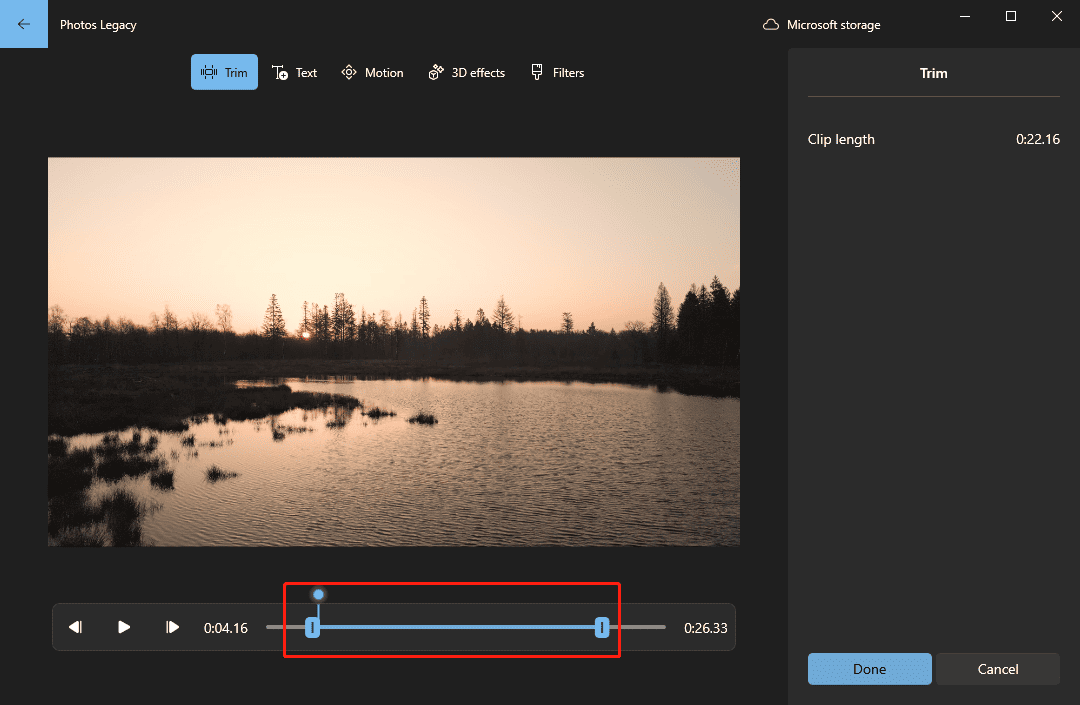
Click the Trim option on the storyboard toolbar. On the next window, move the trimming handle to choose the part of the video I need to keep, and the segments at both ends will be removed. Click Done to apply changes.
Step 5: Save the Video
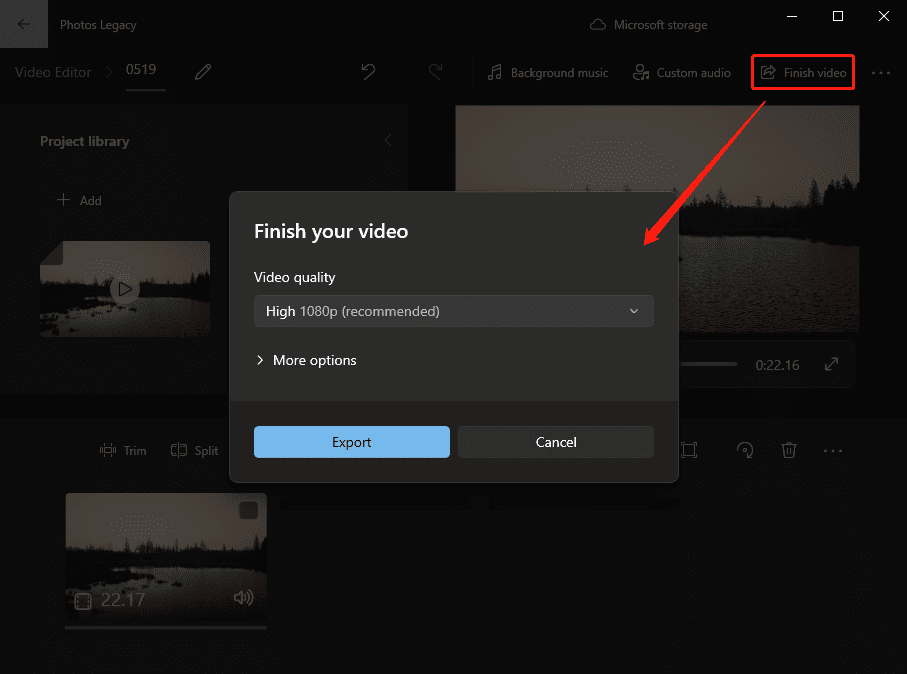
Click Finish video in the upper-right corner, and click Export in the pop-up to export the video.
Benefits of Microsoft Photos Legacy:
- Simple layout: The editing page is straightforward and well-organized.
- No watermark: The output doesn’t include a distracting logo or a text watermark.
- Hardware-accelerated encoding: Makes exports faster.

Conclusion
It’s easy to split and trim videos in MiniTool MovieMaker and Microsoft Photos Legacy. If you need high precision and 4K quality, choose the former; if you don’t have strict requirements for frame-by-frame editing, the latter is also a good option.
If any issues arise while using MiniTool Moviemaker, contact the support team at [email protected].
Split and Trim Video FAQ
Trimming a video means removing frames from the beginning or end, which shortens the length. This also helps reduce the video file size.
2. Sign in and start a new project.
3. Click Import media to upload the target video.
4. Add the video to the timeline.
5. Drag the playhead to the desired position where you want to make a cut.
6. Click the Split icon (scissors).
7. Save the video.
2. Select your video and tap Create Movie.
3. Tap the video in the timeline to select it.
4. Scrub the timeline to place the playhead where you want to split, then tap the Split icon.
5. Make two splits to isolate a segment, tap it, and tap Delete.
About The Author

Position: Columnist
Cora is a tech writer specializing in digital media workflows, with over six years of hands-on experience in video post-production, media transcoding, and screen capture. Her writing is always clear and practical. Cora also produces in-depth software reviews for users across skill levels to help them find the right tool and enjoy video editing.
User Comments :