In video production, a transition effect is a creative way to move from one scene to another. How to add transition to video? This post gives you 2 useful video editors with transitions like MiniTool MovieMaker.
What Is Video Transition
A video transition is a common technique used in video post-production, aimed at connecting one scene to the next so that they appear as a cohesive whole. In filmmaking, a transition commonly refers to the “cut” that brings directly to the next scene without any specific visual cue. For digital videos, transitions can be more obvious like wipes, dissolves, and more.
At its simplest, a video transition is the connection of two separate shots and it can tell viewers that the scene has changed or create atmosphere, which is very important for movies. For amateur videos, a transition effect is an effective way to enhance them, and many video editing applications provide different types of video transitions.
How to add transition to video? Here’re 2 ways for you.

Add Transition to Video with MiniTool MovieMaker
Although Windows 10 Photos app or Windows 11 Photos Legacy has a Video Editor, there are no video transition effects included in this Windows built-in video editor. Another video editor from Microsoft, Windows Movie Maker, has a transition feature but is not recommended because the app was officially discontinued in 2017.
Therefore, you have to use other video editing applications to add transition to video on Windows. Firstly, you can use MiniTool MovieMaker.
MiniTool MovieMaker is a Windows 11/10 video editor without watermarks. This video editor is equipped with many editing features, such as cropping, trimming, speed adjustment, filters, motion effects, stickers, text, aspect ratio, 3D LUT effects, and more.
In MiniTool MovieMaker, transitions are divided into 6 categories including Advanced, Diagonals, Iris, PagePeel, Reveals, and Wipe. Each category offers some different effects. Before adding a transition, you can preview it by hovering over the thumbnail of the effect.
MiniTool MovieMaker is easy to use and here’s how to add video transition with it.
MiniTool MovieMakerClick to Download100%Clean & Safe
Step 1. Import your videos
Download and install MiniTool MovieMaker on your PC. Launch it and close the promotion window to access the main interface. Click Import Media Files to browse for the folder that stores your videos, select your videos and click Open to import them.
Then, choose the first clip, simultaneously press the Shift key, select the last clip to choose all clips, and drag them to the timeline.
Step 2. Add transition to video
In MiniTool MovieMaker, you have 3 options to add video transition.
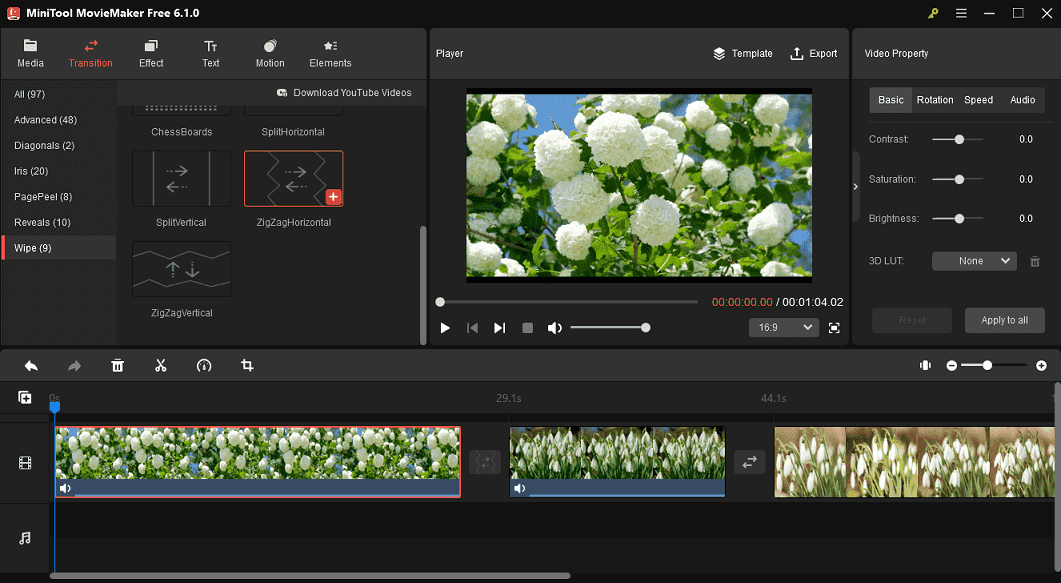
#1. Add a transition between two videos/images
- On the timeline, select the clip next to which you want the transition to start.
- Go to the Transition tab, choose the desired one, and click the plus icon to apply it.
- Or you can directly drag and drop the transition between any 2 clips.
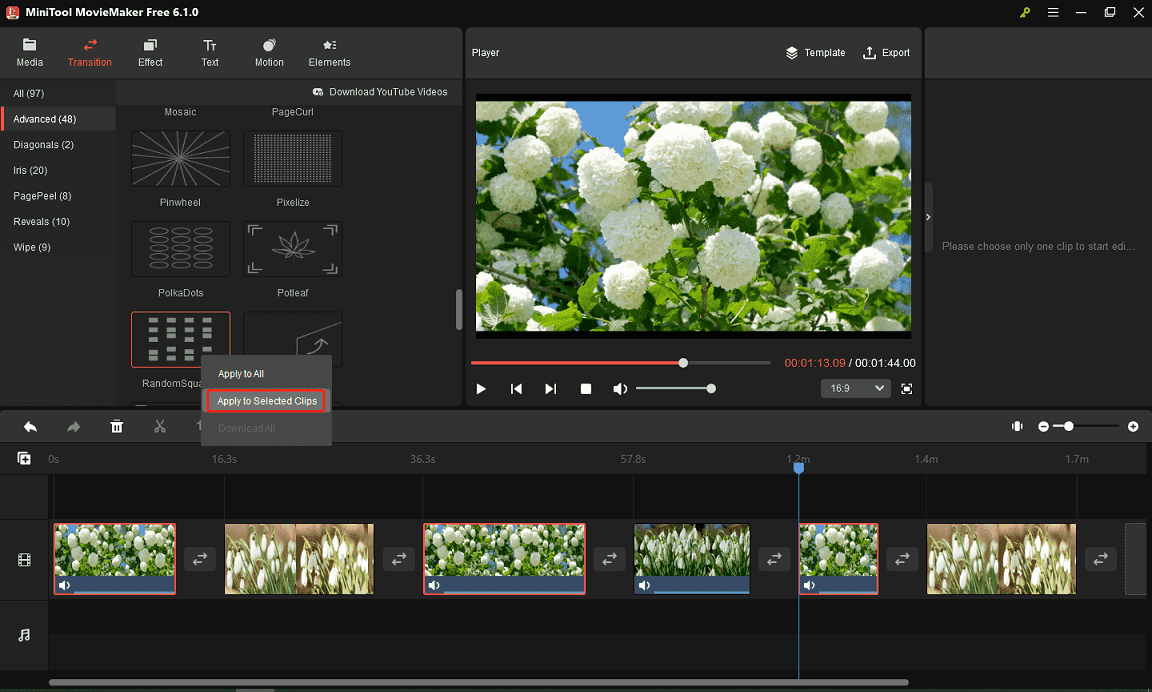
#2. Add a transition between multiple clips
- Choose the clips where you want to add the same transition.
- Click Transition and browse for a desired one.
- Right-click on the target transition effect and click Apply to Selected Clips.
#3. Add a transition to all clips
- Go to Transition and select an effect.
- Right-click on it and click Apply to All.
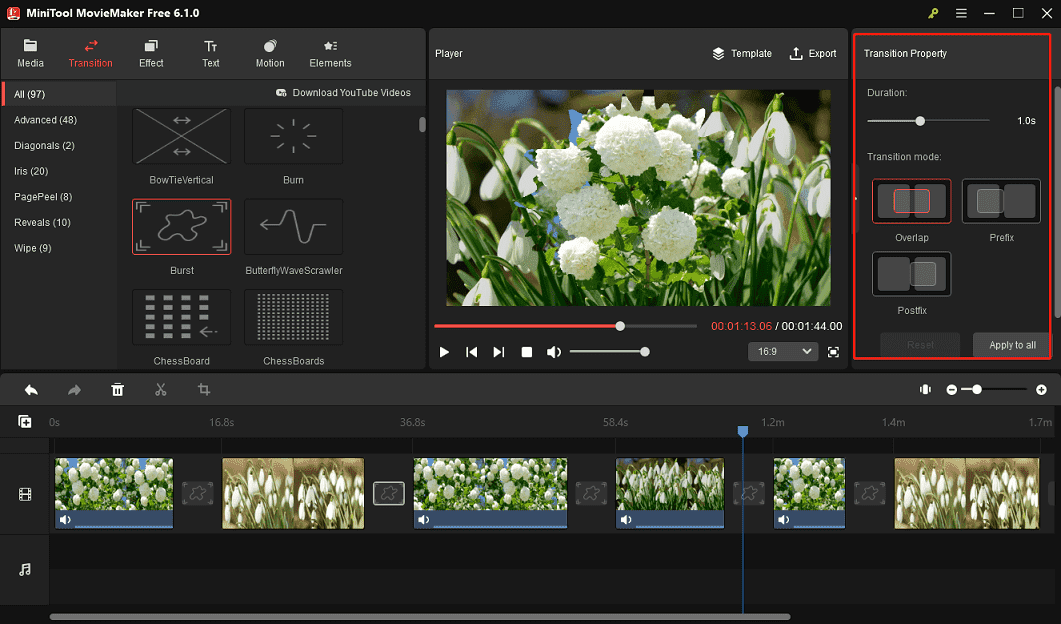
Step 3. Edit a transition
- After adding a transition, you can edit its duration and transition mode.
- Click the transition icon between two clips and go to Transition Property on the right.
- Drag the duration slider to adjust the duration of the transition.
- Choose a mode from Overlap, Prefix, or Postfix.
- Click Apply to All to apply the same settings to all the added transitions.
Step 4. Continue to edit video clips
To further enhance your footage, you can do more adjustments like adding stickers, changing the video aspect ratio, adding text, cropping videos, and more.
Step 5. Export video
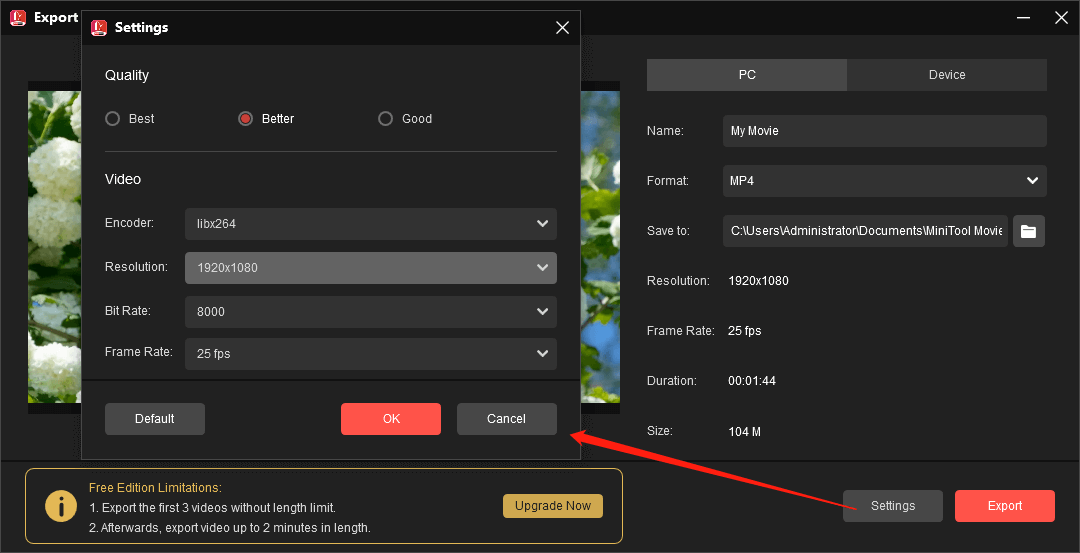
To export the video, click Export in the upper right corner. By default, MiniTool MovieMaker exports video in MP4 1080P. You can also expand the Format menu to choose another format.
To make more settings, click Settings to adjust the video quality, encoder, resolution, frame rate, and bitrate. Click OK to save changes. Choose the destination folder to save your video and click Export to start.
Add Transition to Video with Microsoft Clipchamp
Clipchamp is now the recommended video editing app for Windows 11, and it’s also an alternative to Windows Movie Maker and the built-in video editor in Microsoft Photos. Also, it can be installed on Windows 10 from the Microsoft Store.
Clipchamp allows you to add transition to video, crop video, rotate video, apply filters, crop video, adjust colors, add text, and more.
Here’s how to add video transition in Clipchamp.
Step 1. Launch Clipchamp on your Windows PC and click Create a new video to start a new project.
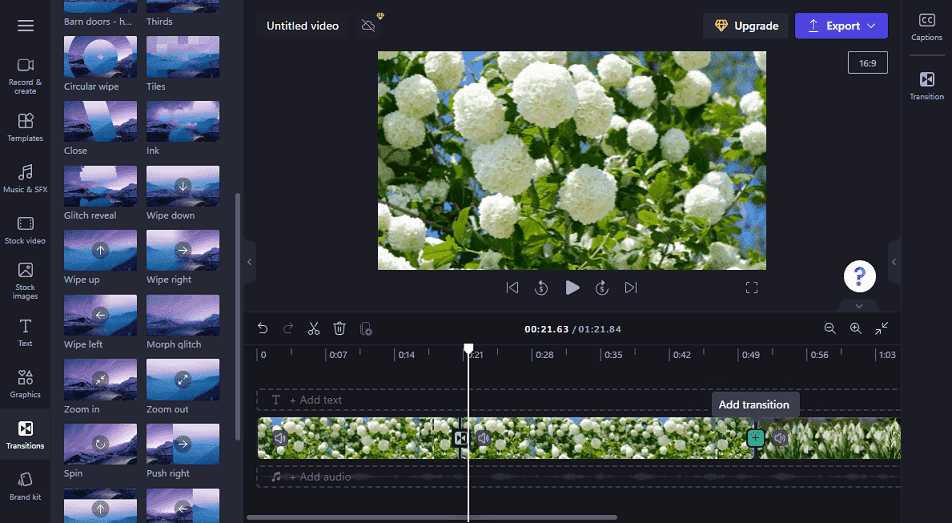
Step 2. Click the Import media button in the upper left corner and select Browse files, From phone, OneDrive, Google Drive, or Dropbox to open your videos, or just drag and drop them into the interface of Clipchamp. Then, add them to the timeline.
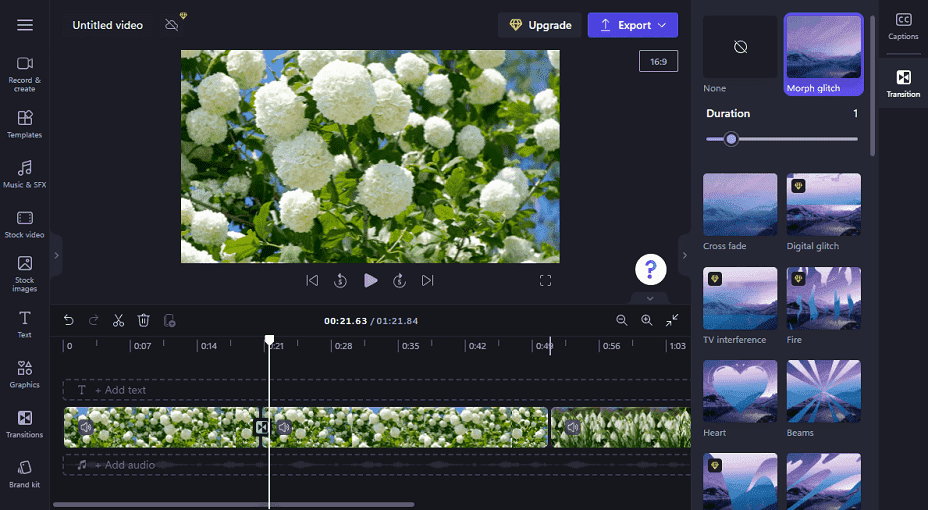
Step 3. Before adding a transition, remove the larger gap between the two clips. Go to Transition on the left, and drag and drop a transition onto the timeline between two clips.
However, not all transitions are free to use, and some of them require upgrading your Clipchamp plan.
Step 4. If you need to adjust the duration of the transition effect, select it on the timeline, click on Transition on the right, and you can drag the Duration slider to change its length.
Step 5. Click Export and choose a resolution to export the video.

Final Thoughts
Video transitions are used to seamlessly integrate different shots, allowing the core narrative to confidently move forward and without distracting the audience. Now, you can follow the above steps to add transition to video on your Windows PC.
If have any questions while using MiniTool MovieMaker, you can contact us via [email protected].
About The Author

Position: Columnist
Cora is a tech writer specializing in digital media workflows, with over six years of hands-on experience in video post-production, media transcoding, and screen capture. Her writing is always clear and practical. Cora also produces in-depth software reviews for users across skill levels to help them find the right tool and enjoy video editing.
User Comments :