This post from the Windows video editing software - MiniTool MovieMaker will show you how to add light leak transitions to videos and several websites to download such transitions.
Light leaks were once viewed as an unnecessary flaw in traditional film photography that photographers and video enthusiasts always tried to avoid at all costs. However, now light leaks have become a new trend in video editing.
Do you want to add light leak transitions to your video to make it look artistic and retro? How to add light leak transitions to the video? Let’s dive into this post.
Add Light Leak Transitions to Video with MiniTool MovieMaker
MiniTool MovieMaker is one of the best free video editors for PC. It provides rich transitions, filters, motion effects, animated stickers, and text to enhance your video. It also lets you crop, rotate, reverse, trim video, and more.
As for video transitions, MiniTool MovieMaker has some free light leak transitions, brush transitions, and more. If you want to add a light leak transition to a video, it is a great choice. Here is how it works.
Step 1. Download and install MiniTool MovieMaker on your PC.
MiniTool MovieMakerClick to Download100%Clean & Safe
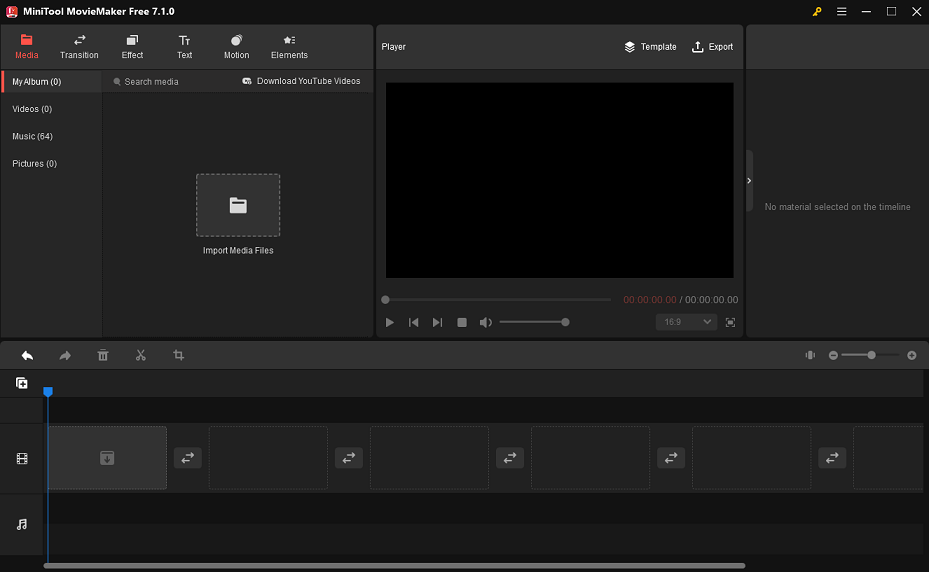
Step 2. Open MiniTool MovieMaker, close the promotion window and then click the Import Media Files button to upload your video clips. Drag these clips to the timeline.
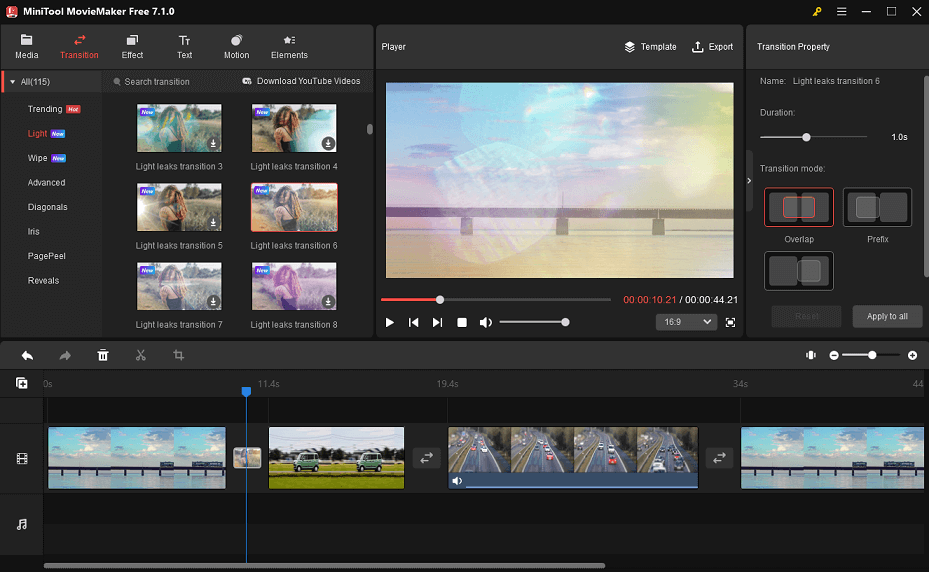
Step 3. Go to Transition, then click the Light category, and you’ll see some light leak transitions. Hover over the thumbnail to preview the transition effect and click the download icon to download the desired transition.
Step 4. Drag this transition effect between any two clips on the timeline. Also, you can right-click on it and choose Apply to All to add the transition to all clips.

Apart from that, you can select the clips where you want to add the same transition, then go to Transition to download one, right-click on it, and select Apply to Selected Clips to add a transition to multiple clips.
Step 5. Click the Transition icon on the timeline to open Transition Property, and you can edit the duration and mode of the added transition.
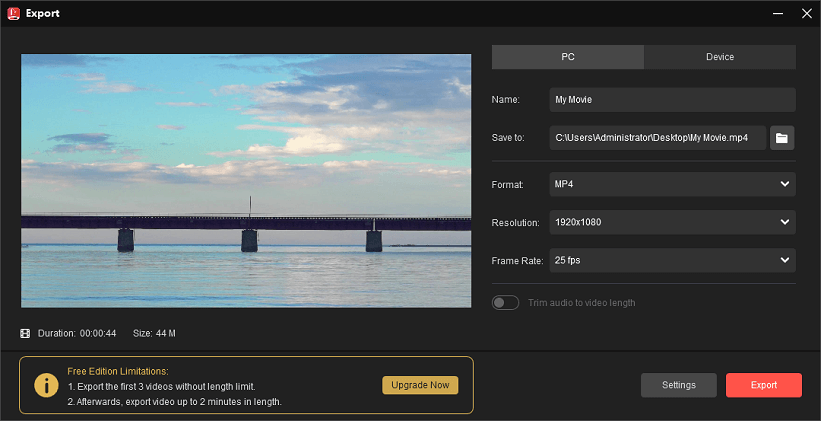
Step 6. Click Export in the upper right corner to open the export settings window, then make some output settings, and click Export to export the video.
Add Light Leak Transitions to Video with Premiere Pro
As the industry’s leading video editor, Adobe Premiere Pro has a long list of video transitions such as dissolve, iris, slide, wipe, page peel, and more. However, the app does not offer built-in light leak transitions.
How to add light leaks in Premiere Pro? First, you need to download some light leak transition presets. Motion Array is the best website to download light leak transitions for Premiere Pro. This site provides rich presets for Premiere Pro, After Effects, and DaVinci Resolve.
After that, follow the steps below to add light leak transitions in Premiere Pro.
Step 1. Launch Premiere Pro and click File > Open Project to open your project. Or, create a new project, import video clips, and add them to the timeline.
Step 2. Expand the Effects tab at the top. If you can’t see it, click Window and select Effects. Expand the Presets folder, then right-click on any place and choose Import Presets to open the downloaded light leak transitions.
Step 3. Before applying a light leak transition, you should create a new adjustment layer. To do this, click the New Item button (a small folder-like button) in the bottom left of the project panel, select Adjustment Layer, and click OK.
Then, drag the adjustment layer onto the timeline and adjust the length and position of the adjustment layer to make it match the light leak transition.
Step 4. Go back to the light leak transitions in the Effects section, and drag a light leak transition to the adjustment layer.
Step 5. Click File > Export > Media to open Export Settings, choose the video format and output folder, and click Export.

Add Light Leak Transitions to Video with Wondershare Filmora
If you want some free light leak transitions, Wondershare Filmora is also a good option. It’s also a popular video editor for Windows and Mac. This application comes with rich video transitions, but some of them need to be paid for.
Here is how to add light leak transitions in Wondershare Filmora.
Step 1. Download and install Wondershare Filmora on your computer, and then launch it.
Step 2. Click on New Project to access the main editing page, import your video clips, and add them to the timeline.
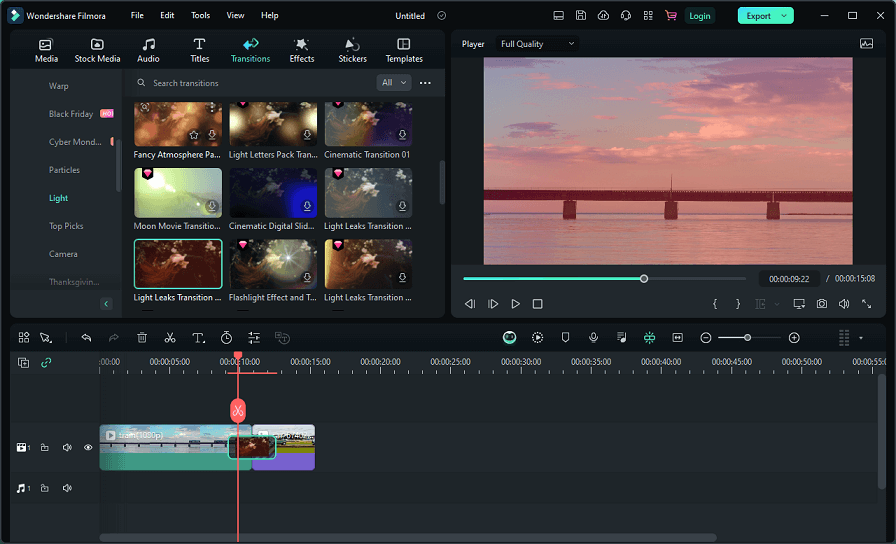
Step 3. Click Transitions at the top, then expand Transitions on the left side, scroll down and click Light. Browse these transitions, find the desired light leak transition, or you can type “light leak” in the search box to manually find all light leak transitions.
Step 4. Download the light leak transition you want and drag it to the desired location on the timeline, to the beginning or end of a video clip, or between any two clips.
Step 5. Click Export to export the video.

Conclusion
This post gives you 3 simple ways to add light leak transitions to the video. You can choose one way and follow the steps to apply this effect to your video. If you have questions while using MiniTool MovieMaker, you can contact us via [email protected] for help.
You may also like:
About The Author

Position: Columnist
Cora is a tech writer specializing in digital media workflows, with over six years of hands-on experience in video post-production, media transcoding, and screen capture. Her writing is always clear and practical. Cora also produces in-depth software reviews for users across skill levels to help them find the right tool and enjoy video editing.
User Comments :