This post explains how to edit WMV files using MiniTool MovieMaker – upload the target clips, edit them by trimming and rotating, and enhance them with filters and music.
How to Edit WMV Files on Windows
Fast Track:
- Install MiniTool MovieMaker.
- Import the target WMV files.
- Rotate, flip, split, and trim videos.
- Change the video speed and add text.
- Apply filters and add music.
- Export the video.
MiniTool MovieMaker is a free WMV editor for Windows. It’s safe, clean, no bundle, no watermark. Featuring a user-friendly interface, the software is quick to navigate and easy to use. The video editor offers essential tools and various effects to edit and enhance videos. It allows you to trim, split, and crop videos, create picture-in-picture effects, create collages, add elements and text, and apply filters.
Step 1: Install the WMV Editor
Click the button below to download MiniTool MovieMaker, then follow the on-screen prompts to install it. Then launch this WMV editor, close the pop-up window, and access the main interface.
MiniTool MovieMakerClick to Download100%Clean & Safe
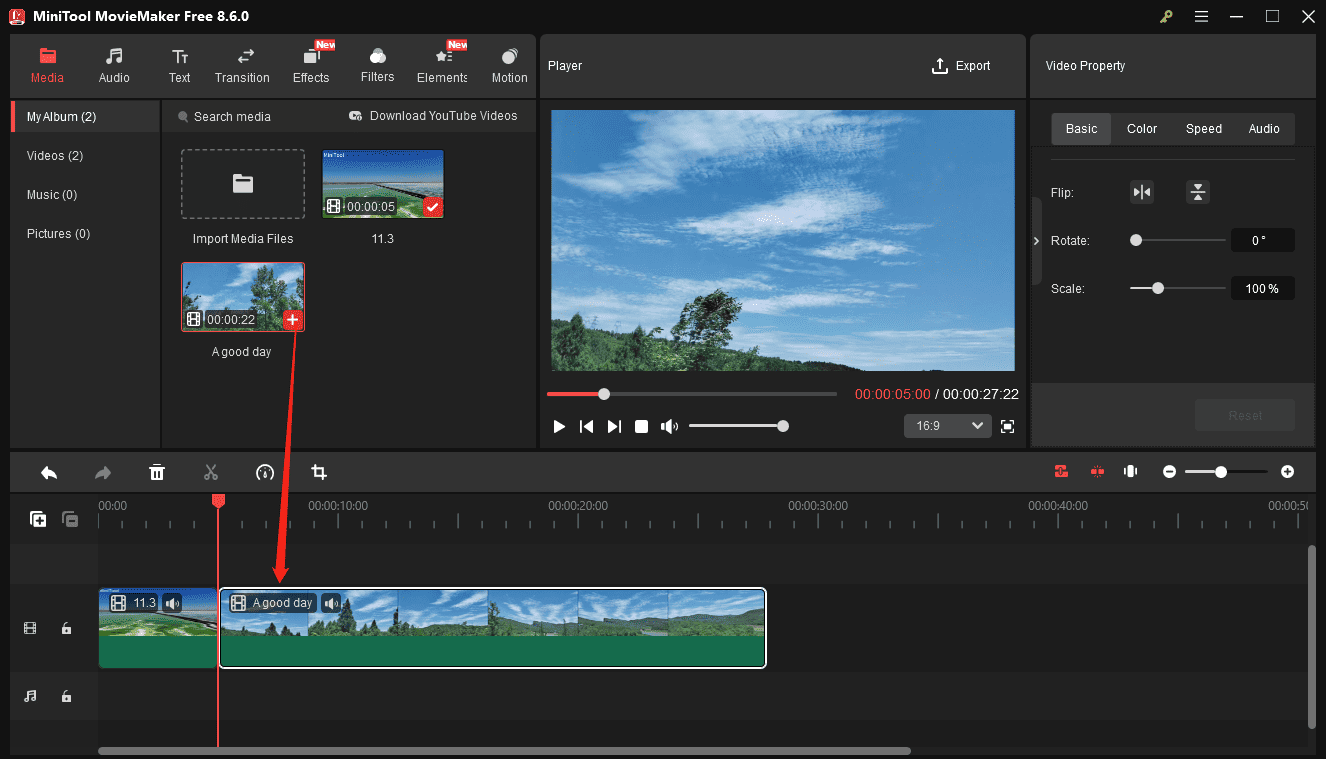
Step 2: Add the WMV Files
Open the software and click New Project to enter the main interface. Click Import Media Files on the left side and import the desired video files. Then, drag and drop them to the timeline to begin editing.
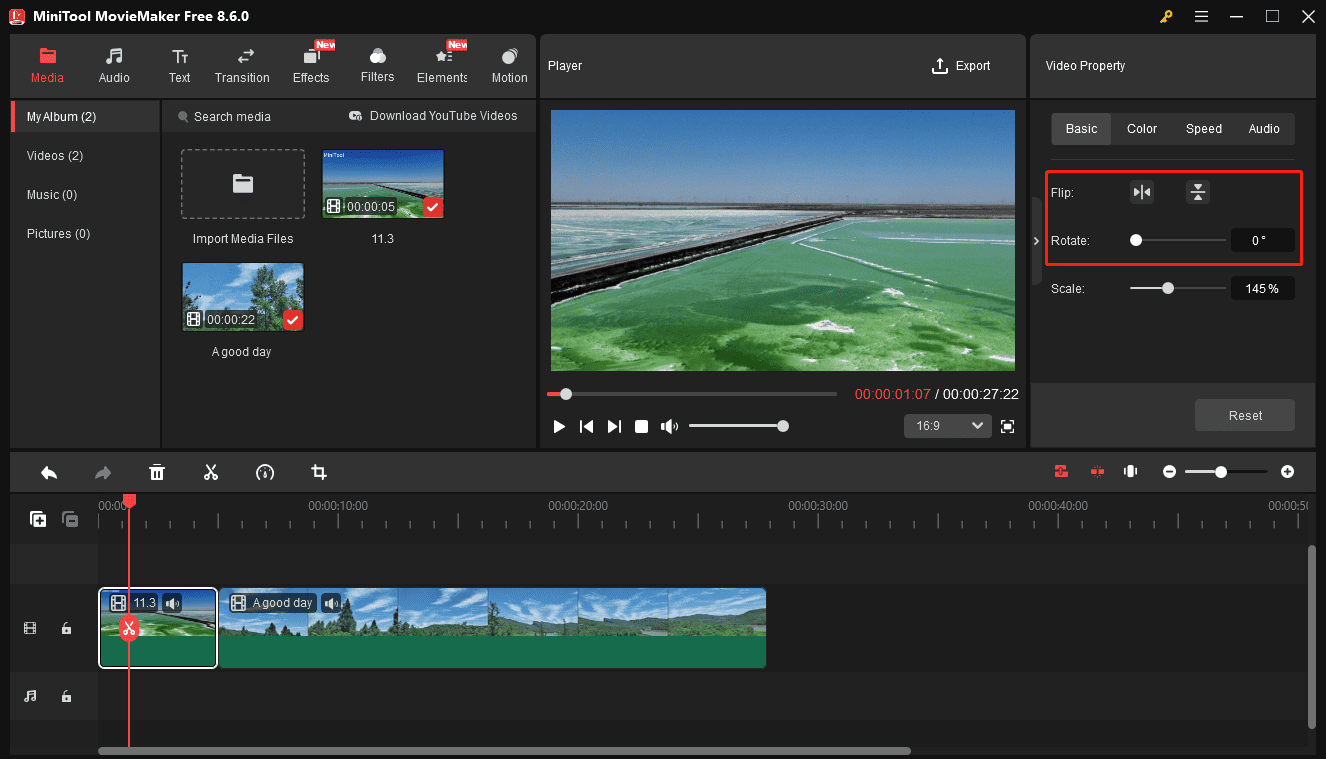
Step 3: Rotate and Flip the WMV File
Click the video you want on the timeline to enable the Video Property section on the right side. Under the Basic tab, click the Flip Horizontal or Flip Vertical icon to flip the video, and drag the Rotate slider to rotate the video up to 360°.
Step 4: Trim and Split Video
Select a clip on the timeline, hover your mouse over either the left or right edge of a video until the Trim icon appears, then drag the handle inward to trim the beginning or end of the clip.

To remove the middle part of the video or insert something in the middle, split the video into segments. Drag the playhead to the desired place where you want to make a cut and click the Split icon. Repeat this step to divide the video into multiple clips.
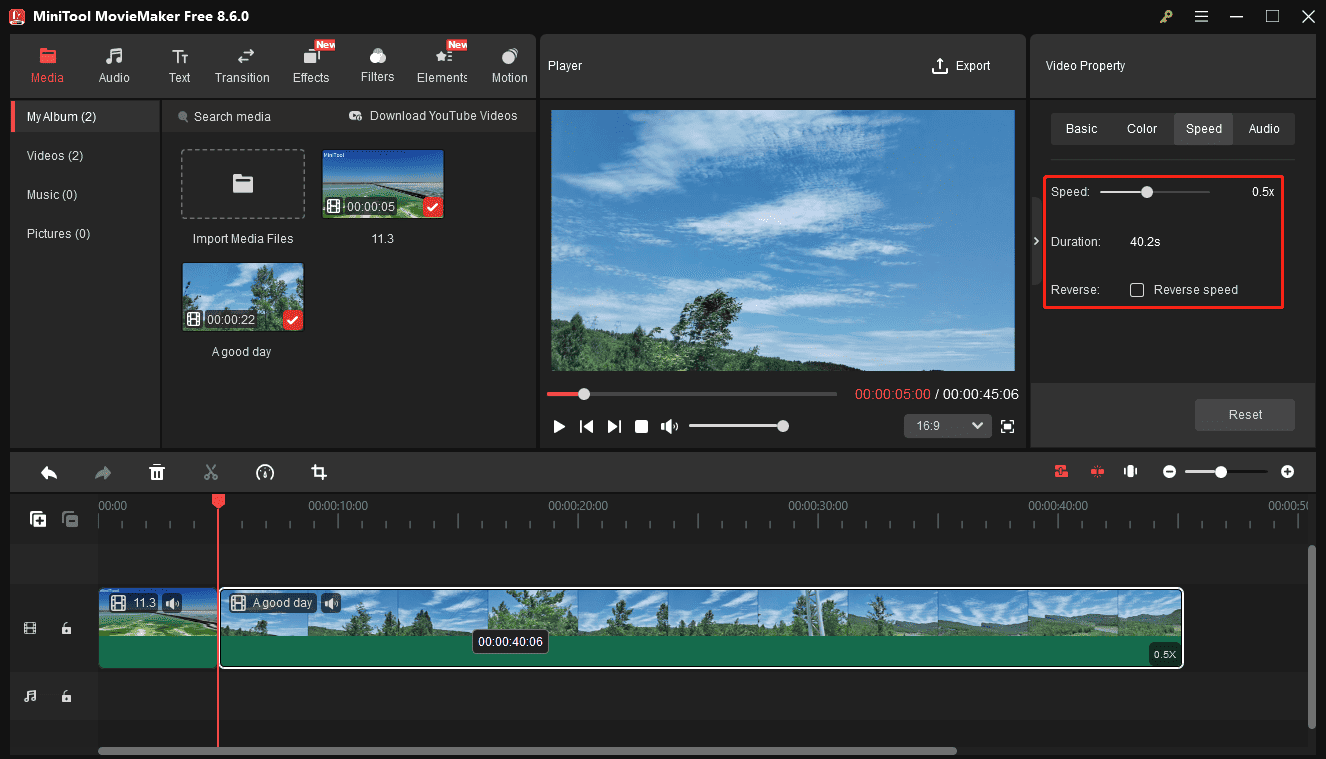
Step 5: Change Video Speed
Select the target clip and go to the Speed tab in Video Property. Drag the Speed slider to the left or right to slow down or speed up the video. You can also check the Reverse speed option to play the video backwards.
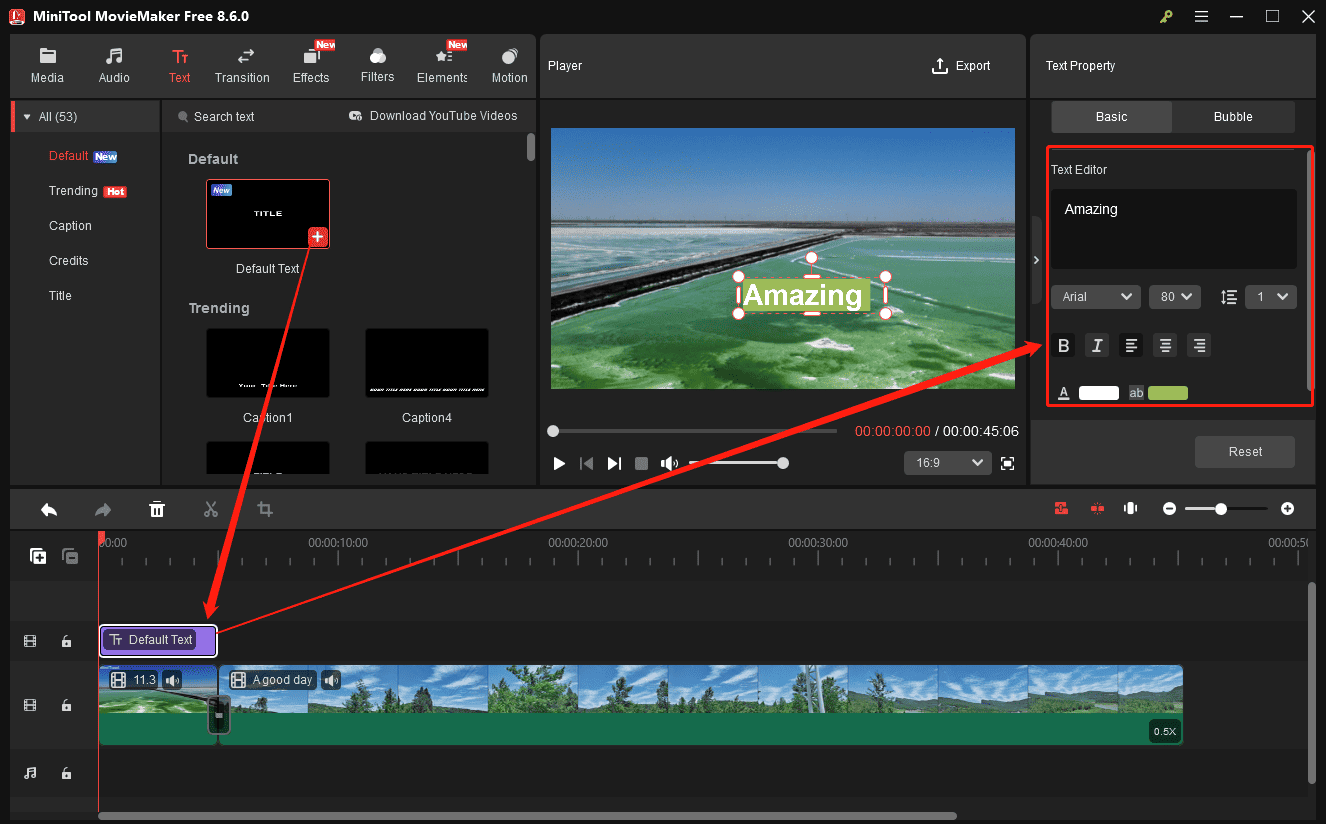
Step 6: Add Text
Go to Text at the top toolbar, browse the library, and find the text template you like. Next, click the + icon on the text template to add a text track to your timeline. Then, drag either end of the text track to set its start time, end time, and overall duration. In the Text Editor, enter your desired text and adjust options like color, size, font, and alignment.
Step 7: Add Filters
Go to Filters on the top toolbar, find or download the desired effect, and click the + icon on the thumbnail. Then, drag either edge of the filter track to adjust its duration.
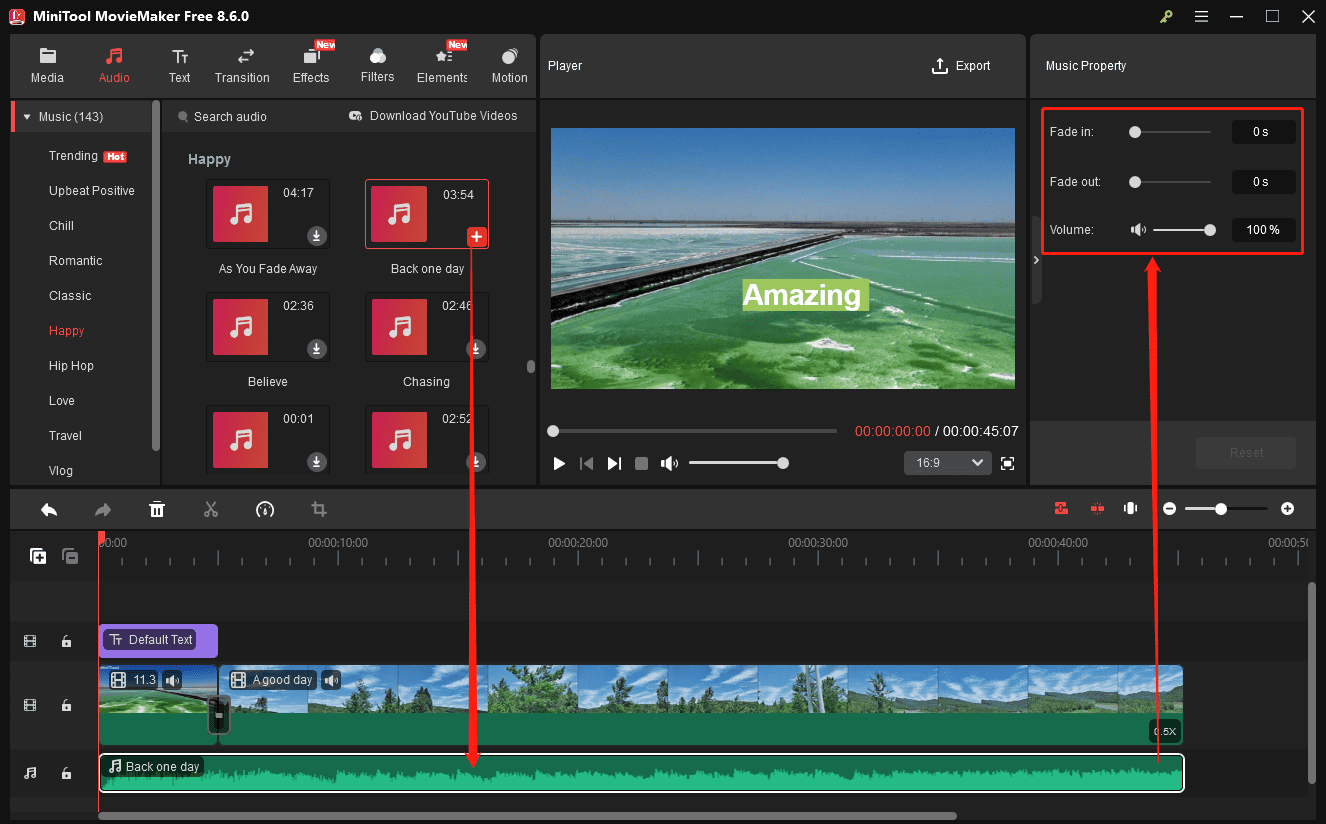
Step 8: Add Music
Under the Audio tab, select a song or sound effect, or import music through Media > Import Media Files. Once the audio is added to the timeline, go to Music Property to set fade‑in/out or decrease the volume.
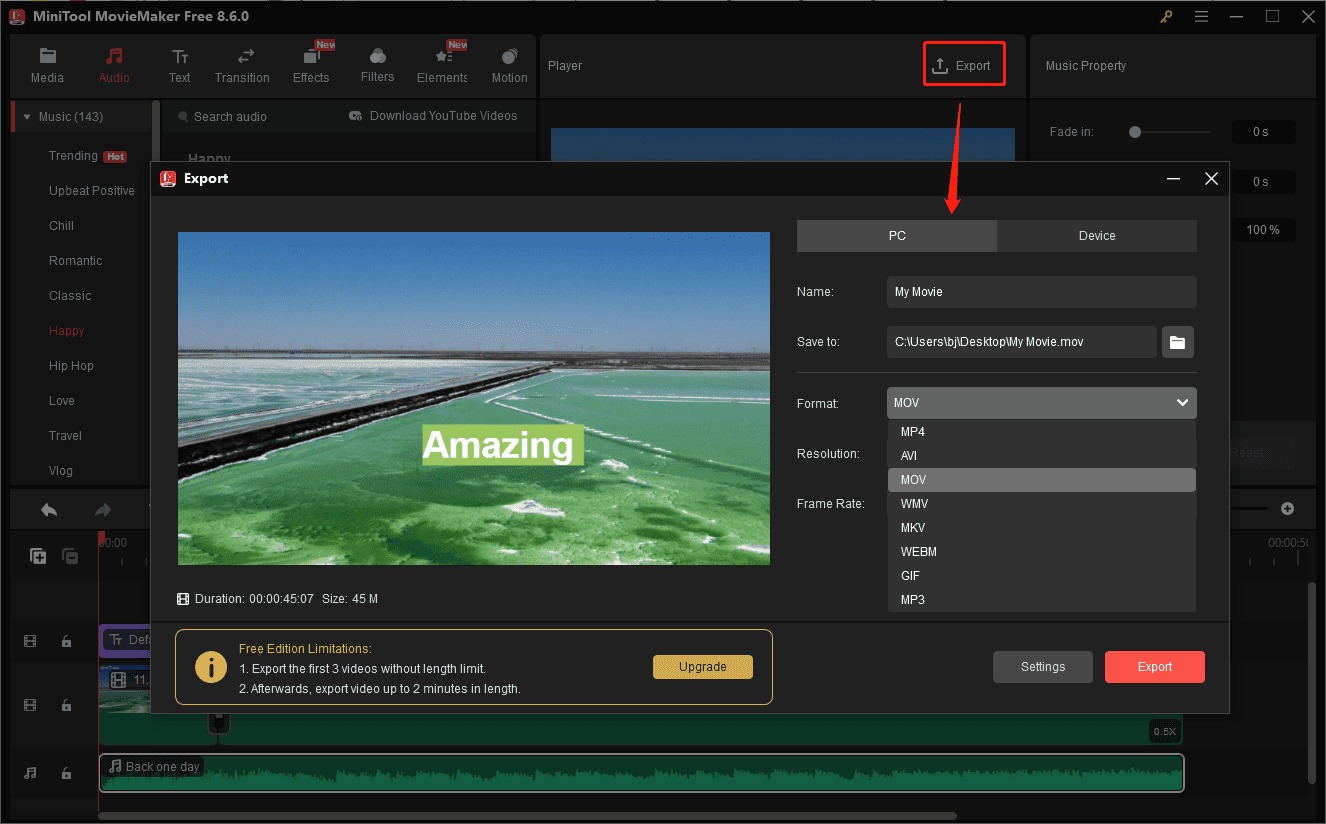
Step 9: Export the Video
Select Export from the upper‑right corner. Within the Export window, select the output format, resolution, and frame rate, then click Export again to start exporting the video.
MovieMaker by MiniTool is an inexpensive, easy-to-use video editing program. It includes a fair number of effects and gives you easy ways to join your clips, add transitions, and overlay objects and text.https://www.pcmag.com/reviews/minitool-moviemaker
Another Three WMV Video Editors
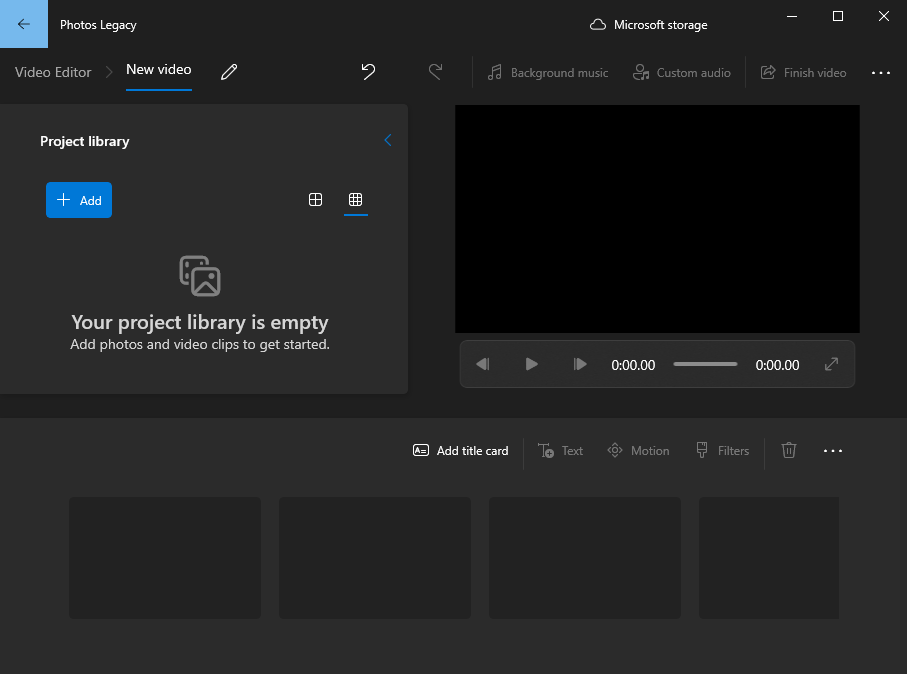
1. Microsoft Photos Legacy
Microsoft Photos Legacy includes a Video Editor that offers all the basic video editing tools. It allows you to trim, split, add text, resize, rotate, cut, crop, add motion effects, apply 3D effects, add filters, and modify playback speed. After editing, it exports videos in MP4 format. This WMV video editor has a simple interface. Everyone can use it to edit WMV files in Windows 10 with ease.
2. WeVideo
WeVideo is another WMV video editor. It works on web browsers and it also has mobile apps for Android and iOS. This video editor has many basic video editing tools like trimming, adding text, applying transitions, slow motion, add voiceover to the video, add music to the video, etc.
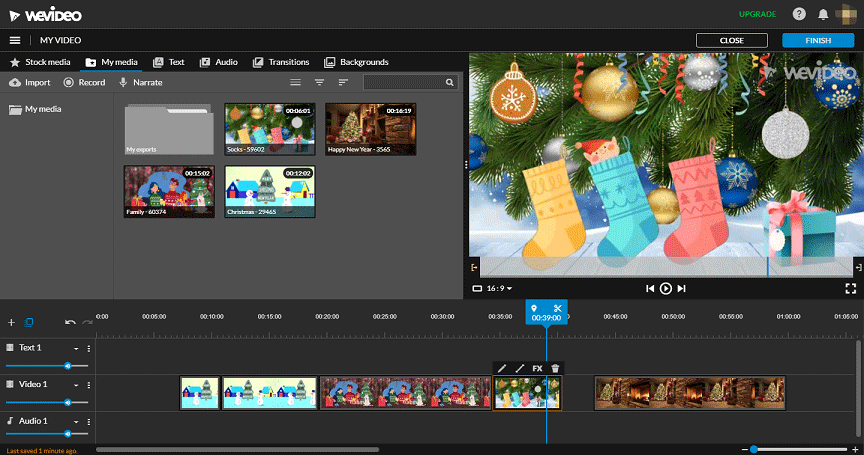
WeVideo also has more advanced features, such as the Green Screen effect, motion titles, special effects, and more. WeVideo offers 5 plans with different benefits. For example, if you want to export video in 4K Ultra HD resolution, you should choose the Professional or Business plan.
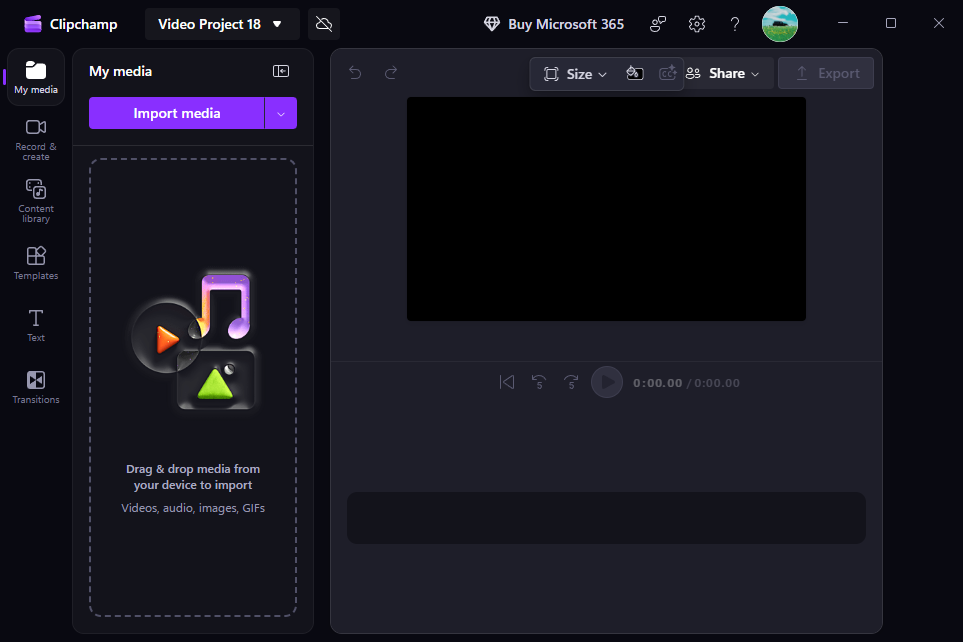
3. Clipchamp
Clipchamp is also a good tool to edit WMV files online. This online WMV editor has many editing features and tools. With it, you can rotate, flip, trim, cut, split, crop, combine videos, add filters, adjust the video color, create a picture-in-picture effect, control the video speed, add text to the video, add audio or image to the video, apply transitions, etc.
As one of the best online video editors, Clipchamp provides many video templates for many social media platforms and holidays, such as YouTube, TikTok, Instagram, Mother’s Day, wedding day, Halloween, etc. If you want to make a video with a video template, Clipchamp is also a good choice.
What is the best video editor to edit WMV files? Here is the quick guide.
| WMV Editor | Watermark-Free | Export WMV | Main Strength | Limitations |
| MiniTool MovieMaker | Yes | Yes | An intuitive interface makes it easy to use, with no watermark, a free full-feature version, 4K export | Only compatible with Windows |
| Microsoft Photos Legacy | Yes | No | Ease of use and various tools and effects. | Limited output settings. |
| WeVideo | No, the trial version has a watermark. | No | Quick access and rich features | Only export videos in MP4. |
| Clipchamp | Yes | No | A user-friendly interface | 4K export requires a subscription. |
Edit WMV Files FAQ
2. Under the Convert Video tab, click Add Files to add the WMV file.
3. Click the Gear icon, go to Video > MP4, and select a profile.
4. Click Convert.
About The Author

Position: Columnist
Cora is a tech writer specializing in digital media workflows, with over six years of hands-on experience in video post-production, media transcoding, and screen capture. Her writing is always clear and practical. Cora also produces in-depth software reviews for users across skill levels to help them find the right tool and enjoy video editing.
User Comments :