This post explains how to edit MOV files using MiniTool MovieMaker, one of the best free video editing software programs for Windows. Just import the footage, remove unwanted sections, apply effects, add text or other elements, and save the result.
How to Edit MOV Files on Windows
Fast Track:
- Launch MiniTool MovieMaker.
- Import the MOV video.
- Rotate, flip, trim, and crop MOV.
- Change the playback speed.
- Apply filters and transitions, add text and music.
- Export the video.
MiniTool MovieMaker is a great MOV video editor for Windows, thanks to its extensive tools and effects, and an intuitive interface. With this software, you can easily trim, crop, transform MOV files, apply filters and effects, and add text and stickers to enhance your footage. Best of all, it’s a video editor without watermark, ensuring clean and professional-looking results.
Step 1: Install the MOV Editor
Click the button below to download and install MiniTool MovieMaker on the computer.
MiniTool MovieMakerClick to Download100%Clean & Safe
Step 2: Add the MOV Files
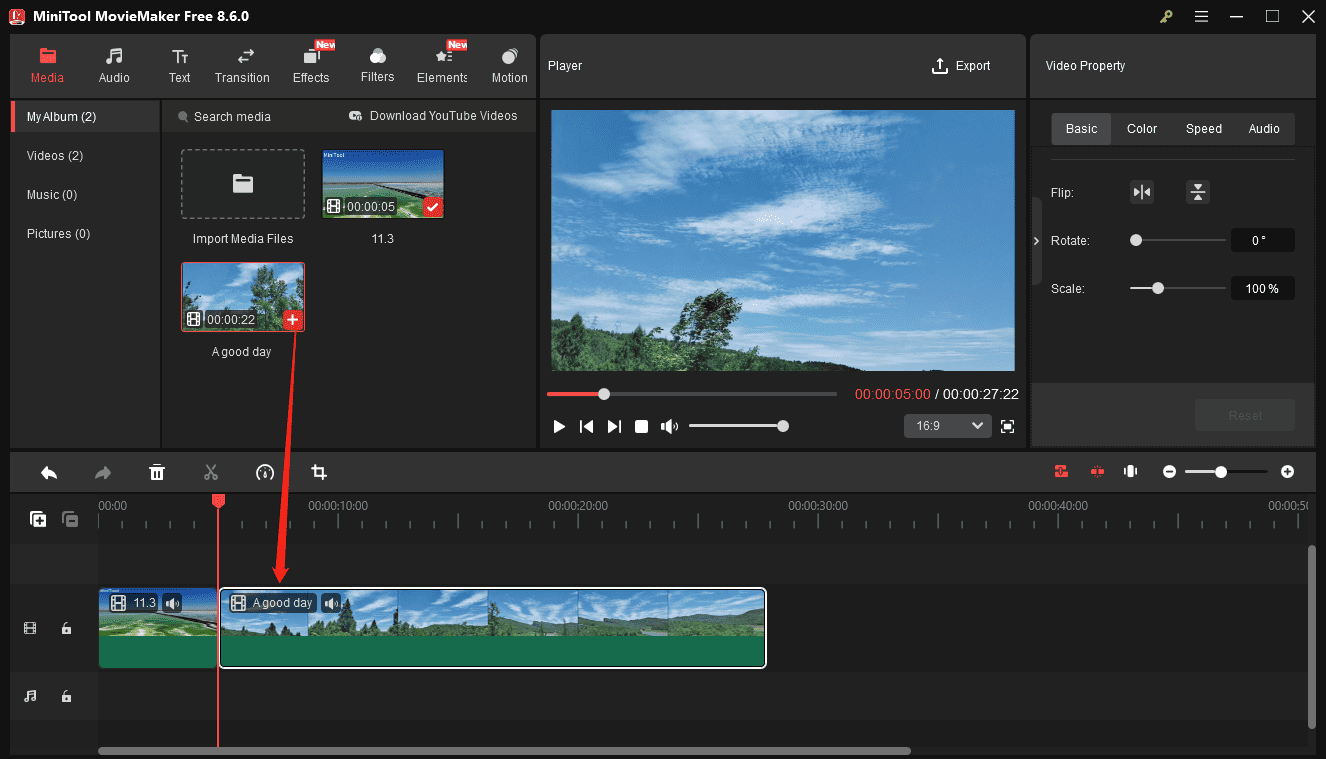
Open the software and click New Project to enter the main interface. Click Import Media Files on the left side and import the desired video files. Then, drag and drop them to the timeline to begin editing.
Step 3: Rotate and Flip MOV
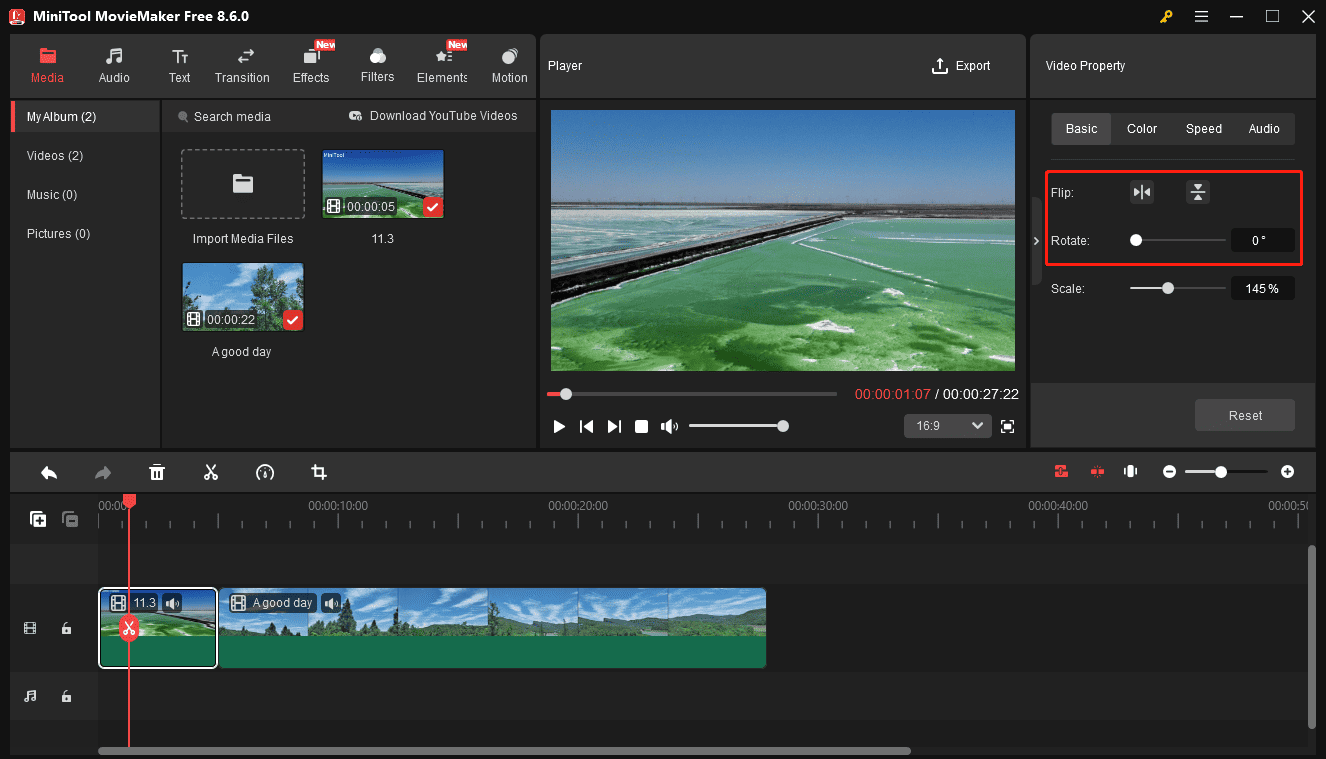
Click the video you want to edit on the timeline to enable the Video Property section on the right side. Under the Basic tab, click the Flip Horizontal or Flip Vertical icon to flip the video, and drag the Rotate slider to rotate the video up to 360°.
Step 4: Trim MOV
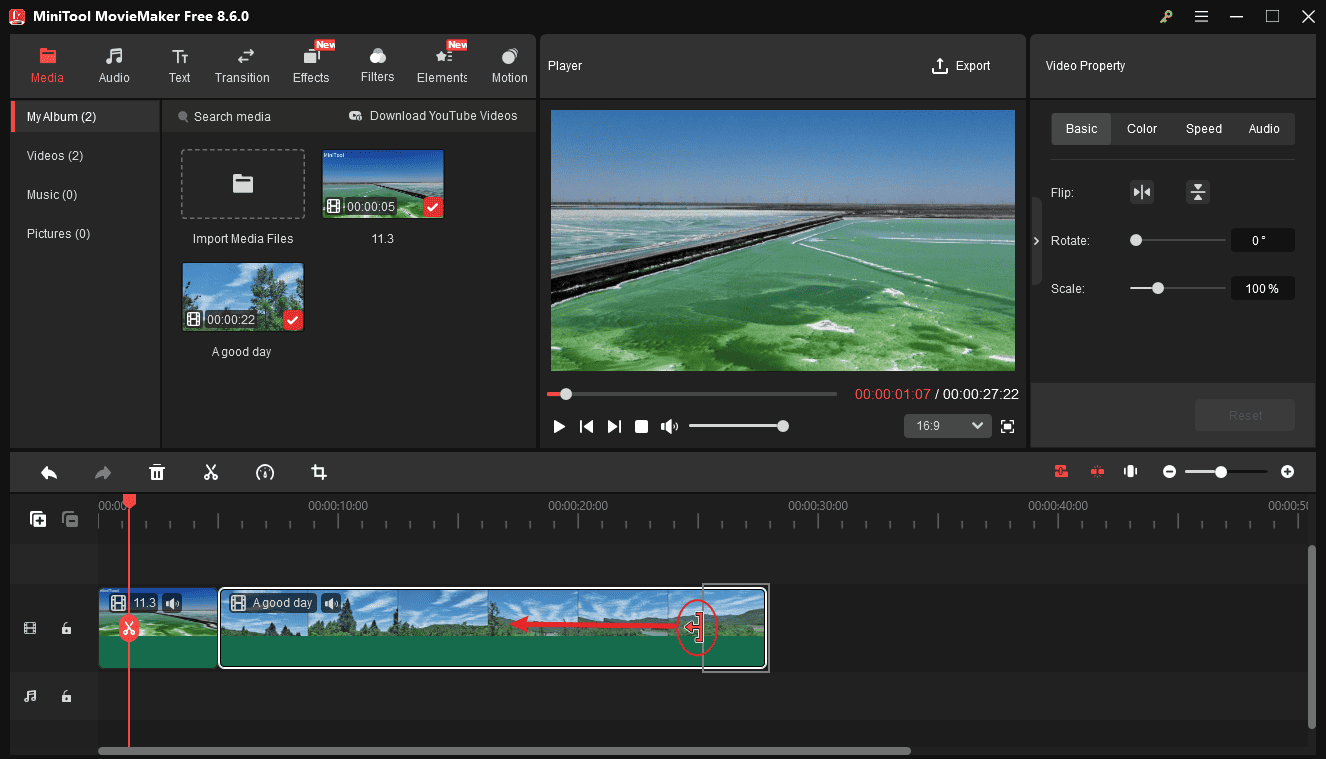
Hover your mouse over either the left or right edge of a video until the Trim icon appears, then drag the handle inward to cut off unwanted parts from the start or end.
Step 5: Crop MOV
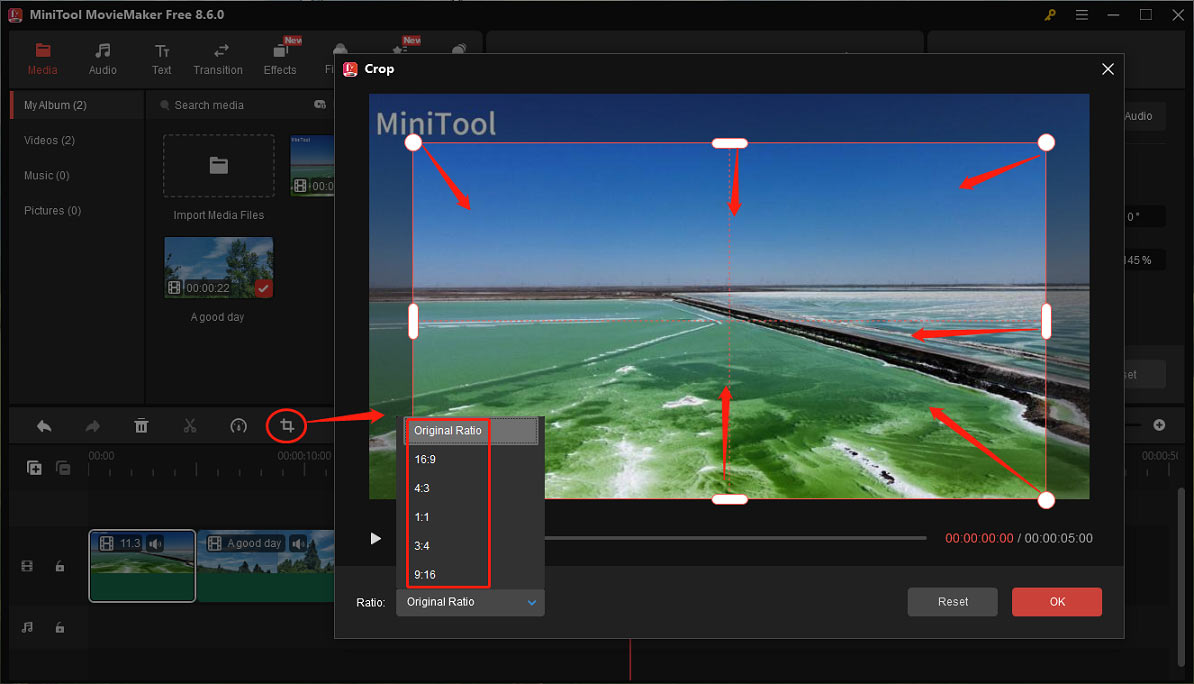
Select the video you need to crop on the timeline and click the Crop icon. On the Crop window, choose an aspect ratio, resize the cropping handle, and move it to confirm the area you want to save. Finally, click OK to apply changes.
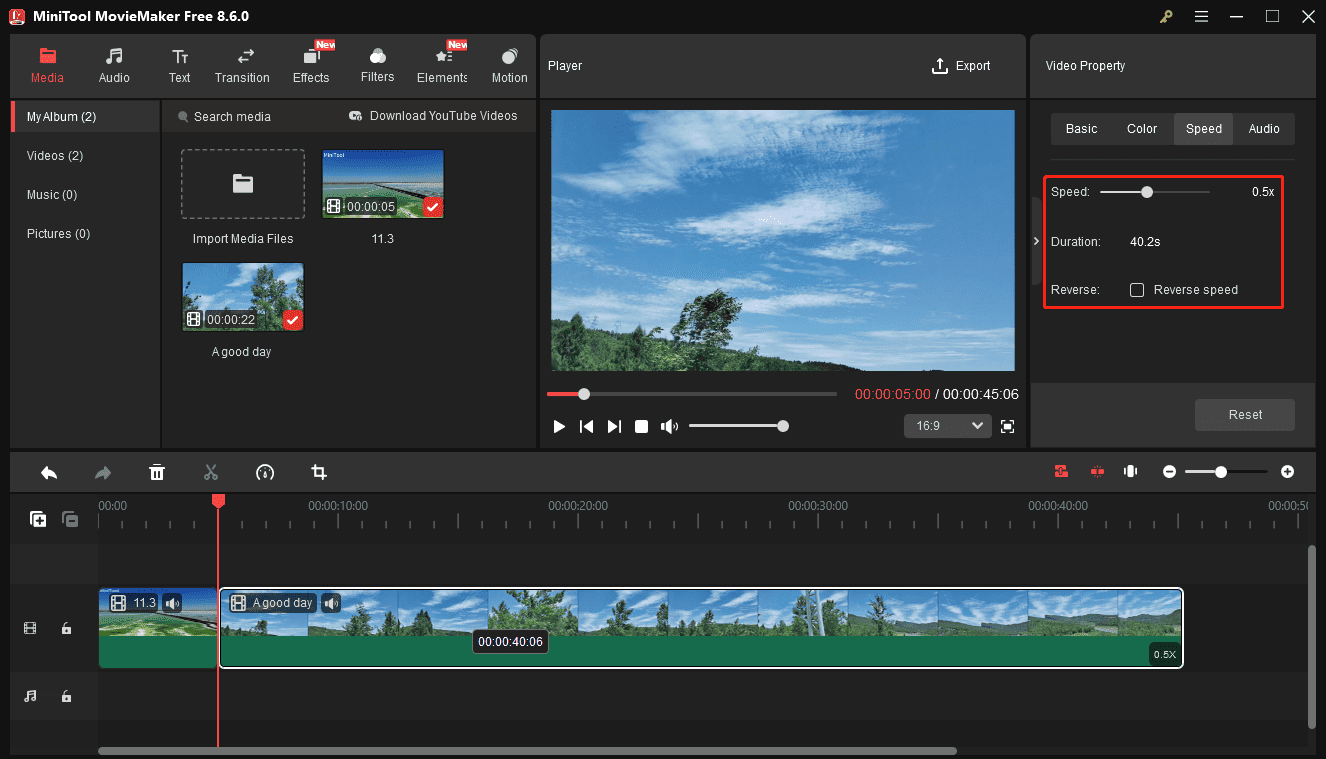
Step 6: Adjust the Playback Speed
Select the target clip and go to the Speed tab in Video Property. Drag the Speed slider to the left or right to slow down or speed up the video. You can also check the Reverse speed option to play the video backwards.
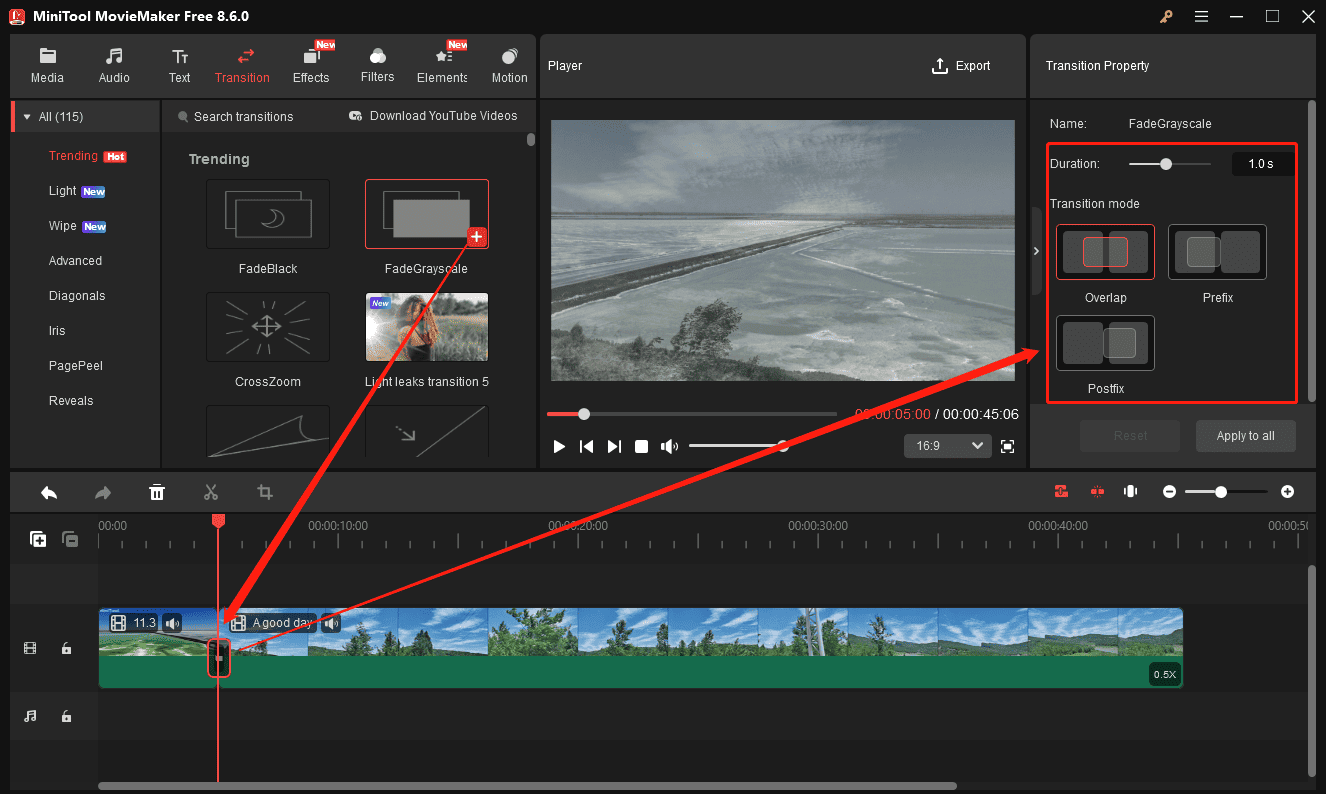
Step 7: Add Transitions
From the top toolbar, select Transition and choose or download a transition effect you like. Drag and drop it into the gap between two clips on the timeline. After that, adjust the duration and mode on the right panel.
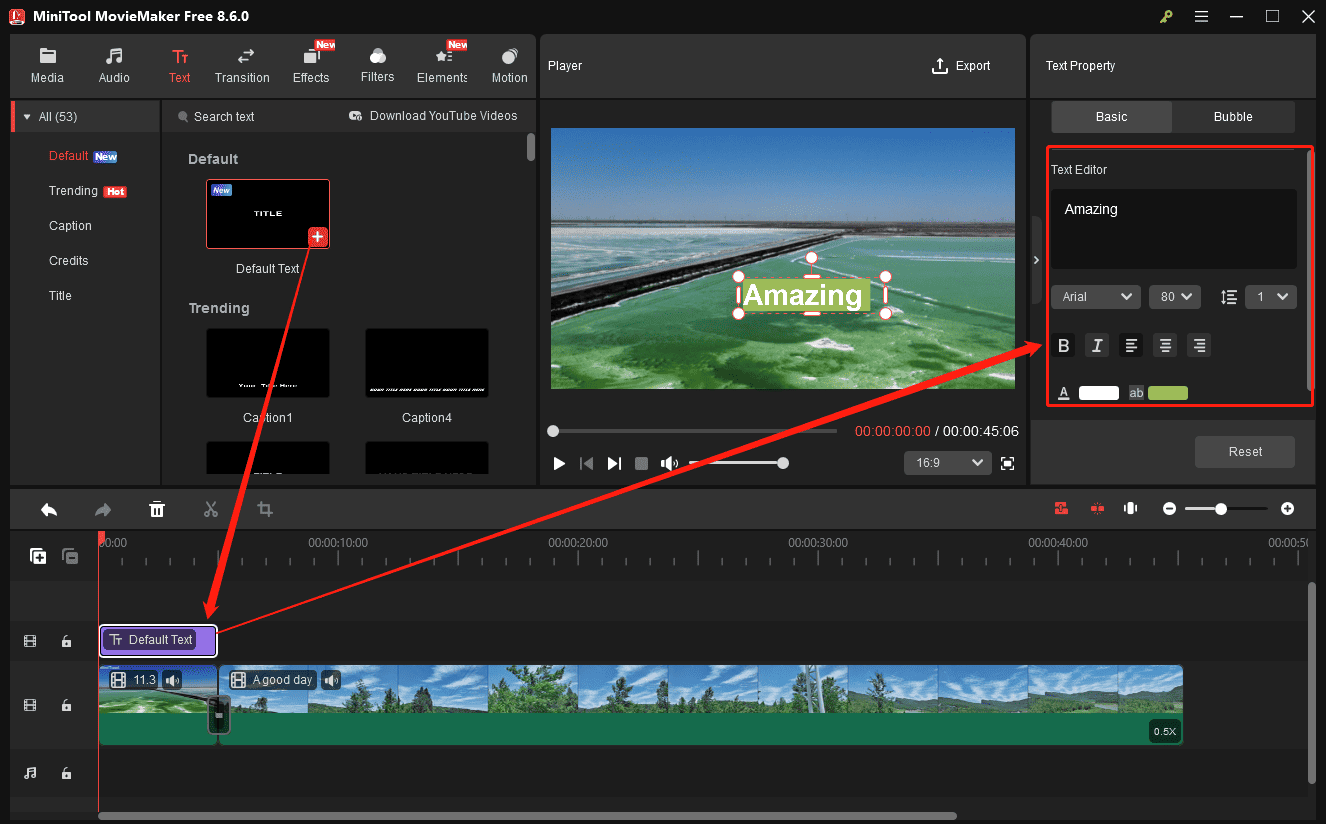
Step 8: Insert Text
Go to Text at the top toolbar, browse the library, and find the text template you like. Next, click the + icon on the text template to add a text track to your timeline. Then, drag either end of the text track to set its start time, end time, and overall duration. In the Text Editor, enter your desired text and adjust options like color, size, font, and alignment.
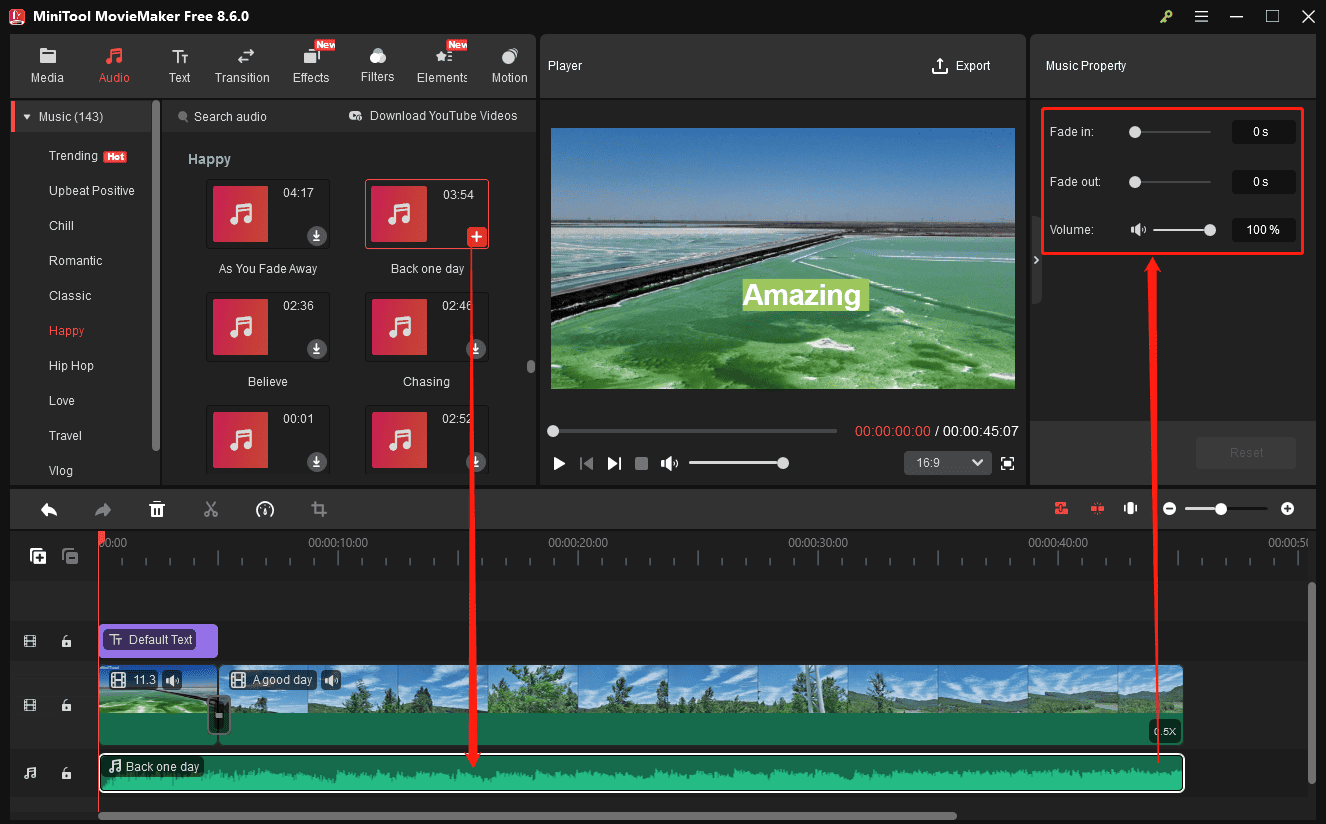
Step 9: Add Music or Sound Effects
Under the Audio tab, select a song or sound effect, or import music through Media > Import Media Files. Once the audio is added to the timeline, go to Music Property to set fade‑in/out or decrease the volume.
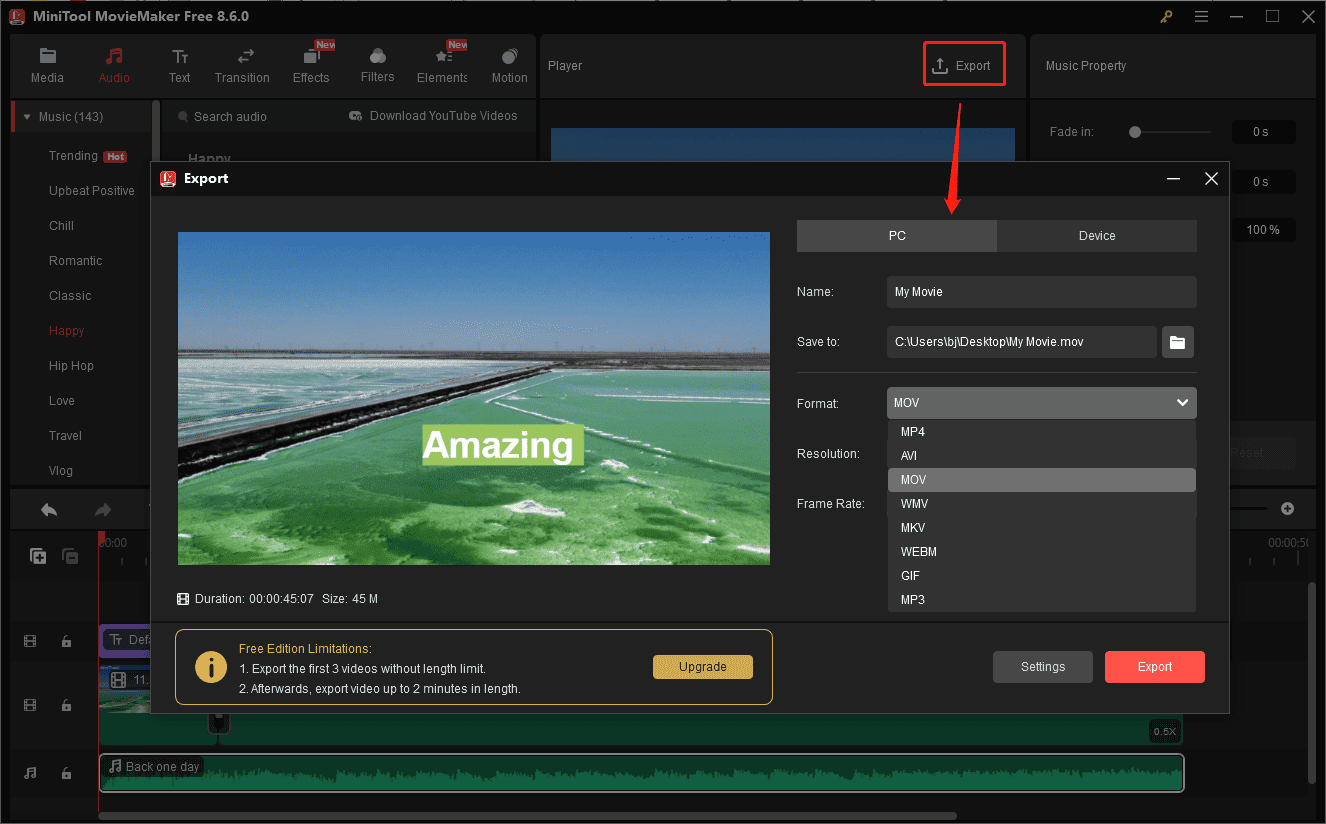
Step 10: Export the Video
Select Export from the upper‑right corner. Within the Export window, specify the output format, resolution, and frame rate, then click Export again to start rendering the video.
For anyone who wants a simple, clear way to join some video clips with transitions, place overlaid objects and text, add music, and bling it all up with some effects, MiniTool MovieMaker may be just the ticket.https://www.pcmag.com/reviews/minitool-moviemaker
Conclusion
It’s easy to edit MOV files with MiniTool MovieMaker! It’s your turn now. If you encounter any questions while using the software, send an email to [email protected] for help.
Edit MOV Files FAQ
2. Import the MOV file.
3. Click the Gear icon, select Video > MP4.
4. Choose a profile and click Convert.
About The Author

Position: Columnist
Cora is a tech writer specializing in digital media workflows, with over six years of hands-on experience in video post-production, media transcoding, and screen capture. Her writing is always clear and practical. Cora also produces in-depth software reviews for users across skill levels to help them find the right tool and enjoy video editing.
User Comments :