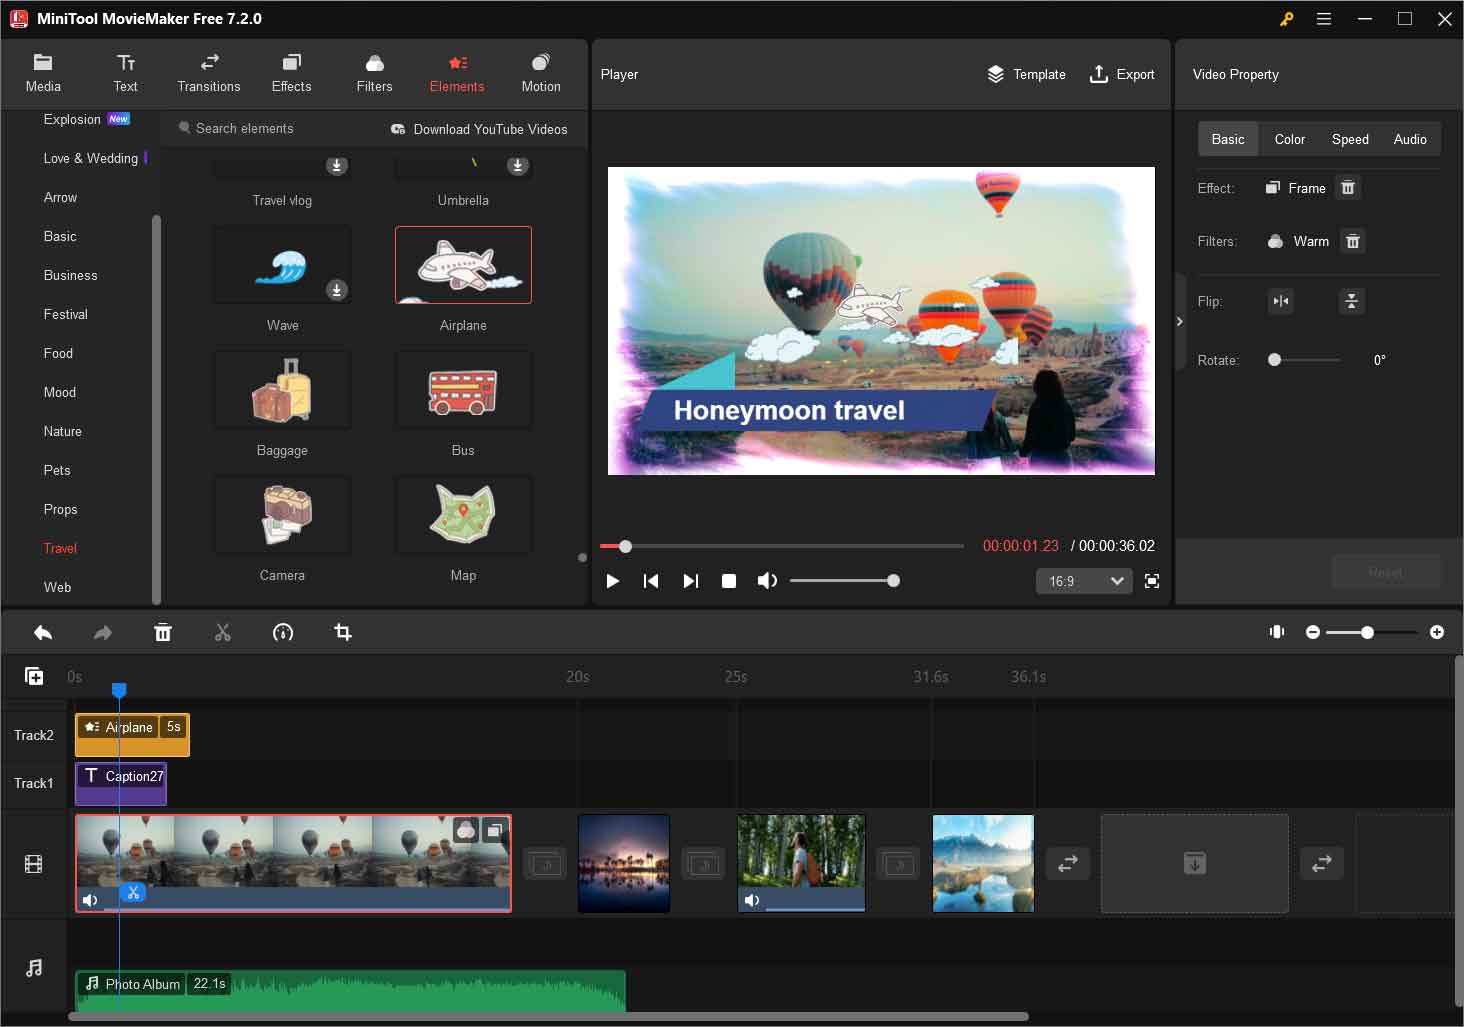
This article elaborated by the free video maker – MiniTool MovieMaker delves into various aspects of working with MP4 files in Sony Vegas, addressing common issues, providing solutions, and offering tips for a smoother editing experience.
Sony Vegas has long been a staple for photo video maker seeking a powerful and versatile tool for their projects. However, the compatibility of MP4 files with Sony Vegas can sometimes be a source of frustration for users.
How to Render MP4 in Sony Vegas 14?
For those using Sony Vegas 14, rendering a project to the MP4 format is a common requirement. To do this, users can follow a straightforward process:
- Click on File from the menu.
- Select the Render As option.
- Choose a suitable MP4 preset from the list.
- Adjust settings if necessary.
- Click Render to initiate the process.
How to Convert a Sony Vegas File to MP4?
Sometimes, users may have projects already saved in Sony Vegas format and want to convert them to MP4 for broader compatibility. To achieve this:
- Open the project in Sony Vegas.
- Go to File and select Render As.
- Choose the MP4 format and customize the settings.
- Click Render to create the MP4 file.
MP4 Sony Vegas Problems
MP4 not working in Sony Vegas? The following are common issues and their fixes that you may encounter while dealing with Sony Vegas MP4 tasks.
#1 Sony Vegas Won’t Import MP4
Having trouble importing MP4 files into Sony Vegas can be a common issue, but it’s often solvable with a few troubleshooting steps. Here’s a guide to help you resolve the problem:
- Check for Corrupted MP4 File: if the file is corrupted, repair or obtain a new copy.
- Check File Compatibility: codec, resolution, and frame rate.
- Install Additional Codecs: the K-Lite Codec Pack can provide broader support.
- Convert MP4 to a Different Format that is well-supported by Sony Vegas using third-party video converters such as MiniTool Video Converter.
- Adjust Project Settings: open your Sony Vegas project and go to File > Properties to ensure that the project settings match the specifications of your MP4 file.
- Run Sony Vegas as Administrator: right-click on the Sony Vegas shortcut and choose Run as administrator.
- Update Sony Vegas: ensure that you are using the latest version of Sony Vegas.
- Reinstall Sony Vegas: uninstall Sony Vegas, restart your computer, and then reinstall the software.
- Update Graphics Drivers: check for updates for your graphics card drivers and install the latest version.
- Contact Sony Support
#2 Sony Vegas Won’t Open MP4 / Sony Vegas Not Loading MP4
Sony Vegas: “An error occurred while opening one or more files MP4.”
Why won’t Sony Vegas open MP4? If Sony Vegas is refusing to open MP4 files, it may be due to codec issues. Ensure that the MP4 codec is installed on your system. If problems persist, consider updating or reinstalling the codec. Additionally, confirming that your Sony Vegas software is up to date can resolve compatibility issues.
#3 Sony Vegas Crashes When Rendering MP4
Crashes during MP4 rendering can be frustrating. To troubleshoot, check your project for corrupted media, ensure adequate system resources, and experiment with different render settings. Updating your graphics card drivers may also resolve stability issues during the rendering process.
#4 Sony Vegas MP4 Green Screen Issue
Encountering a green screen in your MP4 playback within Sony Vegas is often related to issues with the video codec. Ensure you are using a compatible codec or try converting the file to a different format before importing it into your project.
You can make use of MiniTool Video Converter, a professional and reliable video and audio file converting software. It can help you quickly turn an MP4 video into another format like MOV, MKV, AVI, WMV, WEBM, MPEG, etc. MiniTool Video Converter is also a Sony Vegas to MP4 converter that enables you to convert the Sony Vegas exported video to MP4 format.
MiniTool Video ConverterClick to Download100%Clean & Safe
#5 Sony Vegas Pro MP4 No Video
If you encounter a situation where the exported MP4 has no video or Sony Vegas MP4 files only audio, check your project timeline for any disabled video tracks. Re-enable them and reattempt the rendering process. Confirm that your project settings align with your desired export specifications.
#6 Sony Vegas MP4 No Sound
If you are facing an issue in Sony Vegas where the MP4 file has no sound or audio, there are several potential causes and solutions you can explore.
- Check the MP4 File: verify that the MP4 file itself has audio or not.
- Reimport the MP4 File: remove the MP4 file from your project and reimport it.
- Confirm Audio Track Presence: ensure that the audio track is present and not muted.
- Use a Different Audio Track: create a new audio track in Sony Vegas and place a copy of the audio from the problematic MP4 file onto the new track.
- Adjust Volume Levels: confirm that the volume levels for the audio track are not set to zero.
- Check Audio Output Settings: confirm that your computer’s audio output settings are configured correctly. Ensure that the speakers or headphones are working, and the volume is turned up.
- Check System Sound Settings: confirm that your system’s sound settings are configured correctly. Check the default playback device and ensure it is set to the correct output.
- Update Audio Drivers: ensure that your computer’s audio drivers are up to date.
Use Sony Vegas Alternatives
If none of the above solutions manage to solve your problem or you find it unhappy to work with Sony Vegas, you can switch to another video editor without watermark that can help you render MP4 files such as MiniTool MovieMaker. It is Windows-based and easy to use without any watermarks, bundles, and ads.
MiniTool MovieMakerClick to Download100%Clean & Safe
MiniTool MovieMaker features:
- Merge video clips, photos, and audio into a single video.
- Split videos, pictures, or audio clips.
- Crop a video or photo to cut off unwanted parts.
- Change the video aspect ratio to make the video compatible with more devices and platforms.
- Add titles, credits, and captions to videos.
- Apply natural transition between two media clips.
- Decorate a video or photo with vivid effects.
- Filter graphic clips with different colors.
- Make your video funnier with stickers.
- Move your video content with specific motion.
- Flip or rotate the video.
- Change the contrast, saturation, and brightness of the video.
- Use 3D LUT in your video.
- Change the playback speed of your video or reverse it.
- Fade the audio, alter its volume, or mute the embedded sound.

Conclusion
Working with MP4 files in Sony Vegas can present challenges, but armed with the right knowledge and troubleshooting steps, users can navigate these issues with confidence. Whether you’re rendering, converting, or facing playback problems, understanding the intricacies of Sony Vegas and the MP4 format will contribute to a more seamless video editing experience. Experimenting with different settings, staying updated on software and codec versions, and employing problem-solving techniques will empower you to overcome hurdles and make the most of Sony Vegas for your video editing work.


User Comments :