Sony Vegas Pro is a video editing software package for Microsoft Windows and it provides professional video editing and color grading tools.
However, some users have reported they experienced a choppy/lagging video preview while editing in Vegas Pro. How to fix this issue to improve the playback? Here’re 4 solutions to Sony Vegas preview choppy issues.
Way 1: Disable Resample
If you have multiple video clips in the timeline, you can try to disable resample to fix the preview lagging issues and optimize the playback.
You should choose all clips in your video timeline, right-click on a clip, choose Switches, and uncheck the box of Maintain Aspect Ratio. Again, go back to Switches and select Disable Resample. This should greatly improve your playback.
Way 2: Change Project Properties
In the project properties, Vegas Pro lets you change the video resolution and frame rate for editing and previewing. You can choose a lower preset to fix the Sony Vegas preview lagging issues.
To change the project settings, click on the Project Video Properties icon above the preview window or press Alt + Enter. Expand the Template drop-down menu, choose a preset like 720P, and click Apply and OK. Then, play your video clips and you should enjoy a smoother preview.
How to save a Vegas Pro project to an MP4 video file? Check this post – VEG to MP4: What Is a VEG File & How to Convert It to MP4.
Way 3: Decrease the Video Preview Quality
Another solution to Sony Vegas preview choppy is to decrease the video preview quality, just lowering the resolution and frame rate to improve playback performance, and this is only used for previewing footage and won’t affect the final output video.
Click the Preview Quality button at the top right, and you’ll see 4 options, Draft, Preview, Good, and Best. When choose one and you’ll see the other 4 options, Auto, Full, Half, and Quarter. For instance, if you choose Draft – Half, your video might look pixelated. Try different Preview – Half or Preview – Full until you get a smooth and good-quality playback.
Way 4: Enable GPU Accelerating for Video Processing
Alternatively, you can turn on GPU accelerating for video processing to fix Sony Vegas lagging video preview.
First of all, save your projects. Then, click on Options at the top and select Preferences at the bottom of the drop-down list. In the Preferences window, switch to the Video tab and make sure GPU accelerating for video processing is enabled and you can see your graphics card’s name. Then, go to the File I/O tab, and set your graphics card driver to the Hardware Decoder To Use.
In this step, you can also change the value of Dynamic RAM Preview max (MB) to zero to fix the issue, and click Apply > OK. To save your changes. After that, restart Sony Vegas Pro and open your project to see if the choppy preview problem is fixed.
A Sony Vegas Alternative for Beginners
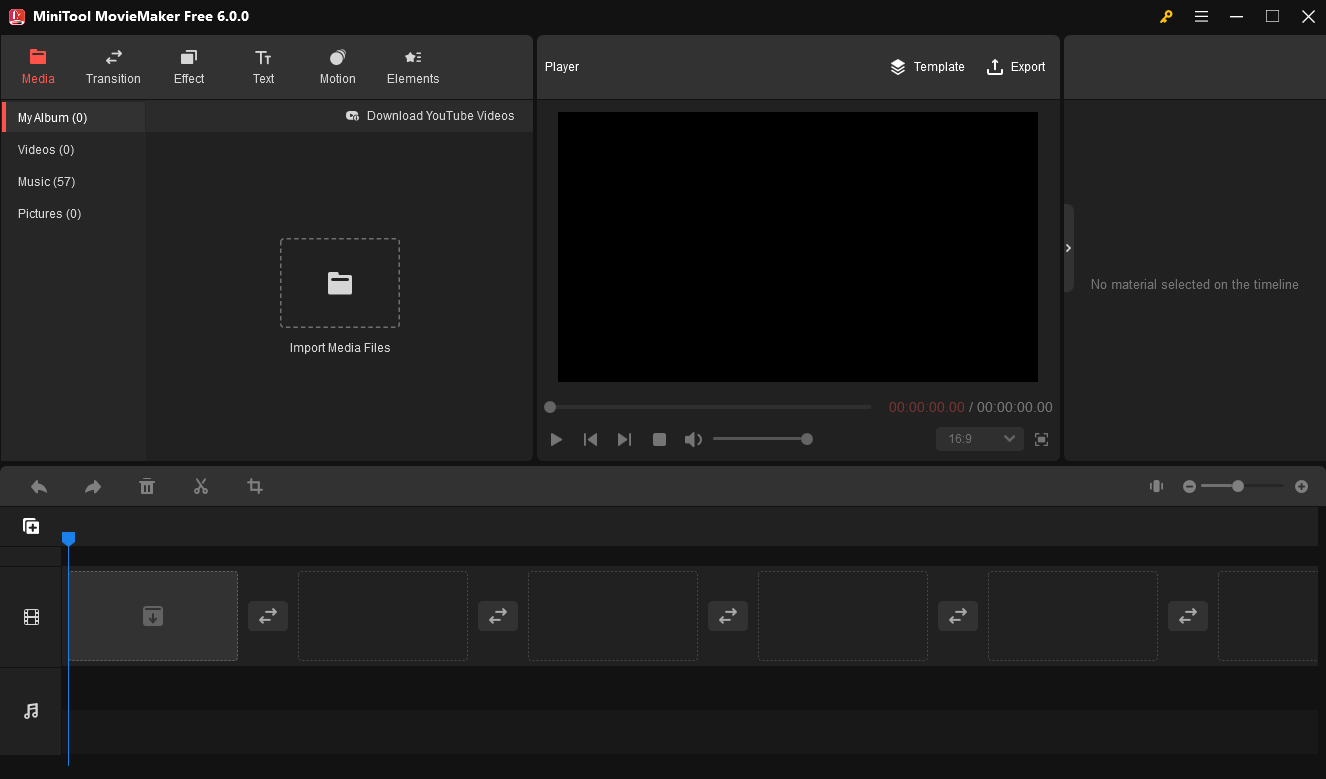
There’re many alternatives to Sony Vegas for creating videos, and MiniTool MovieMaker is one of them. This video editor is simple to use and also equipped with many editing tools, and it’s one of the best choices for beginners.
MiniTool MovieMakerClick to Download100%Clean & Safe

MiniTool MovieMaker offers a huge collection of trending filters, transitions, text styles, and animated stickers to spice up your video. Also, it allows you to trim, split, rotate, speed, reverse, and crop videos, choose aspect ratio, apply 3D LUT effects, and more.
Conclusion
It must be annoying when the video preview is choppy in Sony Vegas. In order to solve this problem, this post explains 4 methods to help you play videos as smoothly as possible. Hopefully, these ways will fix your Sony Vegas preview choppy/lagging/slow issues.


![[10 Ways] How to Fix Adobe Premiere Pro Playback Lagging Issue](https://images.minitool.com/moviemaker.minitool.com/images/uploads/2023/03/premiere-pro-playback-lag-thumbnail.jpg)


User Comments :