Adding Ken Burns effects can make your photos or videos vivid. What is Ken Burn effect? What video editor can create Ken Burns effects for photos and videos? This post will tell you what Ken Burns effect is and offer you the 7 Best Ken Burns effect software (including MiniTool MovieMaker).
What Is Ken Burns Effect?
Many people may not be familiar with Ken Burns effect. According to Wikipedia, the Ken Burns effect is a type of panning and zooming effect used in film and video production from still imagery. Simply put, the Ken Burns effect is an effect that gives motion to still images and brings these images to life. This kind of effect is widely used in documentary films.
7 Best Ken Burns Effect Software
How to get Ken Burns effect? In this post, I’ve made a list of 7 video editors that contains Ken Burns effect.
Here’s a List of 7 Best Ken Burns Effect Software
- Microsoft Photos
- MiniTool MovieMaker
- VSDC Free Video Editor
- VideoPad Video Editor
- iMovie
- Final Cut Pro X
- Adobe Premiere Pro
Microsoft Photos
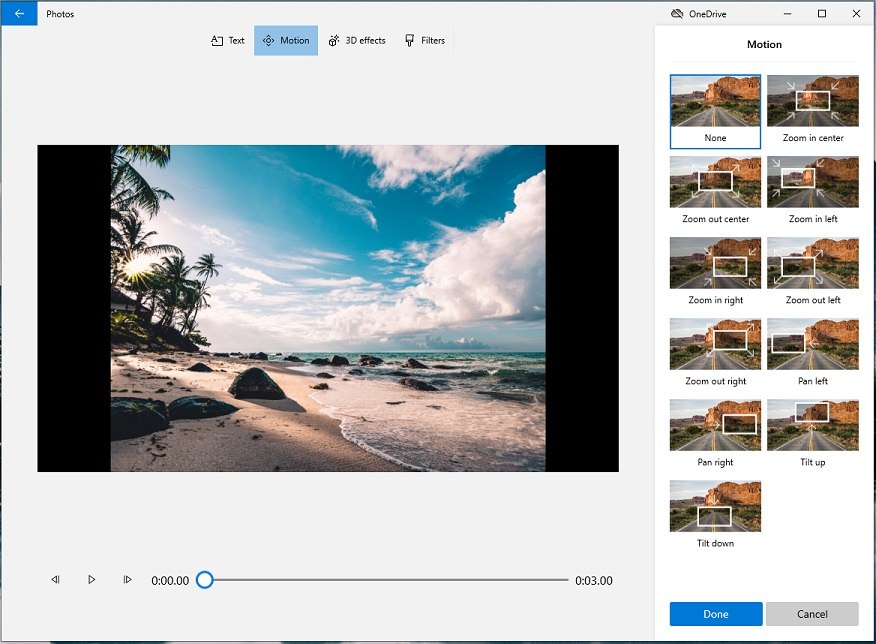
Microsoft Photos is a replacement for Windows Movie Maker (a discontinued video editing software included with Windows). It offers 11 motion effects (also known as Ken Burns effects) like Zoom in center, Zoom in left, Pan left, Tilt up, Tilt down, and so on. It supports importing photos, GIFs and videos, so you can create Ken Burns effects for video clips, images and animated GIFs. But the output format only supports MP4.
As a free and video editor, Microsoft Photos comes with the most editing features. You can use this video editor to trim videos, split videos, rotate videos, flip videos, add text to videos, apply filters to videos, change video speed, add background music to videos, etc. The built-in 3D effect library hosts lots of 3D projects and 3D effects and allows you to use and edit for free.
Besides editing videos, Microsoft Photos also can function as a photo viewer and photo editor.
Related article: 10 Best Microsoft Video Editors to Edit Videos on Windows
MiniTool MovieMaker

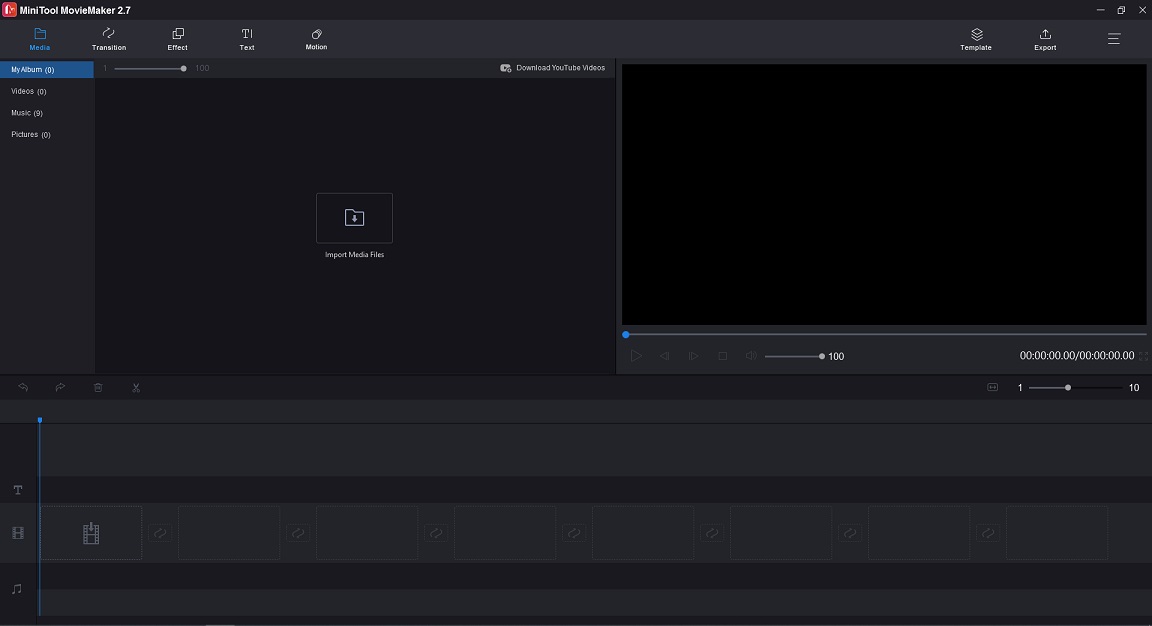
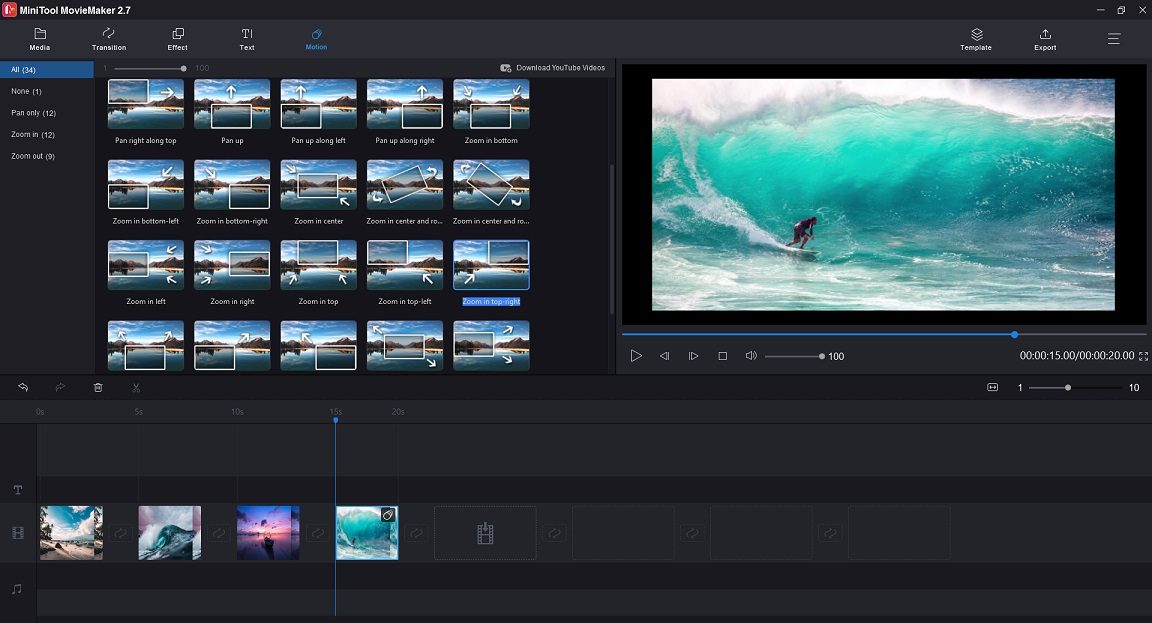
MiniTool MovieMaker is a standard video editor without over 30 pan and zoom effects. The imported file format can JPG, JPEG, GIF, MP4, MKV, WMV, AVI and other formats. With it, you can add and remove Ken Burns effect from your media file easily, and make Ken Burns effect run faster by speeding up the clip. Since it supports image formats, you can make a photo slideshow with Ken Burns effect, or add zoom effect to a photo and export it as GIF or MP4 format.
MiniTool MovieMakerClick to Download100%Clean & Safe
There are many other features available in MiniTool MovieMaker:
- It supports the most popular input and output formats.
- It can edit videos by trimming, splitting, merging, reversing, etc.
- It offers various filters, transitions, titles, text templates, and video templates.
- It can make photo slideshows with music.
- It lets you create a GIF from a video and convert GIF to video.
VSDC Free Video Editor

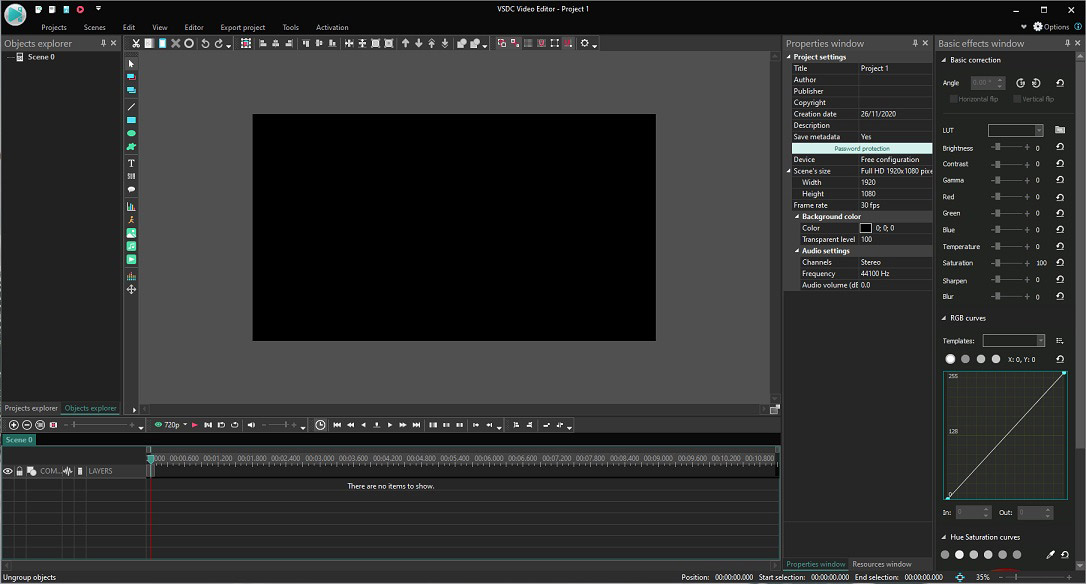
To apply pan and zoom effects to videos or images, you can use another Ken Burns effect software – VSDC Free Video Editor. It allows you to use pan and zoom effects, zoom blur transition and zoom fade transition.
It’s a versatile video editor for professionals and it has a complicated interface which makes it difficult for you to understand how to use it. If you don’t know where to make Ken Burns effect, you can check the related tutorial on its official website, or the video guide on YouTube.
Here are some useful functions: remove green background, edit 360-degree videos, do color correction, apply split screen effect and picture to picture effect, record screen, record voice, convert 3D video to 2D, and more. VSDC Free Video Converter is free to use, available for Windows.
VideoPad Video Editor
VideoPad Video Editor is a free video editing software (with optional paid options) developed by NCH Software. It’s packed with numerous video editing features and it’s easy to use. It can process various types of media files including video, audio and picture. Place the imported media files onto the timeline, you can edit your videos like a professional. You are able to add zoom effects, transitions, text and adjust brightness for your video clips.
Different from other video editors, VideoPad Video Editor has a set of digital audio tools. It’s capable of adding audio effects, making custom soundtracks, record narrations, etc.
This is a cross-platform video editing tool that can work on Windows, macOS, Android and iOS.
iMovie
iMovie has all the features of an excellent video editor such as Ken Burns effect, green screen effect, crop, and others. You can add the Ken Burns effect to video clips or photos to zoom in or zoom out these clips or photos.
Apart from that, iMovie can edit and export 4K videos without quality loss. To enhance your videos, it offers a variety of special effects, stunning filters, free soundtracks to choose from. It also provides you with some video templates. With these templates, you can create your story in minutes!
iMovie is only available for iOS, iPadOS and macOS devices.
Final Cut Pro X
Final Cut Pro X is a professional video editing software developed by Apple Inc. with Ken Burns effect, Advanced color grading, High Dynamic Range (HDR) support, Multicam editing and magnetic timeline. With the help of Metal-based processing engine, it lets you handle complex editing tasks quickly. It’s one of the most used video editing software by YouTubers.
Final Cut Pro X is compatible with macOS 10.15 or later. It’s not freeware. The one-time price of Final Cut Pro X is $299.99. If you are a novice at editing videos, I suggest you use iMovie.
Adobe Premiere Pro
Developed by Adobe Inc., Adobe Premiere Pro is a timeline-based video editor used in films such as Superman Returns and Dust o Glory. It supports editing and exporting footage in any format from 8K to VR and supports third-party extensions. Adobe Premiere Pro integrates with other Adobe products like Photoshop, Illustrator, Audition, After Effects, etc. After you edit your video, you are able to open the video project in Audition and After Effects for further editing.
If you don’t know where to start, you can go to YouTube where you can find many Adobe Premiere Pro video tutorials. The software costs 31.49 per month.
| Operating Systems | Price | Pros | Cons |
Microsoft Photos (with Video Editor) | Windows 10 | Free | 1. Simple and easy to use 2. No watermark | No advanced editing features |
MiniTool MovieMaker | Windows 7 or later | Free | 1. Clean and ease-of-use interface 2. Excellent video editor for beginners | No green screen, split screen features |
VSDC Free Video Editor | Windows | Free | 1. Feature-rich 2. Built-in screen recorder and voice recorder | Complicated interface |
VideoPad Video Editor | Windows, macOS, Android, iOS | Free | 1. Cross-platform 2. More advanced editing functions | The free version only supports AVI and WMV output formats |
iMovie | macOS, iOS, iPadOS | Free | 1. Attractive and intuitive user interface 2. | No 360-degree video editing |
Final Cut Pro X | macOS | $299.99 | All needed editing features | Not support Windows |
Adobe Premiere Pro | Windows (64-bit), macOS | $239.88/year $251.88/year (paid monthly) $31.49/month | 1. Integrate with other Adobe products 2. Broad extensions support | Expensive |
How to Add Ken Burns Effects to Clips
Now, let’s take a look at how to add Ken Burns effects to clips on Windows and macOS.
Add Ken Burns Effects to Clips on Windows
MiniTool MovieMaker
Here’s how to pan and zoom photos in MiniTool MovieMaker.
Step 1. Download, install and launch MiniTool MovieMaker.
MiniTool MovieMakerClick to Download100%Clean & Safe
Step 2. Shut down the popup window to access the user interface.
Step 3. Import photos you want to add Ken Burns effect. Then choose the first photo and press the Shift key to select all the photos and drag them to the timeline.
Step 4. Click on Motion to access the Motion effects library and find the effect you want to add. Choose the photo in the timeline and click the + to apply the effect to the photo.

Step 5. To change the duration of a photo, you can choose the desired photo and move the start/ end point to the right/ left.
Step 6. Tap on Export. On the Export window, select the output format, edit the file name, choose a save folder, and change the video resolution as required.
Step 7. Finally, click the Export button to export the video.
Also read: How to Make an Instagram Slideshow with Music
Microsoft Photos
Here’s how to add Ken Burns effect to photos with Microsoft Photos.
Step 1. Tap on the search icon on the taskbar and enter “video editor”. Then open the Video Editor app.
Step 2. Click the New video project button, name your video and click OK.
Step 3. Click the Add > From this PC to import the needed photos and add them to the timeline.
Step 4. Go to the Storyboard and choose Motion in the toolbar.
Step 5. All the motion effects are listed in the right pane, select the one you like, and click Done.

Step 6. Click on Finish video in the top-right corner and select the desired video quality. Tap on Export!
Add Ken Burns Effects to Clips on macOS
iMovie
Here’s how to add Ken Burns effect to photos with iMovie.
Step 1. Open the iMovie app and head to Project > Create new > Movie.
Step 2. Import the photos and drag and drop them to the timeline.
Step 3. Select a photo in the timeline and click the crop icon above the preview window.
Step 4. Click on Ken Burns. Then select the Start frame and the End frame.
Step 5. Apply the changes and export the video.
Conclusion
This post provides you with the 7 best Ken Burns effect software. Some of them are simple to use, while others are perfect for professionals! If you have other suggestions when using MiniTool MovieMaker, please tell us via [email protected] or leave a reply!
Ken Burns Effect FAQ
- Import the target video to iMovie and add it to the timeline.
- Click the Clip Filters and Audio Effects icon above the video.
- Choose a video effect that you want to apply to this clip.
- Open iMovie and add the image.
- Select the image and click the Cropping icon above the preview window.
- Then choose the Crop to Fill option.
- Open iMovie.
- Import video to iMovie.
- Click the Share icon in the top right corner and tap on File.
- Adjust the export settings.
- Save the video file.


User Comments :