In this post on the MiniTool MovieMaker (a Windows movie maker) webpage, we’ll explore how to fix blurry video in Premiere Pro so that you can sharpen blurry or out-of-focus videos to improve quality.
Adobe Premiere Pro is a powerful video editing application with a rich variety of editing tools and effects for high-quality video production. Using the app, you can create an astonishing look for your normal footage. Sometimes, you may find that the video you want to use in your project is blurry or out of focus. Fortunately, you can fix it right within the program. In this tutorial, we’ll show you how to fix blurry video in Premiere Pro using the Unsharp Mask effect.
How to Fix Blurry Video in Premiere Pro
Here’s a step-by-step guide on how to fix blurry footage in Premiere Pro.
Step 1. Launch Adobe Premiere Pro on your computer. Open your project or create a new project by selecting File > New Project.
Next, go to File > Import to open the blurry video you want to fix and drag it to the timeline.
Step 2. Select the clip you want to edit in the timeline and go to the Effects panel on the top. Type “unsharp mask” in the search bar and drag the Unsharp Mask effect to your clip.
Step 3. Under the Effects Control panel, you can see three parameters of the Unsharp Effect, Amount, Radius, and Threshold. Adjust these settings to fine-tune the sharpness of your clip.
- Amount: Control the severity or strength of the effect.
- Radius: According to Adobe, radius refers to the distance from the edge at which pixels are adjusted for contrast. It determines the size of the pixels that will be affected by the effect.
- Threshold: Control the minimum difference between pixels.
Step 4. Play around with these parameters and pay attention to the changes in your video.
Additionally, you can try the Sharpen effect to fix your blurry video in Premiere Pro. Use the same methods to find and add the Sharpen effect to the timeline, and then increase the value of Sharpen Amount to achieve the effect.
Step 5. If you’re satisfied with the result, continue to edit the clip or export it. To export the video, go to File > Export > Media or press Cmd/Ctrl + M to open the export settings window, complete your configurations, and render your video.
A Simple Alternative to Premiere Pro for Beginners
Adobe Premiere Pro is the industry-leading video editing application and the first choice of many experienced users and professionals. However, it may not be the perfect choice for those without any editing experience or skills. In addition, if you just need a video editor for some simple edits, Premiere Pro seems a bit overkill.
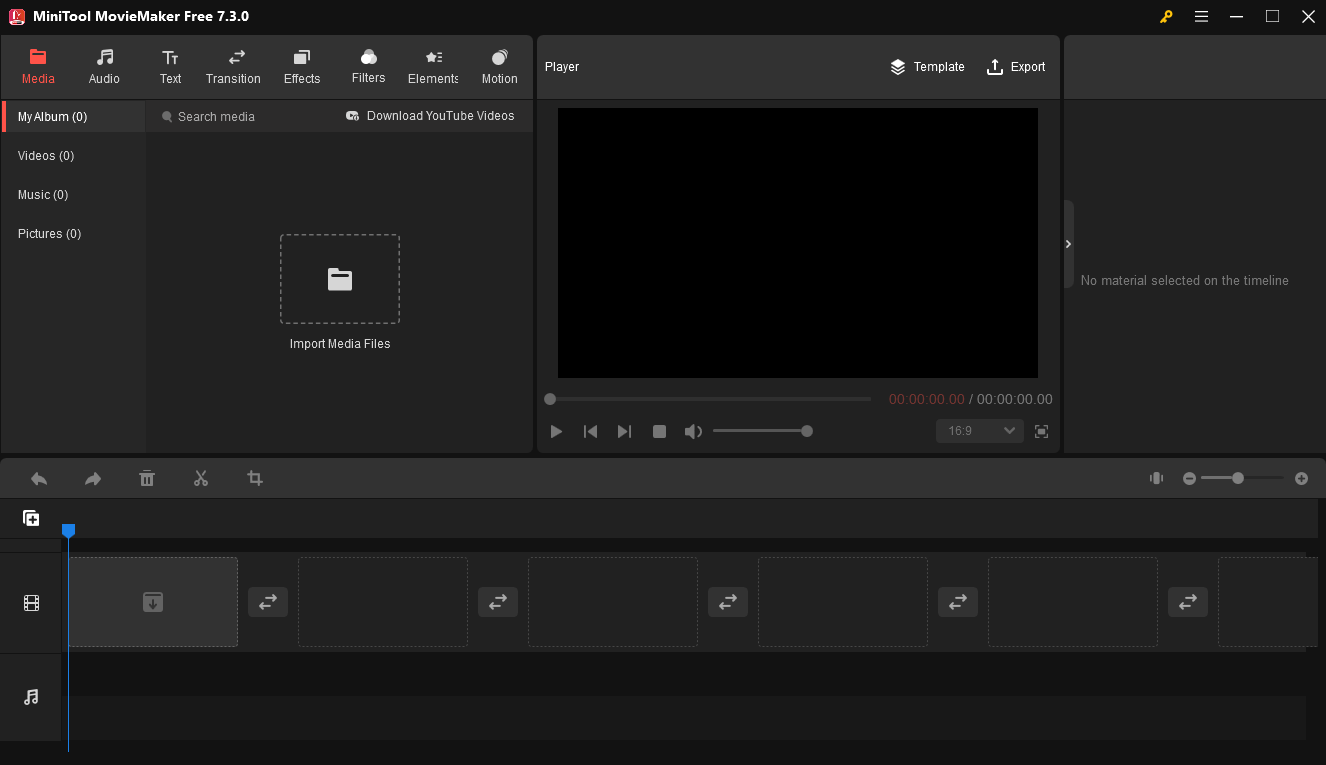
For those who are new to video editing and want to start creating videos, MiniTool MovieMaker should be a suitable choice. It’s an easy-to-use and feature-rich video editor and supports exporting videos up to 1080p for free and without watermarks.
MiniTool MovieMakerClick to Download100%Clean & Safe

With this application, you’re able to remove unnecessary parts on the ends of the clip, and unwanted details in the corners of the clip, adjust the clip’s speed, change the aspect ratio, and more.
Conclusion
Now it is your turn. Follow the steps above to sharpen blurry video in Premiere Pro to make your clips more visually pleasing.
Also read:


User Comments :