“A low-level exception occurred” error may happen on Premiere Pro while importing MPEG files, using the Legacy titles, or playing media. How to fix this error to get your project back in Premiere? This post from MiniTool MovieMaker gives you 5 possible methods.
Although Adobe Premiere Pro is a powerful and professional video editing application, some issues may arise while using it. In this post, we’ll focus on the “a low-level exception occurred” issue in Premiere Pro. You can try out the following 5 ways to fix it.
Way 1: Reset Preferences
A simple fix for “a low-level exception occurred” in Premiere Pro is to reset preferences in this application.
First of all, you should close your project and then exit Premiere. Then, double-click on the Premiere desktop icon to open it, and simultaneously press the Alt key on Windows or the Option key on Mac. A pop-up window appears and asks “Are you sure you want to reset your preferences?” Click OK to go back to the default settings in Premiere Pro.
Way 2: Change the Render Setting
“A low-level exception occurred” error might happen while using legacy titles in Premiere Pro. To fix it, follow the steps below to try changing the render setting.
Step 1. Click File in the upper left corner, choose Project Settings from the drop-down list, and click on General.
Step 2. Under the Video Renderer and Playback section, set Render to Mercury Playback Engine Software Only.
Way 3: Clear Cache Files
If “a low-level exception occurred” error message appears while playing back the media, first, you should try deleting cache files to solve it.
To clear cache files in Premiere:
- Click Edit in the upper left corner.
- Choose Preference and select Media Cache.
- Select Delete next to Remove Media Cache Files.
- Choose Delete all media cache files and click OK.
After that, check if this error is solved. If not, follow the steps in way 2 to switch the Renderer to Mercury Playback Engine Software Only.
Way 4: Delete Preview Files
Another way to fix “a low-level exception occurred” in Premiere Pro is to delete your preview files. First, follow the steps to find where the preview file folder is stored on your computer.
In Premiere Pro, click File, then hover over Project Settings, choose Scratch Disks, and you’ll see the path of the preview file folder. Then, follow this path and delete these files.
Way 5: Update or Reinstall Premiere Pro
You can also install the latest version of Premiere Pro to fix “a low-level exception occurred” error. Updates can fix many bugs or glitches. Alternatively, you can uninstall Premiere and install it again on your computer.
Tip: A Premiere Pro Alternative for Beginners
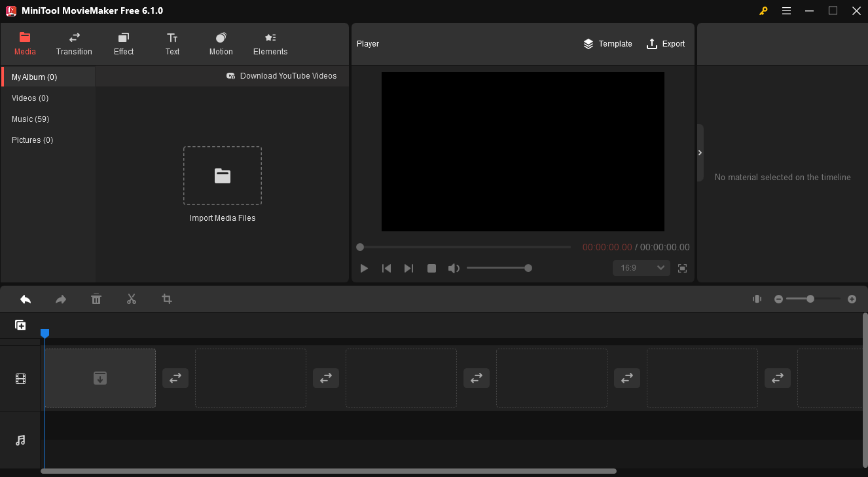
If it’s not easy for you to create your first video with Adobe Premiere Pro, you can switch to an easy-to-use alternative – MiniTool MovieMaker, one of the best video editing apps for beginners, no experience or skills required.
MiniTool MovieMakerClick to Download100%Clean & Safe

Key features of MiniTool MovieMaker:
- Handy tools to rotate, flip, trim, and split videos.
- Video speed adjustment and reverse videos.
- Crop videos with several aspect ratio options.
- A library of trendy filters, transitions, and stickers.
- Add title cards, captions, and end credits to video.
- Many pan and zoom effects.
- Fade in and fade out music.
- Export videos up to 1080p for free and without watermarks.
Conclusion
Hopefully, these 5 methods can help you solve a low level exception occurred in Premiere so that you can smoothly play and edit media in Premiere Pro.


![[Step-by-Step Guide] How to Add Transitions in Premiere Pro](https://images.minitool.com/moviemaker.minitool.com/images/uploads/2023/03/how-to-add-transitions-in-premiere-pro-thumbnail.jpg)


User Comments :