Adobe Premiere Pro is an industry-leading video editing application, but sometimes it does have some errors and problems like laggy playback, a common issue in Premiere Pro. How to fix Premiere Pro playback lagging problem? This post from MiniTool MovieMaker provides 10 solutions.
It must be frustrating when the video playback is lagging or choppy in Adobe Premiere Pro. This could be due to different reasons, such as video settings, media cache, and more.
When your video is not smoothly playing in Premiere Pro, try the following methods to fix the issue.
Solution 1: Lower Playback Resolution
When your computer doesn’t have enough space to deal with high-resolution videos, the choppy playback problem might happen in Premiere Pro. The first way to fix it is to lower the video playback resolution.
Premiere Pro allows you to change the video playback resolution without altering the exporting resolution. In the bottom right corner of the preview window, click the playback resolution menu (Full), and choose 1/2 or 1/4 to reduce the playback resolution.
Solution 2: Disable High-Quality Playback
By default, the High Quality Playback option is enabled in Premiere Pro to help you watch videos. But when you have trouble with choppy playback, turn it off to fix playback lag in Premiere Pro.
To disable High-Quality playback, click on the Settings icon next to the playback resolution menu, and deselect the High Quality Playback option.
How to improve the quality of your video? Read this post – 6 Online Video Quality Enhancers That Worth a Try to find the best solution.
Solution 3: Turn on GPU Acceleration
To enjoy smooth playback in Adobe Premiere Pro, make sure the Render is set to GPU Acceleration. You can click on File > Project Settings > General, and check if your Renderer is set to Mercury Playback Engine GPU Acceleration under the Video Renderer and Playback section.
Solution 4: Delete Media Cache Files
Accumulated media cache files will take up a lot of space, which will affect the performance of Premiere Pro. Remove media cache files to optimize performance and fix the laggy playback.
To clear media cache files, close the project first, go to Edit > Preferences > Media Cache, and click Delete next to Remove Media Cache Files. Then, select Delete unused media cache files and click OK.
Solution 5: Use Proxy Videos
Proxy videos in Premiere Pro refer to the low-resolution video copies of original video files. When you can’t smoothly watch high-resolution videos in Premiere Pro, create a proxy copy to fix the playback lagging issue.
In the project panel, select your videos and right-click on it, choose Proxy > Create Proxies. Select the media format, set the Preset to low resolution proxy, and click OK. This will open Adobe Media Encoder to automatically convert your footage to proxies.
Solution 6: Mute FX
Visual and audio effects can significantly increase the working size of video files. Thus, you can mute the effects to fix Premiere Pro playback lag if your video playback is laggy or choppy.
To do this, click the fx button in the playback toolbar. If you can’t see it, click the + icon and drag the fx button to the toolbar.
Solution 7: Optimize Rendering for Performance
Alternatively, you can set optimize rendering for performance to fix Adobe Premiere Pro playback lag. Click Edit > Preferences > Memory. From the pop-up window, click Memory dropdown mute next to the Optimize rendering for option, choose Performace, and click OK.
Solution 8: Render Preview Videos
Premiere Pro always tries to play any sequence in real-time and at full frame rate, but this is not always possible for complex sections. If you want to do this, Adobe recommends rendering preview files for those sections. This will also usually fix video playback lag in Premiere Pro.
To choose the sections you want to preview, move the playhead to the start point and press the I key, and continue to place the playhead to the out point and press the O key to set an out point. Click Sequence and select Render In to Out.
Solution 9: Increase Memory Allowance
When your playback is choppy in Premiere Pro, try increasing memory allowance to fix the problem. Go to Edit > Preferences > Memory and change the value of RAM reserved for other applications into a smaller number to increase available RAM for Premiere Pro and other Adobe applications you’ve installed.
Solution 10: Close Unnecessary Applications on Your Computer
If your computer is running many programs, you can close unnecessary ones to increase Premiere Pro performance to fix the playback lagging issue.
An Adobe Premiere Pro Alternative for Beginners
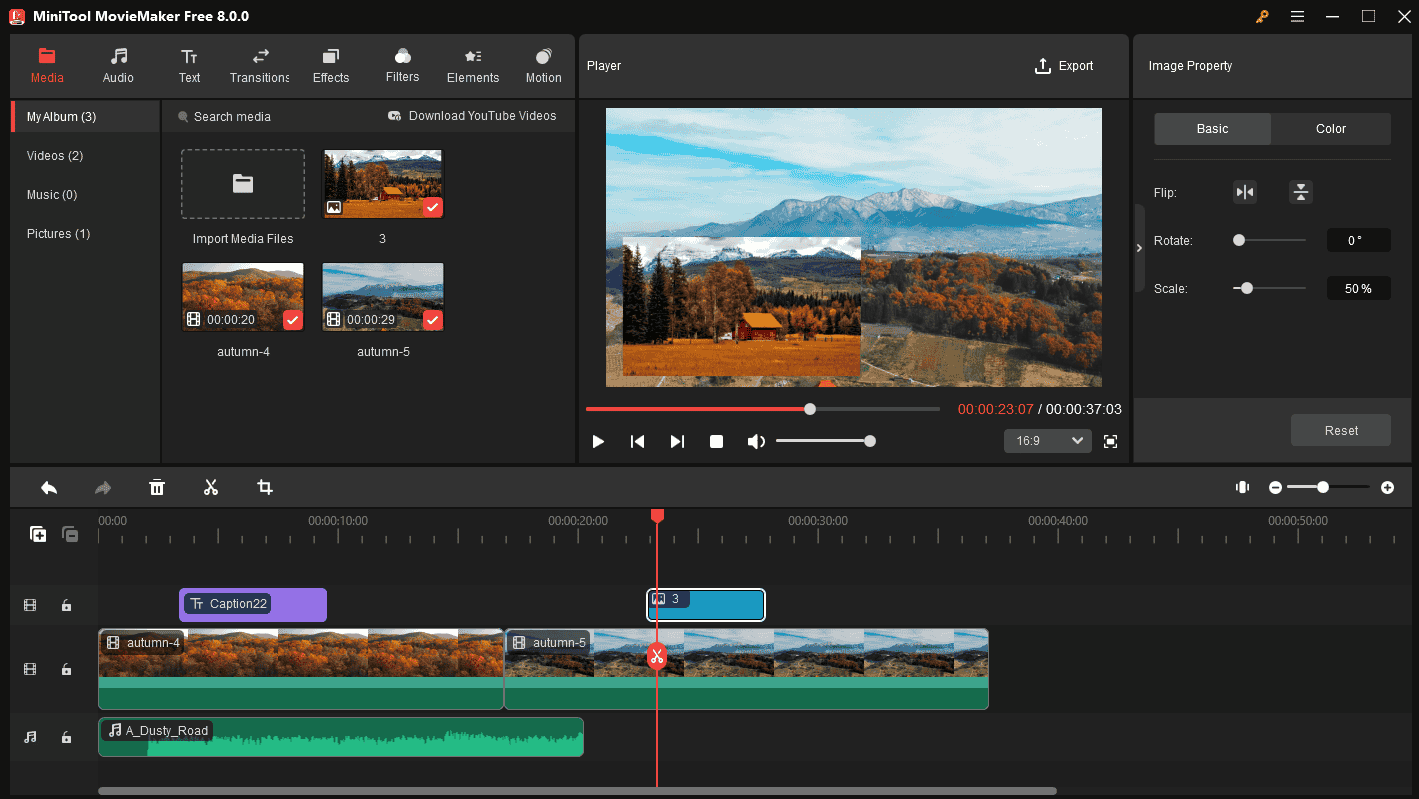
If you’re a novice to video editing, Premiere Pro is difficult for you to use. You can try a simple alternative – MiniTool MovieMaker, a video editor for beginners to create videos.
MiniTool MovieMakerClick to Download100%Clean & Safe

MiniTool MovieMaker is equipped with many editing tools and effects to edit and enrich your videos, and its multitrack editing feature gives you more possibilities to turn your footage into amazing content. More importantly, it lets you export videos up to 4K for free without watermarks.
Conclusion
Premiere Pro playback lag issue is annoying but it can be fixed with the above methods. When you can’t enjoy smooth playback in Premiere Pro, work through these tips to resolve the problem.


User Comments :