How to make a car vlogging video like a pro? This post from MiniTool offers three steps: preparation for a Car vlog, start filming, and edit the car vlog. To make the editing process smoother, I recommend three advanced video editors: MiniTool MovieMaker (Windows video editor) Microsoft Clipchamp, and CapCut. Read on.
As the short videos market becomes more competitive, more content creators are seeking innovative ways to produce videos. Car vlogging has gained significant popularity. Filming inside a car creates a unique atmosphere that makes viewers feel like they are actually in the car, having a discussion or experiencing something in real time.
How to make a car vlogging video? Everything you need to know about making car vlogs is covered below, which will help you create videos that will keep your audience engaged and wanting more!
Step 1. Preparations for a Car Vlogging
To create a car vlog, prior preparation is very important. Here, I have 5 tips for you.
1. Decide the Topic and Content
First things first, you need to choose a topic for the video. You can share an interesting or meaningful life experience, discuss recent news or trending topics, share practical driving advice, and more. Just use your creativity to the fullest to find a topic that is most likely to make your video go viral.
2. Choose a Reliable Camera Device
A good camera is kind of the most important thing for making a car vlog. The camera should be small, portable, stable, and easy to use. Here are some recommendations:
Smartphones:
- iPhone XR
- iPhone XS Max
- iPhone 15 Pro
- iPhone 16 Pro Max
GoPro:
- GoPro HERO9 Black
- GoPro HERO12 Black
- GoPro HERO13 Black
Action Camera:
- DJI Osmo Action 4
- DJI Osmo Pocket 3
After the camera is selected, it’s time to think about where to place it. In order to capture the best angles and be safe, you need to choose a mount that keeps the camera stable and doesn’t obstruct your road vision. You can choose from dashboard mounts, windshield clips, or headrest mounts.
3. Audio Recording Device
The hum of the engine and the traffic noise outside can be loud, causing your voice to be unclear in the video. To ensure that the audio is clear, you should consider using a radio device.
4. Good Lighting Environment
Lighting is also very important for filming videos. Natural light is best. If you’re recording at night or in dimly lit environments, better to use a clip-on LED light, interior dome light, etc.
Step 2. Start Filming Your Car Vlog
After all the preparation is done, you can start car vlogging now! It’s best to avoid stiffness, keep a relaxed and natural expression.
Also, safety is really important when shooting your vlog. Staying alert and focused on the road is always a priority when recording car vlogging videos. No video should ever jeopardize the safety of yourself or others. To make sure your car vlogging is safe and legal, I’ve listed the following key tips:
1. Be sure to mount your camera before you drive.
It is usually illegal to use electronic devices while driving. Use a safe and stable mount, do not hold the camera in your hand, always keep your hands on the steering wheel, and focus on the road.
2. Have a good grasp of what to talk about.
Plan what you want to say ahead of time to avoid distractions. Prepare your talking points in advance so that you can communicate naturally and without interruption.
3. Be aware of the local regulations regarding filming while driving.
Filming while driving is strictly prohibited in some areas. To prevent fines or penalties, make sure you are aware of the laws and regulations in your area.
Step 3. Edit Car Vlog Video
To take your video to the next level, editing is a necessary part. Good video editors make the process more effortless. Here, I recommend three professional video editors and show you how to edit your car vlogging video.
Option 1. MiniTool MovieMaker
MiniTool MovieMaker is a powerful and free video editing software for Windows users. It features a wide range of editing functions, including trim, crop, split, reverse, rotate, speed up, and more. Additionally, this application features a resource library with a variety of transitions, motions, filters, audio, captions, and more. Add them to your video as you prefer!
More than that, MiniTool MovieMaker can process videos, audio, and images. It supports a wide range of formats, such as MP4, MKV, MOV, AVI, FLV, MP3, AAC, WAV, PNG, JPG, GIF, and so on. After editing, you can customize output parameters, like frame rate, bitrate, resolution, etc.
Here’s how to edit your car vlogging video with MiniTool MovieMaker.
1. Download and install MiniTool MovieMaker.
Click the button below to download MiniTool MovieMaker. Then, follow the setup instructions to install this program on the PC.
MiniTool MovieMakerClick to Download100%Clean & Safe
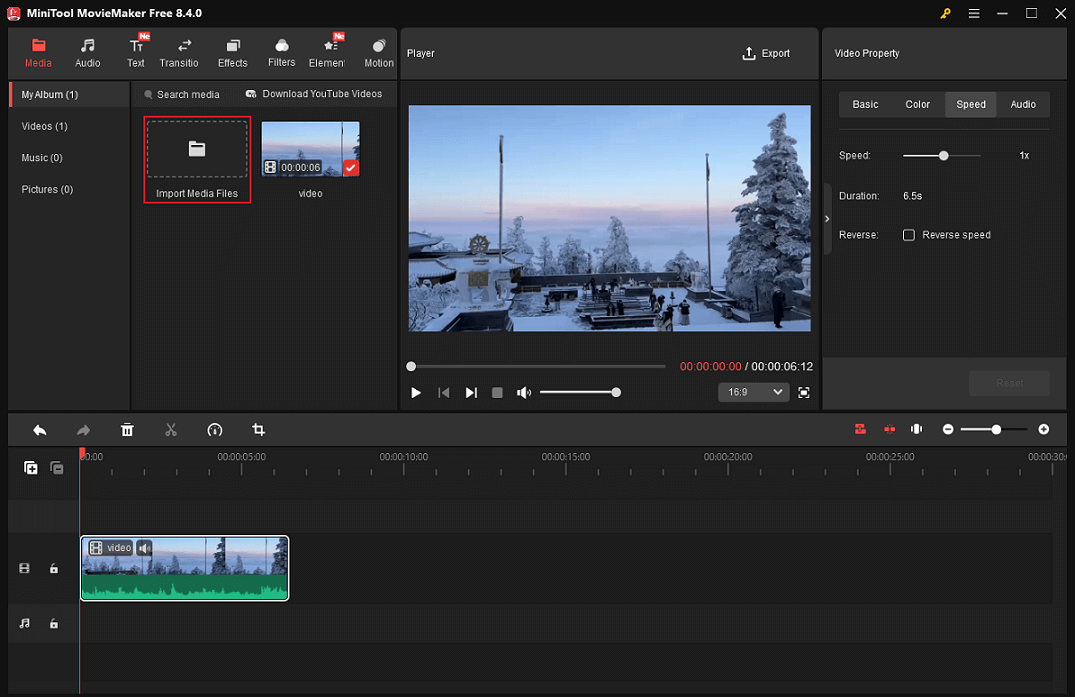
2. Import the car vlogging video.
Launch MiniTool MovieMaker and click on the New Project option to enter the editing page. Then, click the Import Media Files option to add the car vlogging video.

3. Edit the Video
Drag the added video onto the timeline.
Split the video
Drag the red playhead to the desired location and click the Scissors icon to cut the video. Next, delete the unwanted clip.

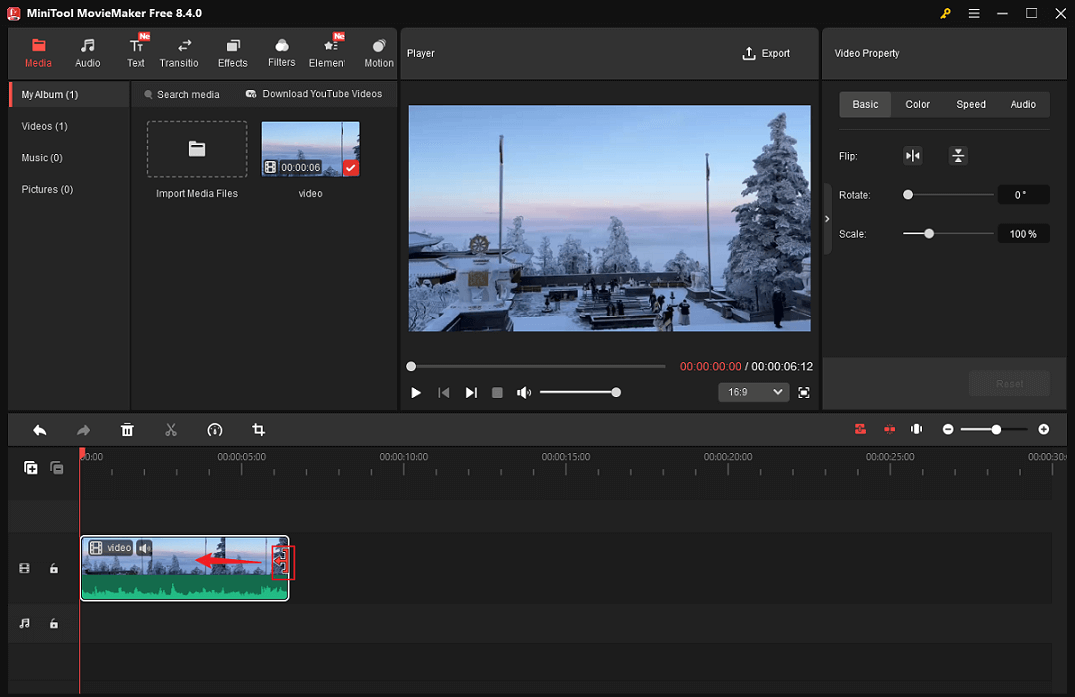
Trim the video
To trim the video, click the video on the timeline, hover the mouse cursor to the beginning/end of the video until you see the Trim icon. Drag and move it rightwards/leftwards to delete the unwanted part.
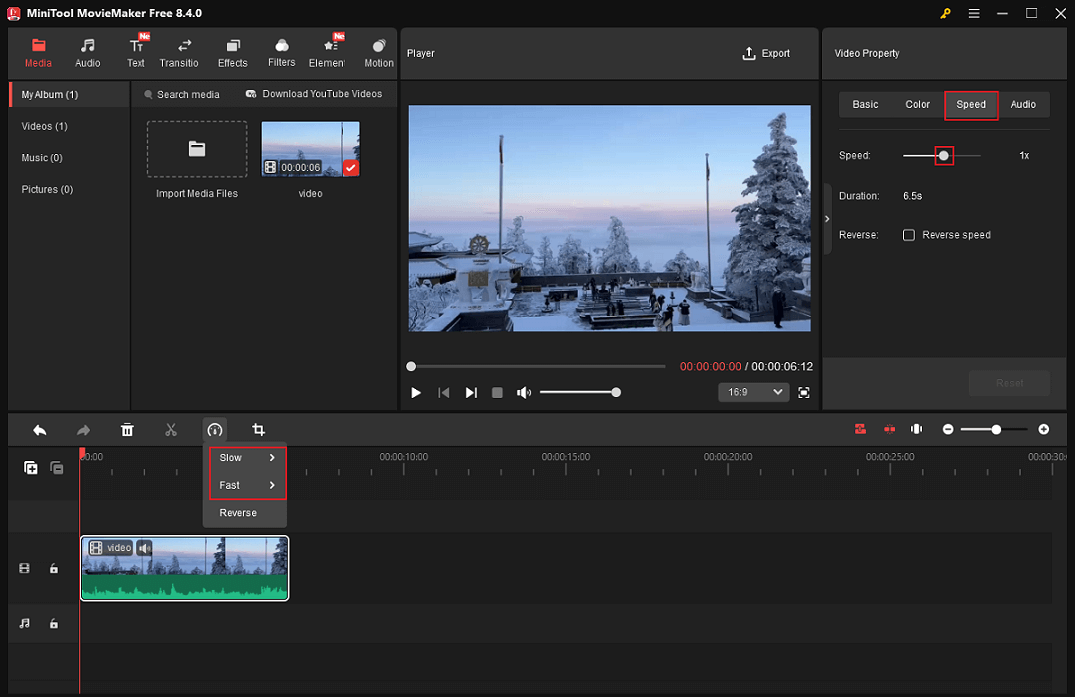
Change video speed
Click the video, select the Dashboard icon in the toolbar above, click Fast or Slow, and choose the desired speed. Alternatively, you can go to the Video Property section at the top right, choose the Speed tab, and drag the Speed slider to set the video speed.
4. Add BGM to the Car vlogging video.
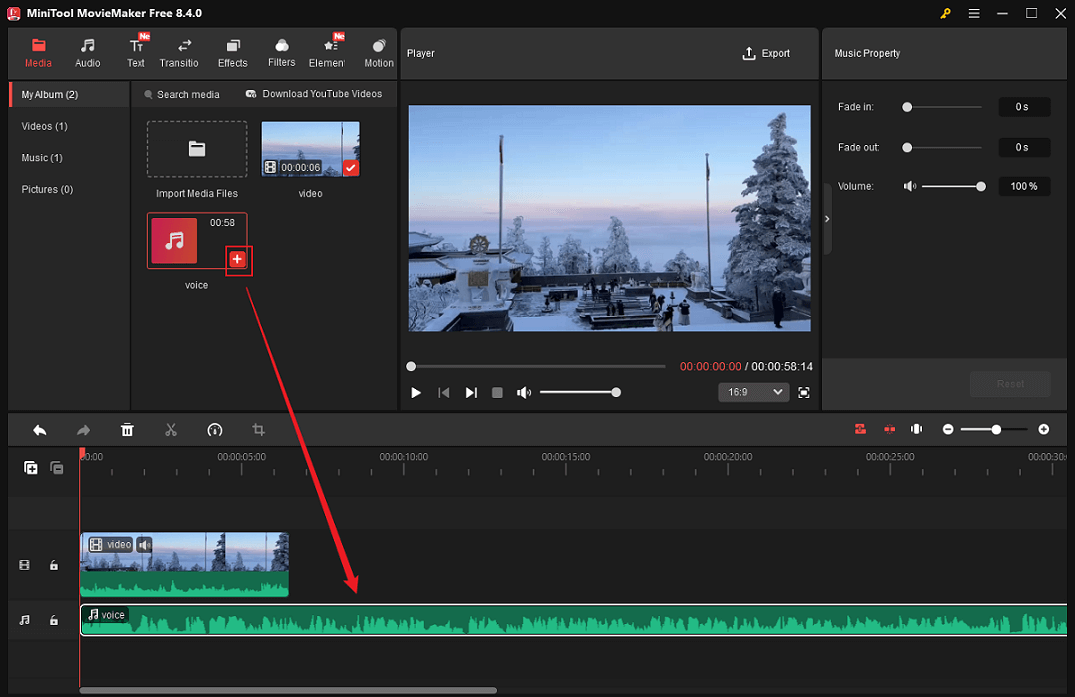
1. Add your own music.
Click the Import Media Files option to add audio from the local folder.
Move the mouse cursor over the added audio and click the Plus icon to add it to the video.
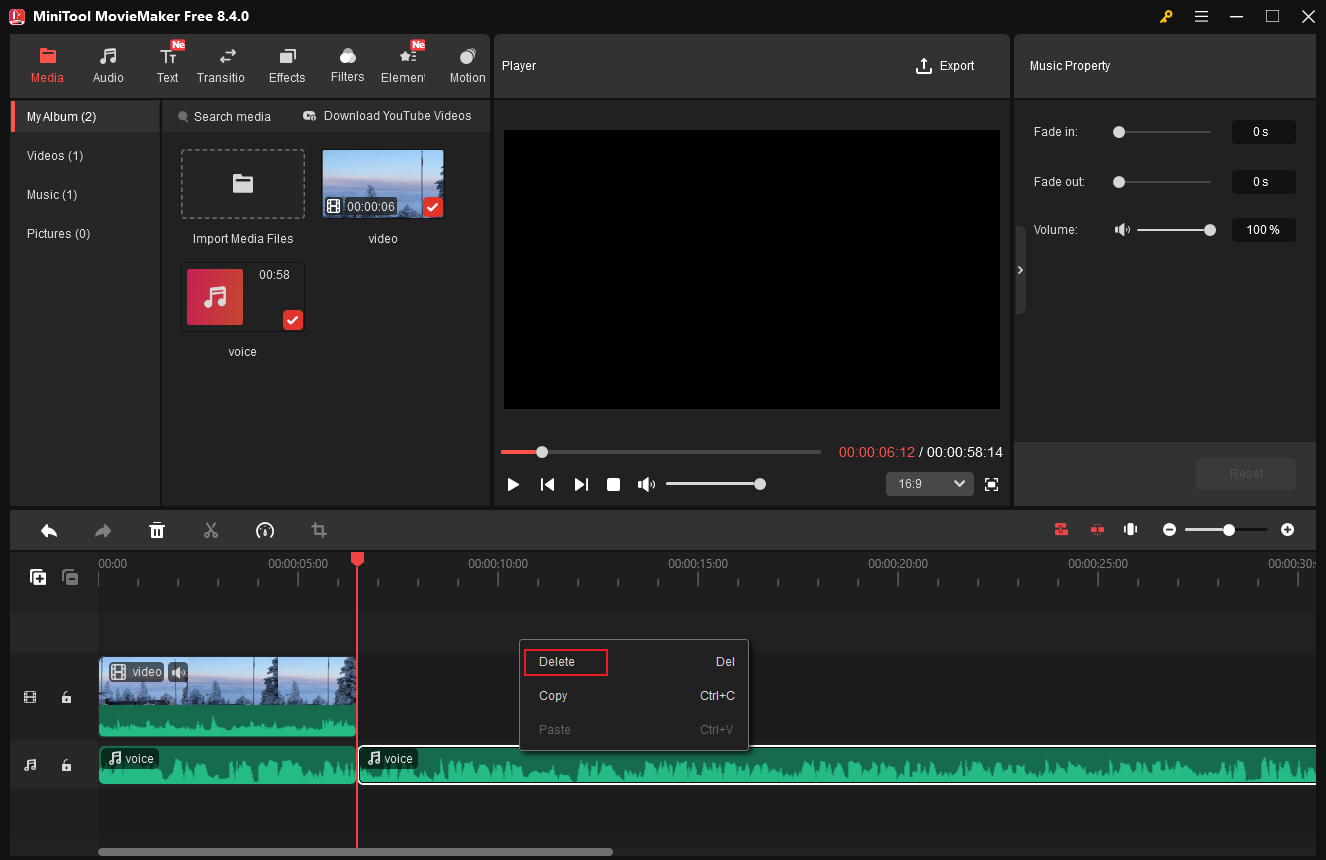
Drag the playhead to the end of the video, click the audio on the track, and then click the Scissors icon to split the audio into two parts

Right-click the unwanted audio part and click the Delete option, so that the audio matches the video’s duration.
2. Add audio from the resource library.
Head to the Audio section and drag the wanted audio to the audio track.
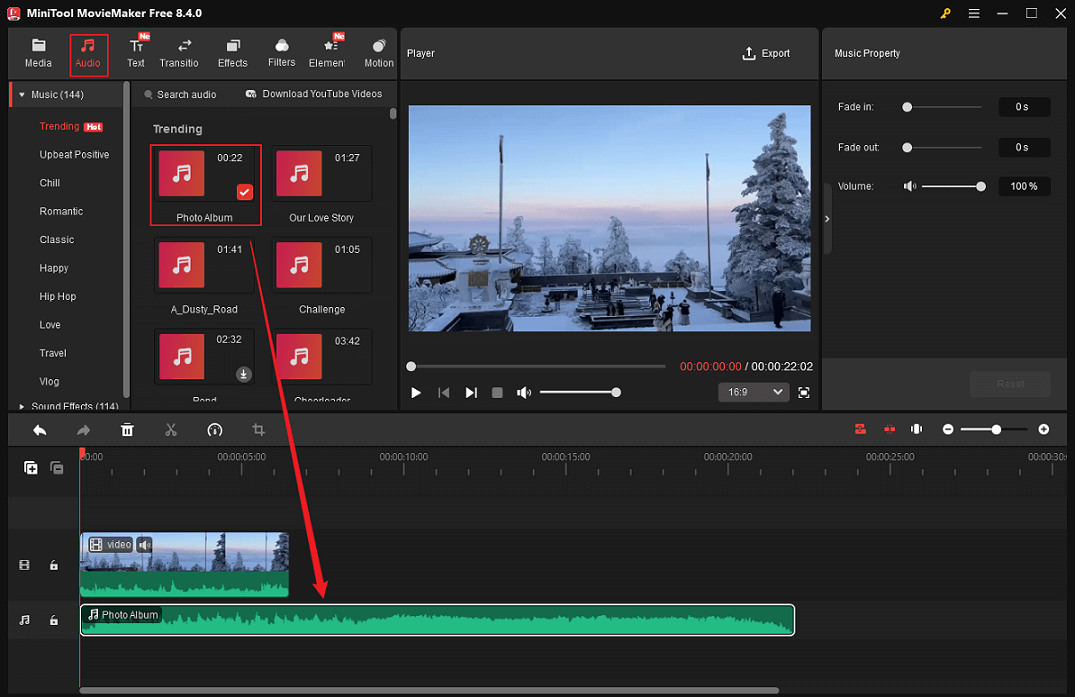
To match the duration of the audio and the video, perform the above operations.
5. Make the video more interesting.
MiniTool MovieMaker’s resource library has a wide range of transitions, effects, filters, elements, text styles, and motions. You can choose and add them to the video based on your needs.

6. Export the edited car vlogging video.
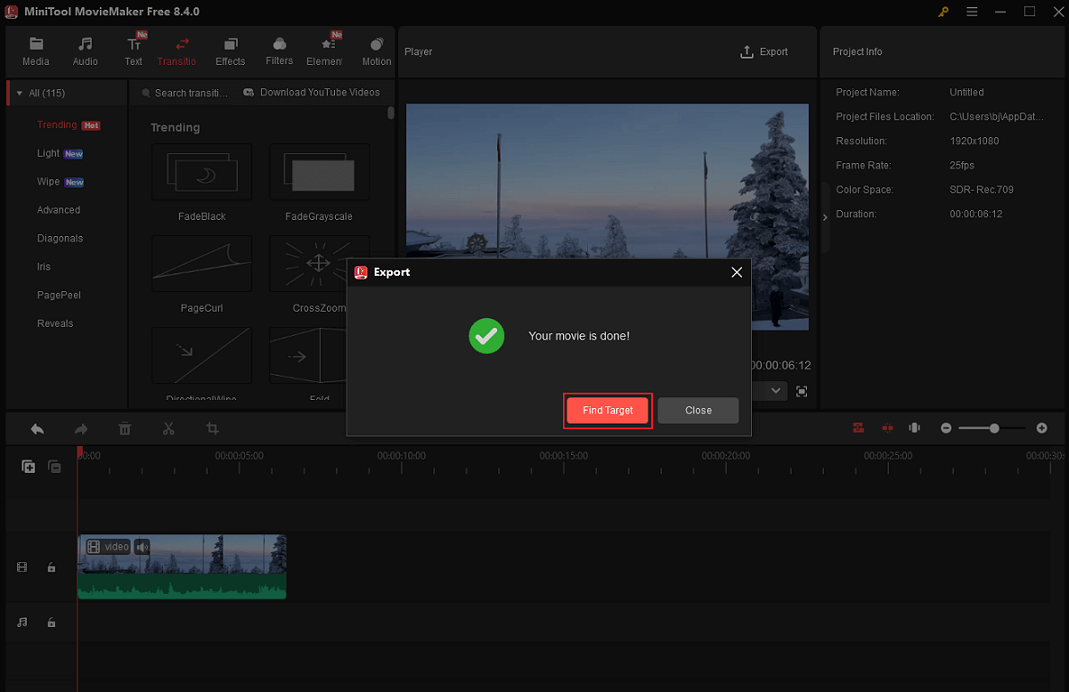
To open the Export window, click the Export icon located in the upper right corner of the Player window. There, adjust the frame rate, resolution, and output format to suit your requirements. Then, click on the Export button to export the video.
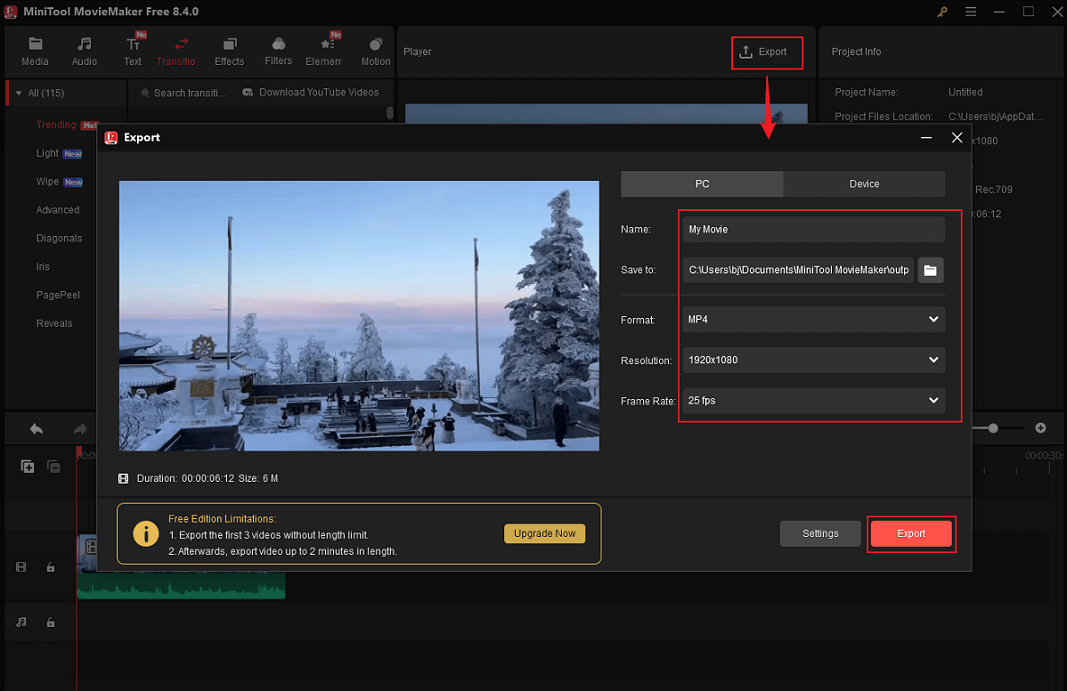
Click the Find Target option to locate the video in the local folder after the exporting process is complete.
Furthermore, MiniTool MovieMaker can be used as a video compressor, media player, audio remover, audio extractor, and video converter.
MiniTool MovieMakerClick to Download100%Clean & Safe
Option 2. Microsoft Clipchamp
Microsoft Clipchamp is also an expert video editor, featuring a straightforward user interface that allows you to edit videos effortlessly. It features basic editing tools, including trimming, cropping, splitting, rotating, and reversing.
Additionally, you can enhance your videos for free with transitions, filters, stickers, borders, effects, backgrounds, and more. Moreover, you can export videos in 1080p, 4k, and other resolutions. Clipchamp can also function as an audio extractor, AI voice generator, auto subtitle generator, and more.
You can follow the instructions below to edit your car vlogging video using Clipchamp.
1. Make sure Clipchamp is installed.
Check if Clipchamp is installed on your computer. If not, go to Microsoft Store to download and install this software.
2. Import the car vlog video you want to edit.
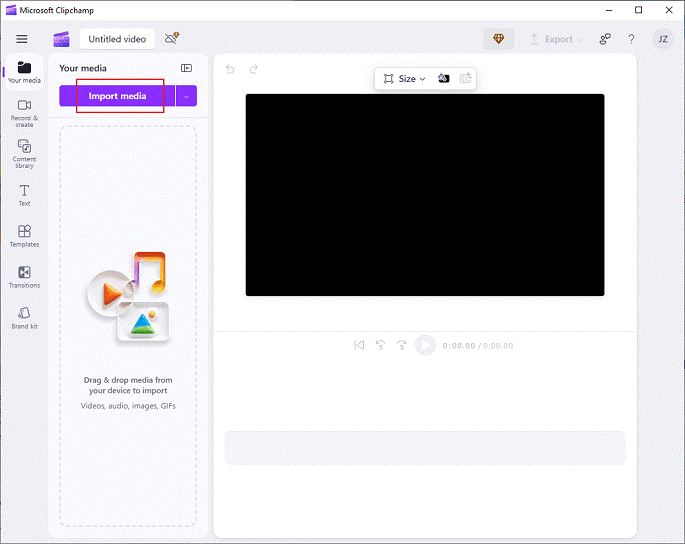
Launch Clipchamp and click on Create a new video to enter the editing page. Next, click the Import media option to add the target video.
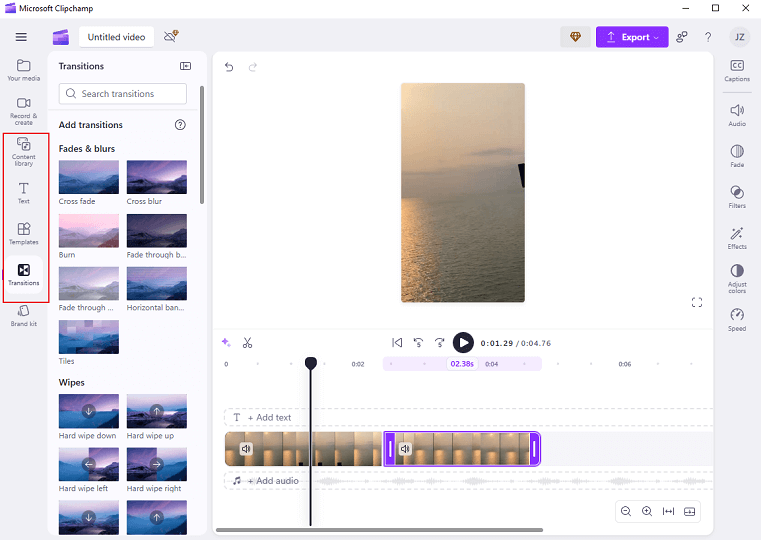
3. Edit the car vlogging video.
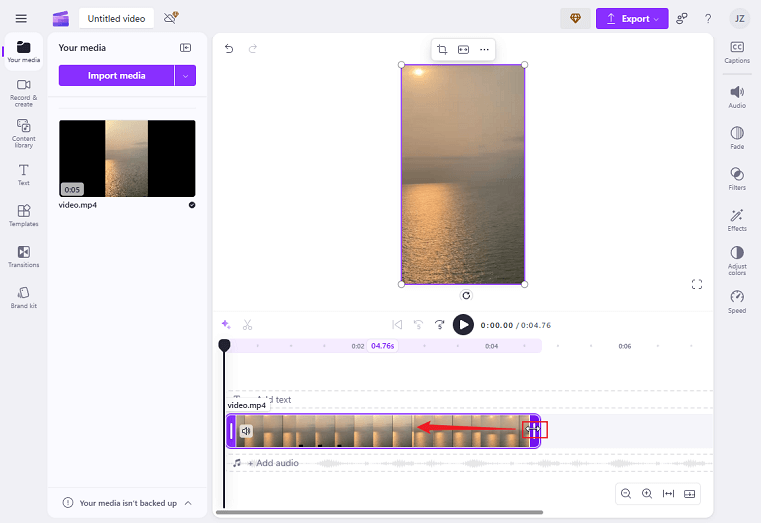
Drag the added video to the timeline.
Trim the video
Hover the mouse cursor over the start/end of the video track until the double-arrow appears; drag rightwards/leftwards to remove the unwanted part.
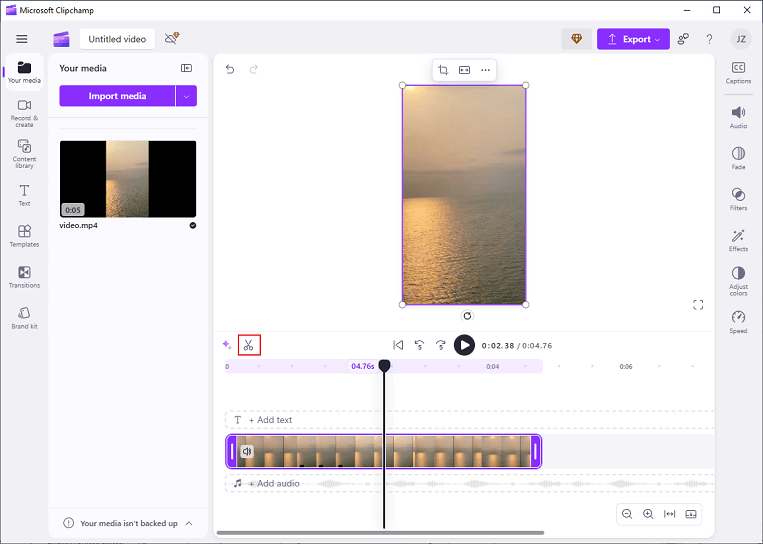
Cut the video
Move the playhead to where you want the split happens, then click the Scissors icon to cut the video into two clips.
Add more contents to the video
There are many transitions, templates, text styles, and more in the left menu. You can use them in the video for free.
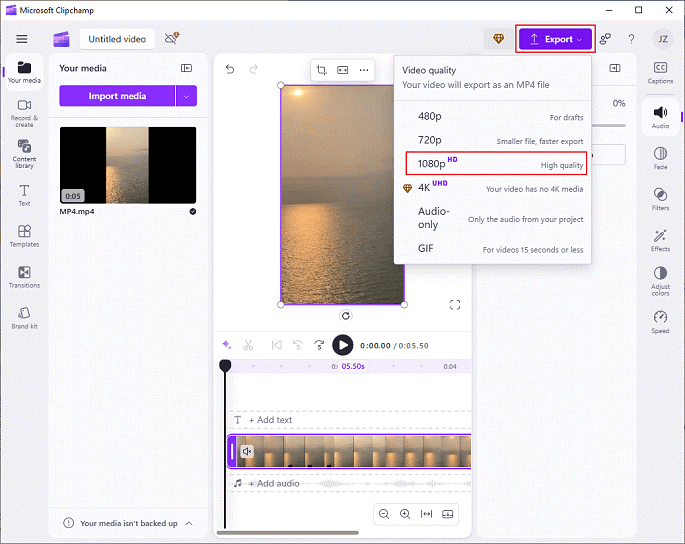
4. Export the video.
When you’re satisfied with the video, click the Export button at the top right and select the desired resolution (1080p is highly recommended). After that, click on Save to your computer.
That’s it!
Option 3. CapCut
CapCut is a popular video editing software that features a variety of editing functions. It enables you to trim, cut, crop, reverse, speed up, rotate, and do more to videos. And of course, CapCut has a resource library, including various transitions, filters, effects, stickers, captions, etc. You can add them to videos based on your needs.
The specific editing instructions are as follows.
1. Download and install CapCut.
Visit CapCut’s official website to download and install it on your computer.
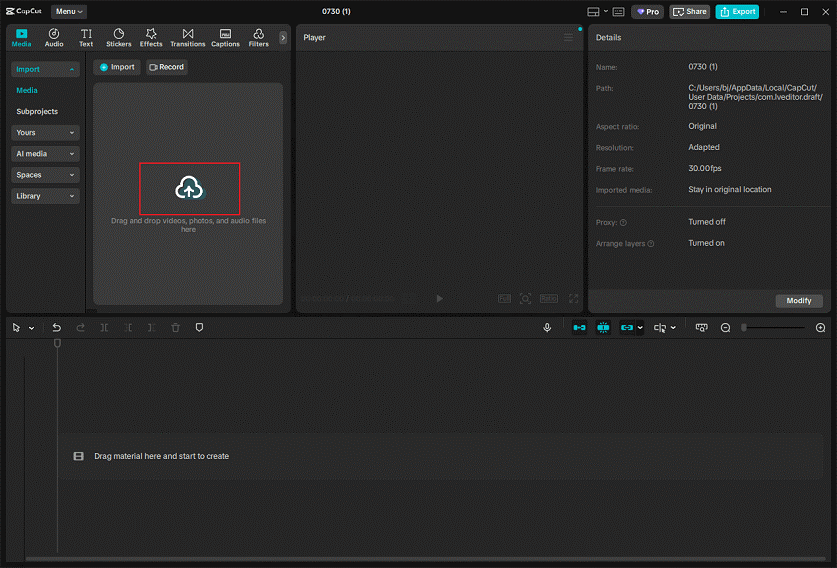
2. Add the car vlogging video.
Launch CapCut and click on the Create project option to access the main interface. Then, click the Drag and drop videos, photos, and audio files here area to add the video you want to edit.
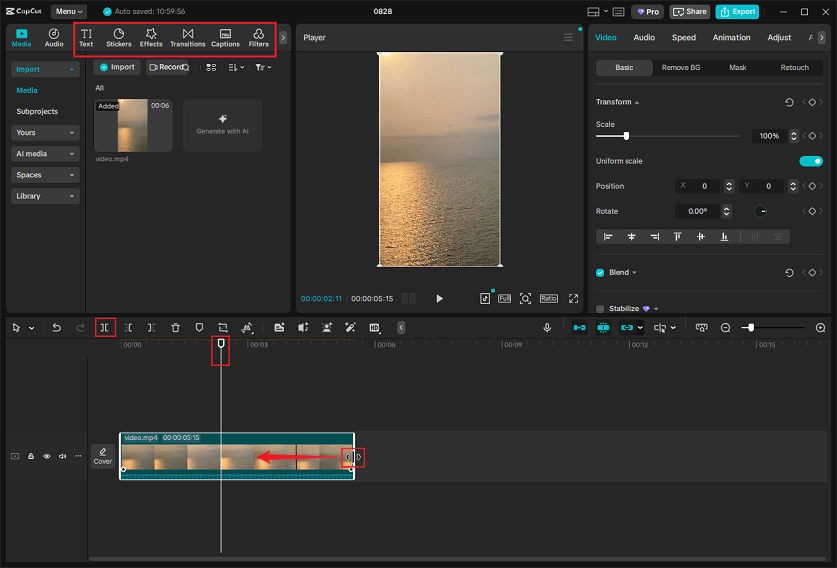
3. Edit the Car vlogging video.
Drag and drop the imported video to the timeline.
- Trim the video: Hover the mouse cursor to the start/end of the video until you see the Trim icon; drag it rightwards/leftwards to remove the unwanted part.
- Split the video: Move the playhead to the desired place and click the Split icon from the toolbar.
- Add transitions, stickers, etc. to the video: There are plenty of transitions, text styles, music, stickers, filters, etc. in the resource library. Add them to your video as you prefer.
4. Export the video.
Click on the Export icon at the top right to open the Export window. Next, configure the desired resolution, format, codec, frame rate, and bitrate. After that, click the Export button to save the car vlog video.
All done!
In Summary
How to make a car vlogging? This post offers 3 steps to complete that: make preparations, start filming, and edit your car vlogging video. To refine your video with ease, I also recommend 3 professional video editors: MiniTool MovieMaker, Microsoft Clipchamp, and CapCut. Feel free to choose the one you prefer.
Keep in mind that your safety comes before any shot. Be sure to follow the rules of the road and put your safety first when recording your video. Hope this article can be helpful! You can contact us at [email protected] if you have any questions about using MiniTool MovieMaker. Also, you can send me messages directly on Twitter, and I’ll help you as soon as possible.
User Comments :