The following contents also apply to Windows 10/8.1/8/7 with some differences in the location of the options.
Nowadays, we have many devices to store digital data like photos, videos, music, documents, applications, etc. Usually, we keep our work data on the computer at the office while saving private data on the PC at home. Yet, what if you need to take your work home to continue working?
You may directly send the needed files to yourself through social communication apps or by email when you are at the office. Then, when you go home, just log into your account and receive those files and store them on the home computer.
However, if there is a large size of data that needs to be transferred and you need to not only use it at home but also in some other places, you may need to transfer them into a USB flash drive and take it anywhere you go.
Then, how to transfer photos from Windows 11 to USB stick (for example)? There are several ways.

How Do I Transfer Photos from My Computer to a USB Stick – Copy & Paste
First of all, you can take advantage of the most common way that nearly all compute users know to help you transfer pictures. That is copy and paste.
- Insert the USB stick into the USB port on your device.
- Open Windows File Explorer and find where the photos that you would like to transfer are.
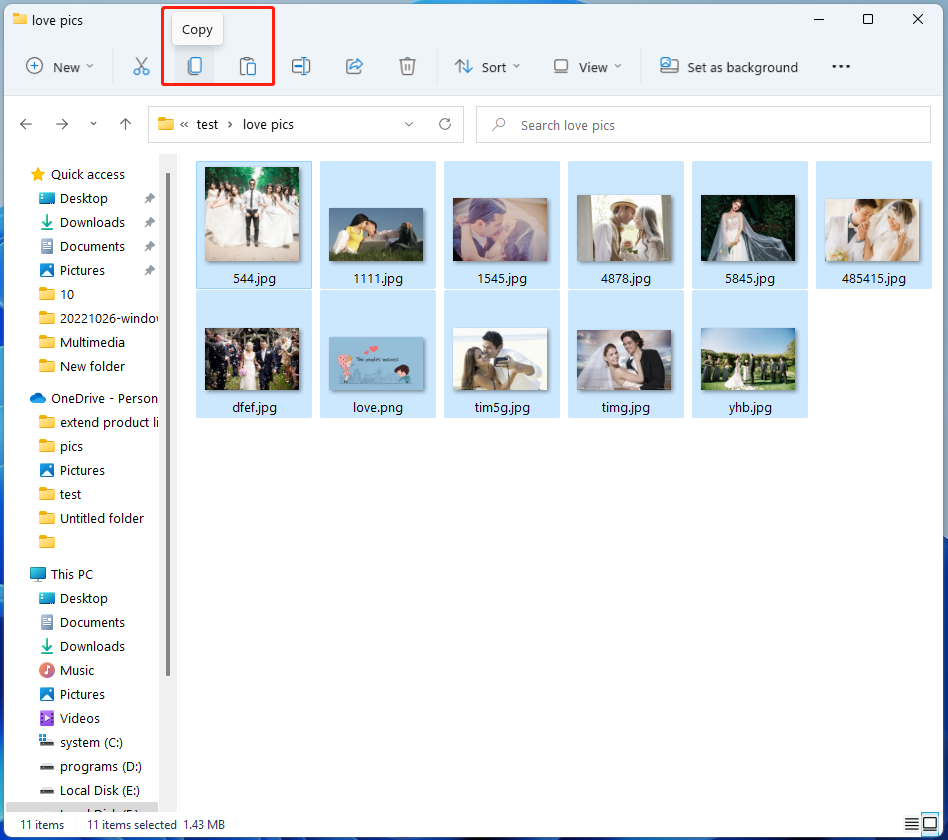
- Right-click on one of the target photos and select Copy.
- Move to the USB flash drive, right-click on any blank area and choose Paste.
- Wait for the process to complete.
- Repeat the operations to transfer all the target images.
If you have many graphics that need to be transferred, it is troublesome to transfer them one by one. Thus, you can transfer them quickly by adopting either of the below methods.
- Put all photos that you want to transfer in a folder and copy & paste the folder in one time.
- Put all target photos in one location, select them all, then copy and paste them at one time.
For the copy-and-paste action, you can use keyboard shortcuts to replace the options. “Ctrl + C” can replace copy and “Ctrl + V” can replace paste. Or, just click the Copy/Paste option on the toolbar.
If you don’t need to keep the source photos in their original location, you can cut (Ctrl + X) and paste them into the target USB disk. In this way, the time needed to complete the transmission will be shorter.
How to Transfer Photos from Computer to USB Flash Drive – Drag & Drop
Secondly, you can directly drag the target pictures to the destination.
Step 1. Connect your USB hard disk to your PC.
Step 2. Open File Explorer and go to the location where the source photos locate.
Step 3. Open the USB flash drive in Windows Explorer.
Step 4. Shrink both explorer windows and put them side by side on your desktop.
Step 5. Left-click on the target photo(s) in the source explorer, press and hold the left-click key on your mouse, drag the photo(s) to the USB explorer, and release the mouse key.
Thus, the target photos have successfully been copied to the destination USB drive.
How to Transfer Photos from Computer to USB Memory Stick – Send To
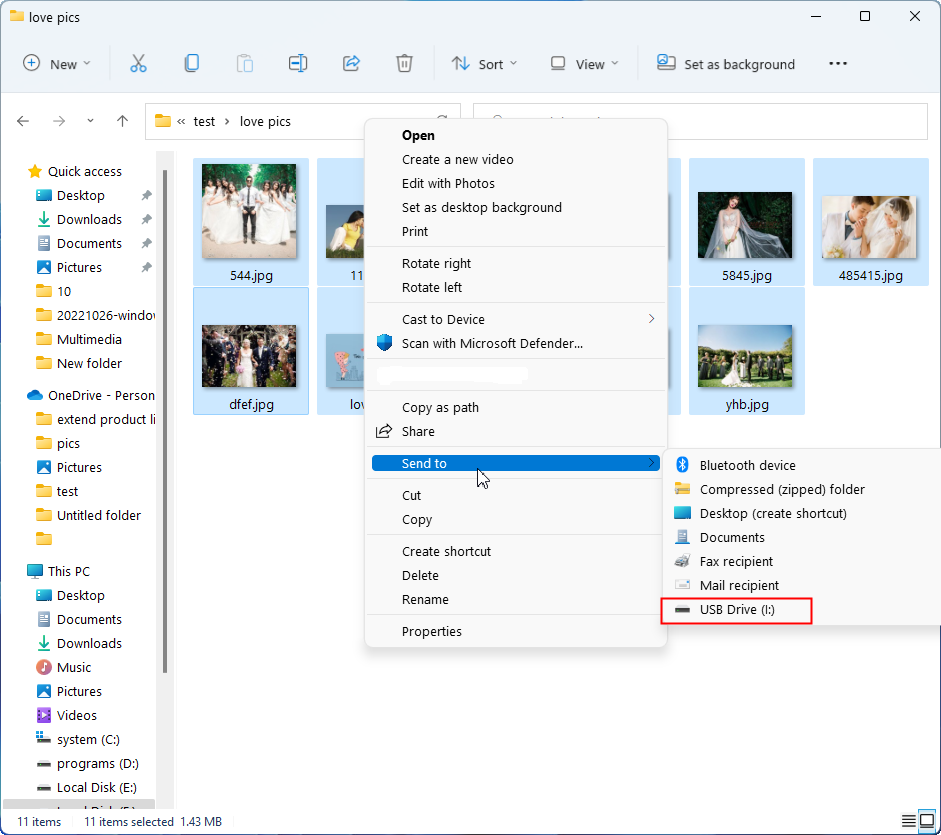
Finally, you can make use of the “send to” feature in file explorer to copy your photos from your local computer to a removable USB hard disk drive.
- Plug the USB drive into your computer.
- Right-click on the target photo(s) and select Send to. If you can’t see the “Send to” option, just choose Show more options and you will see it in the next right-click menu.
- Further select your USB stick as the destination.
Isn’t it easy how to transfer photos from Windows 11 to USB stick? The above solutions apply to all computers running Win11 including desktops, laptops, notebooks, and so on.
Also read:
About The Author

Position: Columnist
Helen is a tech writer with over 10 years of experience. She specializes in creating easy-to-follow guides for video editing, media file conversion, and computer performance. Helen doesn't just write—she tests every software herself and listens to feedback from users and experts. Her goal is to make complex programs simple so that everyone can solve their tech problems with confidence.
User Comments :