Are you getting the error “The file has an unsupported compression type” in Premiere Pro when importing video? This guide from MiniTool MovieMaker will teach you how to fix it.
Premiere Pro is the industry-leading video editor because of its rich features and advanced tool. But you might come across various situations while using Premiere Pro like media pending, export error code 3, file import failure, etc.
Sometimes, when you’re trying to import a video into Premiere Pro, the File Import Failure window popups with an error message saying “The file has an unsupported compression type”.
This error means Premiere can’t read your media and fails to import it. This error even occurs when you import MP4 video files.
If you’re wondering how to fix “The file has an unsupported compression type” in Premiere Pro, you’ve come to the right place. Here’re 4 methods.
Before trying these solutions, you should check if you’re using the trial version of Premiere Pro. If so, you would experience errors with importing MP4 and AVCHD files. The only solution is to upgrade to a paid membership.
#1. Delete Media Cache Files in Premiere Pro
If the media cache file is corrupted, issues such as “The file has an unsupported compression type” error may appear. Clear the media cache files to fix it.
With your Premiere Pro open, click Edit > Preferences > Media Cache, click Delete next to Remove Media Cache Files in the Preferences window, select Delete unused media cache files, and click OK.
Then, try to import your video again. If the error message still appears, follow the above steps and select Delete all media cache files. Then, restart Premiere Pro and try again.
#2. Change the File Location
Sometimes, the file has an unsupported compression type error in Premiere Pro might be caused by the file path on your computer. Change the location of your videos to fix the error.
You can move your video file to another folder and try importing again, or you can move the file to another disk.

#3. Change the File Extension
Alternatively, to fix “The file has an unsupported compression type”, you can change your video’s file extension before importing in Premiere Pro.
You should change the file extension to the video format that’s accepted by Premiere Pro like MP4 or MTS.
Locate your video, right-click on it, choose Rename, change the file extension to .mp4, and click OK.
When you’re trying to import an unsupported video file type like MKV into Premiere Pro, you may also receive “The file has an unsupported compression type” error message instead of “Unsupported format or damaged file”.
Some people also encountered the same situation when they were importing an OBS recording video into Premiere Pro because OBS’s default video format is MKV. To fix this issue, you can remux recordings in OBS and save them in MP4.
Open OBS Studio, click File > Remux Recording and select your videos, click Remux, and you’ll get an MP4 version of these MKV files.
If you want to convert other MKV videos from other sources, you can try MiniTool Video Converter, a free video converter that can convert a variety of video file types to MP4.
MiniTool Video ConverterClick to Download100%Clean & Safe
#4. Reinstall Premiere Pro
If “The file has an unsupported compression type” error isn’t fixed, try reinstalling Premiere Pro.
Uninstall Premiere Pro, then rename the AdobeInstalledCodecs folder to another name. To locate this folder:
- Windows: C: Users/Public/Public Documents/AdobeInstalledCodecs
- Mac: Mac HD/Users/User Name/Shared/AdobeInstalledCodecs
Then, reinstall Premiere Pro. Launch it and attempt to import your video.

Use Adobe Premiere Pro Alternatives
When you cannot import videos into Premiere Pro for editing, consider another video editing program like MiniTool MovieMaker. It’s one of the best Premiere Pro alternatives for beginners to create and edit videos because of its ease of operation and rich editing tools and effects.
MiniTool MovieMakerClick to Download100%Clean & Safe
MiniTool MovieMaker’s advanced multitrack editing lets you add up to 9 video tracks and 2 audio tracks to layer your editing material, which makes picture-in-picture and split-screen effects available, enhances the visual effects, and satisfies complex editing demands.
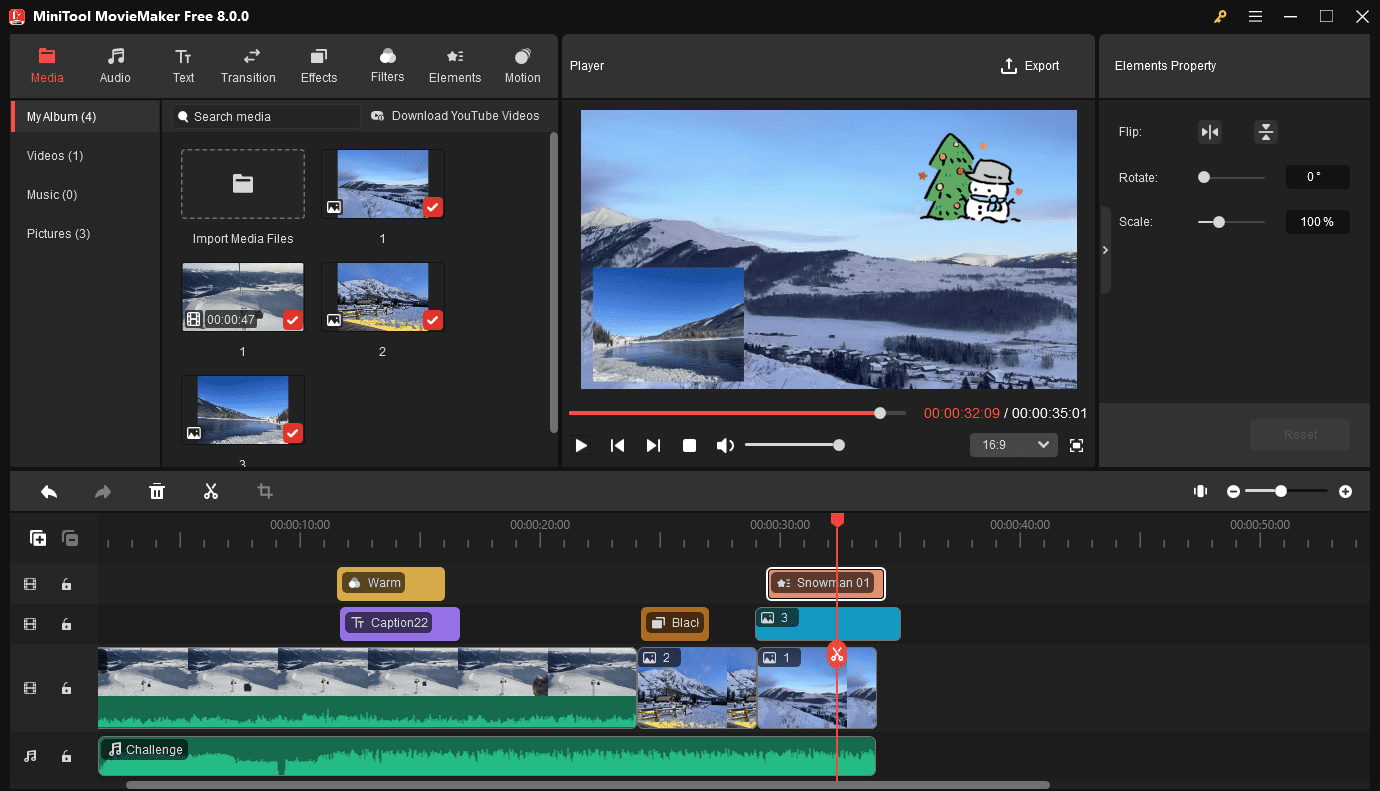
As for the basic editing features, this video editor allows you to import many video file types like MKV, MP4, AVI, WMV, MOV, and MPG and lets you crop, trim, split, rotate, and reverse videos, and apply filters, transitions, text, and stickers, change the video aspect ratio, etc.

Conclusion
This post offers 4 methods to fix “The file has an unsupported compression type” in Premiere Pro including when importing OBS recordings. Hope these ways can resolve your problem so you can edit your video in Premiere Pro.
About The Author

Position: Columnist
Cora is a tech writer specializing in digital media workflows, with over six years of hands-on experience in video post-production, media transcoding, and screen capture. Her writing is always clear and practical. Cora also produces in-depth software reviews for users across skill levels to help them find the right tool and enjoy video editing.
User Comments :