Audio editing is a necessary skill for content creators to perfect their works. Since MP3 is the most-used audio format, this post will teach you how to edit MP3 files on Windows 10/ Mac/ online.
Editing MP3 files is important when you need to make a ringtone from your favorite MP3 song, remove unwanted portion of an MP3 file, change the speed of an MP3 file, etc. To do MP3 editing, an excellent MP3 editor is a must. This post shows you how to edit MP3 with 4 best free MP3 editing tools including Audacity, MiniTool MovieMaker, etc.
Part 1. How to Edit MP3 on Windows 10
Option 1. Edit MP3 using Audacity
Audacity is a free audio editor. It supports MP3, WAV, AIFF, FLAC, AU and OGG files and comes with a full set of audio editing tools such as MP3 cutter, MP3 merger, vocal remover, noise reduction and more. These tools are super powerful. By using Audacity, all the basic and advanced audio editing can be done well.
Besides, this MP3 editor also can be used to record streaming audio through a mixer or microphone.
Let’s see how to edit MP3 files on Windows 10 with the powerful MP3 editor – Audacity.
Add MP3 file
1. Firstly, you need to install Audacity on your computer.
2. Then open the program, click on File in the menu bar and select Open from the drop-down list.
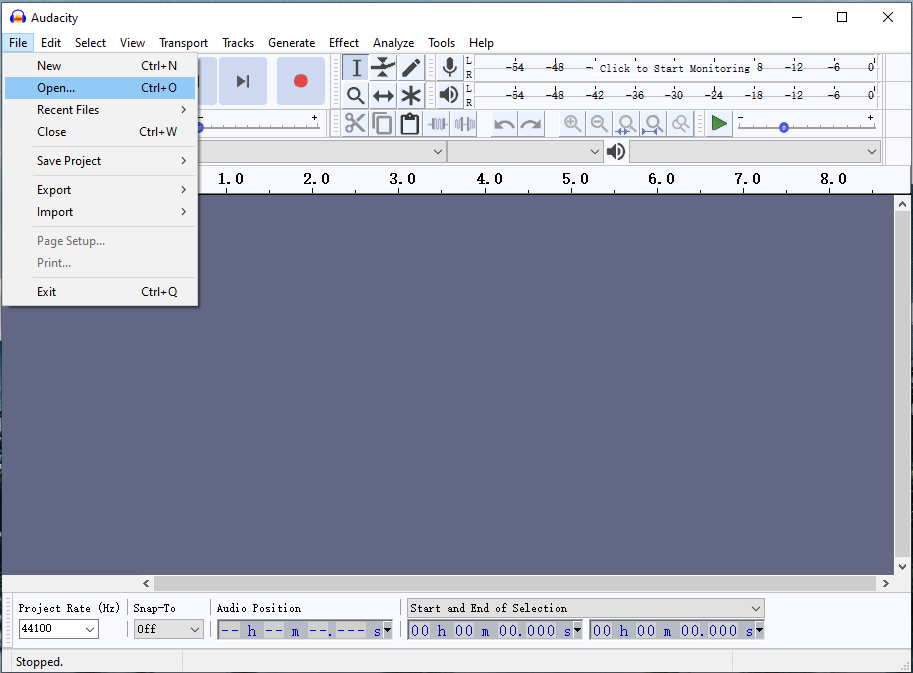
3. From the File Explorer window, choose the MP3 file you want to edit and add it to Audacity.
Cut MP3 file
1. Find and choose the Selection Tool in the toolbar or press F1 to activate it.
2. Tap on View and choose Zoom > Zoom in to enlarge the MP3 file.
3. Play the MP3 file and decide where you want to cut. Then use the Selection Tool to select the unwanted part.
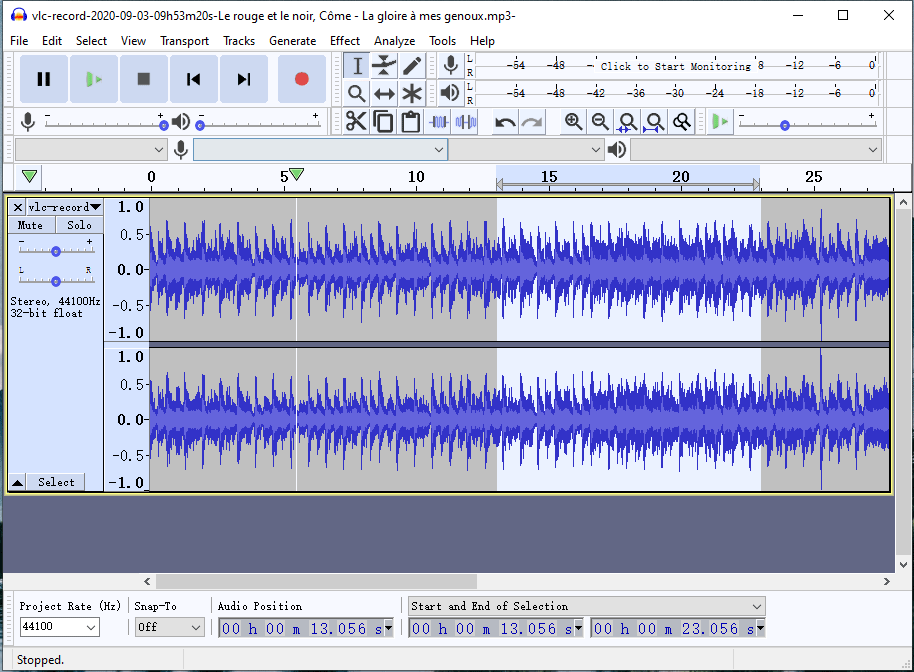
4. Now, you can cut the highlighted part by clicking the scissor icon.
See also: How to Split Audio in Audacity – Solved
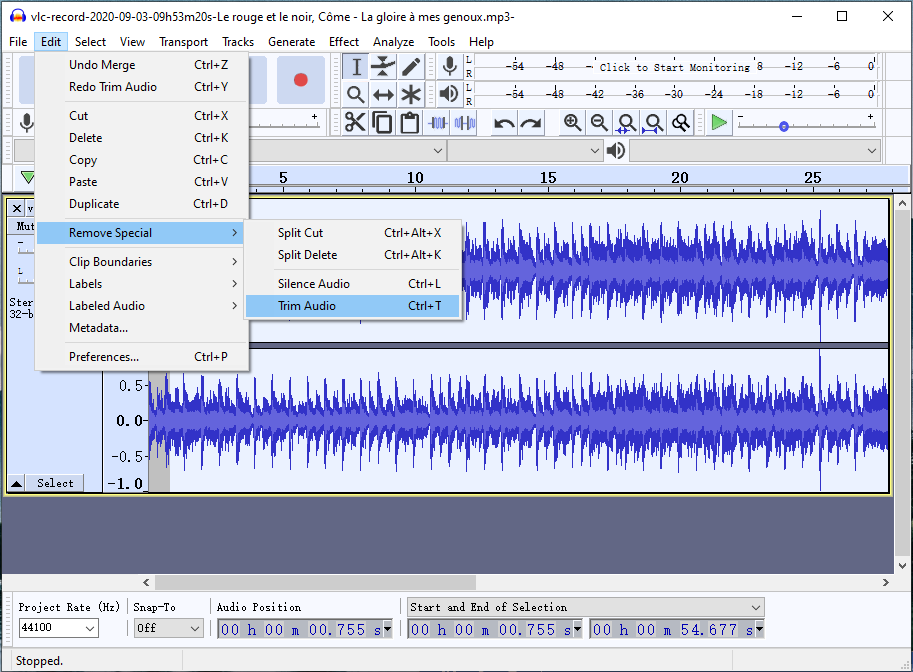
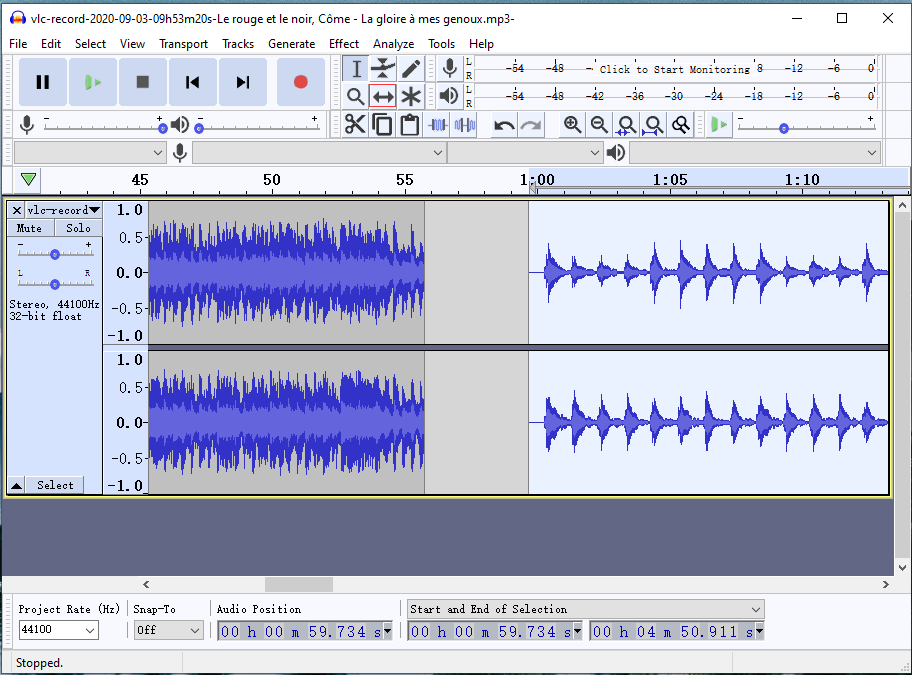
Trim MP3 file
1. To trim the beginning and end of the MP3 file, choose the Selection Tool and make sure that the part of MP3 you want to keep is selected.
2. After that, go to Edit > Remove Special and choose the Trim Audio option to trim the MP3 file. Or simply press and hold the “Ctrl + T” key to cut out the beginning and end of the MP3 file.
Merge MP3 files
1. After importing the MP3 file, navigate to File > New to open a new window. Then add another MP3 file.
2. Double click on the newly-added MP3 track and press “Ctrl + C” to copy the track.
3. Go back to the previous window, choose the MP3 file, and drag the slider until you can see the blank space.
4. Then press “Ctrl + V” to paste the file behind the original MP3 track.
5. Select the Time Shift Tool from the toolbar and choose the track you wish to move.
To know how to reduce background noise in audio using Audacity, you should read this post: 2 Ways to Remove Background Noise from Audio.
Edit MP3 Metadata
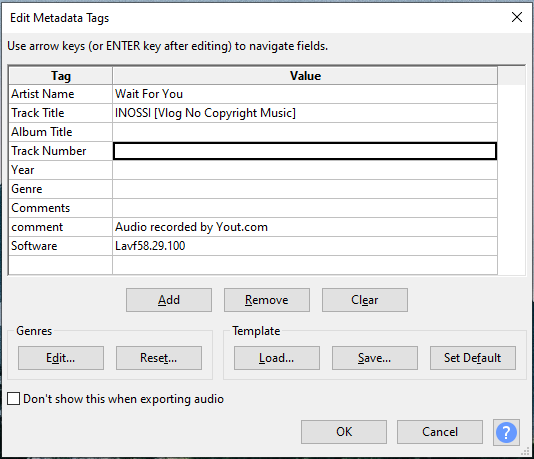
1. Audacity is a music tag editor. To edit MP3 metadata, first, you need to load the target MP3 file.
2. Click on Edit and choose the Metadata… option to open the Edit Metadata Tags window.
3. From this window, you can change the artist name, track title, album title, track number, year, genre and add comments. Double-click on the genre value box, and you can directly choose the genre that matches your MP3 song. Then click on OK to save changes.
Export the edited MP3 file
1. When you finished editing MP3 files, go to File > Export > Export as MP3.
2. Select a folder to save the file and give it a name.
3. Then hit the Save button to export the edited MP3 file.
If you want to learn about the usage of Audacity, here’s a post you can have a look at How to Use Audacity? Here are 7 Tips for You!
Option 2. Edit MP3 in Video using MiniTool MovieMaker
Actually, MiniTool MovieMaker is a video editor and it can’t edit MP3 without images or videos. But for those who want to edit background music in video or remove audio from video, this video editing software is very helpful.
Main Features of MiniTool MovieMaker
- It’s a watermark-free video editor without bundles.
- It accepts all popular video and audio files.
- It’s loaded with basic and advanced editing features including cut, split, trim, merge, reverse, change playback speed and so on.
- It has a wide range of video transitions, filters, motion effects, movie templates, titles, text templates, free music tracks, etc.
- It can export videos in MP4, WebM, MKV, AVI, WMV, MP3, GIF, etc.
- It lets you create a GIF from a video or pictures.
- It can make a slideshow with pictures and music.
- Compatible with Windows 10/ 8/ 7.
Now, follow the below guides to learn how to edit MP3 in a video with MiniTool MovieMaker.
Import video and MP3 file
1. First of all, you should click on the Free Download button to get the MiniTool MovieMaker. Then follow the guidance to install it on your computer.
MiniTool MovieMakerClick to Download100%Clean & Safe
2. Launch the software and get its main user interface after closing the pop-up window.
3. Tap on Import Media Files to import the video and the MP3 file.
4. Then add the video and MP3 file to the timeline.
Cut MP3 file in video
1. Play the video with the added MP3 track and decide where you’d like to cut.
2. Choose the MP3 file and move the playhead to the target place. Then click the scissor icon on the playhead to split the MP3 track.
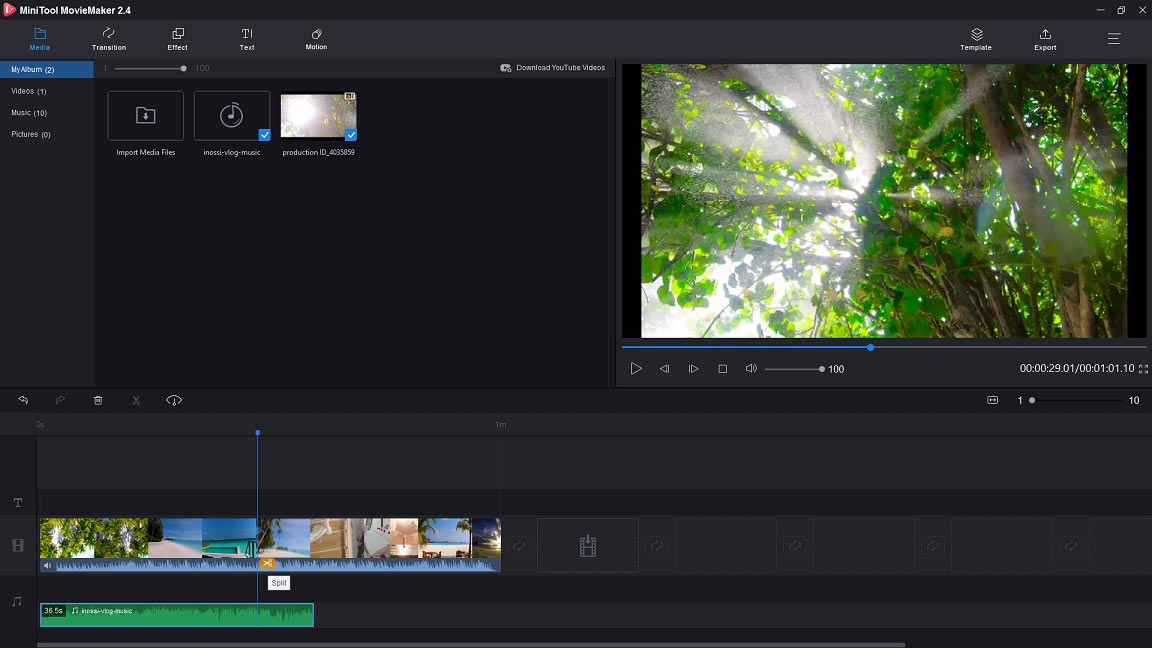
3. Later, right-click on the unwanted part of the MP3 file and select Delete to remove it.
Trim MP3 file in video
1. Choose the MP3 file on the audio track.
2. Drag the start/ end point of the MP3 track to the right/ left to trim its beginning/ end part.
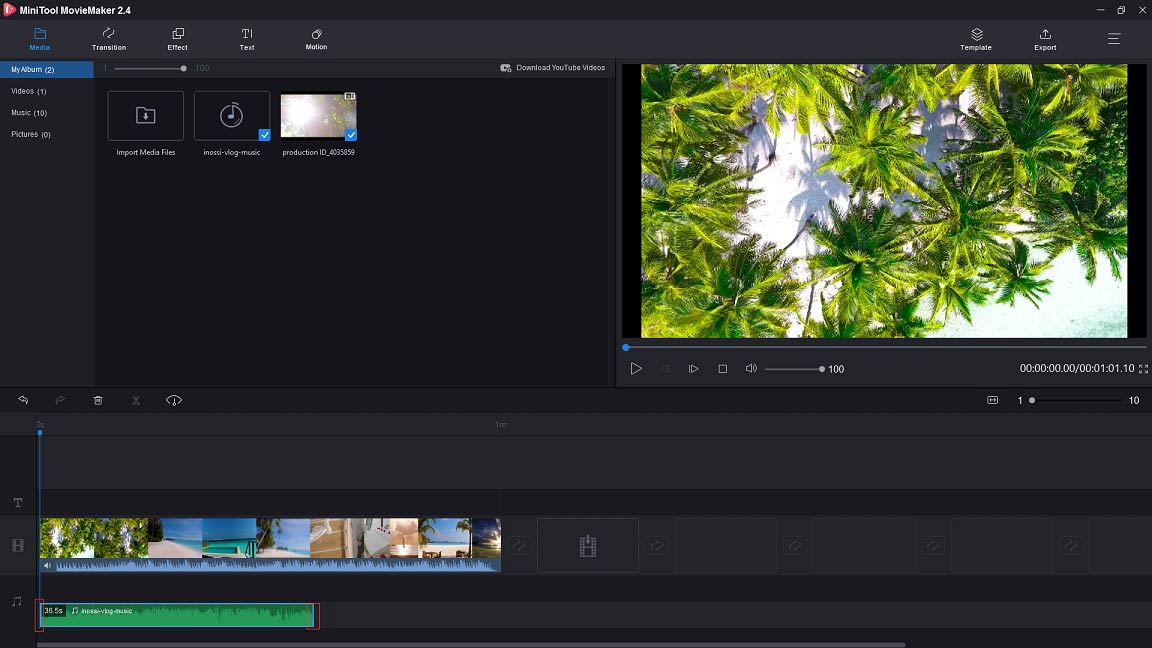
3. Then move the track to where you want to put in the video.
Merge MP3 file in video
1. Import another MP3 file from your computer and add it to the timeline.
2. Then you will see the two MP3 files are merged into one.
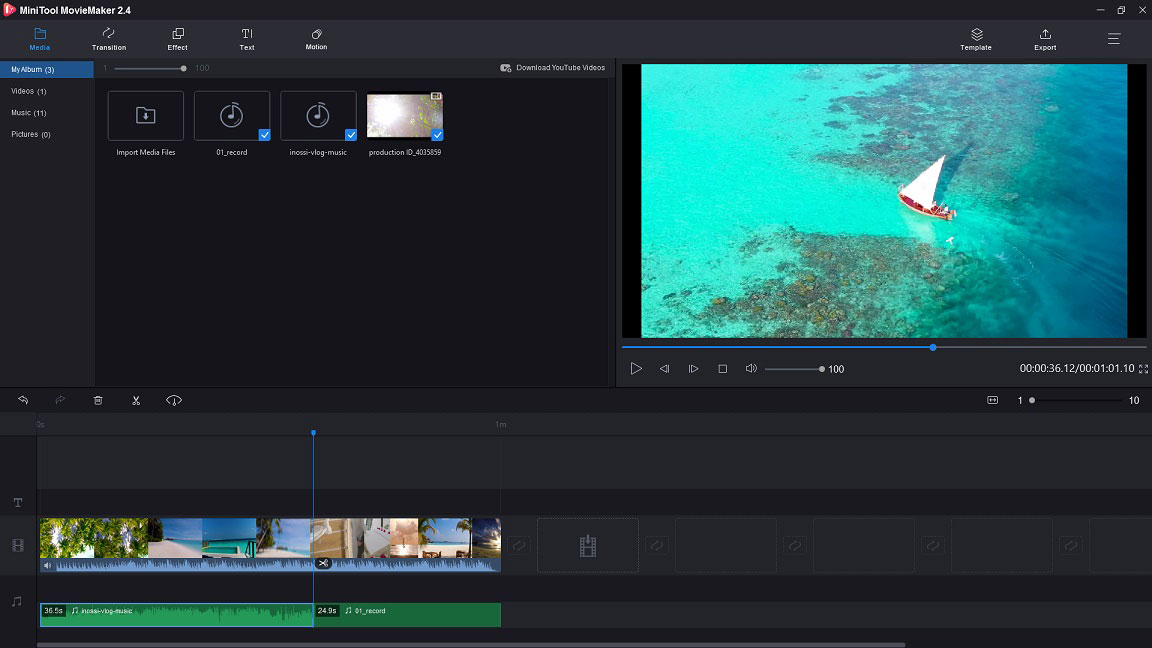
3. If you think the original audio is unnecessary, you can click the speaker icon below the video thumbnail to mute the audio. Or split the video and mute the wanted part of the video.
Fade in and fade out MP3 file
1. Make sure the MP3 track is chosen and double click it.
2. Go to the Music Set tab in the right panel, drag the slider to set the fade-in/ fade-out time.
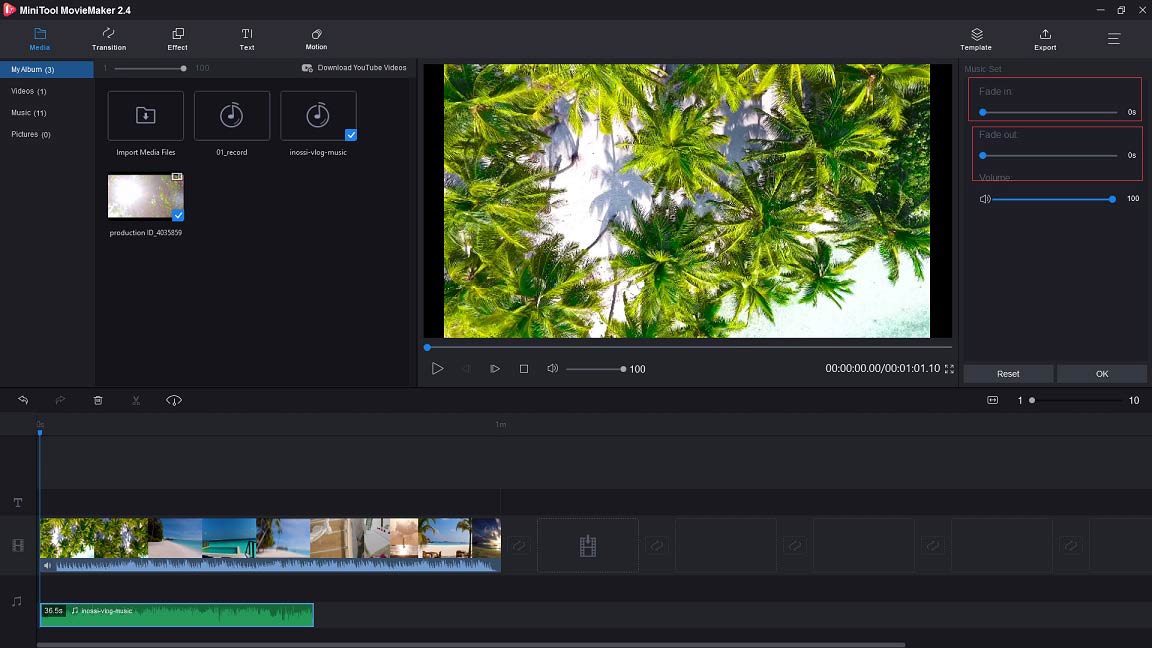
3. Also, you can adjust the volume of the audio. Then press on OK to apply the change.
Export edited file
1. After finishing all the MP3 editing, click on Export to get the Export window.
2. In the Export window, you can rename the file, change the file format, choose a new save path and change the video resolution.
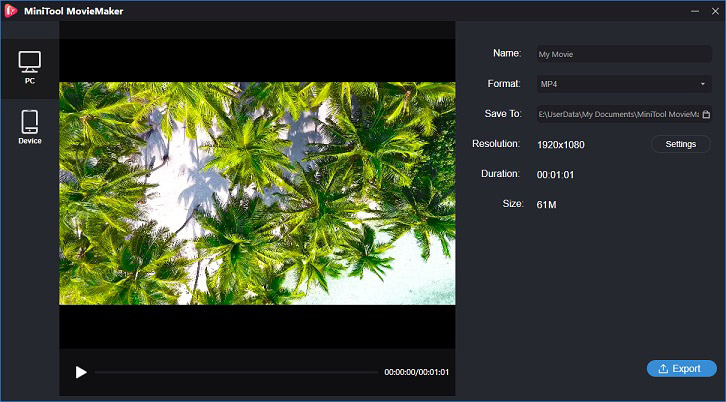
3. Finally, click on Export to export the edited file.
Try MiniTool MovieMaker to learn how to edit MP3 in a video!Click to Tweet
Part 2. How to Edit MP3 on Mac
QuickTime Player is a default media player for Mac computers. It can handle different formats of videos, audio files and images. It can be used as a video editor to rotate, trim, split and combine videos. Other useful features are also supported by QuickTime Player such as recording streaming video and uploading your videos directly to social platforms. Moreover, you can utilize this media player to trim MP3 files.
Here’s how to edit MP3 on Mac.
1. Run QuickTime player on your Mac computer.
2. Click on File and choose Open File from the drop-down menu.
3. Then the File Explorer window pops up, you can add the MP3 file you want to trim to QuickTime Player.
4. Go for Edit > Trim from the menu bar.
5. Move the yellow slider to adjust the length of your MP3 file.
6. Press the Play button to check if it’s the right clip you want to save.
7. Once you are done, click the Trim button to trim the MP3 file.
8. Navigate to File > Export to save the trimmed MP3 file.

Part 3. How to Edit MP3 Online
If you are not like others who use an MP3 editor frequently, then I suggest that you should use an online MP3 editor. This part introduces Apowersoft Free Online Audio Editor to you. It’s a free online audio editing tool that can edit MP3 files and export them to MP3, FLAC, M4A, AAC, WAV, or other formats. With it, you are able to cut, trim, split audio and combine multiple audio clips into one.
As it’s an online MP3 editor, you can edit MP3 files anywhere anytime with no special skill required.
Here’s a guide on how to edit MP3 file online with Apowersoft Free Online Audio Editor.
1. Go to the Apowersoft website, scroll down the homepage, and hove your mouse on the Online section. Then click on Audio Editor.
2. Click on Start Editing and download & install the launcher to launch the Audio Editor tool.
3. Tap on File > Load File to import the MP3 file you want to edit.
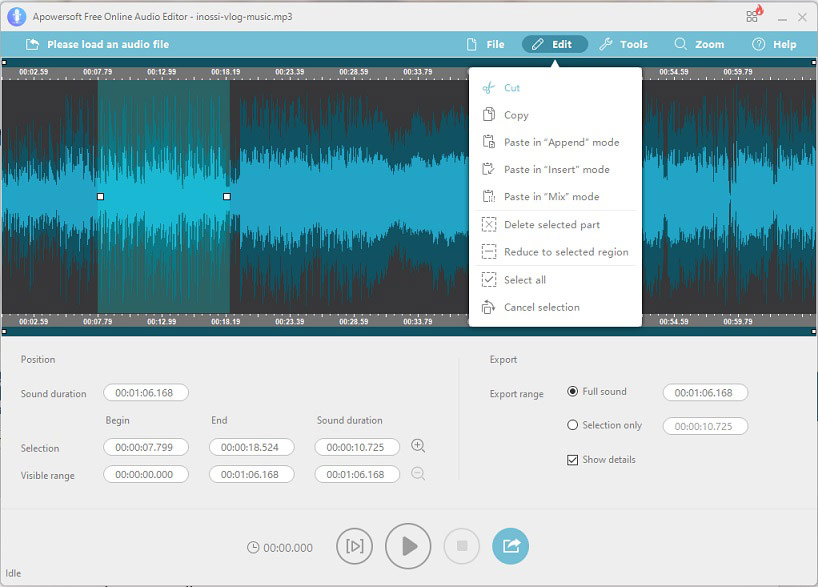
4. Click on the imported MP3 track and you will see a yellow line. Move and drag the line to select the unwanted part of the MP3 file.
5. Then go to Edit > Cut to cut out the selected section.
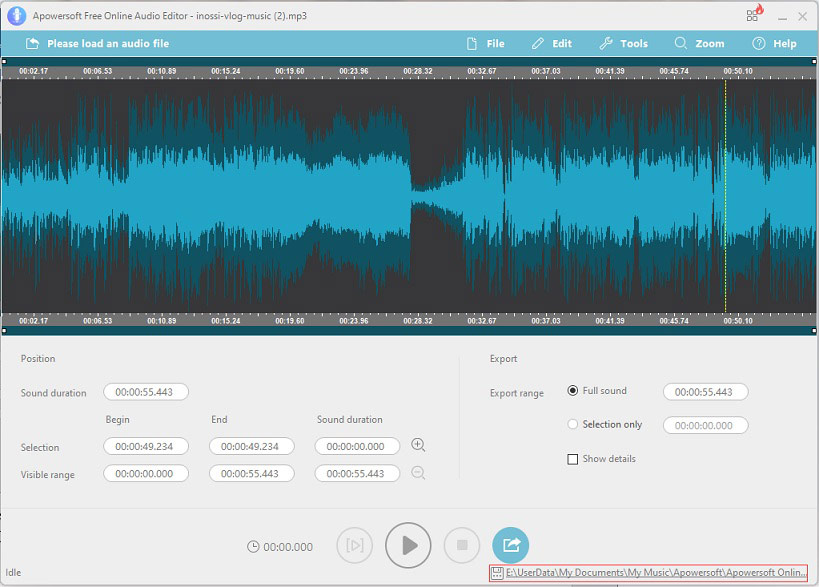
6. In the end, click File > Save as and it will automatically save the edited MP3 file to your device. You can check the file by clicking the save path in the lower right corner of the window.

Conclusion
Now, you must know how to edit MP3 files with these free MP3 editors that can meet the basic requirements of MP3 editing. If you are a professional, Adobe Audition might be your first choice. If you have any problems about this post, please contact us via [email protected] or leave a reply below!
How to Edit MP3 FAQ
- Choose a video editor like Windows Movie Maker.
- Import the photos to the software and rearrange the photos.
- Then add the music to photos.
- Export the video to your computer.
User Comments :