As one of the most excellent audio editing software, Audacity is equipped with almost all tools to edit audio. Faced with so many features, you may be a little confused about how to use Audacity. Luckily, this post will give you some tips for a better audio editing with Audacity.
Audacity is a great tool to edit audio, record audio, import and export audio in various formats, etc. But how to use Audacity? More specifically, how to move audio in Audacity? How to split audio in Audacity? How to use Audacity to record? The following part will show you how to use it in 6 aspects. If you want to edit audio in the video, try MiniTool MovieMaker.
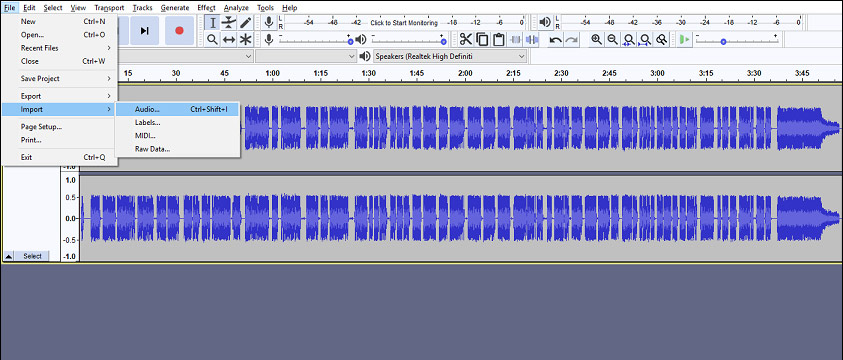
How to Import Audio in Audacity
The importable audio formats cover most WAV and AIFF files including all PCM variants, FLAC, MP2, MP3, and Ogg Vorbis. And if you install the FFmpeg library, you can import more audio files such as AC3, AMR, etc. And there’re four methods to import audio.
Method 1: Click File > Import> Audio, and then you can choose and import the desirable file into Audacity.
Method 2: Click File > Recent Files or Recent, and you can select one file from the 12 recent files.
Method 3: Tap on the File > Open, select and upload the file.
Method 4: Directly drag and drop the file into the Audacity window. If this doesn’t work, you can choose the ways above.
Also read: What’s the Best Audio Format? Everything You Need to Know!
How to Listen to the Imported Audio
Step 1. Click the green Play icon to listen to the audio.
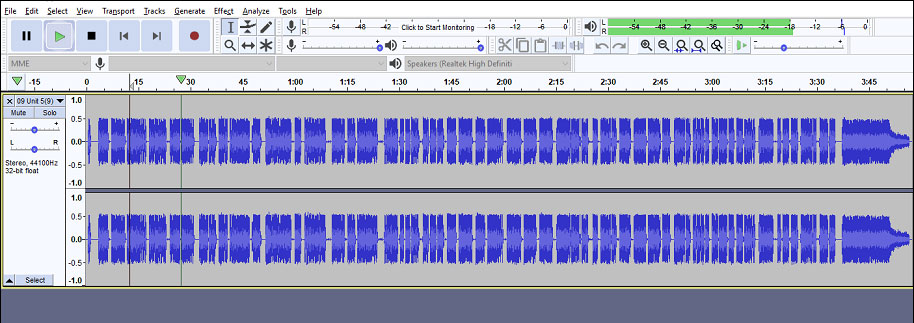
Step 2. Hit the black Stop button to stop playback.
Step 3. Click the Skip to Start button to move the cursor to the beginning of the track.
Step 4. Click the Skip to End button to move the cursor to the end of the track.
How to Move Audio in Audacity
Step 1. Select the Time Shift Tool or press the F5 to enable it.
Step 2. Choose the track you want to move.
Step 3. Move the track to left or right.
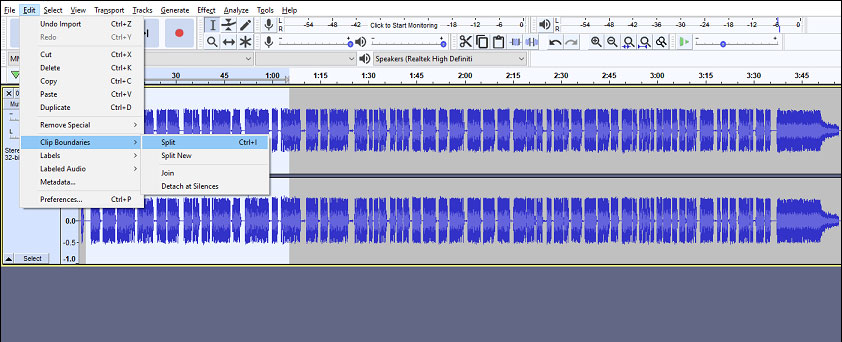
How to Split Audio in Audacity
Step 1. Click File > Open to import your audio.
Step 2. Tap on the Selection Tool to make sure where you want to split.
Step 3. Click Edit > Clip Boundaries, and then choose the Split to split the audio track.

Step 4. Select the File > Export, choose the target format, and export the audio file.
How to Use Audacity to Record
Step 1. Click the red button, and then start talking or playing.
Step 2. Click the Stop button to when your recording is done.
Step 3. Edit the recording, such as removing the unwanted part or trimming audio.
Step 4. Export and save your recording.
How to Remove Noise Background in Audacity
Step 1. Select a region of the waveform with noise.
Step 2. Click the Effect > Noise Reduction.
Step 3. Select the Get Noise Reduction in the pop-up window.
Step 4. Reduce noise.
Related article: 2 Ways to Remove Background Noise from Audio
How to Export the Resulting File in Audacity
Step 1. Click File > Save Project > Save Project. This kind of file can only be opened by Audacity.
Step 2. Click File > Export > Export Audio, choose the location and format.
Step 3. Save the audio on your computer.

Bottom Line
This post tells you how to use Audacity from 6 aspects. Besides, Audacity has many other functions that are not mentioned in this post. You can try Audacity to edit audio and discover more features. If you’re familiar with it and you’d like to share your tips with us, please leave them below.
About The Author

Position: Columnist
Cora is a tech writer specializing in digital media workflows, with over six years of hands-on experience in video post-production, media transcoding, and screen capture. Her writing is always clear and practical. Cora also produces in-depth software reviews for users across skill levels to help them find the right tool and enjoy video editing.
User Comments :