Part 1: Camtasia vs Adobe Premiere
What Is Camtasia?
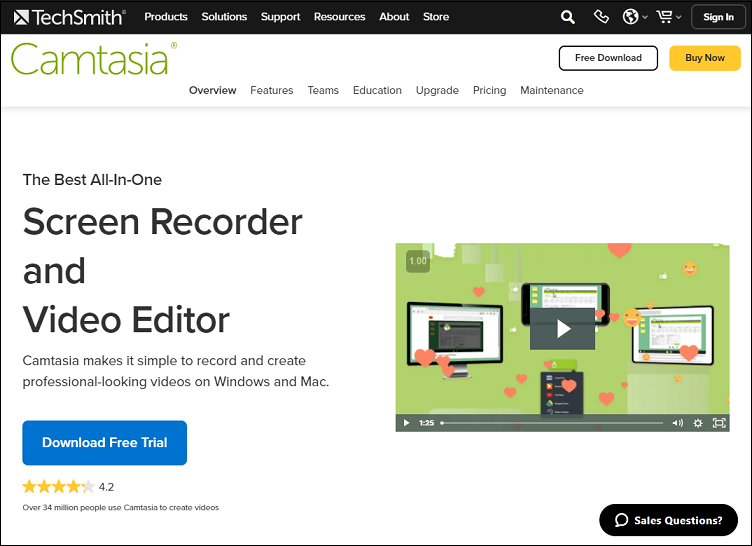
Camtasia has an intuitive interface that helps users easily import, edit and manage videos. Also, it is perfect for beginners who need to learn how to make videos. And, this video editing program, including some incredible and proficient evaluation capabilities, is especially useful for web content creators.
With the help of its built-in video editing functions that allow you to move projects around, trim, flip, zoom, add music, and more. Additionally, you can edit the built-in audio features such as turning up or down the volume of the audio as well as adjusting its clarity and pitch.
Apart from video editing, Camtasia enables users to record video and capture everything that happens on the PC screen. You can take advantage of its screen recording tool to record instructional or educational videos.
When you’re done editing videos with Camtasia, you can share them on the most popular social media sites, such as YouTube, Instagram, Vimeo, and others.
What Is Adobe Premiere?
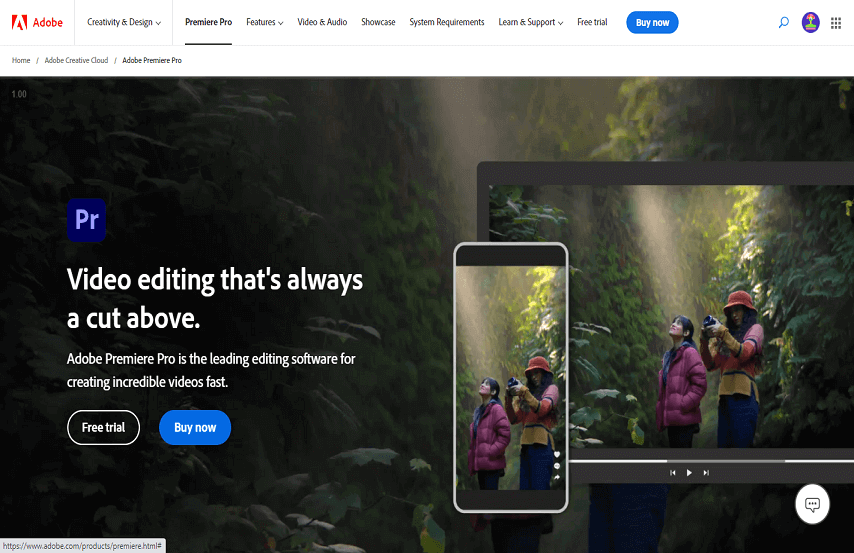
Adobe Premiere has a lot of advantages in the video editing space, like its smooth, intuitive interface and professional-looking video editing capabilities. This video editor’s greatest strength is its rich audio editing options and smooth editing features.
With the help of Adobe Premiere, you can arrange your media files by titles, colors, themes, folders, etc, thus you can easily find the file you need. This function is available in both Premiere Elements and Premiere Pro.
You can use it to import digital video from various video cameras and record your shots directly with its recording tools. It also allows users to transform natural footage into impressive film projects.
Adobe Premiere is a business standard video editing software that supports high-quality video formats. It deals with videos, music, voiceovers, and recordings and helps businesses in different ways to deliver proficient outcomes. Further, it is compatible with different Windows OS and Mac OS.
Camtasia vs Adobe Premiere Features
Let’s look at the key features of Adobe Premiere vs Camtasia. This will help you quickly decide which one to choose.
Key Features of Camtasia:
- A plethora of cursor effects
- Pleasant sound effects
- Adjustable captions or inscriptions
- Drag-and-drop capability
- Screen capture
- Social media sharing
Key Features of Adobe Premiere:
- Video clip resize
- Stunning transitions
- Text layers support
- Real-time editing
- Integration with Adobe’s programs
- Analysis of video sequences
Part 2: Video Editor Similar to Camtasia & Adobe Premiere
MiniTool MovieMaker is strongly recommended as its interface is also user-friendly and easy to follow. It supports a wide range of media organizations and comes with multifunctional tools.
This program is 100% free, clean, safe, no ads, no bundles, and no watermarks that allows you to import different media formats, including MP4, MOV, AVI, 3GP, JPG, PNG, GIF, MP3, WAV, etc.
One of the best things about MiniTool MovieMaker is that it equips you with drag & drop and one-click video editing tools. In addition, it lets you split, trim, crop, flip, rotate, reverse, speed up, or slow down your video based on your requirements.
At the same time, when you make any changes to your project, you can instantly see the editing effect in its preview window, as well as you have the option to preview the video in full-screen mode.
Share this article: Best Full Screen Video Editing App & Crop Videos to Full Screen
Key Features of MiniTool MovieMaker:
- Totally free
- Ideal for beginners
- Easy-to-use interface
- Advanced video editing
- Awesome transitions, effects, motions, text, elements
- Split, trim, and crop videos
- Flip videos horizontally or vertically
- Rotate videos from 0 to 360 degrees
- Speed up or slow down videos
- Play videos backward
- Batch processing pictures and videos
- Customizable resolution, frame rate, bit rate, etc
- Export high-quality videos without watermarks
- For Win 7/8/8.1/10/11
A step-by-step guide on how to make an amazing video with MiniTool MovieMaker:
Step 1: Get a great alternative to Camtasia and Adobe Premiere by clicking the Free Download button below. Follow the installation process to install it on your computer.
MiniTool MovieMakerClick to Download100%Clean & Safe
Step 2: Launch MiniTool MovieMaker and close the Register and Project library window to go to the editing interface.
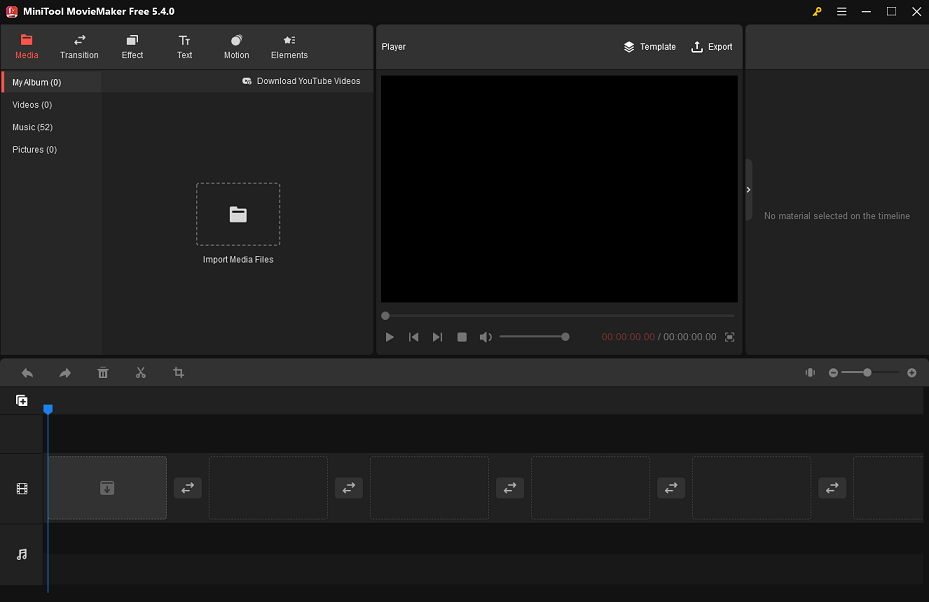
Step 3: Click the Import Media Files option under the Media tab to import your media files and drag and drop them into the timeline.
Step 4: If you want to make your video more visually appealing, you first need to highlight it by selecting the media clip on the timeline, then find the desired effect on the Effect tab at the top of the editing interface. Next, click the + icon to add it to the target media clip.
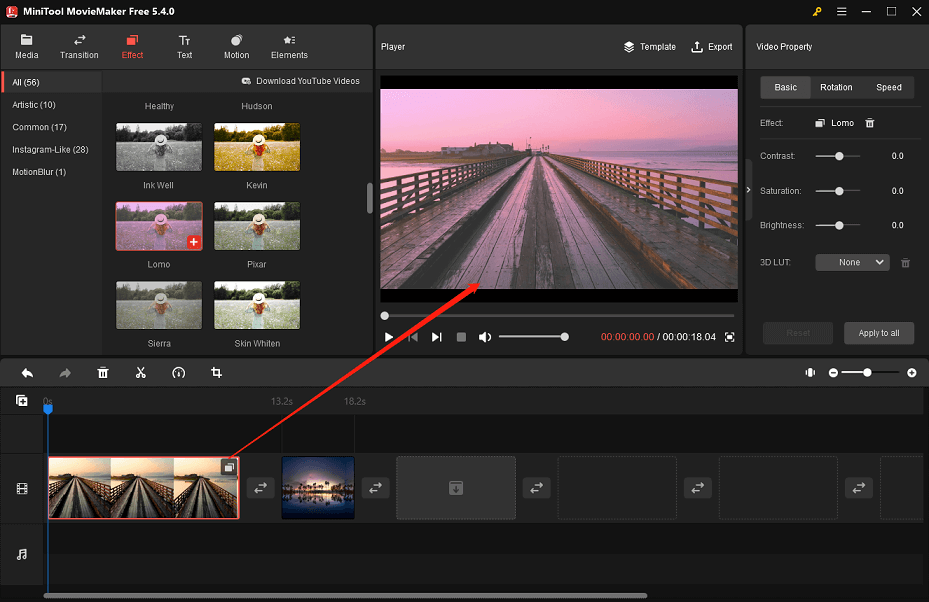
Step 5: Click the Full Screen icon at the bottom right of the Player window to preview the editing changes more fully.
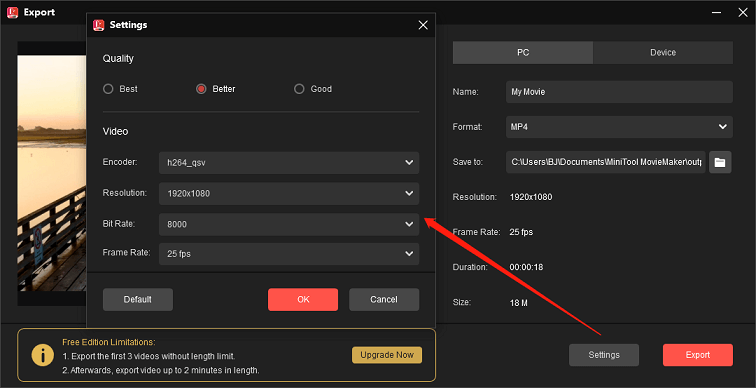
Step 6: Once you are happy with all your edits, click the Export option above the preview window to go to the Export window, then click the Settings button to navigate to the Settings window to customize the video’s resolution, frame rate, bitrate, and more.
Bottom Line
Camtasia vs Adobe Premiere which one is right for you? After going through the information in this article, we understand that both programs are helpful for professional purposes. Also, it is undeniable that MiniTool MovieMaker, as a replacement for these two, is really effective and simple to use. Well, now you can start your project!
If you have any questions while using MiniTool MovieMaker, please contact us at [email protected].
User Comments :