Does iMovie allow you to edit vertical video? How to edit vertical video in iMovie? This post provided by the Windows movie maker from MiniTool will give you detailed steps to use iMovie to edit vertical video on Mac, iPhone, and iPad.
In recent years, short videos such as TikTok, YouTube Shorts, and Instagram Reels have developed rapidly, making vertical videos widely used. More and more people need video editors that can edit vertical videos. Some of you may wonder if iMovie can edit vertical videos without black bars. By default, the aspect ratio of iMovie is 16:9. If you need to edit a video in the 9:16 aspect ratio, you need to read the following content. Also, we will recommend an excellent vertical video editor for you. Now, let’s get started!
How to Edit Vertical Video in iMovie on Mac
#Using App Preview Mode
How to edit and export vertical video in iMovie without black bars? Using App Preview mode is the quickest and easiest way. You can refer to the below detailed guidance.
Step 1. Launch iMovie, click the Create New button, select Movie to create a new program, and then click Import Media to upload your vertical video.
Step 2. Click the File tab at the top menu bar and select the New App Preview option.
Step 3. Directly drag and drop the vertical video onto the timeline.
Step 4. You can use its editing features to fine-tune the vertical video.
Step 5. Finally, click the Share icon at the higher-right corner and select the App Preview option to export the vertical video. The video will be exported as an MP4 file in 1080 x 1920 resolutions. Alternatively, you can choose the Export File option which will export a low-quality video.
#Using Rotation Tool
Compared with using App Preview mode, this method has more extra operations. You need to crop and rotate the video to landscape mode and export the video. Then you need to rotate it to the vertical mode when playing it. Here’s how:
Step 1. After importing and adding the vertical video onto the timeline, you can click the Crop icon in the Preview window and select the Crop to Fill option.
Step 2. Then click the Rotate button to change the video into landscape mode and click the blue checkmark icon to save the changes.
Step 3. You need to export this video. Next, go to your folder to find and select the exported video and press the Space bar on the keyboard to play the video. Finally, you can click the Rotate button to play the video in vertical mode.
How to Edit Vertical Video in iMovie on iPhone or iPad
The principle of editing vertical video in iMovie on iPhone or iPad is similar to the second way on Mac. Below is the step-by-step guidance:
Step 1. Run iMovie on your iPhone or iPad, tap on Start New Project, and select the Movie option.
Step 2. Choose the vertical video and tap the Create Movie button at the bottom of the screen. In the preview screen, you can see the vertical video has black bars on its left and right sides.
Step 3. Tap the video on the timeline to highlight it and rotate it. You can put your two fingers on the screen and rotate clockwise or counterclockwise. Then you can see a white curved arrow.
Step 4. Make other edits and tap the Done icon. Then tap the Share icon and choose Save Video to export the video.
Step 5. Later, find the video in the Photos app, tap the Edit option, choose Crop, and tap the Rotate button to rotate the video. Finally, tap Done.
Edit Vertical Video on Windows with MiniTool MovieMaker
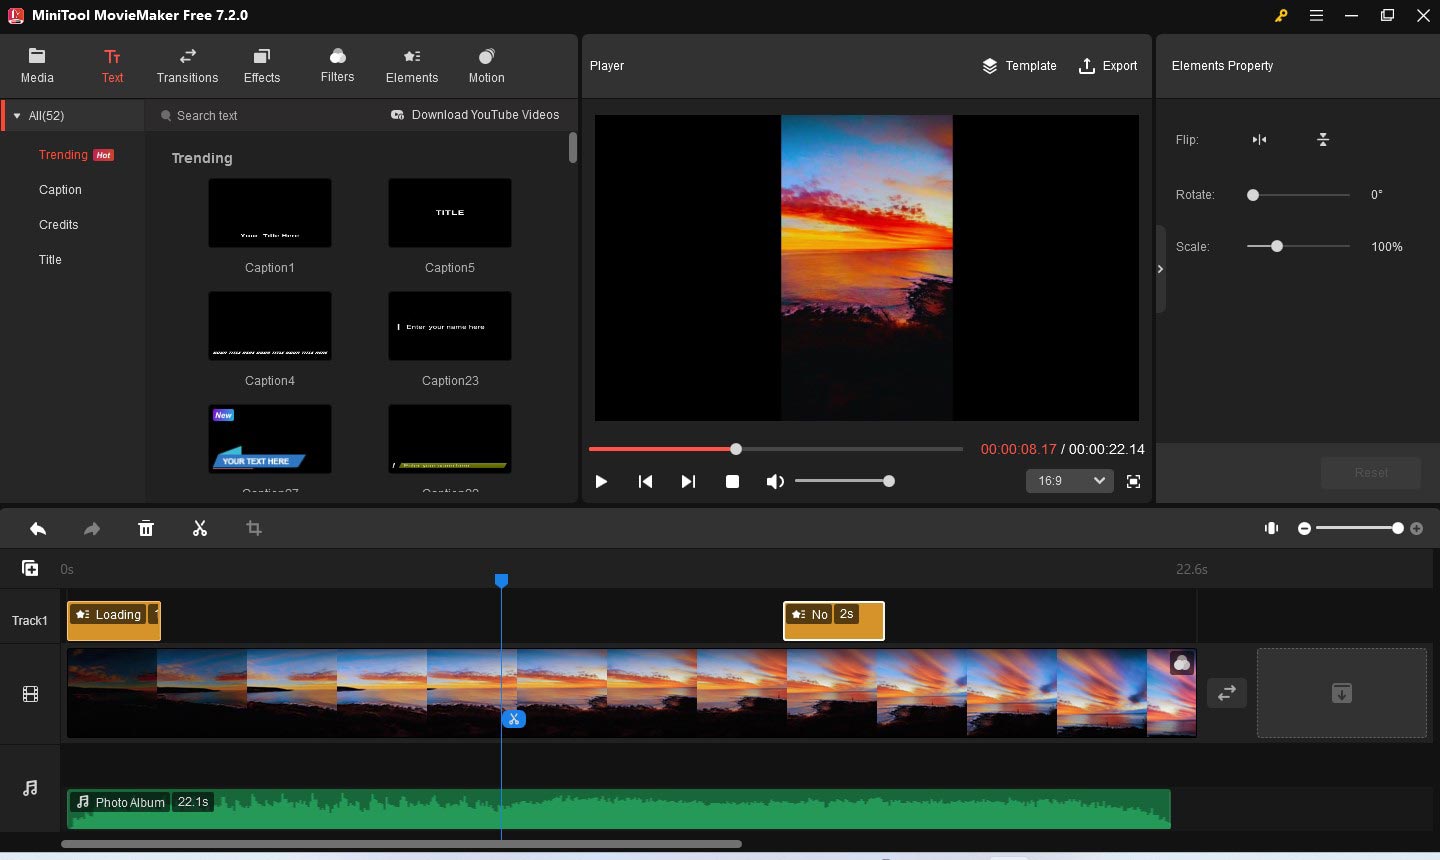
MiniTool MovieMaker is an excellent video editor that has several aspect ratios including 9:16, 16:9, 4:3 as well as 1:1. With its various editing features and royalty-free resources, you can edit and make videos easily. You can not only use it to edit both vertical and landscape videos. Get this great video editor and use it to make wonderful videos!
MiniTool MovieMakerClick to Download100%Clean & Safe

To Wrap Things Up
How to edit vertical video in iMovie? Though it is not easy to use iMovie to edit vertical videos, the above has offered detailed guidance. You can follow the above methods and have a try!


![Solved – How to Add Watermark in iMovie [Mac/iPhone/iPad]](https://images.minitool.com/moviemaker.minitool.com/images/uploads/2024/03/how-to-add-watermark-in-imovie-thumbnail.jpg)
![How to Add Captions to YouTube Shorts [Detailed Guide]](https://images.minitool.com/moviemaker.minitool.com/images/uploads/2024/03/how-to-add-captions-to-youtube-shorts-thumbnail.jpg)
![How to Change Aspect Ratio in iMovie [Mac/iPhone/iPad]](https://images.minitool.com/moviemaker.minitool.com/images/uploads/2024/01/imovie-change-aspect-ratio-thumbnail.jpg)
User Comments :