Why Add Shapes to Video
Adding shapes to videos is a creative way to enhance the visual appeal. Use various graphic elements to make the video stand out among other content. Also, different graphic styles can bring different feelings and atmosphere to the video. Therefore, creators can use appropriate shapes to help viewers immerse themselves in the video.
Additionally, using shapes can highlight topics and key elements in the video, helping viewers quickly capture important information. So, how do you add shapes to video? Here’s a beginner’s guide to putting shapes into videos.
How to Add Shapes to Video on Windows
MiniTool MovieMaker is a video editor without watermark that features a user-friendly design and various tools and effects to edit, enhance, and decorate your footage. It has a huge library of animated elements, including but not limited to shapes, arrows, emojis, pets, festival decorations, mood stickers, etc.
Furthermore, MiniTool MovieMaker is simple to use and allows you to export videos up to 4K resolution for free and without watermarks. Here’s how to add shapes to video in this app.
Step 1. Click the button below to download and install the free video editor on your PC.
MiniTool MovieMakerClick to Download100%Clean & Safe
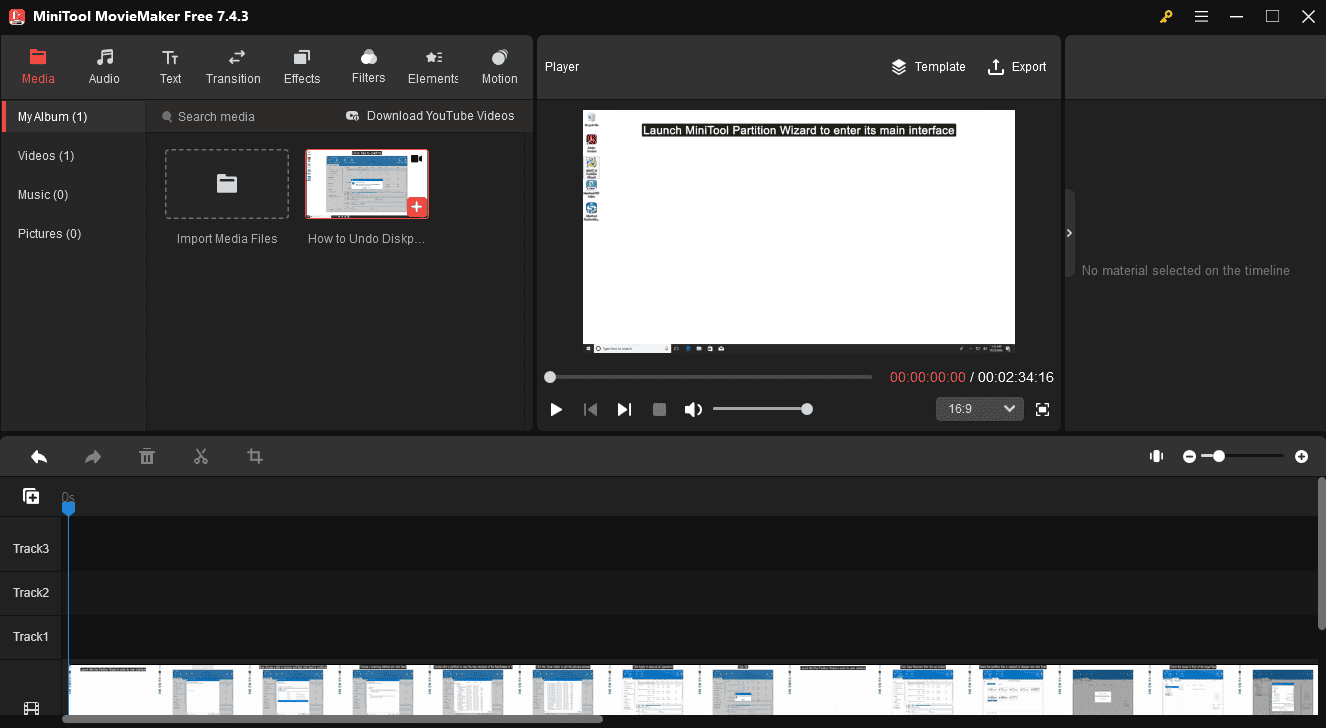
Step 2. Run the software and close the promotion window to enter the app’s main interface. Click on the area saying Import Media Files to open the File Explorer and select the target video. Next, click the + icon on the clip to add it to the timeline.

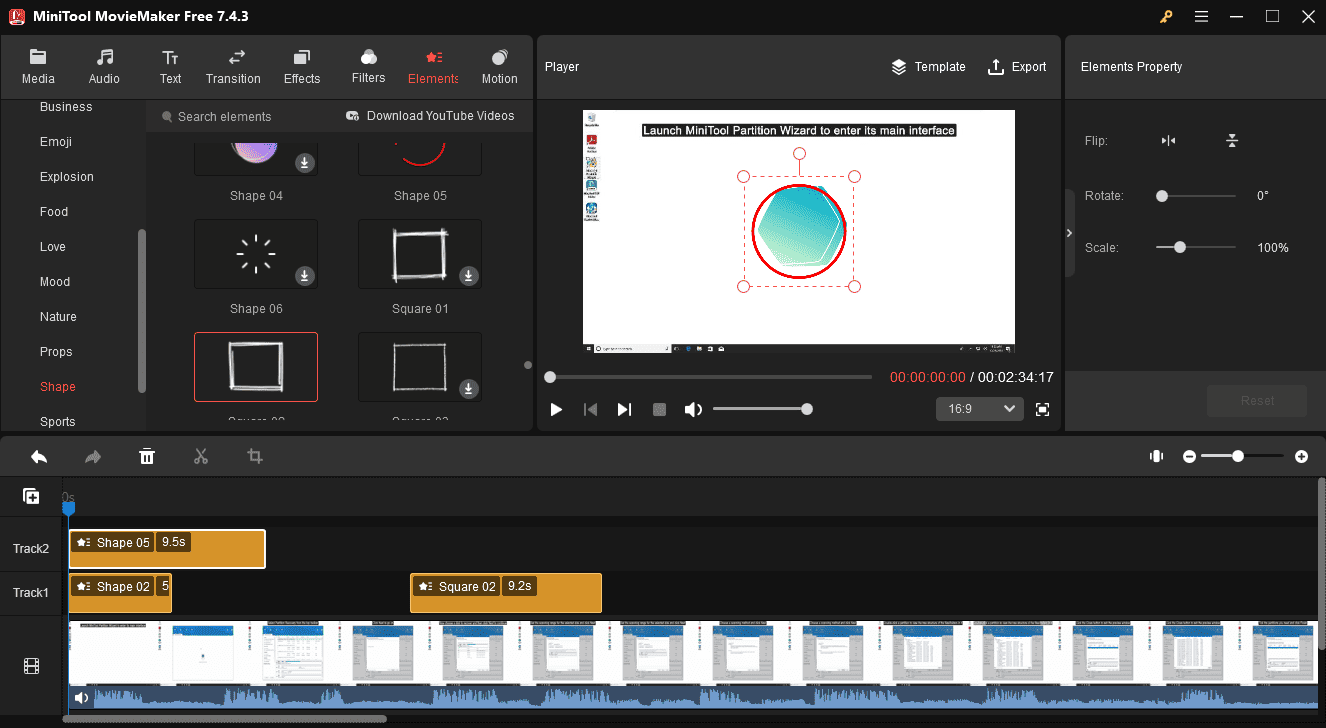
Step 3. Drag and drop the playhead to the desired place where you want the shape to appear, go to Elements at the top menu bar, scroll down the left sidebar, and select Shape. This subcategory mainly includes some line frames, rectangles, and squares.
Step 4. Browse through these shapes and download your favorite one by clicking the download icon on the target element. Then, click the + icon to add it to the video. You can adjust how long the shape appears on your video by moving the edges of the text layer on the timeline to change its duration.
In the Player, you can move the shape to any position in the video frame. Also, you can flip, rotate, and scale the shape in Elements Property.

You can add multiple shapes to the video to make it more interesting. In addition to the Shape category, you can go to Arrow, Web, and others to add arrows, social media icons, and more to videos.
Step 5. You can continue editing the video with filters, effects, and other tools. Once done, click the Export button to open the export settings window. Customize these settings such as format, resolution, frame rate, bitrate, etc., and click the Export button to start rendering the video.
How to Add Shapes to Video Online
If you want to add shapes to video online, try Clieo. This online video editor provides multiple shapes to spice up your videos. Here’s a simple guide.
Step 1. Go to the Clideo website and select Video editor to enter the editing page.
Step 2. Click the Click to upload area to import video from your computer. Then, the video will be automatically added to the timeline.
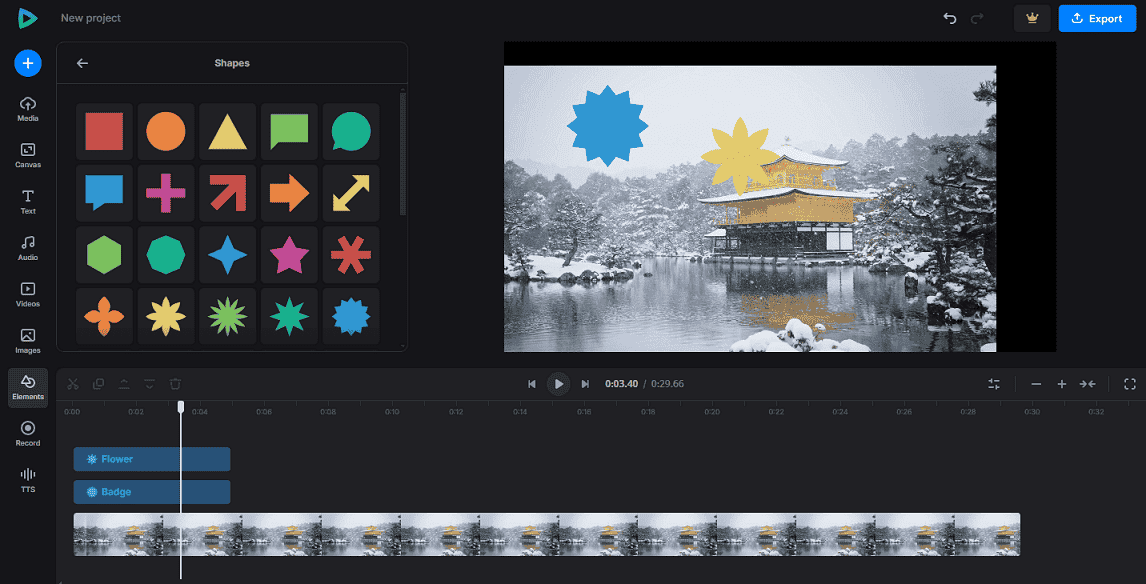
Step 3. To add shapes to video, select Elements on the left toolbar, and click the See all option next to Shapes to display all available shapes in Clideo.
Next, click a shape to add it to the video and it will be added to the current position of your playhead. Likewise, you can add multiple shapes to the video, change its duration on the timeline, and change the place of the shape in the video preview window.

Step 4. After that, click the Export button and choose a resolution to export the video, including 480p, 720p, 1080p, and 4K. However, 1080p and 4K quality are only available with Pro accounts, and if you use a free account, the videos will be watermarked.
Conclusion
In a word, this post is a step-by-step guide on elevating your video aesthetic with shapes. Now, it’s your turn. Select a method and follow the steps to add shapes to your video.


![Light Rays Effect: How to Add Light Rays in Video [2 Methods]](https://images.minitool.com/moviemaker.minitool.com/images/uploads/2024/09/how-to-add-light-rays-in-video-thumbnail.jpg)


User Comments :