Adobe Premiere Pro is a leading video editing software application for Windows and macOS, and it’s used by many creators to edit videos. An in this post, we’ll describe how to change aspect ratio in Premiere. (Need an Adobe Premiere alternative? Try MiniTool MovieMaker.)
An aspect ratio is the ratio of width to height. And common video aspect ratios include 16:9 (widescreen), 9:16 (Vertical), 4:3 (full-screen), 1:1 (square), etc.
When you create a project in Premiere Pro, you can set the frame and pixel aspect. But once the ratios are set up, it’s impossible to change the aspect ratio of that project. However, you can change the aspect ratio of a sequence. How to change aspect ratio in Premiere Pro? How to change video width and height in Premiere Pro? Look through the following steps.
How to Change Aspect Ratio in Premiere Pro
This part will show you how to change the aspect ratio of a sequence and a distorted clip in Premiere Pro.
How to change the aspect ratio of a sequence in Premiere Pro
Step 1. Open Adobe Premiere Pro, click File > New > Project… to create a new project, and add a new sequence by selecting File > New > Sequence. A sequence must contain at least one video track and one audio track.
Step 2. Check the footage resolution using the Project panel. Then click the Sequence > Sequence Settings… from the toolbar.
Step 3. In the Video section, go to the first option Frame Size. Just edit the value of horizontal and vertical to change the video width and height.
Step 4. Click on the blank area and you’ll see the aspect ratio changes. Click OK to save your changes.
Step 5. If necessary, you can edit the scale. Select the clip on the timeline, tap the Effects Control panel, and change the value of the scale of this clip.
Step 6. Tap File > Export >Media, then choose H.264 from the Format, select the destination folder, then click Export to export your video.
Also read:
- Solved – How to Add Text in Premiere Quickly
- Does Premiere Pro Support MKV & How to Import MKV into Premiere
How to change aspect ratio of a distorted clip in Premiere Pro
Sometimes, an imported clip may appear distorted if Premiere Pro explains the pixel aspect ratio incorrectly. Here’s how to correct aspect ratio of a distorted clip in Premiere.
Step 1. Right-click the clip in the Project panel, and click the Clip > Modify > Interpret Footage.
Step 2. In the Pixel Aspect Ratio section, tick the Use Pixel Aspect Ratio from File or select the Conform to option to choose an aspect ratio from the dropdown list. And click OK.
Step 3. Follow step 6 to export the video.
A Free Alternative to Adobe Premiere Pro
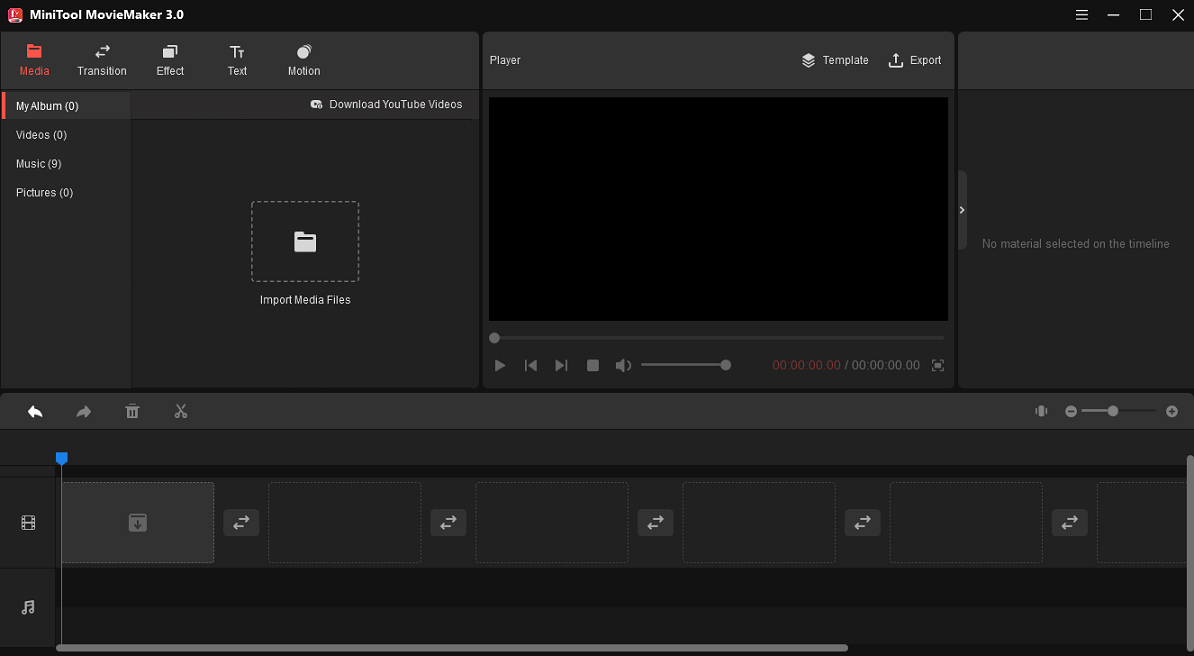
For users without any video editing experience or skills, it will take a long time to learn how to use Adobe Premiere Pro. If you need an easy-to-use video editor, MiniTool MovieMaker is recommended here. With a user-friendly interface, you can easily navigate to the desired tool.
This free video editor allows you to trim, split, rotate, flip, slow down, speed up, reverse videos, add text to the video, apply video filters and transitions, and more. Just try MiniTool MovieMaker to make and edit videos.
MiniTool MovieMakerClick to Download100%Clean & Safe

Conclusion
That’s all about how to change aspect ratio in Premiere. Just follow the steps and change the aspect ratio in Premiere Pro. If it’s difficult to use Premiere Pro, you can try MiniTool MovieMaker to edit your video.


User Comments :