What Does It Mean to Normalize Audio?
Audio normalization is a process that includes analyzing the volume level of the selected clip and then increasing the volume level of the clip with the lower volume to make it consistent with the clip with the highest volume level. The purpose is to balance the volume of the selected audio clip.
Recommend post: Top 16 Sites to Download Free Sound Effects
How to Normalize Audio?
1. MP3Gain
MP3Gain is a free yet excellent MP3 volume normalizer that can be installed 100% free on Windows to normalize the audio level of multiple MP3 files. It does not normalize the volume for each entry individually. Instead, it adjusts the volume inside the MP3 to make it sound natural.
- Download and run MP3Gain on your computer.
- Click Add File(s) to add your MP3 file, or directly drag and drop it onto the main interface. You can also click Add Folder to import all MP3 files inside a folder. After selecting the MP3 file(s), click Open.
- Choose an appropriate analysis mode – Track Analysis or Album Analysis, and then it will analyze the volume level and display the result immediately.
- Set Target Normal Volume if needed.
- Click the Track Gain or Album Gain button to start the audio normalization.

2. Audacity
Audacity is a professional audio editor that allows you to normalize audio at ease. You can use this audio normalizer to create sound effects, merge multiple audio files together, or narrate each new video recording you create. It also allows you to select multiple audio tracks.
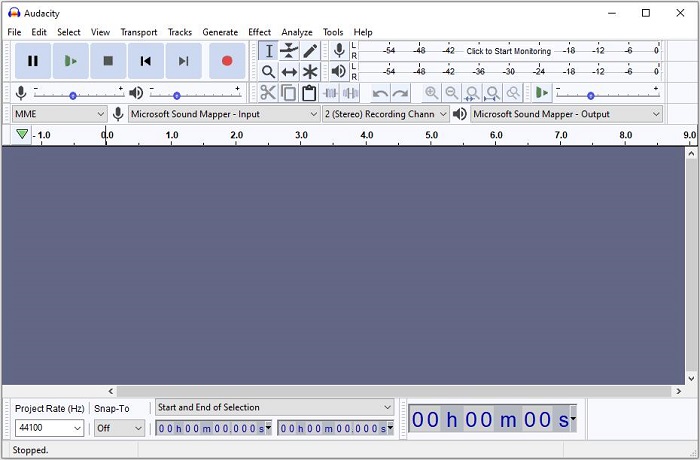
- Open Audacity on your computer.
- Click Open under the File.
- Select the audio file you want to import or simply drag and drop it onto the main interface.
- Select the file, click Effect on the menu bar, and then select Normalize.
- Type the desired volume level into the dB.
- Click OK to start normalizing audio.
- Once finished, select Export under the File.
Related article: Top 10 Best Royalty Free Classical Music
3. iTunes
As we all know, iTunes is a media player, media library, Internet radio broadcaster, mobile device management utility, and the client app for iTunes Store. Meanwhile, it is a great way to help you normalize audio if you just need to listen to them on your computer.
- Open iTunes, click Edit on the menu bar and select Preferences.
- Click the Playback tab and check the Sound Check.
- Hit OK to save the settings.
The Sound Check option does not change the volume of audio files. Instead, the normalization information ID3 tag acts as a filter applied to the volume. The filter temporarily controls the volume during playback. When you turn off it, your music will return to its original volume.
Bottom Line
With the above three easy and fast methods, it can’t be easier to normalize audio without any hassle. If you have any questions or suggestions about it, please let us know via [email protected] or share them in the comments section below.
User Comments :