This post explains how to edit a Zoom recording on Windows. If you’re a paid subscriber, trim the recording in the cloud directly. If you want more features or if you’re a free subscriber, try third-party video editors – MiniTool MovieMaker, Microsoft Photos Legacy, or Kapwing.
Zoom (Zoom Meetings) is a video teleconference software program used for video conferencing, audio conferencing, webinars, live chats, screen-sharing, etc. And Zoom itself offers local recording for free and paid subscribers and cloud recording for paid subscribers. Both allow users to record a meeting on Zoom.
After the recording, you may need to edit it for better viewing or other reasons. How to edit a Zoom recording? Select Zoom’s built-in tool, MiniTool MovieMaker, Microsoft Photos Legacy, or Kapwing, depending on your situation.
Tool | Zoom Cloud Recording | MiniTool MovieMaker | Microsoft Photos Legacy | Kapwing |
Platform | Web | Windows | Windows | Web |
Price | Paid plans offer the feature. | Free + Ultimate | Free | Free + paid |
No Watermark | Yes | Yes | Yes | No (free plan) |
Core Features | Only trimming | Trim, split, crop, mosaic, speed, arrows, captions, color correction | Trim, split, text, speed | Trim, split, text, speed |
Best for | Instant editing for sharing | Permanent editing, fine-tuning | Quick editing with the built-in system tool | Online editing |
How to Edit a Zoom Recording in the Cloud
Fast Track:
- Go to the Zoom website and sign in.
- Select Recordings > Cloud Recordings.
- Click the desired recording.
- Choose the trimmed section and click Trim.
If you’re using a paid Zoom account (Pro, Business, or Enterprise), you can access the cloud recording feature. After recording in the cloud, you can then trim it to remove the unwanted parts from the beginning and end. Here’s how to edit a Zoom recording by trimming in the cloud.
Step 1: Log in to your Zoom account on the web.
Step 2: Select Recording on the navigation menu, and click the Cloud recordings tab.
Step 3: Select the meeting of the session you need to trim, and then click on the recording’s thumbnail. A new tab will open in your browser, playing the recording and showing the audio transcript on the right side of the screen.
Step 4: Click the scissors icon and use the blue sliders to specify the start and end time for the recording. The blue-highlighted area represents the trimmed recording.
Step 5: Click Trim and select it again to confirm.
If you’re a free Zoom subscriber, you need to edit the local recording using third-party video editors. Or, if you want more editing features to enhance Zoom recording, you must also use third-party tools, such as MiniTool MovieMaker, Microsoft Photos Legacy, or Kapwing.
How to Edit a Zoom Recording on Windows
Method 1: Use MiniTool MovieMaker
Fast Track:
- Open MiniTool MovieMaker.
- Import the Zoom recording.
- Trim and split the recording.
- Export the edited Zoom recording.
MiniTool Moviemaker is a free video editor, allowing you to create a video with images, videos, and music and offering all the basic editing tools you may need, such as trimming, cropping, speeding, text, elements, audio, and more. Best of all, it can export videos up to 4k for free without watermarks.
Step 1: Install MiniTool MovieMaker
Click the button below to download and install MiniTool MovieMaker on your computer.
MiniTool MovieMakerClick to Download100%Clean & Safe
Step 2: Import the Zoom recording
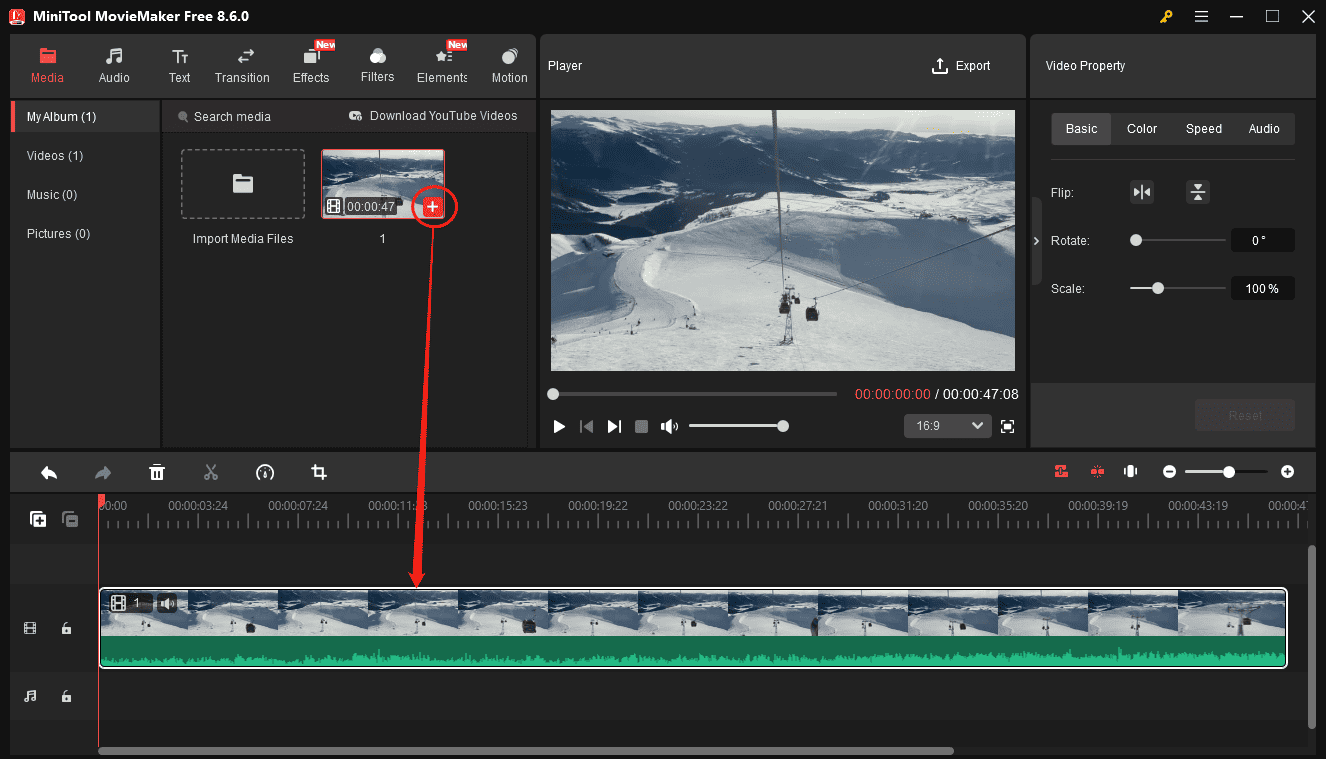
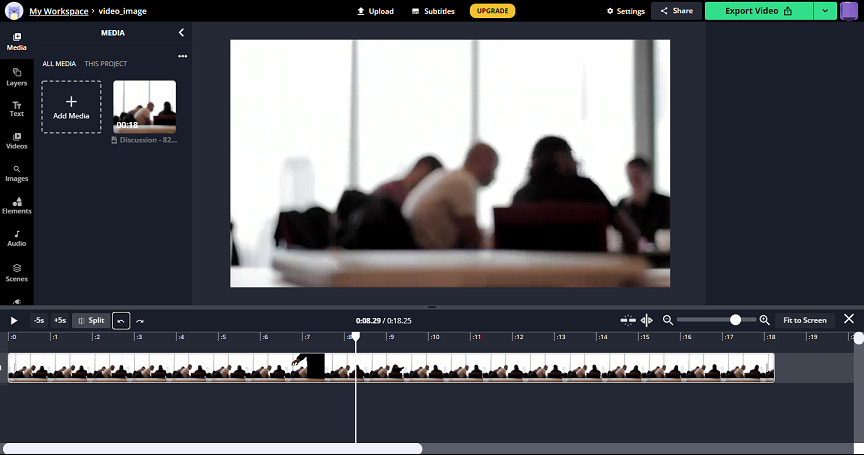
Launch the application, close the promotion window to enter the main user interface, and click Import Media Files under the Media tab to upload your Zoom recording. Then, click the + icon on the clip or drag and drop it to the timeline.
Step 3: Add the recording to the timeline
Click the + icon on the video thumbnail or directly drag the recording to the timeline to begin editing.
Step 4: Trim the Zoom recording
Hover your mouse over the beginning or end of the clip until the Trim symbol shows up, then drag the icon inward to remove the parts you don’t want from either end of the clip.
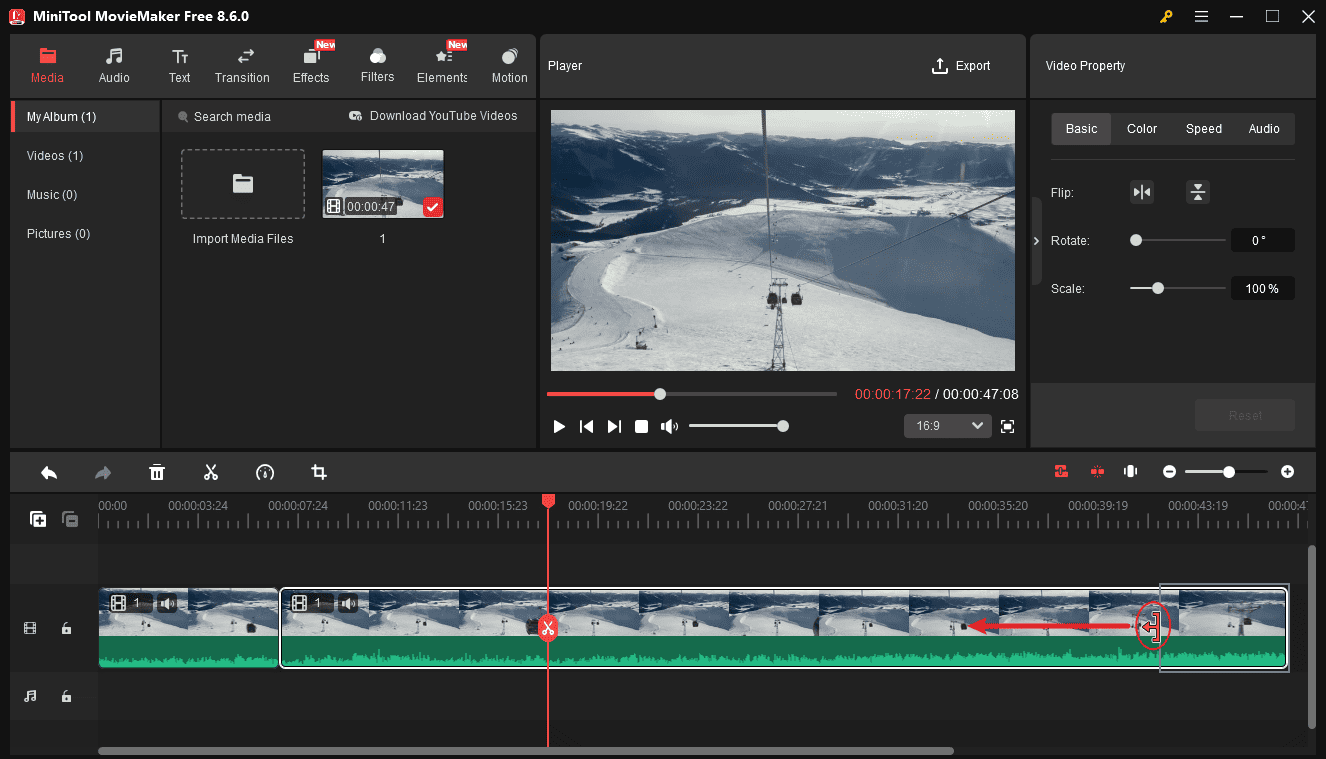
Step 5: Split the Zoom recording
Drag the playhead to the desired position where you want to make a cut, and click the Split icon. Then, the video will be divided into two parts. Repeat the step to split the video into multiple clips.

To remove a middle section, right-click the clip and choose Delete.
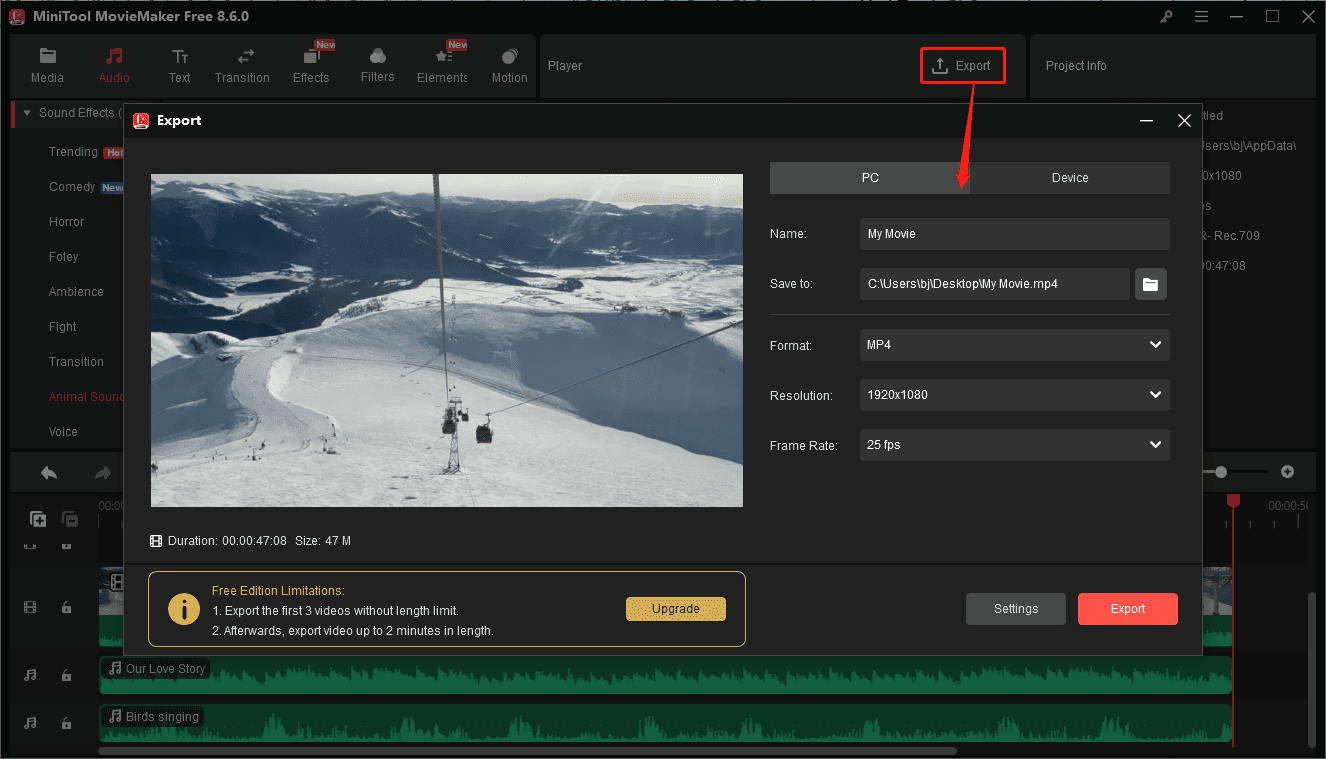
Step 6: Export the edited recording
Once you’ve finished editing, click the Export button located at the top right. From there, you can set the file name, save location, output format, resolution, and frame rate. Then click Export again to begin rendering the video.
MovieMaker by MiniTool is an inexpensive, easy-to-use video editing program. It includes a fair number of effects and gives you easy ways to join your clips, add transitions, and overlay objects and text.https://www.pcmag.com/reviews/minitool-moviemaker
Method 2: Use Microsoft Photos Legacy
Fast Track:
- Open Photos Legacy and select Video Editor.
- Add the Zoom recording.
- Trim and split the video.
- Save and export the video.
Windows 10 offers a built-in tool to edit videos – Video Editor. The features include trimming, splitting, adding text, motion, 3D effects, filters, speed control, rotation, adding music, etc.
If you want to edit Zoom recordings without downloading any third-party programs, Microsoft Photos is a good choice. Here’s how to edit Zoom recordings with Microsoft Photos Legacy.
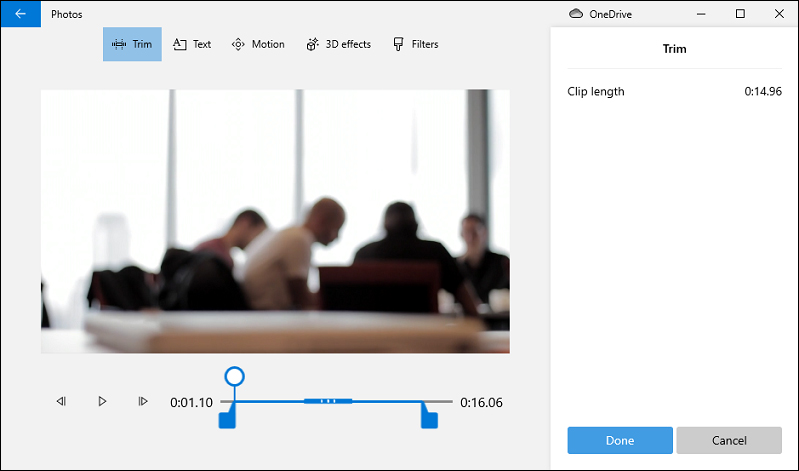
Step 1. Open Microsoft Photos Legacy and click Video Editor. Click the New video project, name this video, and click OK. Tap on + Add > From this PC to add your video recording, and drag it to the timeline.
Step 2. Click the Trim tab, drag the slider to set the start and end point of the trim, and click Done. To split the video, click the Split tab, move the slider to the place where you want to cut the video, and click Done.
Step 3. To save this video, tap on Finish video > Export, then choose a folder to save the video and rename it, and click Export.
How to Edit a Zoom Recording Online
Fast Track:
- Navigate to the Kapwing website.
- Upload the Zoom recording.
- Remove unwanted parts.
- Save the result to the computer.
If you want to edit Zoom recordings online, Kapwing is recommended here. It’s a powerful online video editor and provides multiple tools to edit videos and GIFs. If you sign in to Kapwing, it won’t add watermarks to your video.
Here’s how to edit a Zoom recording online with Kapwing.
Step 1. Go to the Kapwing website and log in to your account. Click the + New Content to open the Studio Editor.
Step 2. Click the Add Media icon to upload your Zoom recording and drag it to the timeline. Use the handles at each end of the clip to trim the video.
Step 3. To split the video, select the video on the timeline and move the playhead to the desired place, and click the Split button.
Step 4. Click the Export Video to export your video and then download it.
Kapwing is a software designed for online video editing and content creation, enabling users to edit, trim, resize, and combine videos, images, and audio files within a web browser. The software provides functionalities such as adding subtitles, inserting text, applying effects, and collaborating with teams in real time.https://www.gartner.com/reviews/product/kapwing
Conclusion
This post explains how to edit a Zoom recording on a Windows computer, mainly focused on trimming and splitting. These video editors can also make more changes to your Zoom recording, like applying video filters, changing video speed, adding text, etc. You can choose one way and follow the steps to edit your Zoom recording video.
If you have any questions while using MiniTool MovieMaker, you can contact us via [email protected] for help.
How to Edit a Zoom Recording FAQ
2. On the left-hand menu, select Recordings.
3. Under the Cloud Recordings tab, choose a recording by clicking its topic.
4. Hover over Audio transcript, then press the Download icon to save the file.
About The Author

Position: Columnist
Cora is a tech writer specializing in digital media workflows, with over six years of hands-on experience in video post-production, media transcoding, and screen capture. Her writing is always clear and practical. Cora also produces in-depth software reviews for users across skill levels to help them find the right tool and enjoy video editing.
User Comments :