Brush transition is a common type of video transitions. This post will show you how to add paint brush transition effects to videos using two excellent video editor apps.
Transition is a common technique in video production that refers to switching from one sequence of shots to another to make the video more visually smooth and avoid sudden jumps. There are many types of video transitions to improve the overall quality of videos. In this post, we’ll discuss the paint brush transition and explain how to use this effect in your videos.
Brush transition simulates a brush-like effect to transition two video clips, allowing images to smoothly transition from one scene to another. Read on to find out how to add paint brush transition to videos.
How to Add Paint Brush Transition in MiniTool MovieMaker
MiniTool MovieMaker is one of the best video editors for transitions, providing various transition effects, such as light leaks transitions, brush transitions, iris, and reveals, to improve visual smoothness and enhance the video quality and viewing experience. Here’s how to add paint brush transition to your videos.
Step 1. Click the button below to download the video transition editor and install it on your computer.
MiniTool MovieMakerClick to Download100%Clean & Safe
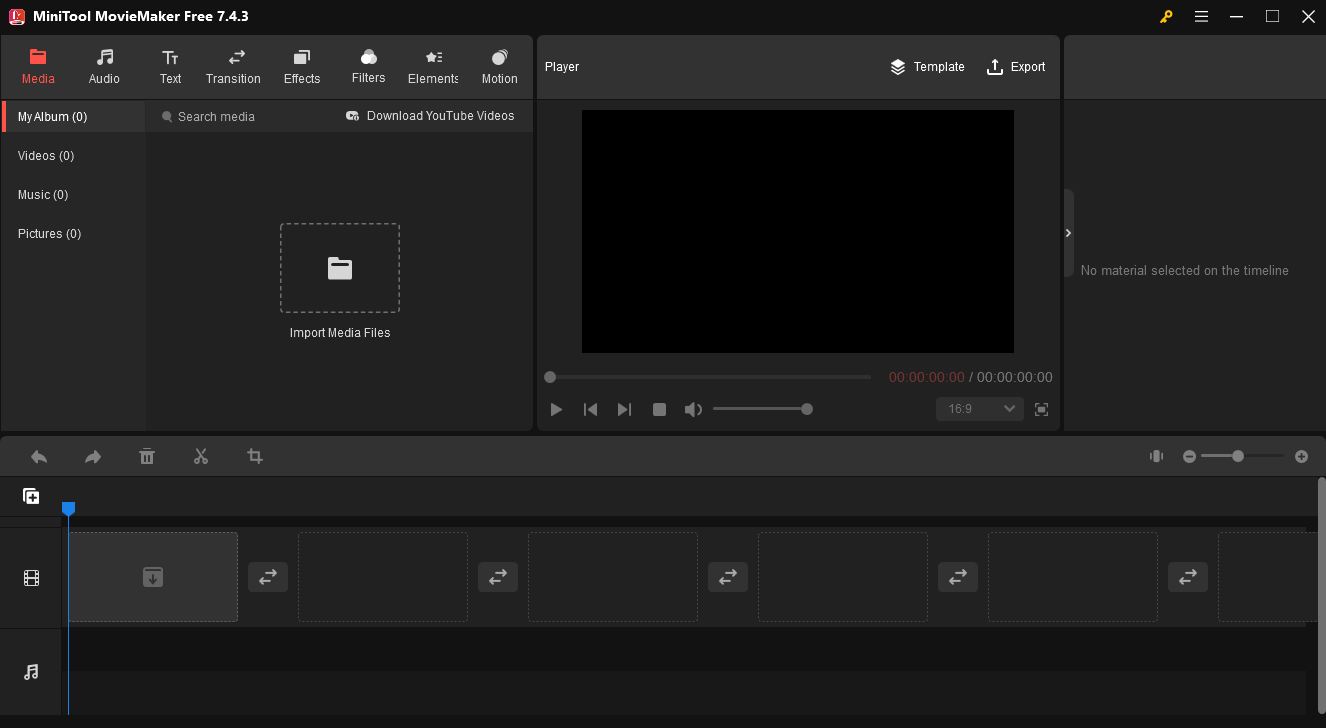
Step 2. Open the application and close the promotion window to access the main user interface. Under the Media tab, click the Import Media Files button to open your videos to the media library and add them to the timeline.

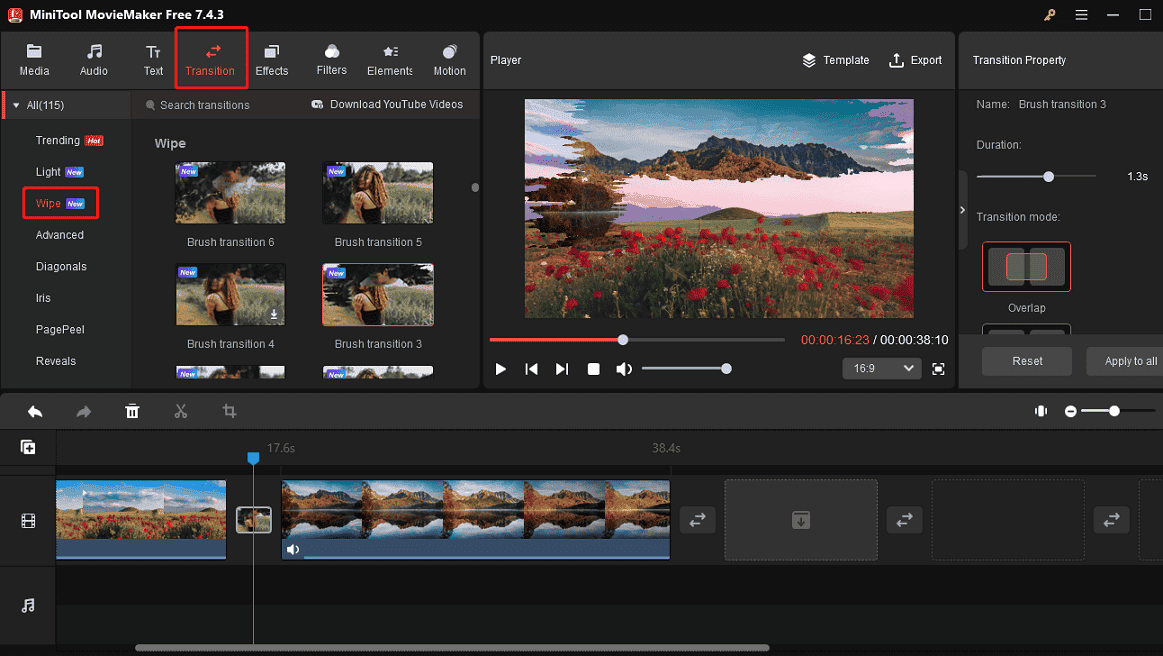
Step 4. Rearrange the clip’s order by dragging and dropping on the timeline. Go to Transitions at the top menu bar, select the Wipe subtab on the left, preview these brush transitions by hovering over the thumbnails, download a brush transition, and click and drag it to the desired gap between any two clips on the timeline. Then, edit the transition’s duration and mode.

You can also add the same transition to selected or all clips on the timeline. Select the clip to which you want to add the same transition, click Transitions, right-click on the target effect, and click Apply to Selected Clips. Right-click on a transition, and click Apply to All to add the transition to all clips.
Step 5. To export the video, click the Export button in the upper right corner, select the output folder, format, resolution, frame rate, etc., and click the Export button.
Other features of MiniTool MovieMaker:
- Create video from images, video clips, and music.
- Trim, split, crop, rotate, flip, and reverse videos.
- Edit the video playback speed.
- Apply filters, effects, pan and zoom effects.
- Add titles, captions, and end credits to the video.
- Adjust the video aspect ratio.
- Export videos without watermarks.
- …
How to Add Paint Brush Transition in Premiere Pro
If you’re an Adobe fan, Premiere Pro might be your go-to tool for video creation. How can you add a paint brush transition to videos in this program? Premiere Pro does not include such transition effects itself, but it allows you to import paint brush overlay videos to achieve this goal. You can go to Vecteezy, Motion Array, and other sites to download paint brush overlay videos.
Step 1. Download a brush overlay to your computer. Make sure the overlay is white on a black background.
Step 2. Open Premiere Pro, import your videos and add and overlap two videos on the timeline. Move the clip on the video layer 2 to choose where you want the transition to start.
Step 3. Drag the brush overlay video above the second video on the timeline (add it to the video layer 3) and adjust its duration.
Step 4. Go to the Effects panel, type “track matte” in the search bar, and add the Track Matte Key layer to the second video.
Step 5. Select the second clip, open Effects Controls, and go to the Track Matte Key section. Set the Matte to Video 3, and set Composite Using to Matte Luma.
Step 6. Preview your video and export it.
Conclusion
Paint brush transitions are a great way to grab your audience’s attention and make your video more engaging. This post offers 2 methods to complete this task. Use this transition effect to improve your video quality by following the above steps.


User Comments :