Keyframes are a powerful feature in video editing that allows you to create smooth animations, transitions, and effects. This post on MiniTool video creation platform will highlight how to add keyframes in CapCut, a popular video editing app for both mobile and PC users.
What Are Keyframes in Video Editing?
Keyframes are points placed at specific times in a video clip that indicate the start and end of a change. These can include changes in size, position, rotation, opacity, color, filters, and more.
For example, if you want to make a text appear from the bottom of the screen and move to the top, you need to use a video editor to set two keyframes: one at the beginning of the movement and one at the end. The software will then insert the frames between the keyframes, creating a smooth animation. You can also add multiple keyframes to create more complex animations, such as bouncing, spinning, or fading.
CapCut is a popular video editor that comes with a useful keyframe feature. In the next section, we will explain how to add keyframes in CapCut for both mobile and PC users.

How to Add Keyframes in CapCut Mobile App
Adding keyframes in CapCut mobile app is quite easy and intuitive. Here are the steps to follow:
Step 1. Open the CapCut app on your phone and start a new project.
Step 2. Import the video clip you want to edit and tap on the clip to select it.
Step 3. Tap on the keyframe icon at the bottom of the screen to initiate keyframe editing. It will add the first keyframe at the beginning of the clip.
Step 4. Move the playhead to the point where you want the animation to end or change, then adjust the clip’s parameters, such as size and position. CapCut will automatically add a new keyframe to mark the change.
Step 5. Repeat step 4 as many times as you want to create more keyframes and changes to your clip.
Step 6. Preview the animation and export the video.
How to Add Keyframes in CapCut PC
Adding keyframes in CapCut PC app is similar to the mobile app, but with some differences. Here’s how to do it:
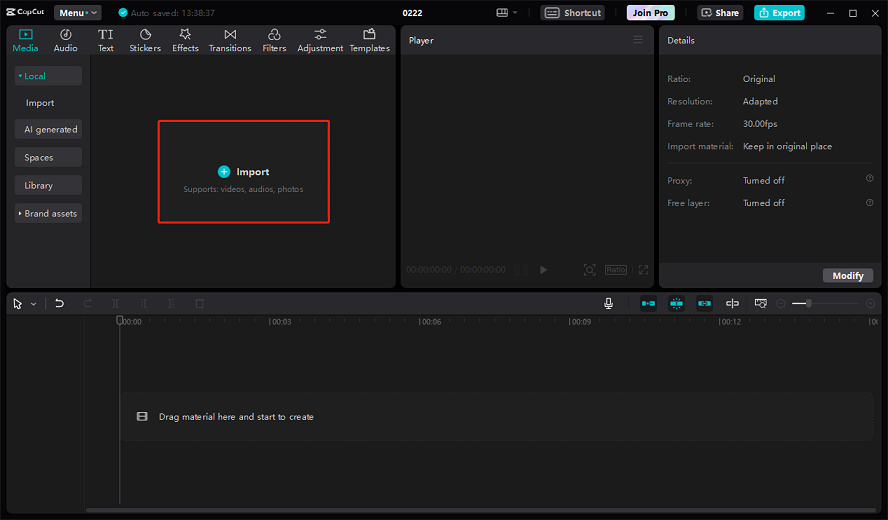
Step 1. Launch the CapCut app on your PC and create a new project. If you don’t have this app on your computer, you need to download and install it first.
Step 2. Click on the + Import button to upload the video clip and then drag it to the timeline.
Step 3. Select the video clip on the timeline and go to the Basic tab located in the upper right corner.
Step 4. Click the Add keyframe icon next to the adjustment settings as needed. The first keyframe will be added at the beginning of the clip.
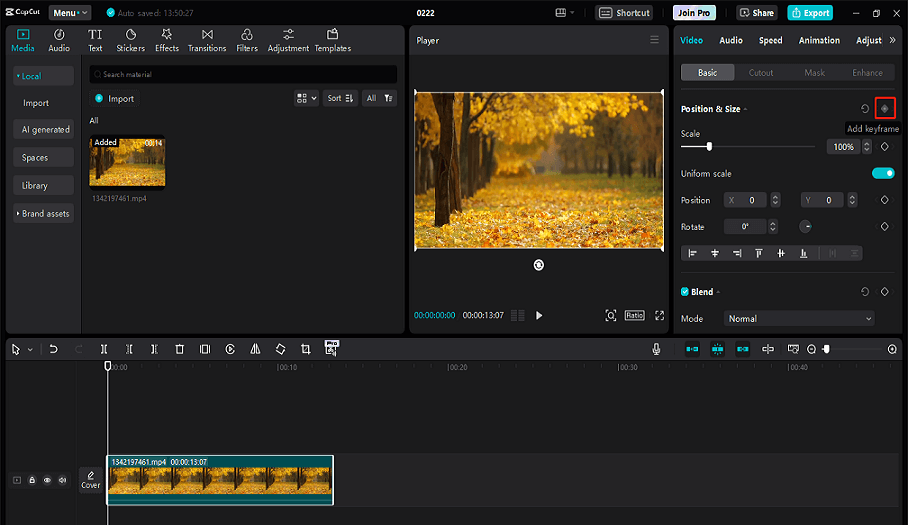
Step 5. Drag the playhead again to find the end of the clip where you want to change the parameters. Then, click the Add keyframe icon again to add another keyframe.
Step 6. After adding two keyframes, you can adjust the parameters of the clip, such as size, position, and rotation.
Step 7. Save the final video to your computer by clicking on the Export button.

MiniTool MovieMakerClick to Download100%Clean & Safe
Bottom Line
Whether you’re using the mobile app or the PC version, adding keyframes in CapCut is a simple process. With this guide, you should be able to create smooth animations in your videos with ease.
User Comments :