Adjusting the opacity of an image is an essential skill in image design and photo editing that can help you create compelling visuals and enhance the presentation of your work. This guide from MiniTool MovieMaker – one of the best free video editing software will explore 4 ways to change opacity of image using different tools.
Image opacity refers to the degree of transparency of the image, usually expressed as a percentage. 0% means completely transparent, while 100% means all details of the image are completely visible. By changing opacity, you can affect how an image integrates with other elements, creating rich visual layering, and unique artistic effects. The following will show you how to change opacity of image in Windows and online.
MiniTool MovieMakerClick to Download100%Clean & Safe
How to Change Opacity of Image on Windows
If you want to change opacity of image on Windows, we recommend Photoshop. It is an industry-leading image editing software popular for its powerful features and flexibility. Whether you’re retouching photos, creating artwork, or doing graphic design, Photoshop offers a wealth of tools to meet different needs. Among these techniques, adjusting the opacity of an image is a basic but very important skill. The following will explain how to change opacity of image in Photoshop.
Step 1: Download and install Photoshop on your PC according to the instructions.
Step 2: Launch this software. Go to File > Open, and select your image from your computer.
Step 3: If you don’t see the layers panel, click Window at the top of the screen, and click Layers to show the layers panel.
Step 4: Select the layer you want to adjust in the Layers panel and click the drop-down arrow to show the opacity slider.
Step 5: Drag the opacity slider left to decrease the opacity or right to increase the opacity, and you can see its percentage next to Opacity.
Step 6: After finishing editing, click File from the top menu and select Save As to export your image to your computer.
How to Change Opacity of Image Online
Here are three free ways to change opacity of image online. Each of the methods below is simple and practical, and they are excellent solutions for users who just want to simply change opacity of image.
Safeimagekit
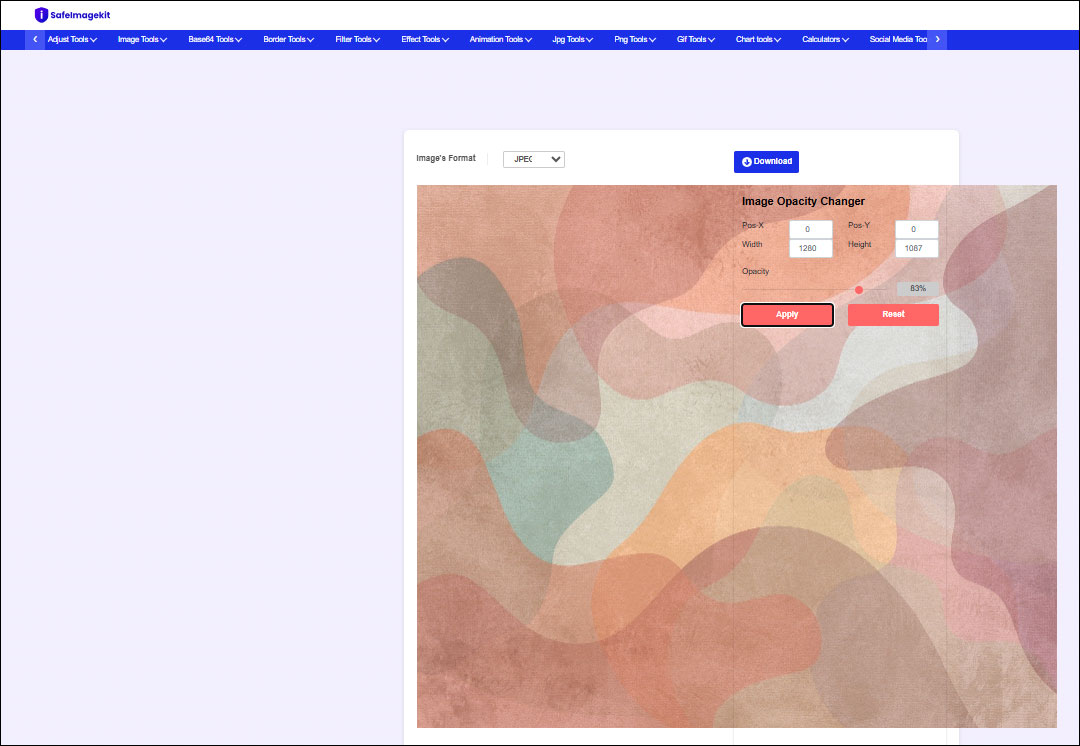
Safeimagekit’s image opacity changer provides an easy method for you to quickly change the opacity of your images. You can also use the tool to modify the size of the image directly.
Step 1: Go to the Safeimagekit’s site and click Upload Image to import your image.
Step 2: Drag the Opacity slider to the left or right, and click Apply to preview this effect.

Step 3: If you want to change the image size, you can change the numbers in Width and Height.
Step 4: After adjusting the opacity to the right level, click Download to save your work.
Auto Rad Studio
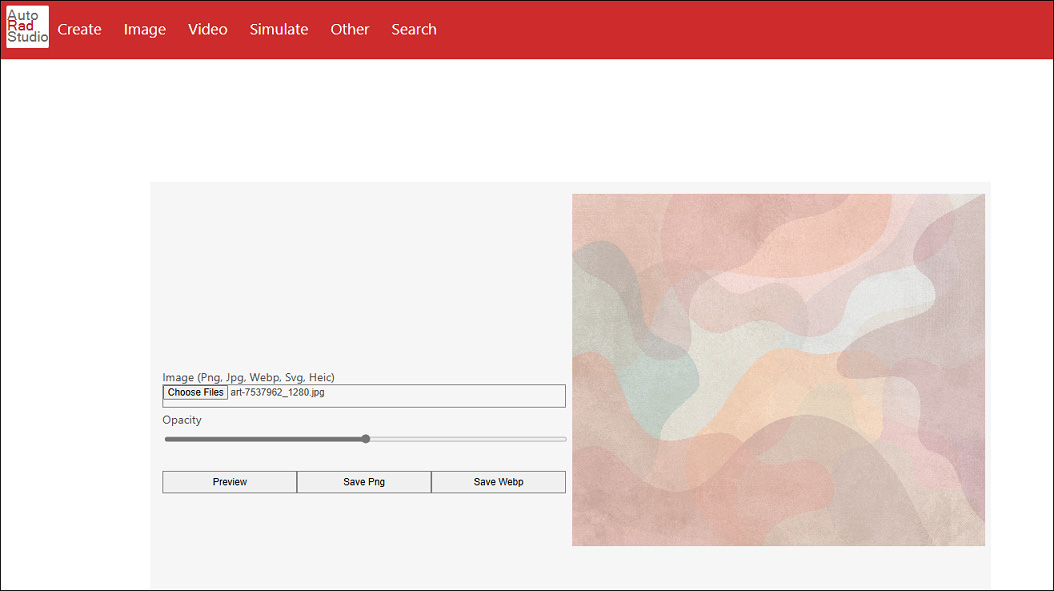
The opacity adjustment tool provided by Auto Rad Studio is efficient and easy to use. The tool has a simple operation process and is suitable for all kinds of users.
Step 1: Open the Auto Rad Studio website and click Choose Files to upload your image from your computer.
Step 2: Drug the Opacity slider to change the transparency of the image, and click Preview to see this effect.

Step 3: Click Save Png or Save Webp to export the image.
Imagetoolspro
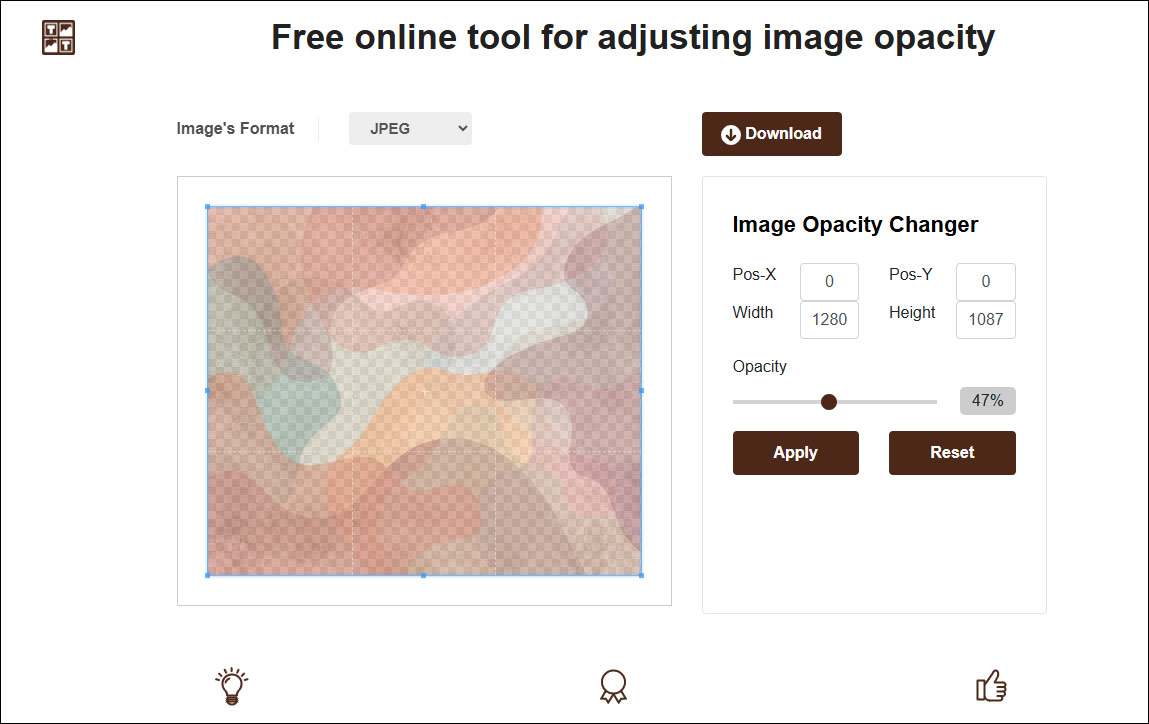
Imagetoolspro provides an image opacity adjustment feature that allows you to easily modify the transparency of an image to achieve the desired visual effect.
Step 1: Go to the Imagetoolspro site, and click CHOOSE FILE to import your image.
Step 2: Drug the Opacity slider to the right position and click Apply to preview this effect.

Step 3: Click Download to save your work.
Bottom Line
In conclusion, adjusting image opacity is a practical skill that can dramatically improve the quality of your work. Mastering this technique allows you to add depth and layers to your designs, making them more visually appealing. You can experiment with different opacity to find the effect that best meets your needs. I believe you have mastered how to change opacity of image and hope you will utilize this technique to the fullest in your future designs and create amazing work.


User Comments :