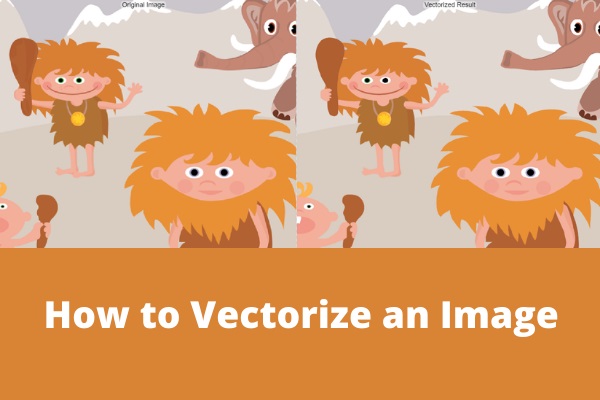
If you have a low-resolution image that you need to resize without getting distorted, you can vectorize it in Photoshop to allow for unlimited resizing. In this post from MiniTool MovieMaker, we're going to explore how to create a vector image in Photoshop. Adhere to simple images like logos, line art, or other graphics for this task.
If you're looking for the right video editing software to help you make high-resolution videos, try MiniTool MovieMaker.
MiniTool MovieMakerClick to Download100%Clean & Safe
What is the difference between a raster image and a vector image? This is a common question among new designers. The primary distinction between vector and raster formats is that vector images are made up of paths, which allows them to be scaled and edited more easily, whereas raster images are made up of pixels. Photoshop is commonly used with raster images, but it may also be used with vector images.
What Does Vector Images Mean?
Raster images are suitable for pictures, while vector images are suitable for logo design, graphics, engravings, art pieces, product artwork, signs, and embroideries. If your project demands scalable forms and solid colors, such as painting, a vector image is an ideal option.
In contrast to raster graphics, vector graphics are made up of paths, each of which includes a mathematical formula (a vector) that specifies the shape of the path as well as the color of its borders or fills.
Vector images, in general, are made up of paths or lines that can be scaled indefinitely considering that they are based on algorithms rather than pixels. Vector pictures can be made and edited with tools like Illustrator, CorelDraw, and Inkscape.
Why Is It Necessary to Vectorize Images?
The main reason for using vector graphics to design logos is that they can be easily measured. For example, when we chose to design the logo as a bitmap and subsequently print it on company documents, everything looked nice. However, if you have the chance to promote your business the next time, you will need to relocate the logo to the banner and enlarge the size of the 2-inch sign to 2 feet. As a result, the logo will become clunky and blurry, like an extremely slow computer buffering images.
Vector images won’t have this trouble. One of the advantages of vector images is that they can be resized indefinitely. They remain printed clearly without affecting the file size. Vector pictures maintain their appearance no matter how big they are because mathematical formulas dictate how they are produced.
How to Make Vector Images in Photoshop?
Converting images to vector graphics allows them to be resized without losing quality, as JPEG or PNG images do. Additionally, you can produce your own vector pictures by using the path and line-drawing tools. The following approaches describe how to convert images to vectors and how to create vector images in Photoshop.
How to Convert Images to Vectors in Photoshop
- Launch Adobe Photoshop.
- Open the image to be vectorized.
- Click on the Paths tool.
- Select the Freeform option.
- Create vector paths on the image.
- Click on the File tab.
- Choose Export in the menu.
- Choose Paths in Illustrator.
How to Make a Vector Image in Photoshop
Step 1: Launch Adobe Photoshop
This tool has a light blue icon with a “Ps” inside. If you’re using Windows, you can locate it in the Start menu. If you’re using a Mac, you can find it in the Applications folder.
Step 2: Click on the Paths Tool
With the Freeform option, you can draw vector paths using preset shapes or draw your own path design.
Step 3: Select the Rectangle or Polygon Tool
You can click and hold on to the Rectangle tool to choose one of the shape-drawing tools in Photoshop. Also, you can do this by using Shift+U hotkeys.
Step 4: Click and Drag to Create Your Shape
To make your shape symmetrical, you can press the Shift key while clicking and dragging.
Step 5: Modify Your Shape
Please click the image to highlight its anchor points (points that indicate corners). Next, you can click and drag one or more of the anchor points to modify the shape of the image.
Step 6: Click on the File Tab
The File tab is in the top-left corner of the screen.
Step 7: Choose the Export Option in the Menu
Save your image or send it to another app.
Step 8: Choose Paths in Illustrator
You may then use Illustrator to edit the image because it has been saved as a vector image.
Conclusion
Vectorizing images provides designers with many benefits. If you follow the above methods for how to create a vector image in Photoshop, your job will be greatly simplified.
User Comments :