Splitting an audio into multiple parts makes it easier to edit. This post offers 4 easy methods to split audio recordings. Let’s dive in.
How to Split Audio Recording with MiniTool MovieMaker
MiniTool MovieMaker is a free audio editor. It can split your audio into multiple parts and remove unwanted parts. It can also change the audio speed and volume. Additionally, MiniTool MovieMaker can add images to your audio and turn it into a video.
Moreover, MiniTool MovieMaker can edit videos. It can trim, crop, rotate, reverse, and flip videos. It can also change the video speed and color, add transitions, texts, filters, and audio to your video.
Let’s see how to split audio recording with MiniTool MovieMaker.
Step 1. Download, install, and open MiniTool MovieMaker on your PC.
MiniTool MovieMakerClick to Download100%Clean & Safe
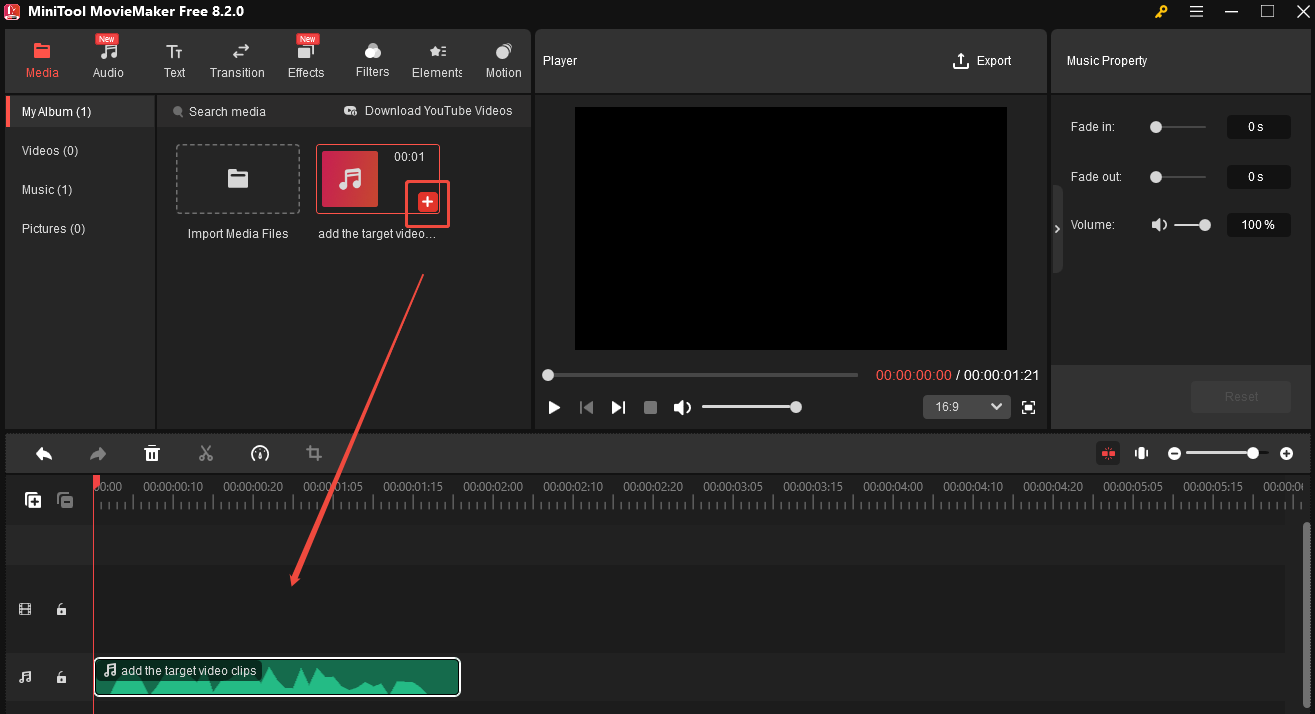
Step 2. Click Import Media Files to load the audio recording you want to split into this program. Next, click the + icon to add the audio to the timeline.
Step 3. Move the playhead to the point where you want to perform a split and click the scissors icon. Then, the video will be split into 2 parts. You can go on to split them into more clips. Now you can edit those clips separately. If you want to remove your unwanted part, right-click the target clip and choose Delete.

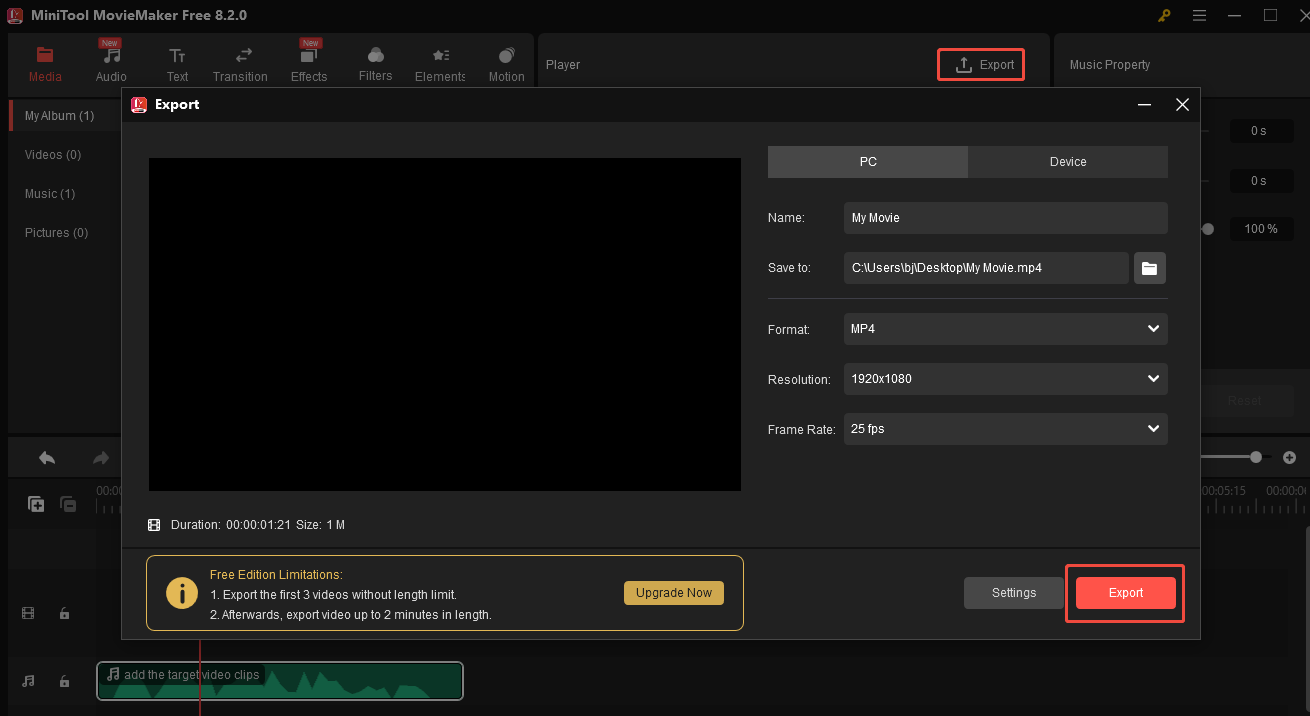
Step 4. Click Export. In the Export window, you can choose a name and destination folder for your video. You can also customize the output format, resolution, and more. When all set, click the red Export icon.
How to Split Audio Recording with Clipchamp
Clipchamp is also an excellent audio splitter for Windows users. It has a simple interface, allowing users of all levels to navigate it easily. This tool can also trim, crop, flip, and rotate videos.
Follow the steps below to split your audio recording with Clipchamp.
Step 1. Download and install Clipchamp on your PC.
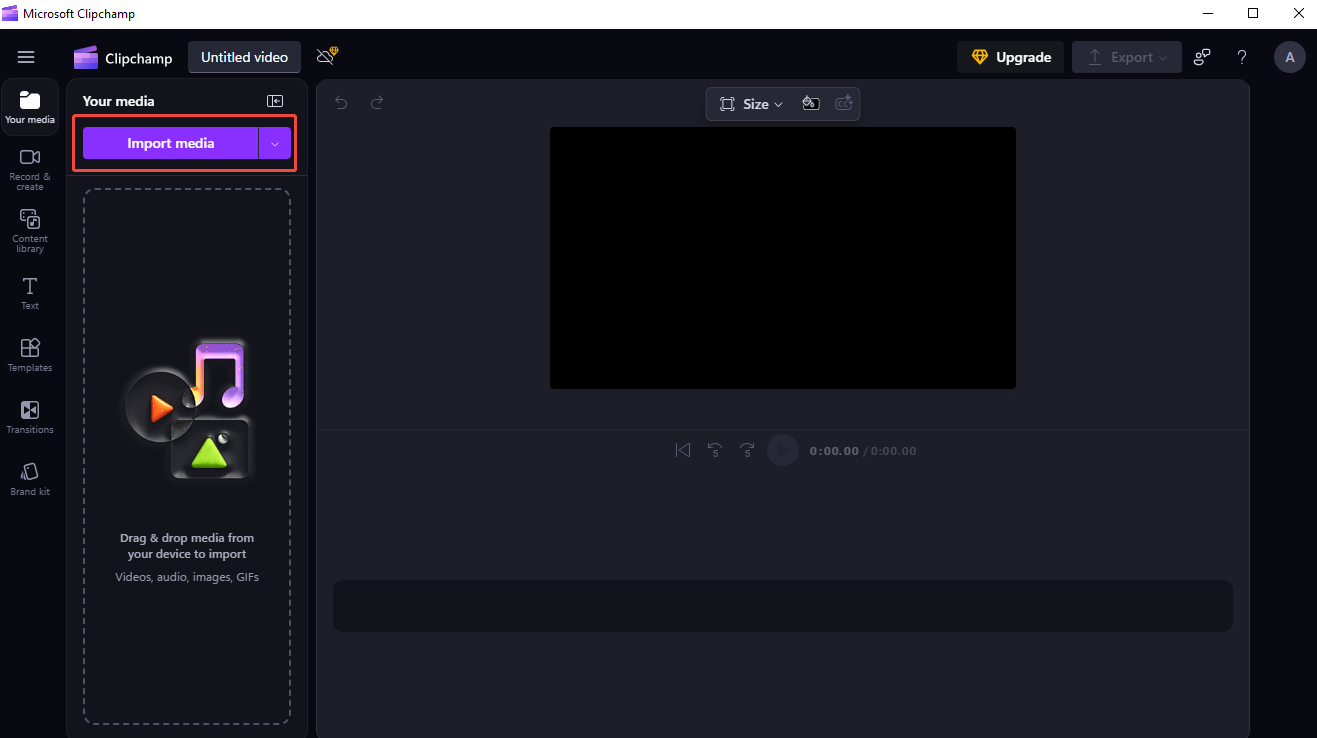
Step 2. Open this software. Choose the Create a new video icon. In the next window, click the Import media icon to add the video to the application.
Step 3. Drag the video clip to the timeline. You can also click the + icon to add it to the timeline.
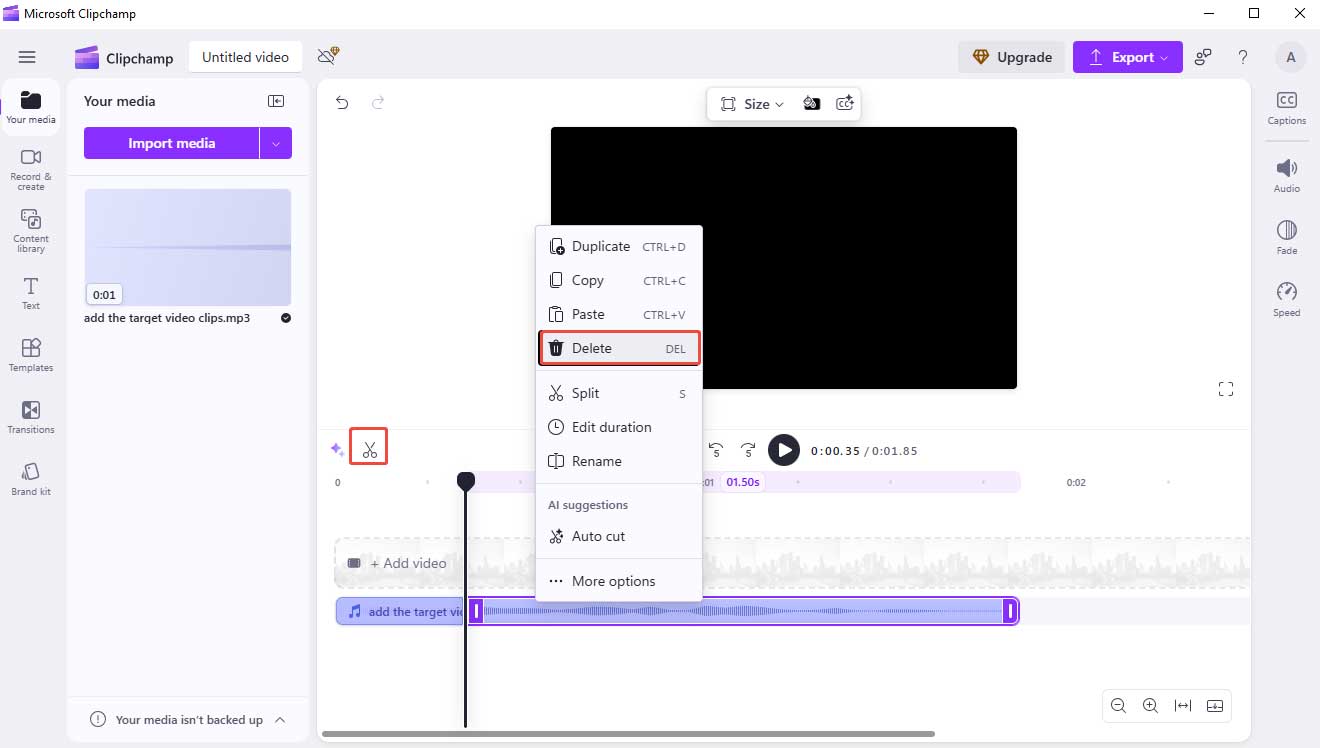
Step 4. Move the playhead to the point where you want to split the video and click the scissors icon. Right-click the part you don’t want and choose Delete to remove it.
Step 5. Click Export and choose a resolution. Clipchamp will save your file in MP4 format.
How to Split Audio Recording with GiliSoft Video Editor
GiliSoft Video Editor supports many audio formats, including AAC, AC3, APE, AIF, AIFF, FLAC, OGG, WAV, etc. Let’s see how to split an audio recording with GiliSoft Video Editor.
Step 1. Download and install GiliSoft Video Editor on your Windows PC.
Step 2. Once installed, launch the free OGG splitter.
Step 3. Click the Splitter button to activate the GiliSoft audio splitter.
Step 4. Click the + Add File icon to add your audio recording into GiliSoft Video Editor.
Step 5. Drag the slider to set the start/end time.
Step 6. Click the Cut button and then hit the Start button.
How to Split Audio Recording with Flixier
Want to split an audio recording online? Flixier is here to help. This online audio editor is easy to use, allowing you to split audio recordings within a few clicks.
You can use it to flip videos, blur or pixelate videos, transcribe audio to text, and add glitching effects.
The following is a step-by-step guide to splitting an audio recording using Flixier:
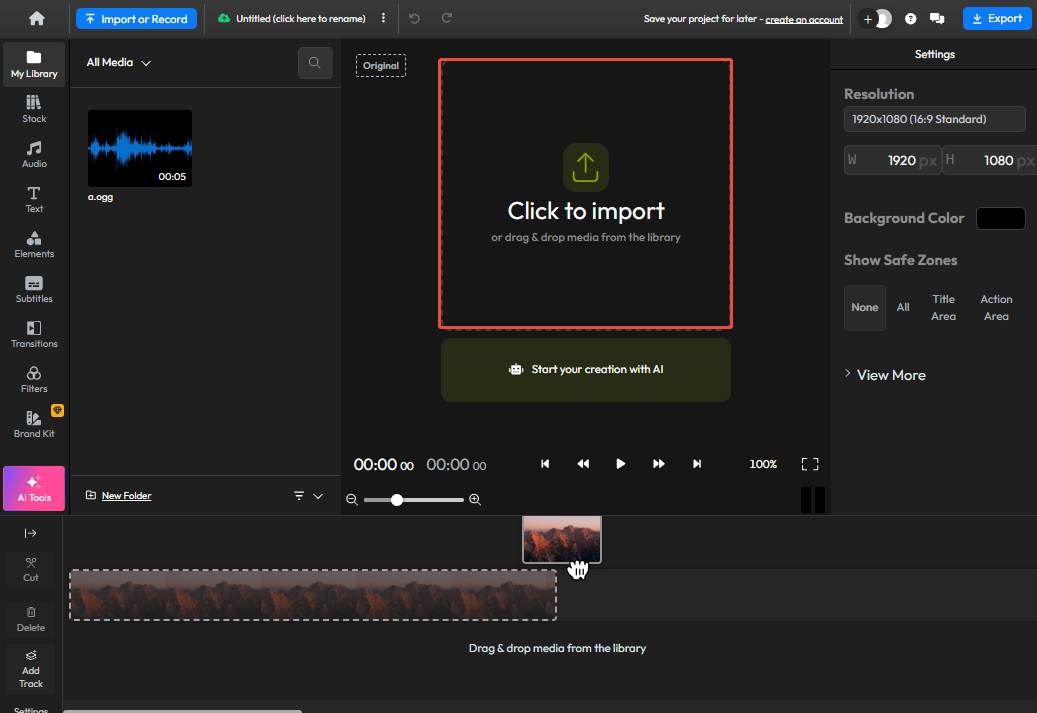
Step 1. Go to the Flixier website using your browser and click Get Started.
Step 2. Choose the Click to upload option. In the popup, click the click to upload button, then hit the Import all button.
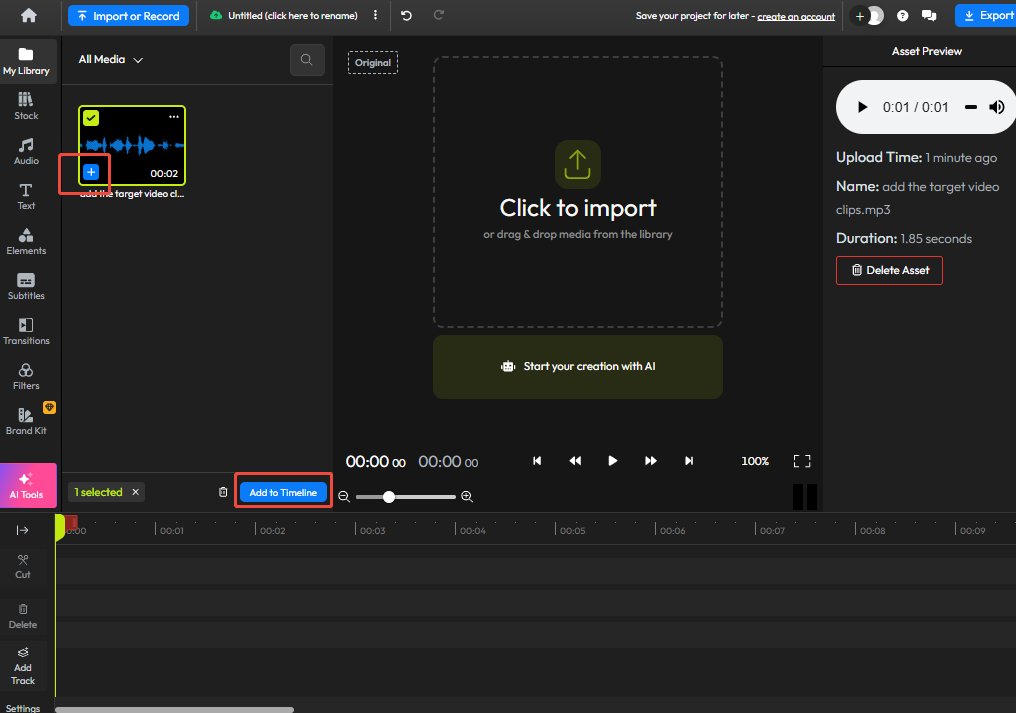
Step 3. Click the + icon and then the Add to Timeline to add the audio to the timeline.
Step 4. Drag the playhead to the point where you want to perform a split. Next, click the Cut icon. Now you can edit those clips separately.
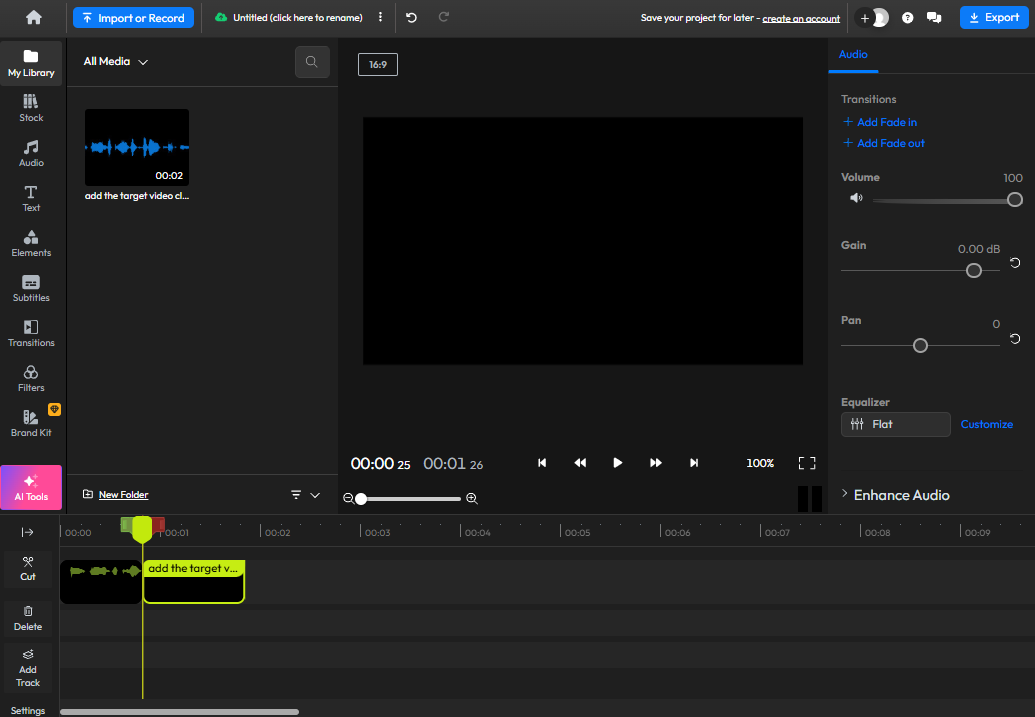
Step 5. Choose Export, choose Audio, and click Export Audio.
Conclusion
This post offers 4 methods to help you split audio recordings on a desktop and online. I hope you enjoy it.
User Comments :