Have you ever captured the perfect moment only to find that glare ruined the photo? Fortunately, in this post published on MiniTool MovieMaker, you will learn how to remove glare from photo using some simple tools and techniques, both before and after taking the shot.
Glare is a common problem that can ruin your photos, especially when you are shooting in bright or reflective environments. It can come in many forms, including sun glare, light glare, glasses glare, flash glare, skin glare, etc. Glare can cause unwanted haze, blur, overexposure, reflections, and distortions in your images, making them look less professional and appealing.
Fortunately, there are some easy ways to prevent and fix glare in photos, both before and after taking the shot. Keep reading to learn how to remove glare from photo with some of the best tools and techniques.
Best Apps to Remove Glare from Photo
If you already have photos with glare and want to fix them, you can use some photo editing software or apps to remove glare from photos. Here are some of the best apps:
#Photoshop
Photoshop is a popular and advanced photo editor for both Windows and Mac. It offers many tools and features that can help you remove glare from photos, such as the Content-Aware Fill, the Healing Brush, the Patch Tool, and the Levels Adjustment. However, Photoshop may be more complex and expensive for beginners, and it requires some skills and experience to use it effectively.
#Fotor

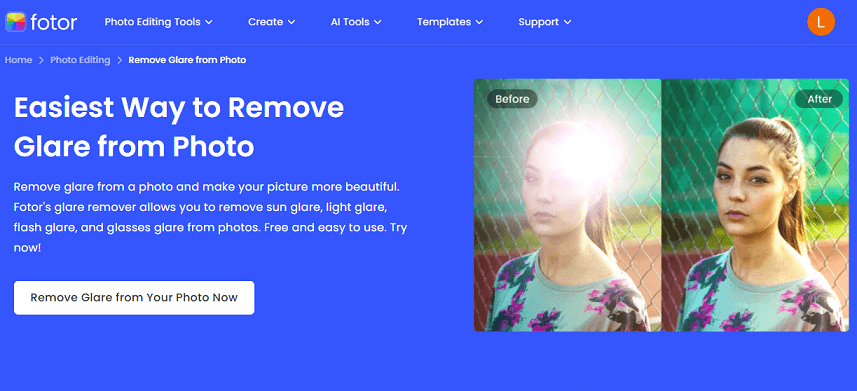
Fotor is a user-friendly photo editing app that can help you remove glare from photo. It has two tools for this purpose: Magic Remove and Clone. Magic Remove can automatically detect and remove light glare from your photo, and many other types of glare, while Clone can manually copy and paste a specific area of the photo over the glare area. You can use Fotor on your web browser or download it on your iOS or Android device.
#Snapseed
Snapseed is a free photo editing app available for iOS and Android devices. It offers a user-friendly interface and a Healing tool that can automatically detect and remove glare from your photos. To use this feature, simply paint over the affected area with a brush and click on the Start Removing button. Snapseed also has a range of other tools and filters that can help you enhance and beautify your photos.
#YouCam Perfect
YouCam Perfect is one of the best AI object removal photo editor apps to help you remove any unwanted objects from your photos, including glare. It features an AI Removal tool that can remove glasses glare from photos on your phone or tablet. Simply brush over the glare areas with your finger and the app will fill them with the surrounding pixels automatically.
MiniTool MovieMakerClick to Download100%Clean & Safe
How to Prevent Glare When Taking Photos
Although there are some great apps that can remove glare from your photos, it is best to prevent it from happening in the first place. Here are some techniques that can help you take glare-free photos:
- Use a lens hood. A lens hood is a device that attaches to your camera lens and blocks unwanted light from entering the lens. This can reduce or eliminate glare caused by the sun or other light sources. Lens hoods are also useful for preventing overexposure and lens flare in your photos.
- Adjust the camera position. The angle and direction of your camera can affect how much glare you get in your photos. To avoid glare, you can try to place the subject in front of the light source or turn the camera away from reflective surfaces, such as glass, water, or metal.
- Clean the lens. Dust, dirt, fingerprints, and other particles on your lens can cause glare and blur in your photos. To prevent this, you should always keep your lens clean before taking a shot.
- Turn off the flash. The flash can create glare and reflections on your subject, especially if they are wearing glasses or have shiny skin. To avoid this, you should turn off the flash and use natural or artificial light instead.
Conclusion
Removing glare from your photos can make a big difference in the quality and appearance of your images. With these tips and techniques, you’ll be well on your way to fixing the glare problem in your photos and making them look professional.


User Comments :