Knowing how to schedule a post on Facebook is very useful. Sometimes you may need to post something at a specific time you can’t be online at that time, then you can schedule it.
How to Schedule Posts on Facebook
Here I will show you how to schedule posts on Facebook using Meta Business Suite on a computer.
Step 1. Go to Facebook and log in to it. Then navigate to your business page.
Step 2. Click Planner in the left menu.
Step 3. Click your Page’s profile picture in the top right, click Meta Business Suite, and hit the Create post button.
Step 4. Create your Facebook post in the Text box.
Step 5. Go to the Scheduling options section and click Schedule to select a date and time when you want the post to be published. If you have no idea when to post, you can click Active times to select a recommended time.
Step 6. Click Save in the bottom right and then click the Schedule button to confirm it.
You can schedule posts to publish in 20 minutes up to 29 days away. If you want to make a scheduled post on mobile, you can refer to the Meta Business Suite mobile app.

How to Edit a Scheduled Post
Facebook allows you to edit a scheduled post. You can Here are the steps.
Step 1. Log in to your Facebook account and click your profile photo in the top right.
Step 2. Go to Meta Business Suite and select Planner from the left menu.
Step 3. Click the target scheduled post on the calendar.
Step 4. Click Options and choose Edit post to modify its text, media, link, or location.
You can also make a copy of this post as a new post, reschedule the post, move the post to drafts, or delete the post here.
How to Schedule a Post in a Facebook group
You can also schedule a post on a Facebook group to publish it at a specific time. Here are the steps.
Step 1. Log in to Facebook and click Menu in the bottom right of Facebook
Step 2. Click Groups > Your groups to select the group you want to schedule a post.
Step 3. Under Start creating a post by clicking the Write something… option. You might need to tap Discussion at the top of the group first.
Step 4. Click Schedule and select the date and time when you want the post to publish.
Step 5. Click Save.

How to Edit a Scheduled Post in a Facebook group
Step 1. After logging in to Facebook, click the Menu icon in the bottom right.
Step 2. Under Groups, click Your groups to select the target group.
Step 3. To find the post you want to edit, click Admin tools in the top right and select Scheduled posts.
Step 4. Click the Options button next to the target post and choose Edit post. You can also reschedule, delete, publish a scheduled post here.
Recommended Facebook Video Editor
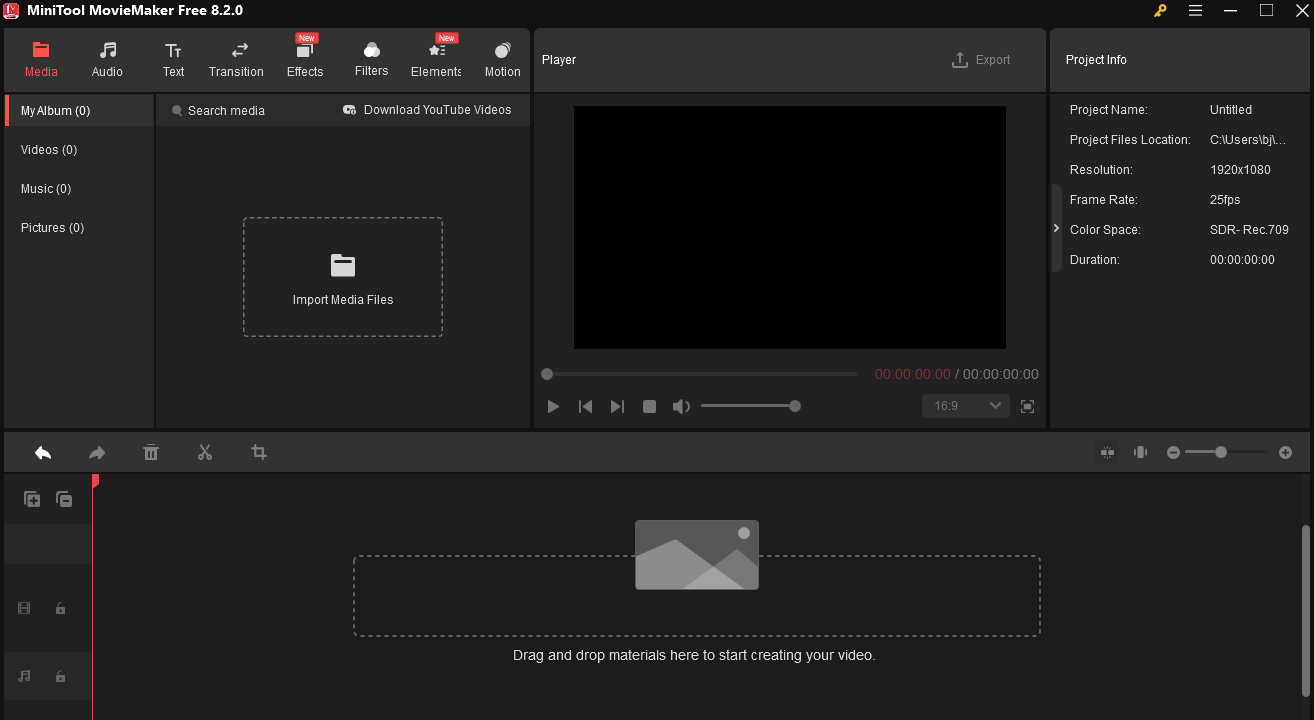
Before loading your video to Facebook, you can use MiniTool MovieMaker to polish it.
MiniTool MovieMaker is a free video editor without watermark. It offers an intuitive interface, making it the ideal choice for beginners. As a Facebook video editor, you can split, trim, merge, reverse, and add stickers, filters, transitions, texts, and background music to the video. In addition, MiniTool MovieMaker allows you to export your video to multiple formats, including MP4, MOV, MKV, GIF, etc. You can also customize its resolution, frame rate, bitrate, and encoder. Thus, this tool can create a format that suits Facebook the best, which is MP4 with H.264 compression, a maximum resolution of 1080p, and a maximum frame rate of 30 frames per second.
Click the button below to download and install MiniTool MovieMaker on your Windows PC and start the editing journey.
MiniTool MovieMakerClick to Download100%Clean & Safe
Conclusion
How to make a scheduled post on Facebook? I think you already know the method. This post also shows you how to schedule a group post. Plus, it introduces a free Facebook video editor – MiniTool MoiveMaker to you. Hope you enjoy this article.
User Comments :