Why Fill Text with an Image
Filing text with an image is a graphic design technique that creates eye-catching visual effects, making headlines or key text stand out more prominently. The topic or information can be visually reinforced by using images within the text, increasing engagement and accessibility.
MiniTool MovieMakerClick to Download100%Clean & Safe

How to Fill Text with an Image in Photoshop
Adobe Photoshop is an industry-leading image editor that features powerful toolsets. Its steep learning curve often confuses beginners. Therefore, for some of you who have no idea about how to put an image inside of text in Photoshop, I listed 2 methods and step-by-step guides. Read on.
Method 1. Use a Clipping Mask
How to fill text with an image in Photoshop? Using a clipping mask to fill text with an image is quite an easy solution. Just follow the instructions below.
1. Access Adobe Photoshop
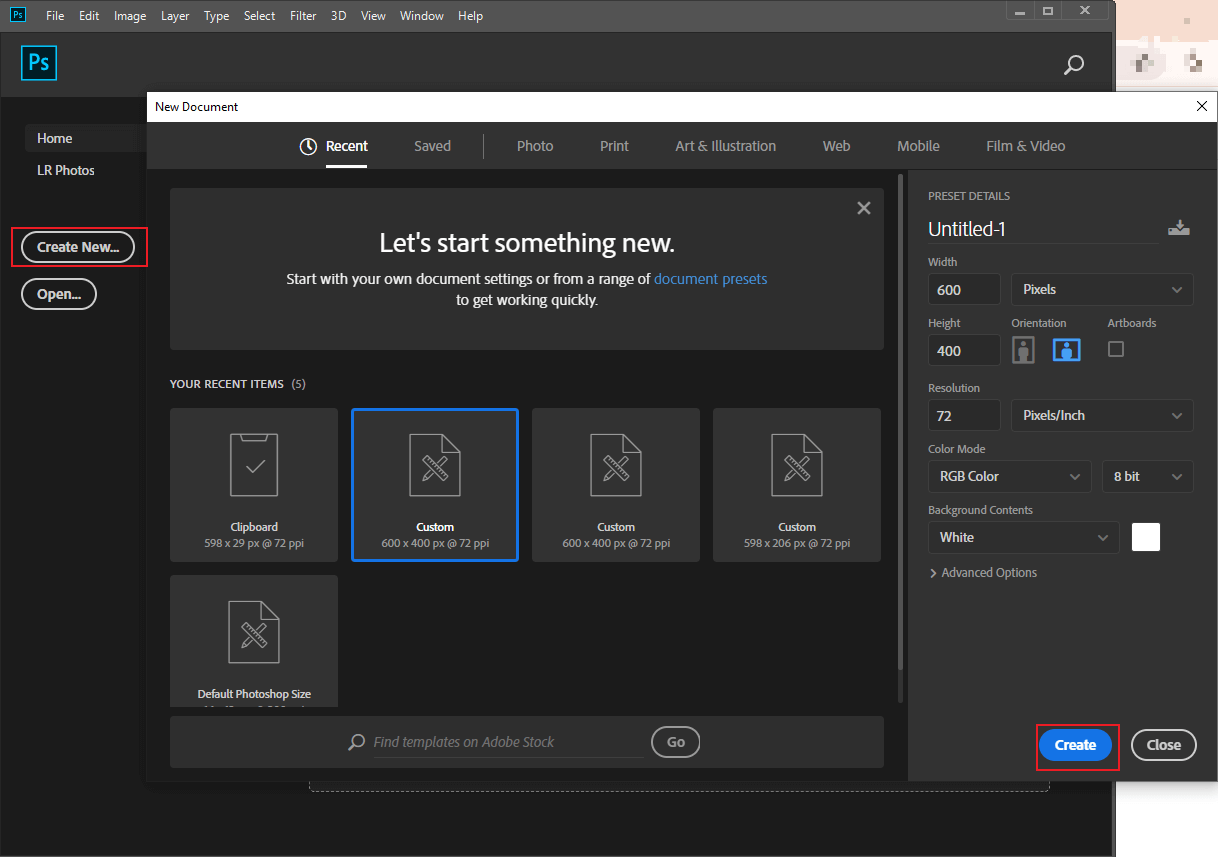
Launch Photoshop on your computer. Then, click the Create New… option, choose a layer preset, and click the Create button to create a background.
2. Input Your Text
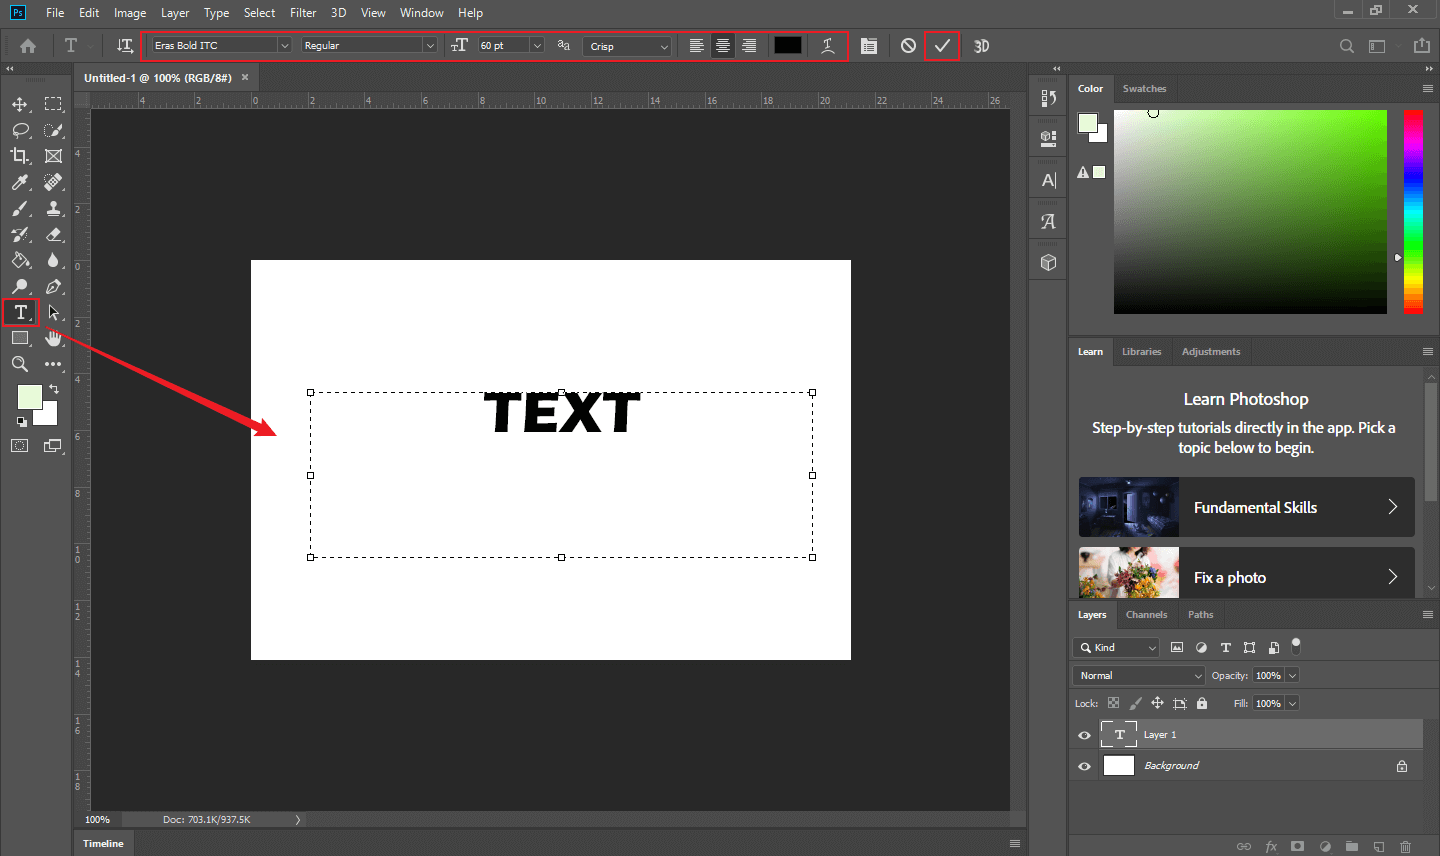
Click the Horizontal Type tool in the left menu, drag and draw a text box on the background canvas you just created, and type the desired text. Then, you can adjust the text size, font, color, etc., in the top toolbar. Click the check icon to save the change.
3. Import Your Image
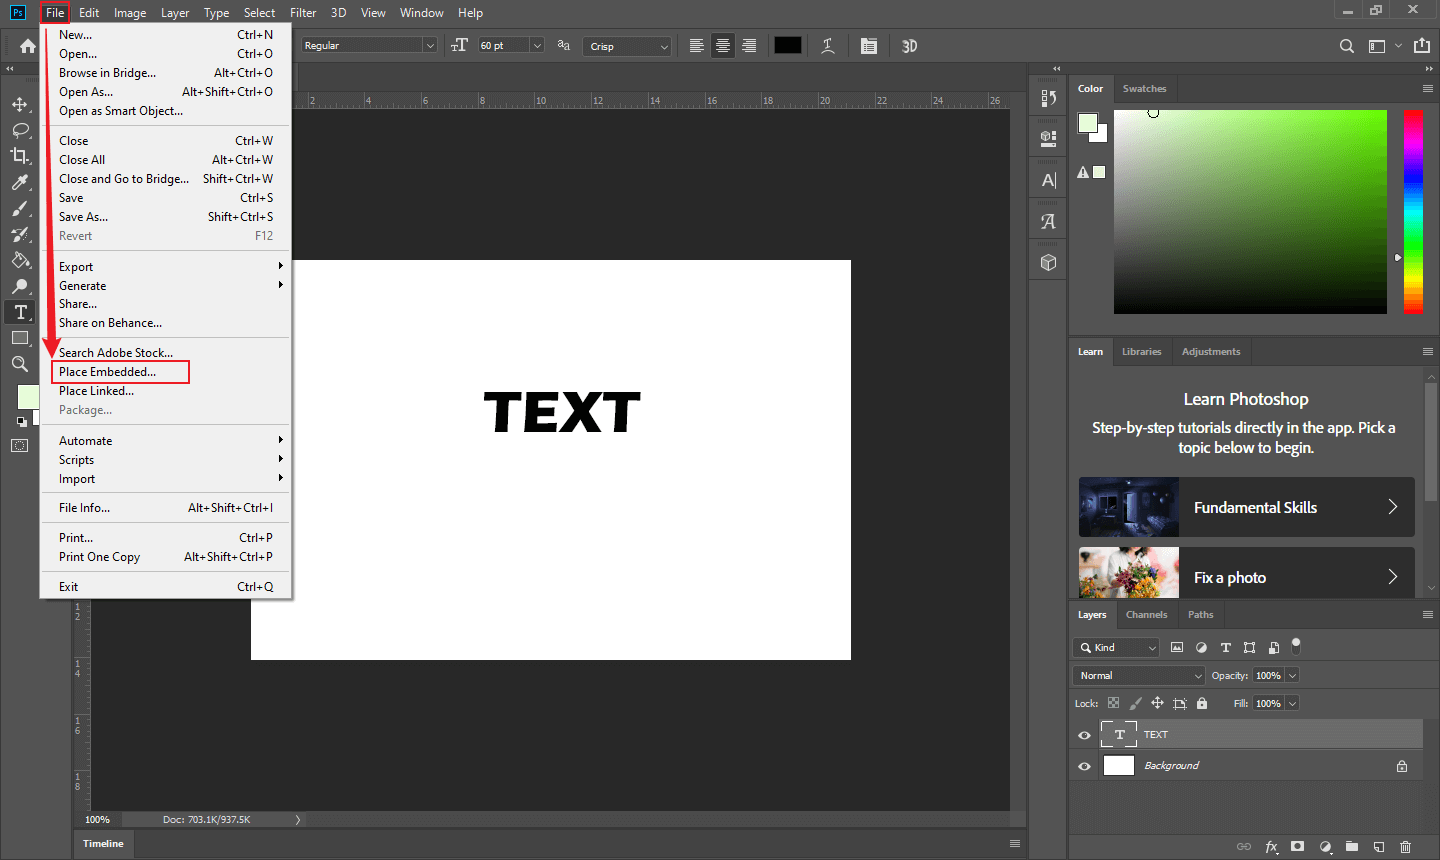
Click the File option at the top left and choose the Place Embedded option to add the image you want to insert into the text.
4. Put Image into Text
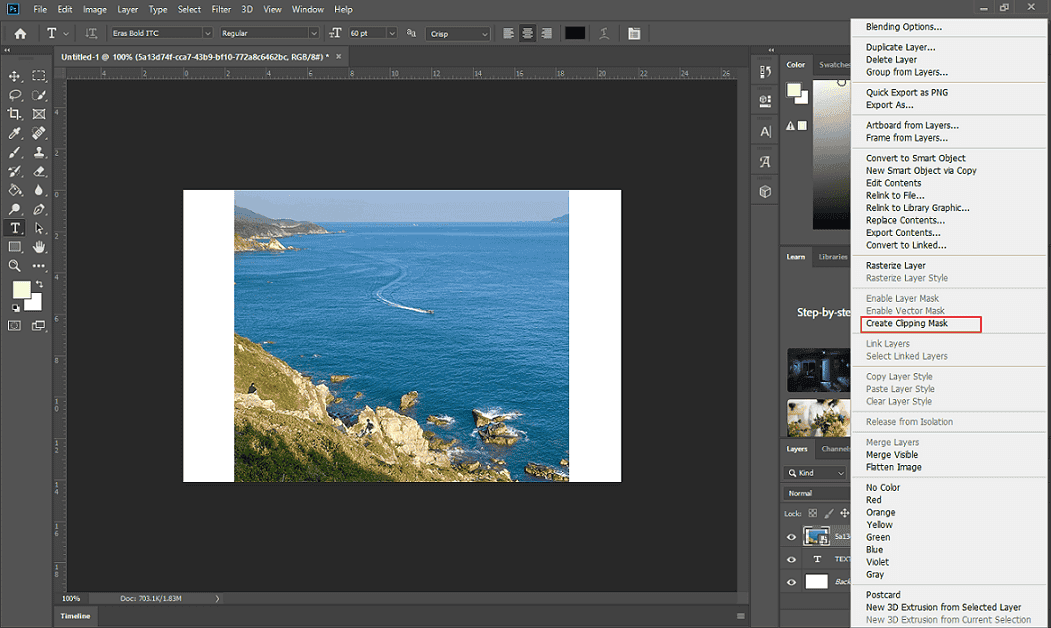
Make sure the image can completely cover the text. Right-click the image layer in the right section and choose Create Clipping Mask. Or, you can hold Alt on the keyboard and click the line between the text layer and the image layer in the Layers section.
5. Adjust the Image and Text
Adjust Text’s Scaling and Position
Click the text layer in the Layers panel, expand the Edit option in the top menu, click Transform, and click Scale. Then, you can move and resize the text on the canvas. Alternatively, press Ctrl + T and then adjust the text.

Adjust Image’s Scaling and Position
Click the image layer in the Layers panel, press Ctrl + T, and move and resize the image based on your needs.

Done!
Method 2. Use a Layer Mask
How to put an image into text in Photoshop using a layer mask? Follow the tutorials below.
1. Import Your Image
Run Photoshop and click Open… to add the target image.
2. Add a Text Layer
Click the Horizontal Type tool in the left toolbar, drag and draw a text box on the canvas, and type your desired text. Press Ctrl + T to adjust the text scaling and position.

3. Create a Layer Mask
Press Ctrl and click the text thumbnail in the Layers panel to activate a text selection.

Next, place the image layer on top of the text layer. This step will make the text transparent. Then, click the Add layer mask option at the bottom of the Layers panel.

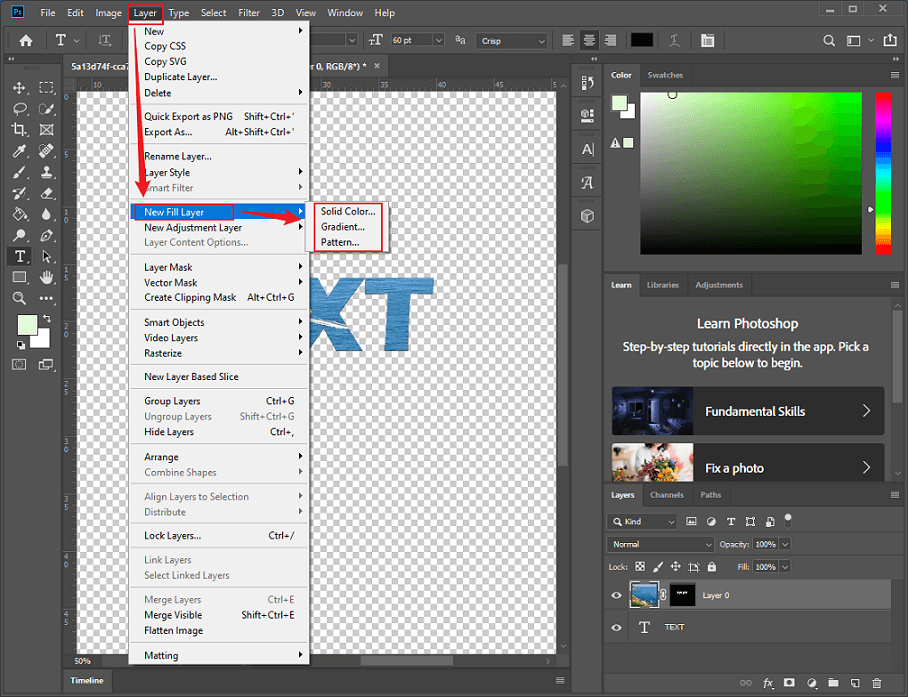
4. Add a Fill Layer
To add a fill layer for the text, click the Layer option in the top menu, select New Fill Layer, and choose a layer type. Then, click OK in the pop-up window.
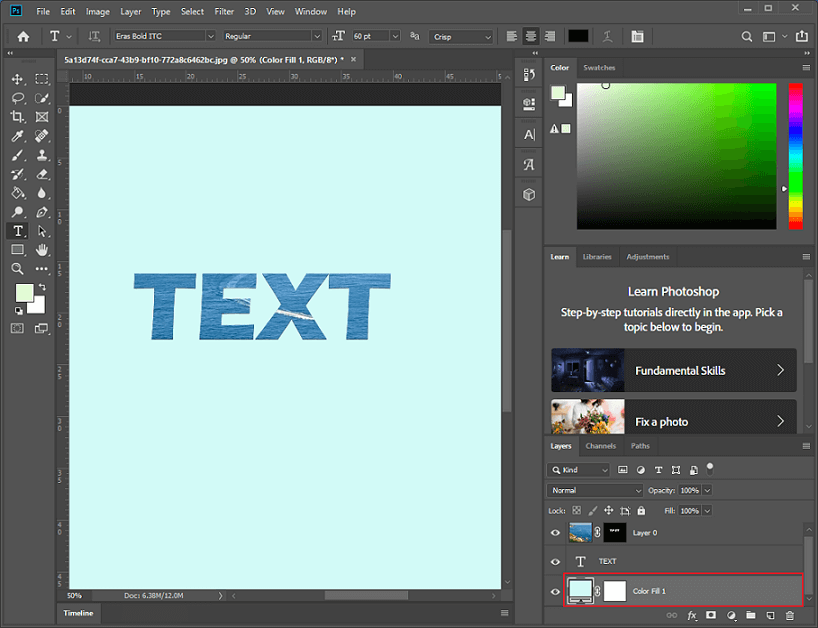
Choose a color for the canvas and click OK.

Finally, move the fill layer to the bottom.
In Summary
How to fill text with an image in Photoshop? This post offers two methods and guides you to complete the task step by step. Follow the guides below and start your text creation now! Hope you find this article helpful.
User Comments :