This post focuses on Dell video editing software. It offers you 3 handy tools to help you edit videos on your Dell laptop.
Best Video Editing Software for Dell Laptop – MiniTool MovieMaker
Minitool MovieMaker is a free video editor for Windows users that allows you to make a wonderful video quickly and easily. It has a simple interface, making it easy to navigate. Meanwhile, it offers a wide range of editing tools.
With it, you can trim and cut video clips to remove unwanted parts, split a video into multiple clips so you can edit them separately, merge multiple clips into one seamlessly, add background music to your video, and change the video speed. Moreover, Minitool MovieMaker lets you add transitions, filters, text, effects, and motions to make your video more visually attractive.
Audio editing is not overlooked either. You can adjust the volume levels of different audio tracks and apply fade-in and fade-out effects.
What’s more, Minitool MovieMaker can turn an image into a video/GIF. It can also extract audio from a video.
Here is an easy guide on how to edit a video using MiniTool MovieMaker.
Step 1. Download, install, and open MiniTool MovieMaker.
Step 2. Click the Import Media Files button to add the target video to the software.
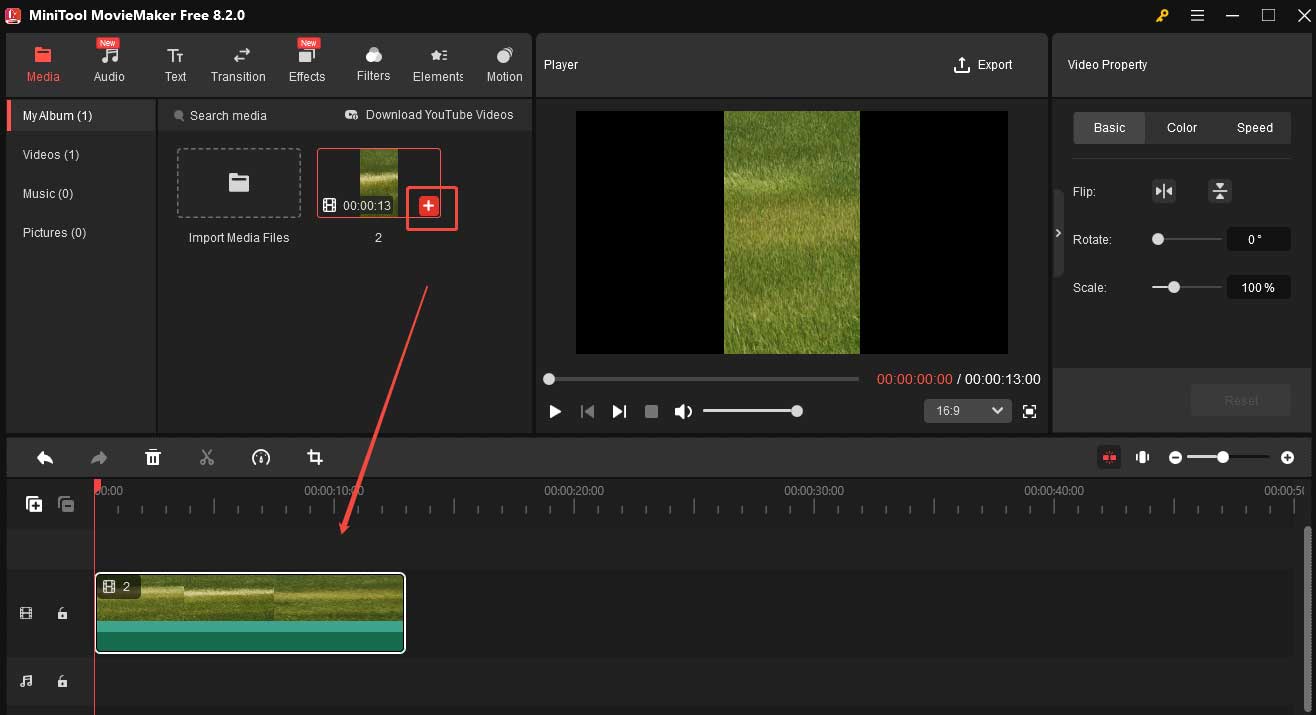
Step 3. You can directly drag the video to the Timeline. You can also click the + icon on the video thumbnail to add it to the timeline.
Step 4. Now you can start editing your video.
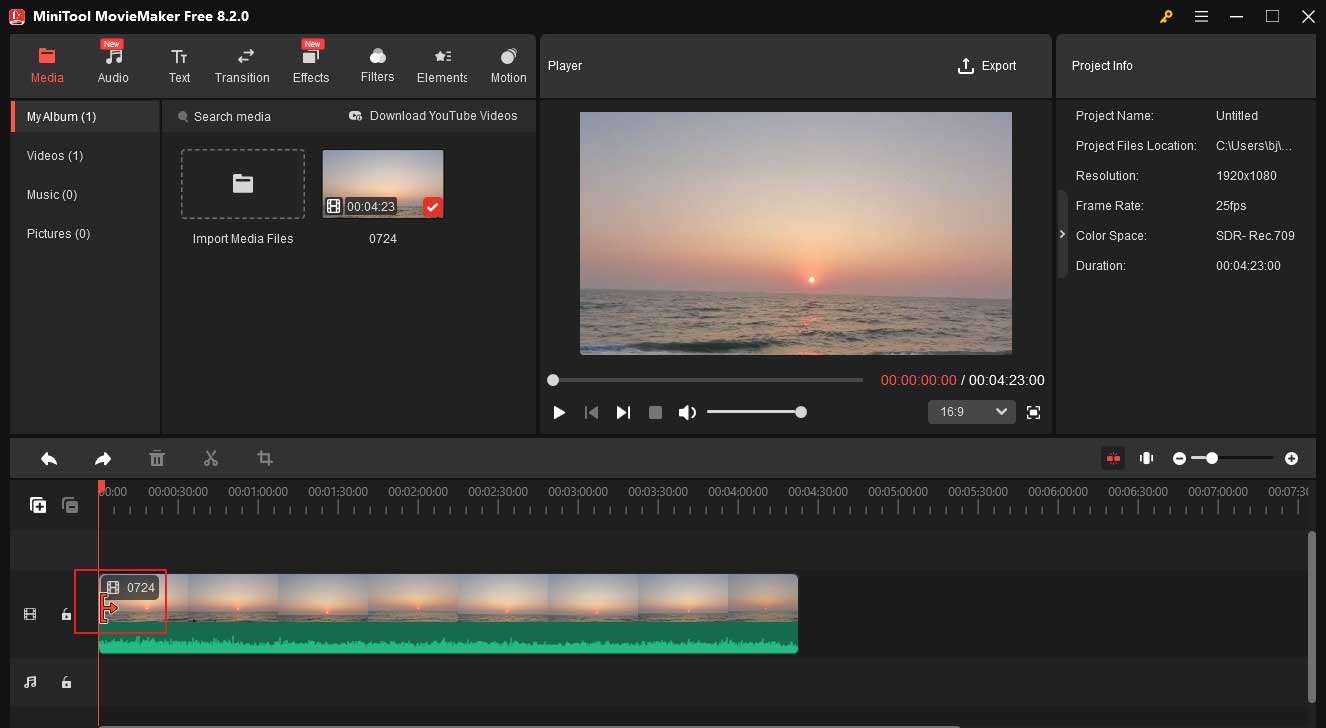
- Trim the video: Hover your mouse at the start/end point of the video, then you will see an arrow. Drag the arrow to the right/left to trim your video.
- Crop the video: If you want to change the aspect ratio of the video, you can crop it. Expand the Ratio drop-down menu at the bottom-right corner of the Player section and choose a proper aspect ratio. You can also click the crop icon on the timeline toolbar and adjust the size in the player section manually.
- Add subtitles: Select the clip on the timeline and drag the playhead to where you want to add the subtitles. Click Text and choose Caption. Click the + icon on your desired caption mode to add it to the timeline. Go to the Text Editor to enter and edit your captions.
- Change video speed: Click the Speed icon on the timeline toolbar, choose Slow, and select a speed from the list to make your video slower. Accordingly, the video length will be longer. You can also choose Fast and then select a speed to make your video faster and shorter.
- Add background music: Click the audio on the top menu, choose your desired music, and add it to the timeline. Then go to the Music Property window to edit it. Here, you can apply the fade in/out effect and adjust the volume.
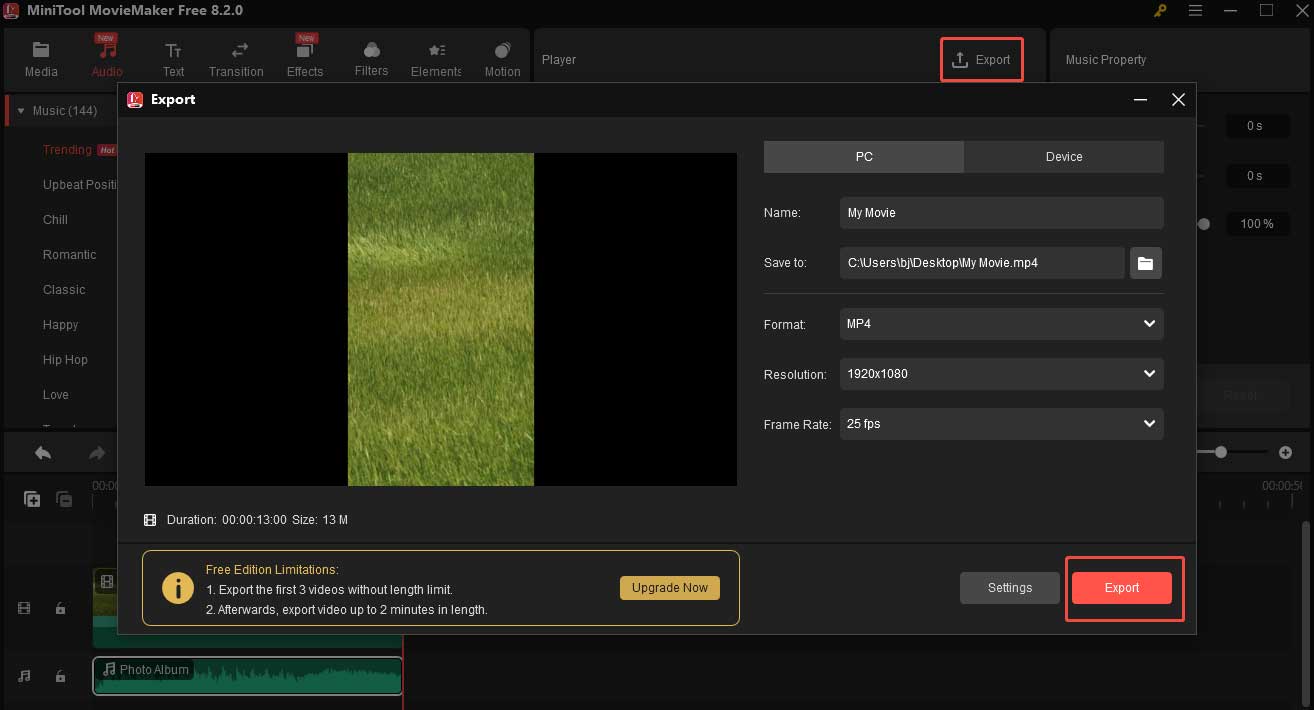
Step 5. Click the Export to open the Export window. Finally, click the red Export button.
Other Recommended Dell Video Editing Software
Here are 2 other handy video editing tools for Dell.
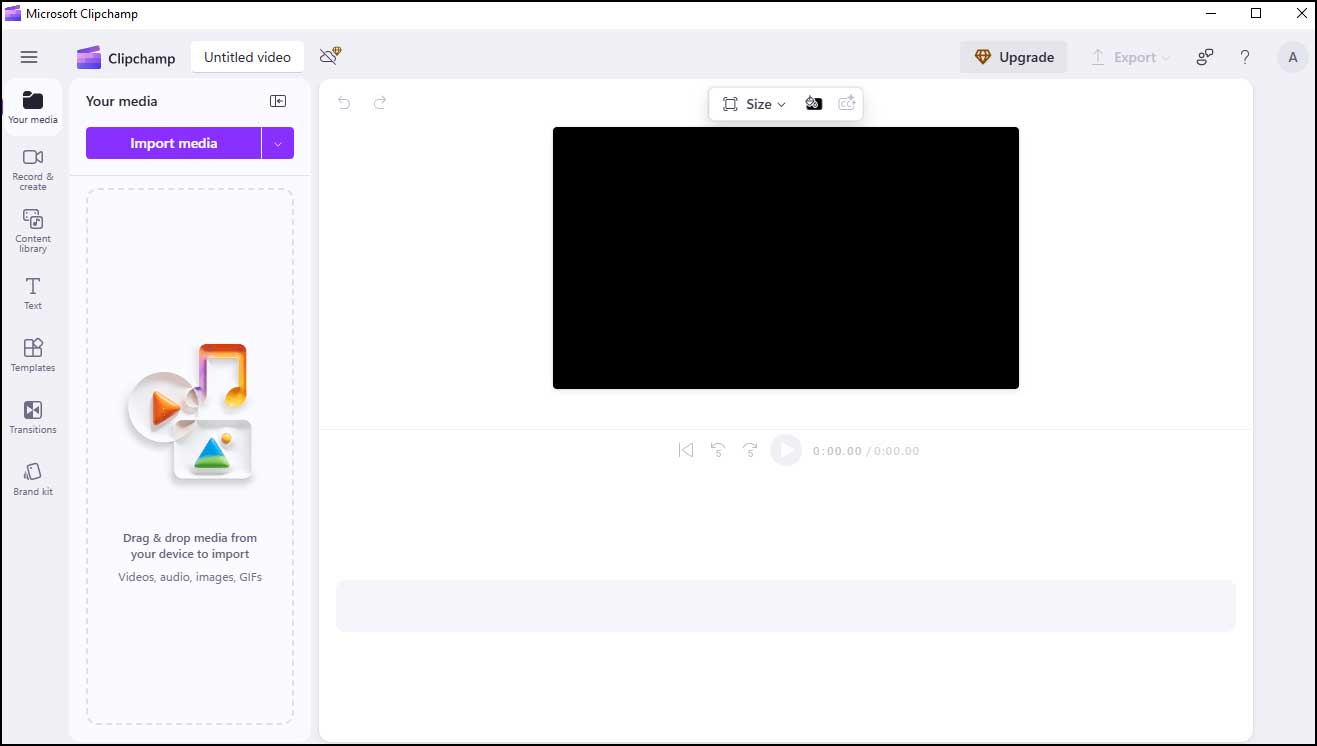
1. Clipchamp
Microsoft Clipchamp is also an excellent free video editor for Dell. It is a pre-installed application in most Windows 11 systems. It has a simple interface, so you can navigate the program easily even if you are a beginner.
Clipchamp offers many editing tools. With it, you can rotate, crop, flip, reverse, split, and rotate your video. It also lets you add text, transitions, and filters to your video.
2. Canva
If you don’t want to download extra software on your Dell computer, you can use an online video editor: Canva.
Canva is simple and powerful. It lets you trim, rotate, crop, and change video speed. If you want to make your video smooth, you can add a transition to it. You can also add subtitles to the video to explain something important. Moreover, Canva allows you to add filters and effects. You can also draw on your video.
All in all, you can create engaging videos Canva with simple clicks.

Conclusion
This post offers 3 Dell video editing software applications. If you prefer a desktop tool, you can try MiniTool MovieMaker and Clipchamp. For online editing, you can use Canva.
User Comments :