PowerDirector is a video editing suite that has some powerful tools to add a professional touch to your videos. With it, you can capture, edit, and burn video clips in preparation for uploading to YouTube, Vimeo, and other social media platforms.
The PowerDirector crop video tool is one of the most commonly used functions. This lets you slice video clips so you just show the part of the frame you desire. For instance, you can zoom into a clip and extract the image that you would like to include in your video.
How to Crop Video in PowerDirector
Wondering how to crop video in PowerDirector? All you need to do is choose an image you wish to crop, set the zoom-in and zoom-out positions, and then you’re done. Proceed as follows:
Step 1. Add Video Clips to the Timeline
Add the video clip you would like to crop down to the timeline. After that, you will find the video toolbar gets activated.
Step 2. Open Power Tools Settings
Left-click Tools on the toolbar and select Power Tools. This will bring up Power Tools settings.
Step 3. Open Video Crop Designer
Select Video Crop from the sidebar menu and then click Crop Video in the right column. This will bring up its crop tool designer platform.
Step 4. Crop the Video
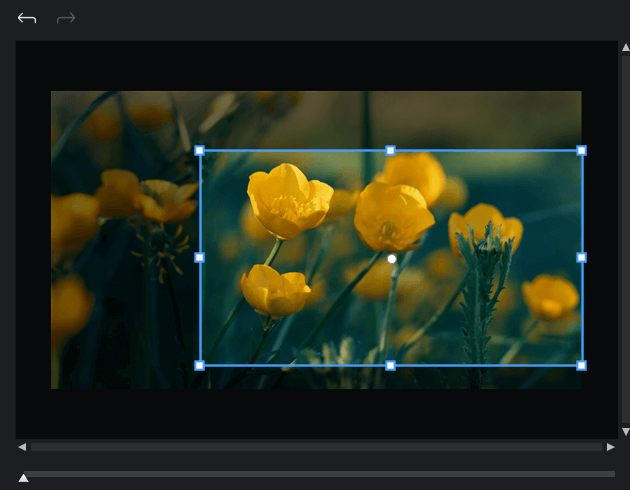
At this point, you are ready to choose the area of the video clip that you would like to crop. Slide the playhead to the part of the video you wish to keep and click Add Keyframe at Current Location on the toolbar below the image.
This will activate the grab points. Then you simply move the pointer to one of the corners and drag the grab point window in to show the size of the area you wish to crop.
To capture the exact area of the video, hover the cursor over the blue point in the center of the grab points. This will activate the crosshairs. Hold the left-click button of the mouse down on the crosshairs and move the box to the exact area you wish to crop.

If desired, resize the grab points until you’re satisfied with the point of the image you wish to start zooming from.
Step 5. End the Zoom
In order to end the zoom, move the playhead further along the slider until you’re satisfied with the final position.
Click the Duplicate Keyframe option below and then select Duplicate the Previous Keyframe.
Select Next Keyframe if you wish the clip to be completely zoomed out.
When you’re satisfied with the settings, click on OK.
Bonus Tip: How to Crop Video in MiniTool MovieMaker
If you are interested in cropping video using another Windows video editor similar to PowerDirector, we recommend MiniTool MovieMaker. Apart from that, it enables you to split, trim, rotate, flip, speed up, slow down, and reverse video clips, along with adding text, songs, filters, transitions, effects, motions, and so on.
Here are the steps to crop your video using MiniTool MovieMaker.
MiniTool MovieMakerClick to Download100%Clean & Safe
Step 1: Download MiniTool MovieMaker and install it on your Windows PC. Launch it and create a new project.
Step 2: From the main interface, click the Import Media Files option to import the video you wish to crop and drag it onto the timeline below.
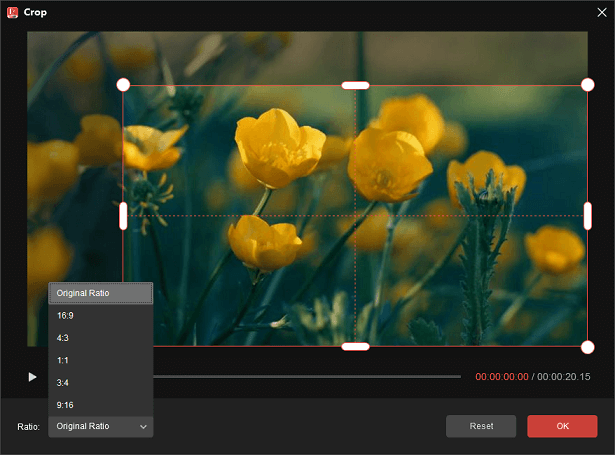
Step 3: Keep the video on the timeline highlighted and click on the Crop icon on the toolbar. In the pop-up window, manually or proportionally resize the red rectangle to crop the portions of the video you wish to keep. Then, click on the OK button.
Step 4: Once done, click Export in the top right corner to make the necessary output settings and save the final video to your Windows PC.

Conclusion
After reading this post, we are confident that you know how to crop video in PowerDirector. Also, you can try out MiniTool MovieMaker to crop the portions of the video you wish to retain.


User Comments :