Video sync, also known as audio-to-video synchronization, refers to the relative timing of audio and video parts during creation, post-production, transmission, reception and play-back processing.
The following will detail how to sync video in VLC and Premiere Pro. If you need more video editing features, please try MiniTool MovieMaker developed by MiniTool.
How to Sync Video and Audio in VLC
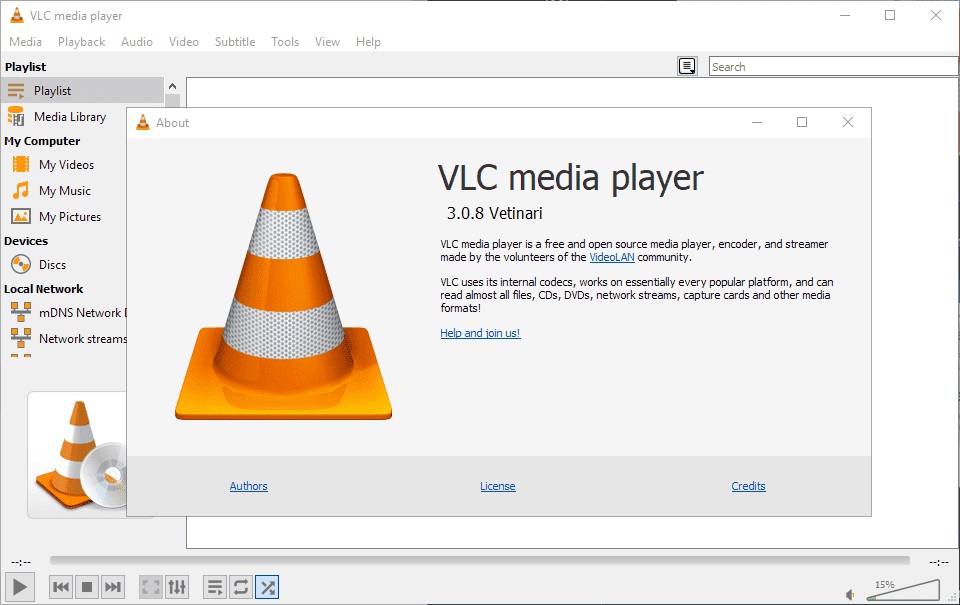
VLC is a free, open-source and cross-platform multimedia player that plays most multimedia files. It not only supports to convert video to audio but also sync video. The specific steps of syncing video are as follows.

Option 1. Manually Syncing Video and Audio
- Make sure your video is playing but the audio and video are out of sync.
- If you need to slow down the audio speed, press K on the keyboard. If you need to speed up the audio, press J on the keyboard. For Mac, the shortcuts are G and F.
- Pressing the hotkey once will speed up or slow down the audio by 50 milliseconds. If you continue to press, the number of milliseconds will increase continuously.
- Speed up or slow down the audio timing of the video until the audio matches the video clip.
Option 2. Automatically Manually Syncing Video and Audio
- Go to Tools and choose Effect and Filters.
- Click on the Synchronization
- Enter a numerical value under Audio/Video.
- Press the Close button once the sync task is done.
How to Sync Video and Audio in Premiere Pro
Premiere Pro is the industry-leading video editing software for movies, TV and the web. This video editor helps users to make excellent music videos and awesome movies. Meanwhile, it provides users with countless features, including video sync.
Option 1. Manually Syncing Video and Audio
- Locate your video clip and audio file in your media bins.
- Drag them to the timeline, zoom the video file in the timeline and then look for the spike in waveforms that shows the slate.
- Where you notice the spike, slide the audio file and make the markers lined up.
- Then playback the clip to make sure your audio and visual match.
Option 2. Merging Clips to Sync Video and Audio
- Select the media in the bins you wish to sync. You can only have one video but can sync up to 16 audio clips to that one video.
- To merge the clips, hold Control on PC (Command on Mac) and select the clips you wish to merge.
- This will bring up the Merge Clips menu with a couple of options. Select the Audio option, as your Synchronize Point and select Remove Audio From AV Clip to remove the camera’s internal audio and use the external audio.
- Hit OK and you’re all done.
- A new file will appear in your Project bin that you can drag into your timeline.
Option 3. Synchronizing clips to Sync Audio and Video
- Drag the video and audio files to the timeline.
- Hit Control + A (Command + A on Mac) to select all of the clips, and right-click to select Synchronize.
- Then it will sync the audio to the video.
- Once it’s synced, you are good to remove the internal camera audio.
Bottom Line
Now it’s your turn. Try the above methods to fix your audio and video out of sync issue. If you have any questions or suggestions about it, please let us know via [email protected] or share them in the comments section below.


User Comments :