Adobe Premiere is a professional video editor to create amazing video products. It gives a variety of tools to edit videos and unleash their creativity. They can fine-tune the audio, adjust video color, add video transitions and effects, and do more to create professional-looking results.
In this post, you’ll learn how to add text in Adobe Premiere. And if you want to find a free video editor, MiniTool MovieMaker is recommended here. With it, you add text to videos and GIFs.
How to Add Text in Premiere
As one of the most popular video editors, Adobe Premiere also allows you to add text to video with a wide range of font selection options and text styles. How to add text in Adobe Premiere? Let’s continue to read this post.
How to Add Captions in Premiere
Premiere Pro provides a series of caption features to let you edit, create, and export captions in all supported formats.
This part will show you how to add captions in Premiere step by step. Here’s the how-to guide:
Step 1. Download and install Premiere on your computer.
Step 2. Launch it and choose File > New > Captions.
Step 3. Hit the New Item option and select the Captions option in the pop-up list.
Step 4. A New Captions pop-up window appears presenting the video settings.
Step 5. Select the caption Standard, Stream, and Timebase in the New Captions pop-up window, and then click OK to add a caption file.
Step 6. Double-click the caption file and choose Window > Captions.
Step 7. Enter your captions in the captions panel, adjust the position, and change the text color and background color.
Step 8. Click Add Caption or Delete Caption to add more captions or delete a caption block.
Step 9. Drag the caption file onto the source sequence in the Timeline.
Step 10. Choose File> Import to import the embedded caption file.
Step 11. Click + to open the editor button and drag the button.
Step 12. Hit the wrench icon to display the captions.
How to Add Titles in Premiere
Here are the steps on how to add titles in Premiere.
Step 1. Launch Premiere and open a project.
Step 2. At the top of the screen, select Window > Workspaces > Titles.
Step 3. Choose Title > New Title > Default Still. Name the title clip and click OK.
Step 4. Click Window > Title Tools.
Step 5. Hit the inside title area to enter your title.
Step 6. Choose Windows > Title Styles to change the title font, size, and alignment options.
Step 7. Select Windows > Title Styles > Selection Tool to relocate the title.
Step 8. Drag the title clip to the sequence in the timeline.
Bonus Tip – How to Add Text in MiniTool MovieMaker
MiniTool MovieMaker is a 100% free video editor without watermarks. It helps you create videos with pictures, video clips, and music and provides many editing tools. With it, you can add text to video or GIF, apply video effects, rotate, trim, split videos, rotate GIF, add music to GIF or videos. Undoubtedly, you can add text to videos or GIFs in MiniTool MovieMaker. And it offers different styles of titles, captions, and credits.
The following will show you how to add text in MiniTool MovieMaker.
Step 1. Download and install MiniTool MovieMaker.
MiniTool MovieMakerClick to Download100%Clean & Safe
Step 2. Open it, close the pop-up window, and click Import Media Files to upload your target video or GIF files.
Step 3. Drag and drop the file to the timeline.
Step 4. Tap on Text, choose a text style, and click +.
Step 5. Delete the sample text and type your text.
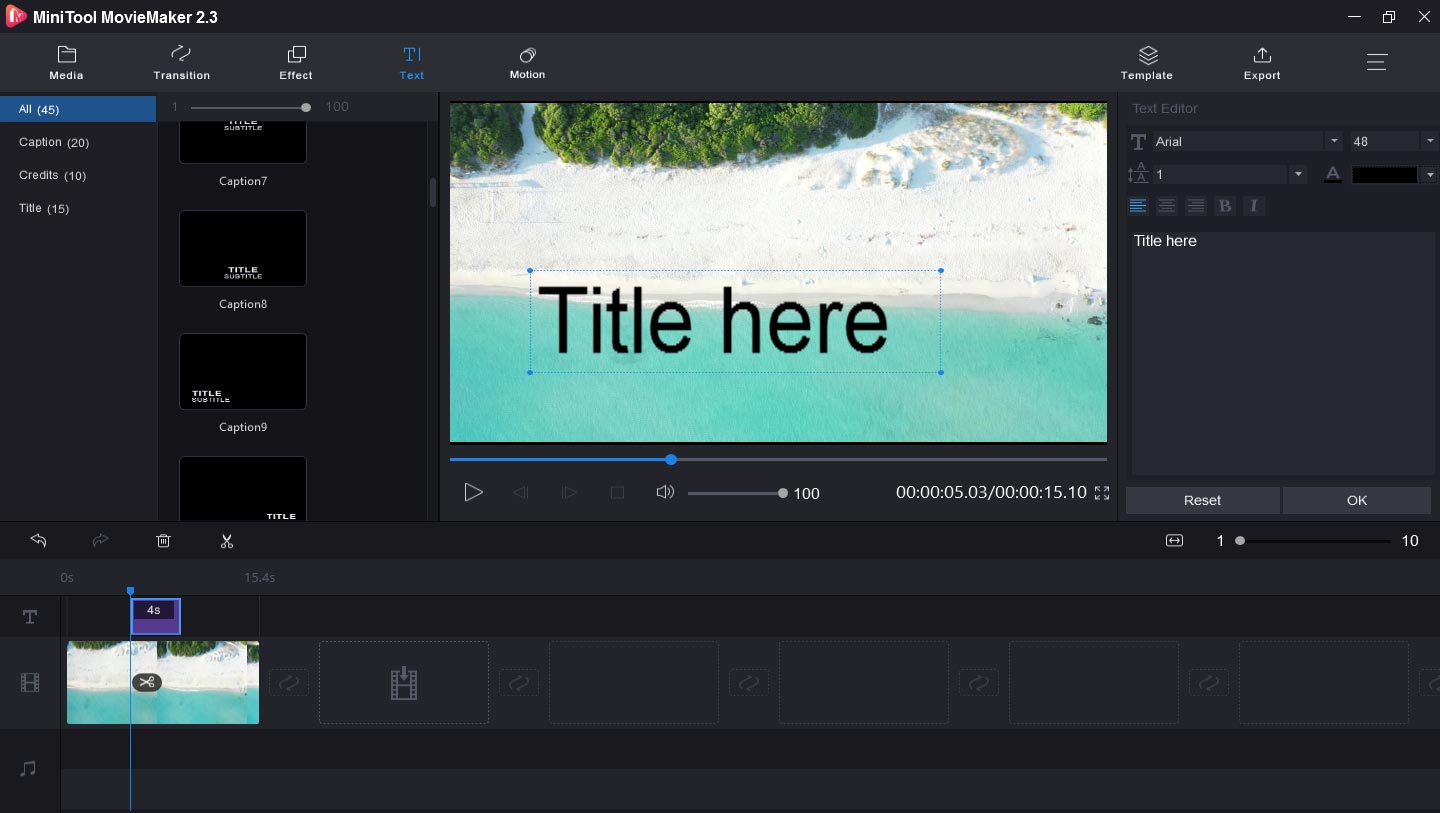
Step 6. Adjust the text size, color, font, and position.
Step 7. Hit the Export button to export and save your file.
Bottom Line
Do you master the methods on how to add text in Premiere? Now, it’s your turn to practice adding captions or titles to it. If you think it’s a little complicated to add text in Premiere, you can try MiniTool MovieMaker. And if you have any questions about how to add text using this tool, please contact us via [email protected].
About The Author

Position: Columnist
Cora is a tech writer specializing in digital media workflows, with over six years of hands-on experience in video post-production, media transcoding, and screen capture. Her writing is always clear and practical. Cora also produces in-depth software reviews for users across skill levels to help them find the right tool and enjoy video editing.
User Comments :