WebP is a modern image format developed by Google, known for its small file size, high quality, and support for transparency and animation, making it ideal for web use. In contrast, TIFF prioritizes image quality over file size. It offers lossless compression, high resolution, and advanced editing features, making it widely used in professional photography, printing, and archiving.
Because of these differences, converting WebP to TIFF is often necessary when higher image quality, better compatibility, or professional editing is required.
How to Convert WebP to TIFF
To convert WebP to TIFF, I have searched and tried three free online tools. Below, I’ll share a detailed guide along with my experience using each one.
Method 1: Use CloudConvert
CloudConvert is a reliable online file converter that supports a wide range of formats, including WebP to TIFF, BMP to EPS, and more. When I use it to convert images, I find it easy to upload files and customize settings such as width, height, and file size. It delivers high-quality output and doesn’t require an account, making it a convenient choice for quick and professional conversions.
Follow the tutorial below to complete the task.
Step 1: Access CloudConvert’s WebP to TIFF Converter
Visit the official website of CloudConverter’s WebP to TIFF tool (https://cloudconvert.com/webp-to-tiff) in the browser.
Step 2: Upload the Image
Click the Select File option to import the image file.

Step 3: Start the Conversion
Click the Convert button to start conversion.
Step 4: Download the Converted Image
Once conversion is done, click the Download option to save the TIFF image to the computer.
Method 2: Use FreeConvert
FreeConvert is another practical online tool for converting WebP to TIFF, featuring a simple and straightforward interface. During my testing, I was able to quickly import images and adjust settings such as compression level and output quality based on my needs. It also supports batch conversion, which is useful when handling multiple files at once.
However, there are some ads on the interface that may be slightly distracting. Below is my step-by-step guide on how I used it.
Step 1: Go to FreeConvert’s WebP to TIFF tool
Head to the official WebP to TIFF conversion page in FreeConverter.
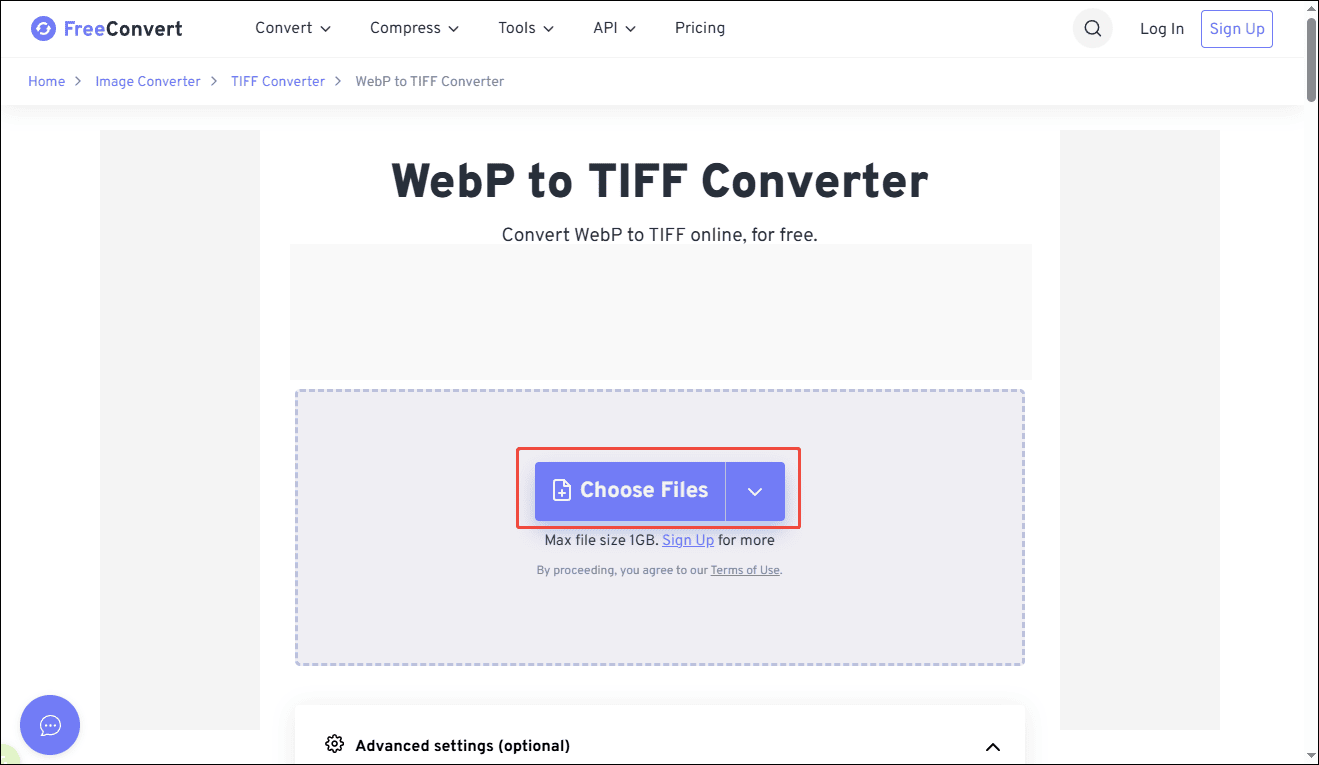
Step 2: Upload the Image
Click Choose Files to upload the image. This platform supports importing images from multiple sources, including Dropbox, Google Drive, OneDrive, or a URL, which is very convenient when files are stored in different locations.
Step 3: Convert WebP to TIFF
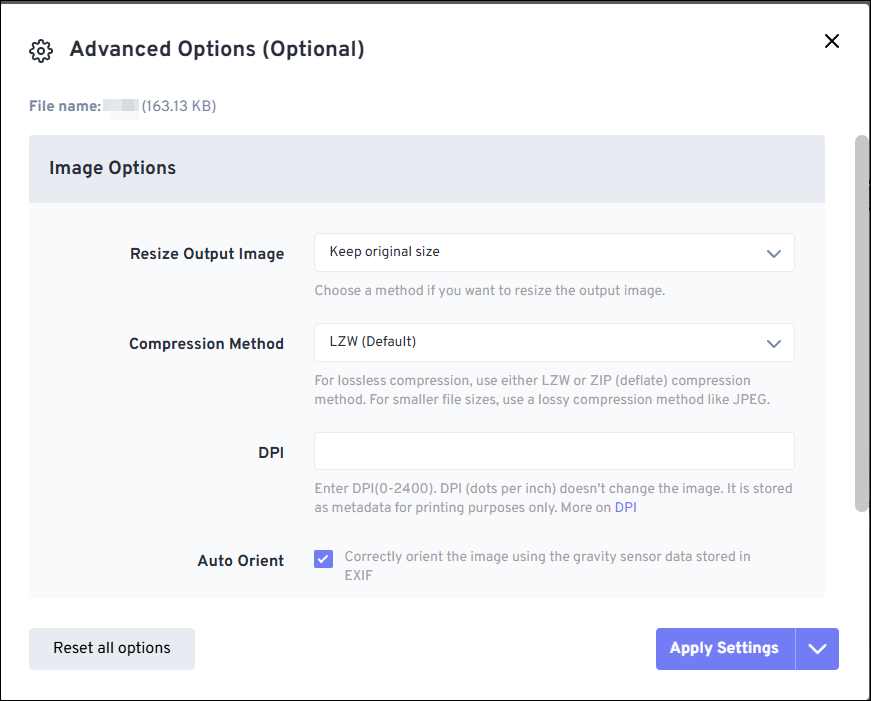
For additional options, click the Advanced settings (optional) icon to adjust options such as image size and compression method. Next, click Apply Settings to save the changes. Click Convert to start conversion.
Step 4: Save the Image
Once the conversion is complete, I click Download to save the image. This converter can also generate a QR code, allowing me to scan it and download the file on another device.

Method 3: Use Ezgif
Ezgif is a lightweight online tool mainly designed for quick image and GIF editing. When I use it to convert WebP to TIFF, the process feels very direct since no extra settings are required. I just uploaded the file and let the tool handle the conversion. Although it doesn’t offer as many customization options as other converters, it works efficiently for simple and fast tasks.
Additionally, it includes a variety of built-in editing features, such as resizing, cropping, rotating, and adding simple effects, so I don’t need to switch to another tool for further editing. How to convert WebP to TIFF using Ezgif? Here are the detailed steps.
Step 1: Open the Ezgif WebP to TIFF Tool
Go to the Ezgif website and navigate to its WebP to TIFF conversion page(https://ezgif.com/webp-to-tiff).
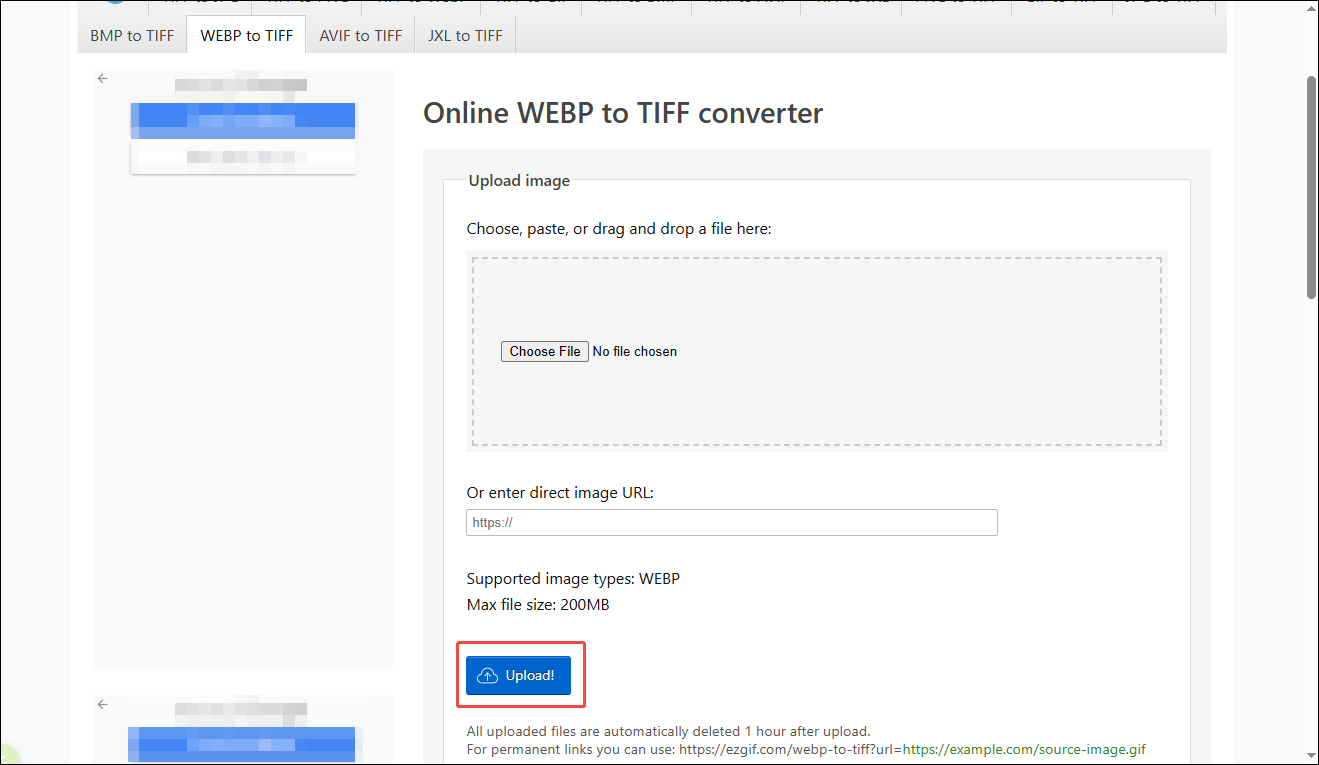
Step 2: Add the WebP Image
Click Choose File to select the WebP image from the computer, then click Upload to proceed.
Step 3: Start the Conversion
After the file is uploaded, click Convert to TIFF to begin the conversion process.
Step 4: Save the Output File
Once the conversion finishes, scroll down and click Save to download the TIFF image to the device.
Conclusion
This post explains how to convert WebP to TIFF using CloudConvert, FreeConvert, and Ezgif. Each tool has its own strengths. CloudConvert stands out for its flexible settings, FreeConvert provides greater control and supports batch processing, while Ezgif is ideal for quick and simple conversions with built-in editing features. Hope this guide helps make the conversion process easier.
About The Author

Position: Columnist
Alice is a tech writer at MiniTool, specializing in tutorials and guides on video editing and screen recording. She stays up to date with the latest tools and techniques to ensure her content is accurate and easy to follow. By combining hands-on testing with continuous learning, Alice aims to help readers solve tech problems efficiently.
User Comments :