Want to enhance your webcam recordings? This post recommends easy-to-use webcam video editors, including MiniTool MovieMaker, to help edit and enhance your videos with ease.
Best Webcam Video Editor
Here are 4 webcam video editors for you.
MiniTool MovieMaker
If you want a webcam video editor for simple edits, such as trimming, cropping, and text, MiniTool MovieMaker is a good option. This application is designed for everyone to create videos from images in minutes, especially for beginners without editing experience.
With MiniTool MovieMaker, you can also combine several recorded webcam videos into one, add background music, adjust the clip’s color to improve the look, etc.
What’s more, MiniTool MovieMaker doesn’t include any watermarks to ensure clean and professional results and supports exporting videos in 4K and 1080P.
Therefore, if you make basic edits and enhancements to your recorded webcam videos, MiniTool MovieMaker won’t let you down.
MiniTool MovieMakerClick to Download100%Clean & Safe
Camtasia
If you’re a YouTube content creator, you may have used Camtasia many times to record and edit videos. This application combines a powerful screen recorder with a robust video editor to streamline your entire production process.
Camtasia comes with built-in webcam recording, allowing you to record your webcam and your screen simultaneously in high quality. After ending the recording, you can edit it in Camtasia’s built-in video editor.
Essential editing features include trimming, cutting, rearranging clips, transitions, annotations, and more. Additionally, Camtasia features multiple cursor effects to add a cinematic touch to your tutorials and explainer videos.
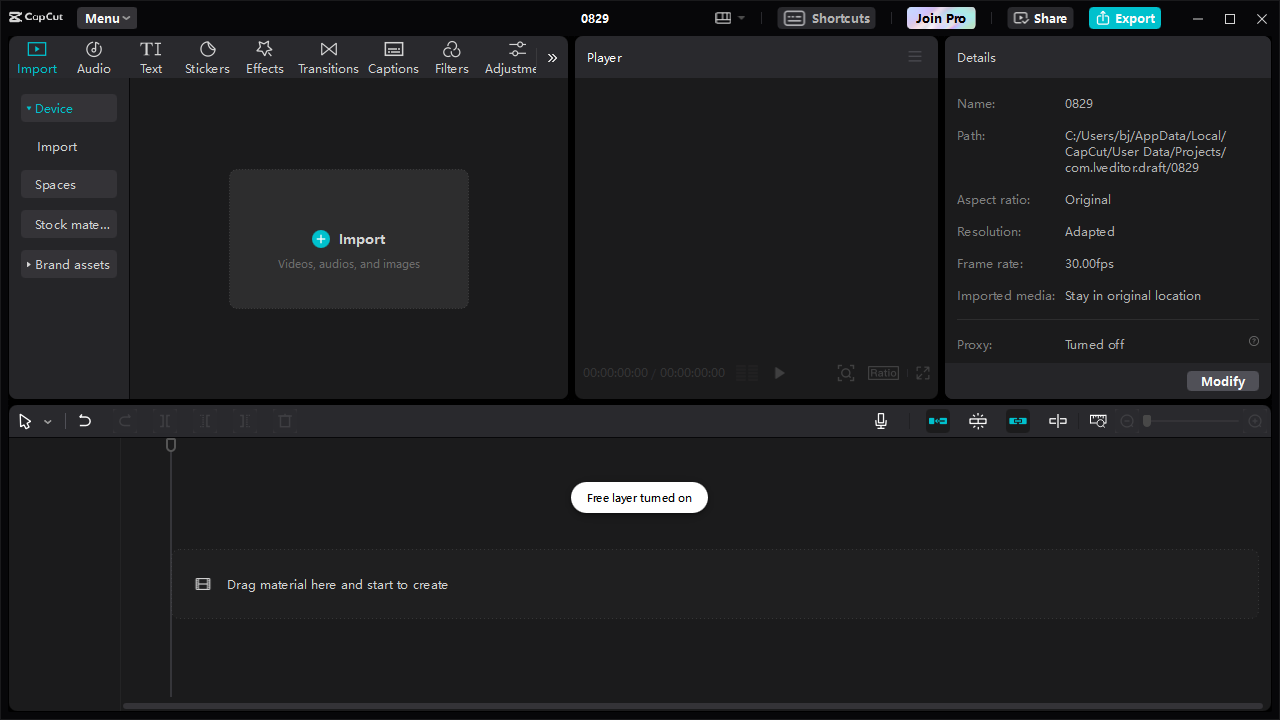
CapCut
CapCut is also one of the best webcam video editing software programs. Its intuitive interface and powerful editing tools make it a solid choice for editing your pre-recorded webcam footage. Whether you want some basic edits or advanced features for perfect results, it can meet your needs.
With this fantastic video editor, you can easily trim and cut recordings to remove mistakes and pauses, add titles, captions, and voiceovers, reduce background noise, adjust volume, use keyframes to create animations, fades, zooms, and other effects, change video background, etc.
All in all, if you need a webcam video editor to make your recordings more polished, CapCut is a fantastic choice.
Adobe Premiere Pro
As the industry-leading video editing software, there’s no doubt that Adobe Premiere Pro is a great solution for editing your recorded webcam videos, including YouTube videos, tutorials, presentations, or meetings.
For example, with its professional-grade color correction and grading, you can easily fix poor lighting. Advanced audio editing enables you to enhance sound quality by removing noise, adding clarity, and applying audio effects, among other enhancements.
Premiere Pro is a powerful video editor, but it can be challenging for entry-level users. Of course, if you’re a seasoned veteran, you won’t be bothered by a steep learning curve.
How to Edit Webcam Videos
In this part, I’ll show you how to edit webcam videos using MiniTool MovieMaker. I’ve already created multiple videos with this application.
Step 1: Download and Install
Click the button below to download and install the excellent video editor on your PC.
MiniTool MovieMakerClick to Download100%Clean & Safe
Step 2: Import Your Video
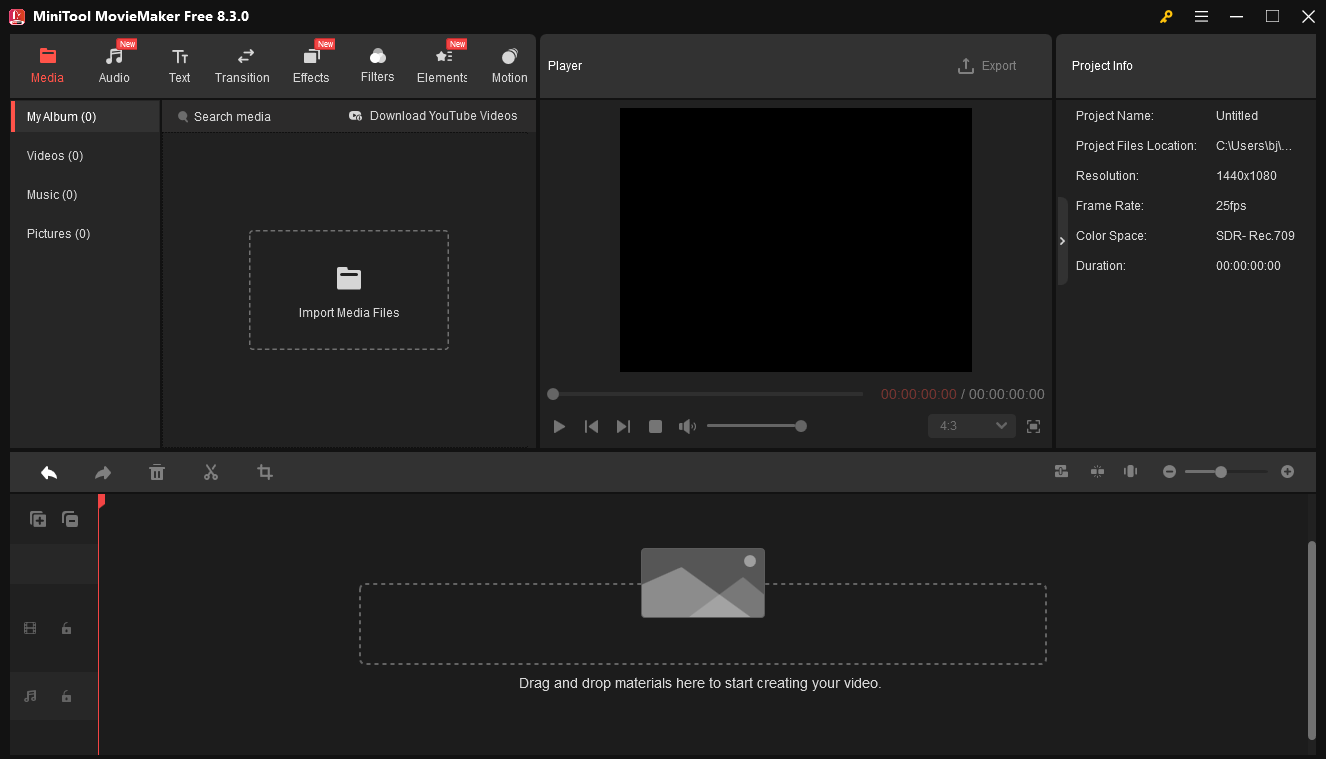
After opening the application, click the New Project button to access the main interface. Then, click the Import Media Files button to add your video. Next, add it to the timeline.
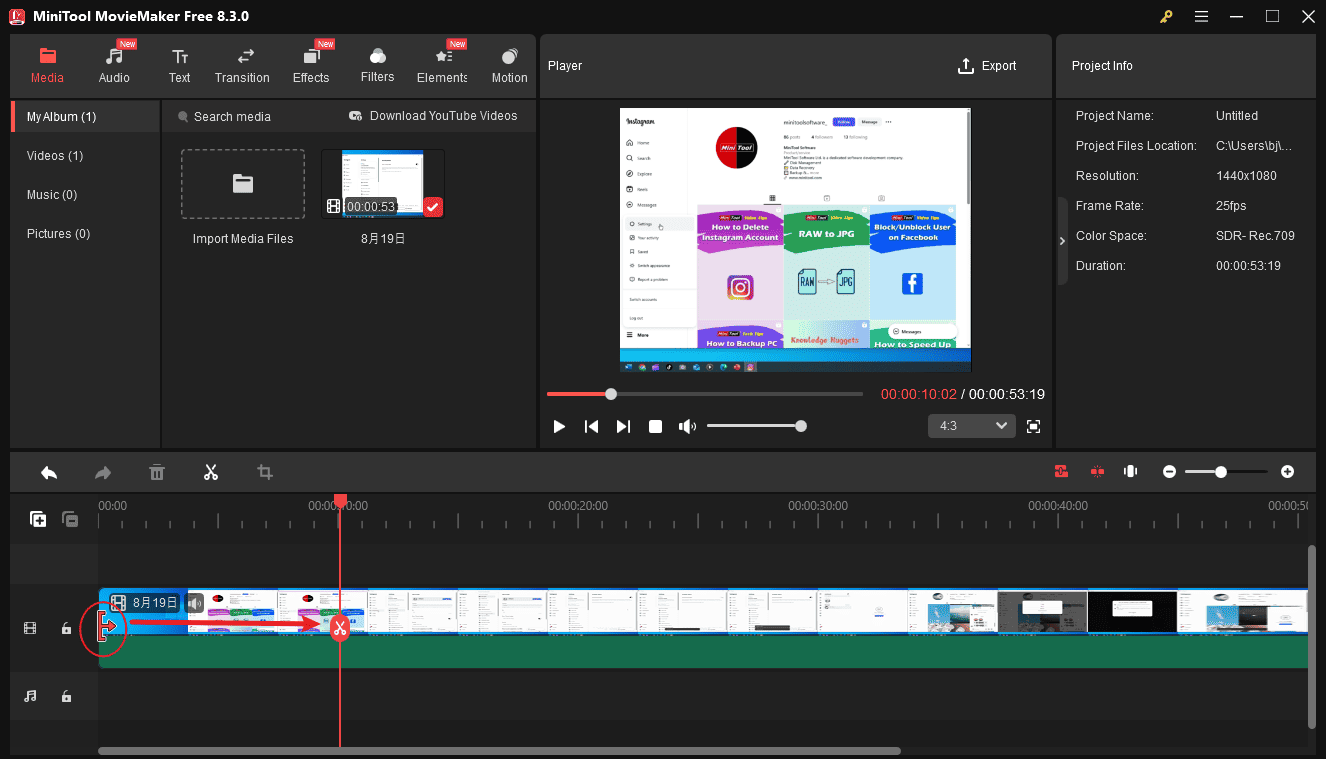
Step 3: Trim the Video
To trim a video, hover over the start or end of the clip until you see the Trim icon. Then, click and drag it inward to remove unnecessary sections.
Step 4: Crop the Video
Webcam videos often include distracting backgrounds, so you can crop them to focus on the main subject.
To crop a video, select it on the timeline and click the Crop icon. Next, choose a ratio or keep the original ratio and adjust the handles to choose the wanted area. Click OK to apply.
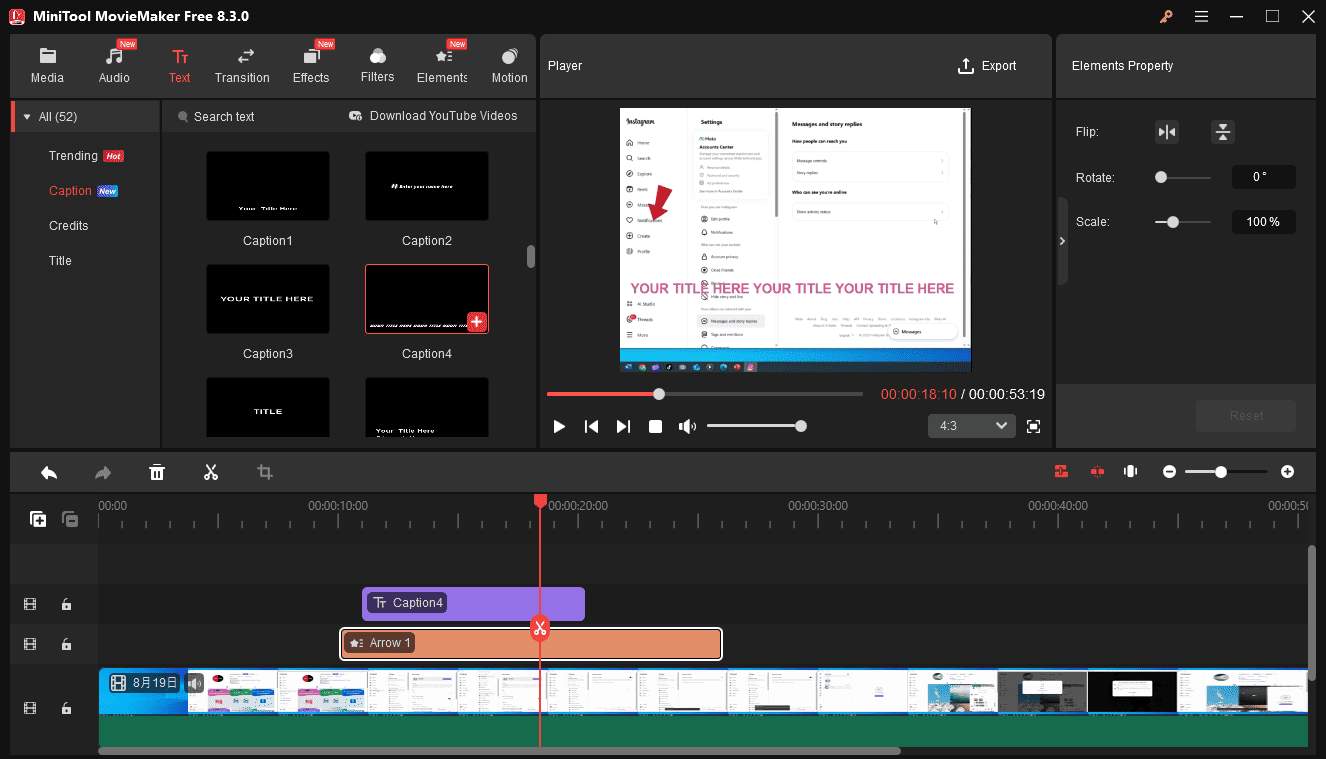
Step 4: Add Arrows or Shapes
Use arrows or shapes to highlight important information or add other stickers to spice up your video. Go to Elements, find and download the sticker you like, and click the + icon to add it to the timeline.
Step 5: Add Captions
Necessary text descriptions can make your video easier to understand. Go to Text and select Caption. Add the desired text template to the timeline. Then, go to the Text Editor to enter and edit your text.
Step 6: Export Your Video
To save your video, first click the Export button in the upper-right corner. You can then configure the output format, resolution, frame rate, and other settings. Finally, click Export.
Conclusion
Most webcam recording applications don’t have built-in editing tools. Therefore, a third-party webcam video editor is essential if you want to give your recorded videos a professional look. With the 4 excellent video editors introduced in this post, you can easily take your webcam recordings to the next level.
About The Author

Position: Columnist
Cora is a tech writer specializing in digital media workflows, with over six years of hands-on experience in video post-production, media transcoding, and screen capture. Her writing is always clear and practical. Cora also produces in-depth software reviews for users across skill levels to help them find the right tool and enjoy video editing.
User Comments :