This post from MiniTool gives guides on how to remove audio from WMV using two professional tools: MiniTool MovieMaker and Microsoft Clipchamp.
What Is WMV
WMV, short for Windows Media Video, is a compressed video format developed by Microsoft. Since it balances file size and video quality, it’s perfect for online sharing and streaming. Usually, WMV is used by Windows Media Player or other Microsoft players.
Why Remove Audio from WMV
Maybe the original audio quality of your WMV video is poor, or the background noise is too loud. After deleting the audio, you can replace it with a higher-quality audio. Or, if you want to add new audio to your videos, deleting the existing audio is necessary as well.
How to remove audio from WMV on Windows? The following contents recommend two reliable tools. Read on!
![Pro Guide on How to Remove Audio from Facebook Video [2 Tools]](https://images.minitool.com/moviemaker.minitool.com/images/uploads/2025/08/remove-audio-from-facebook-video-thumbnail.png)
How to Remove Audio from WMV
Here are 2 free and easy methods to delete audio from WMV.
Method 1. Use MiniTool MovieMaker
MiniTool MovieMaker is a powerful and free video editing software that can remove audio from videos in multiple formats, including WMV, MP4, WEBM, 3GP, FLV, MPG, and more. It has an intuitive interface, allowing you to easily navigate to every function.
In addition, MiniTool MovieMaker has various video editing functions, such as trim, crop, split, rotate, reverse, etc. It has no ads, bundles, or watermarks, providing a joyful user experience.
Now, follow the instructions below to remove audio from WMV.
1. Download and install MiniTool MovieMaker.
To begin the MiniTool MovieMaker download, click the button below.Next, follow the setup instructions to finish the installation on your computer. Then, launch this application.
MiniTool MovieMakerClick to Download100%Clean & Safe
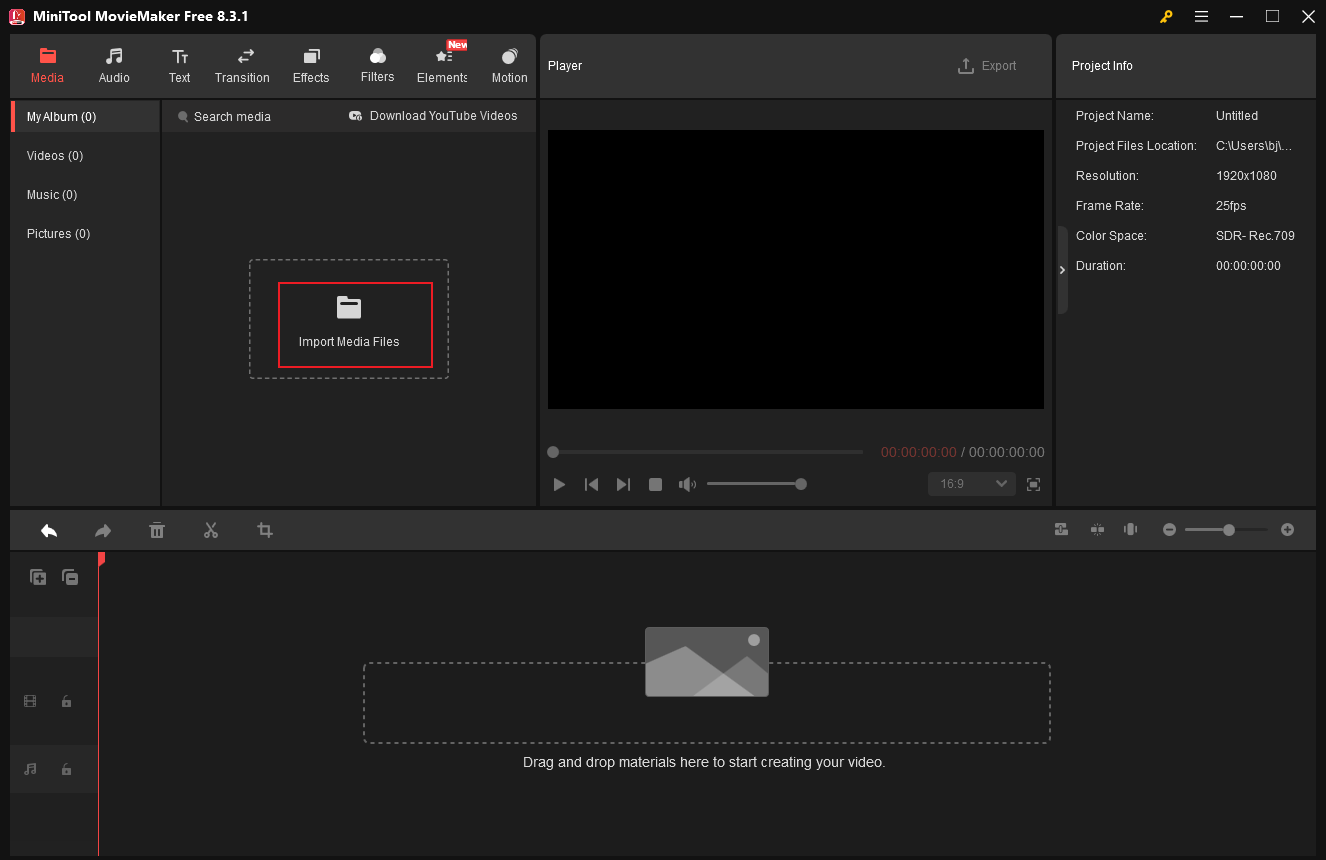
2. Add the WMV video to MiniTool MovieMaker.
Click the New Project option to enter MiniTool MovieMaker’s editing page. Then, click on the Import Media Files option to add the target WMV video.
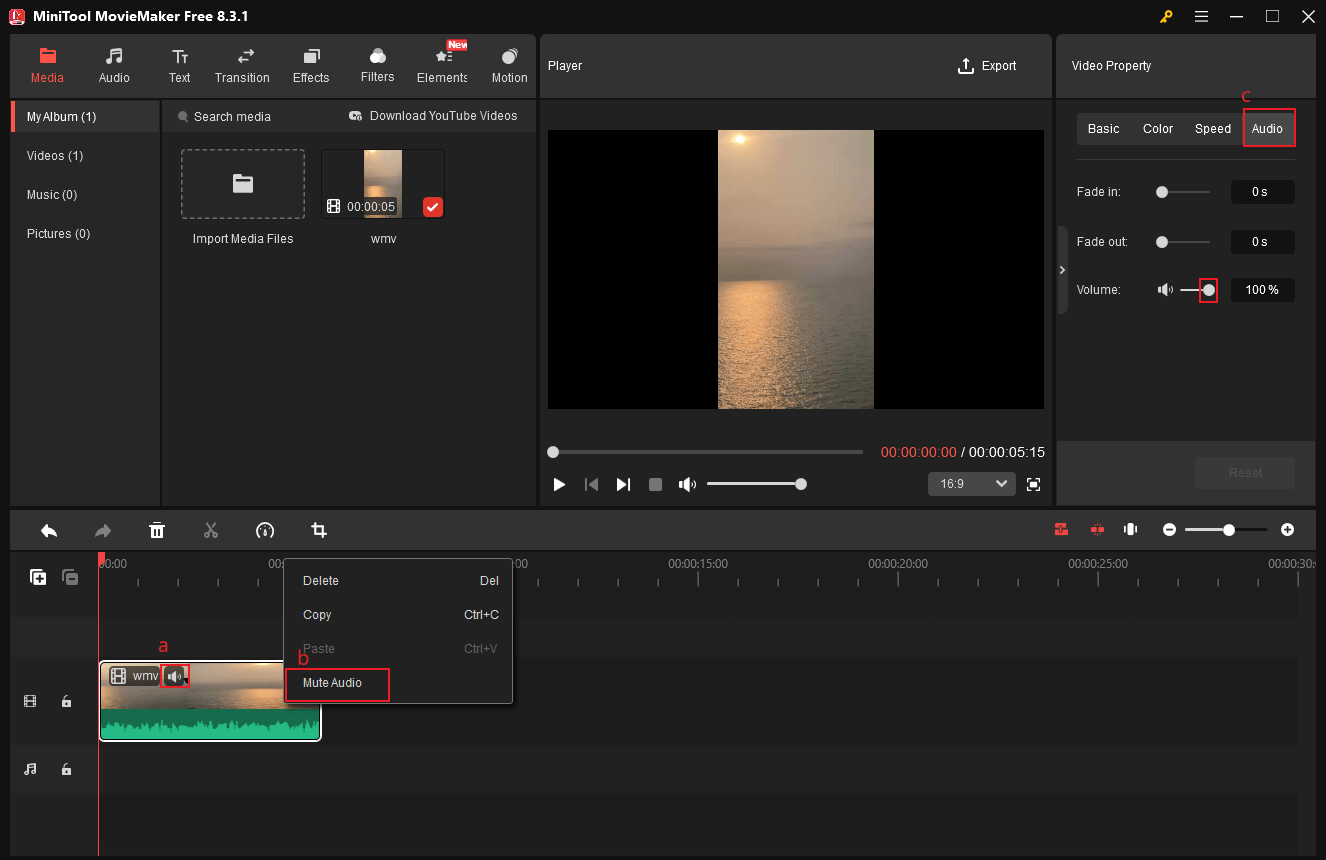
3. Delete audio from the WMV.
Drag and drop the added WMV video to the timeline. You can remove audio track from WMV with three methods.
- Click the Speaker icon on the video on the timeline.
- Right-click the video on the timeline and click Mute Audio.
- In the Video Property’s Audio section, set the Volume to 0%.
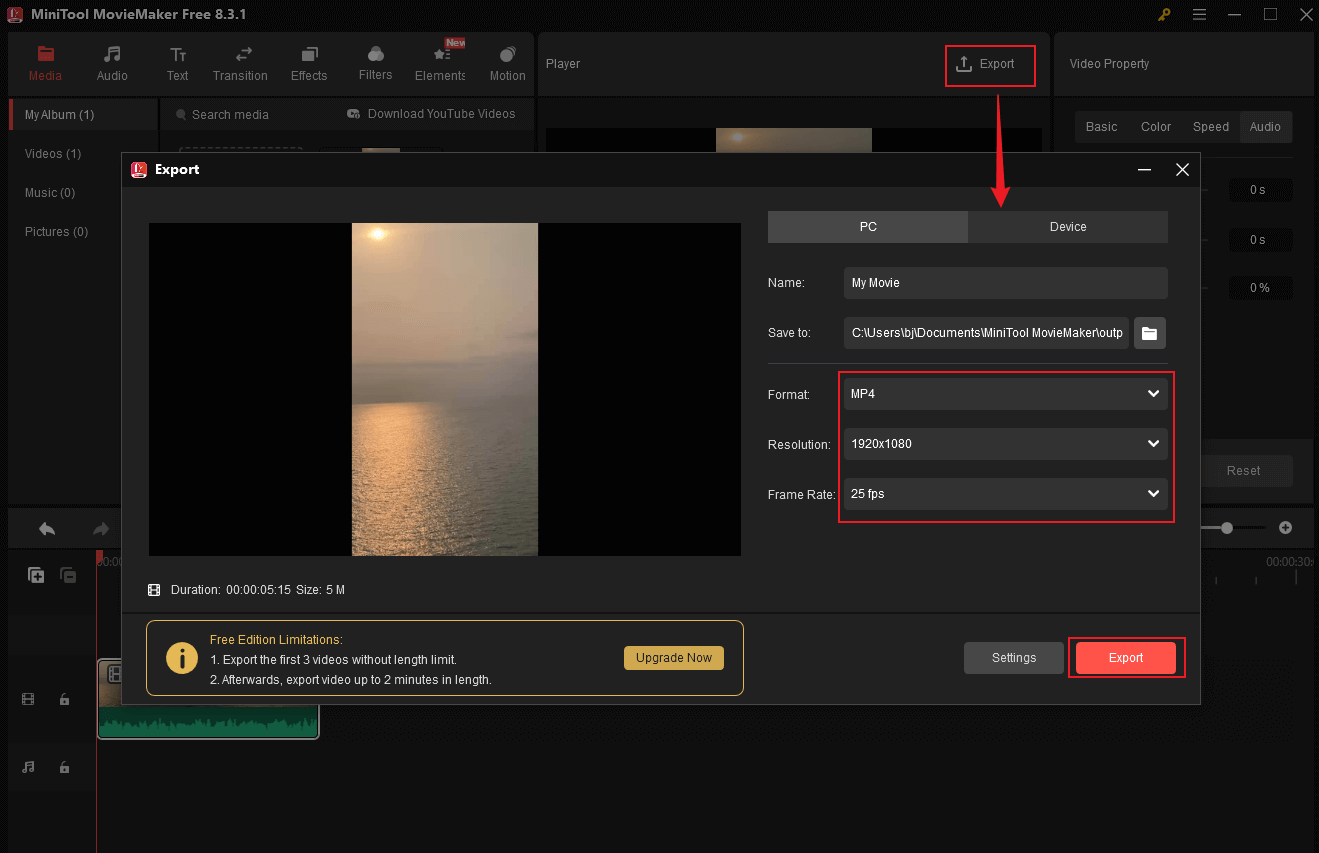
4. Export the WMV video.
Click the Export icon in the upper right corner of the Player window to access the Export window. Next, configure the frame rate, resolution, and output format. Then, click the Export button to save the video to the local folder.
Once the exporting process finishes, click the Find Target option to locate the WMV video.
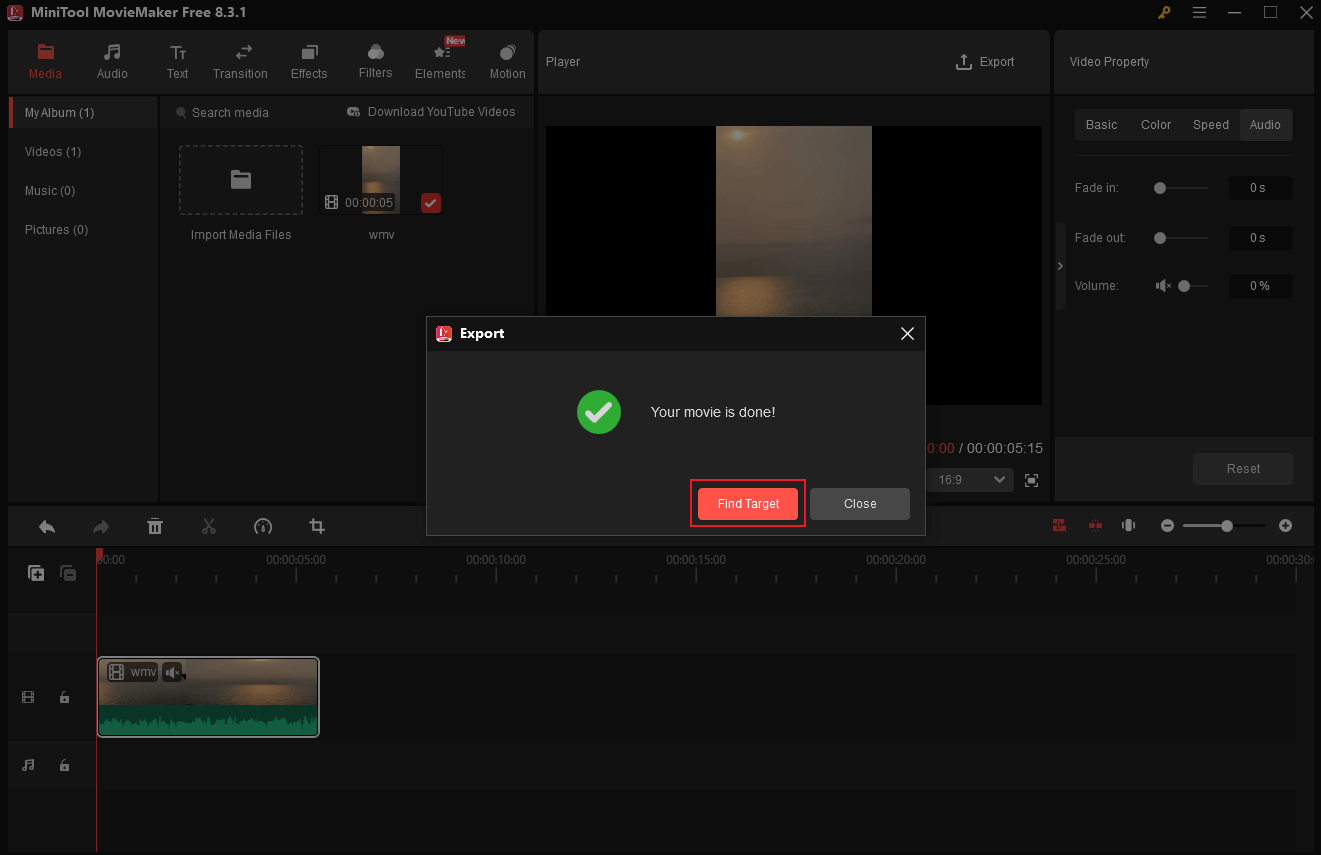
Done! With MiniTool MovieMaker, you can delete audio from WMV video easily!
Method 2. Use Microsoft Clipchamp
Microsoft Clipchamp is also a great option for removing audio from WMV. It is an expert video editing tool that features a lot of functions. It enables you to edit videos by trimming, cropping, splitting, and adding filters, transitions, stickers, etc. With Clipchamp, you can delete audio track from WMV with no effort.
Here’s how:
1. Download and install Clipchamp.
Visit Microsoft Clipchamp’s official website to download and install this software on your computer. Then, launch it.
2. Import the target WMV.
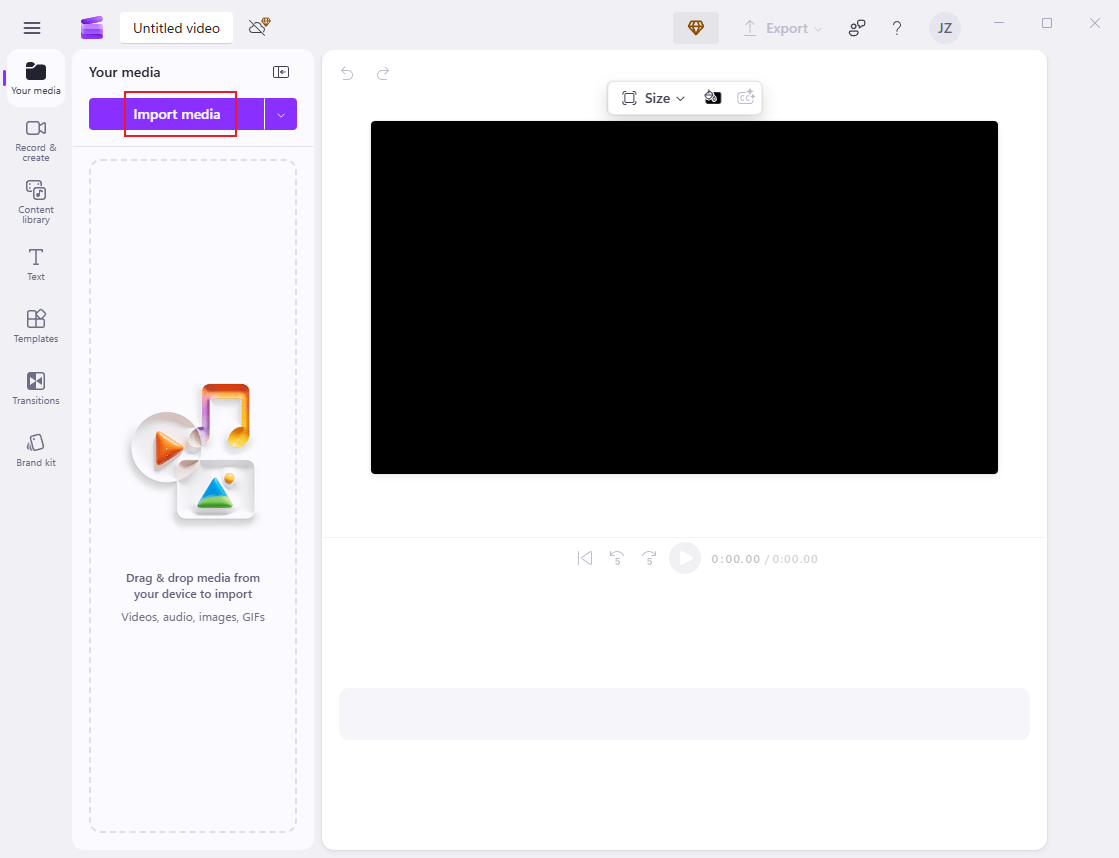
Click on Create a new video to enter the main interface. Next, click the Import media option to import the target WMV video.
3. Delete audio from WMV.
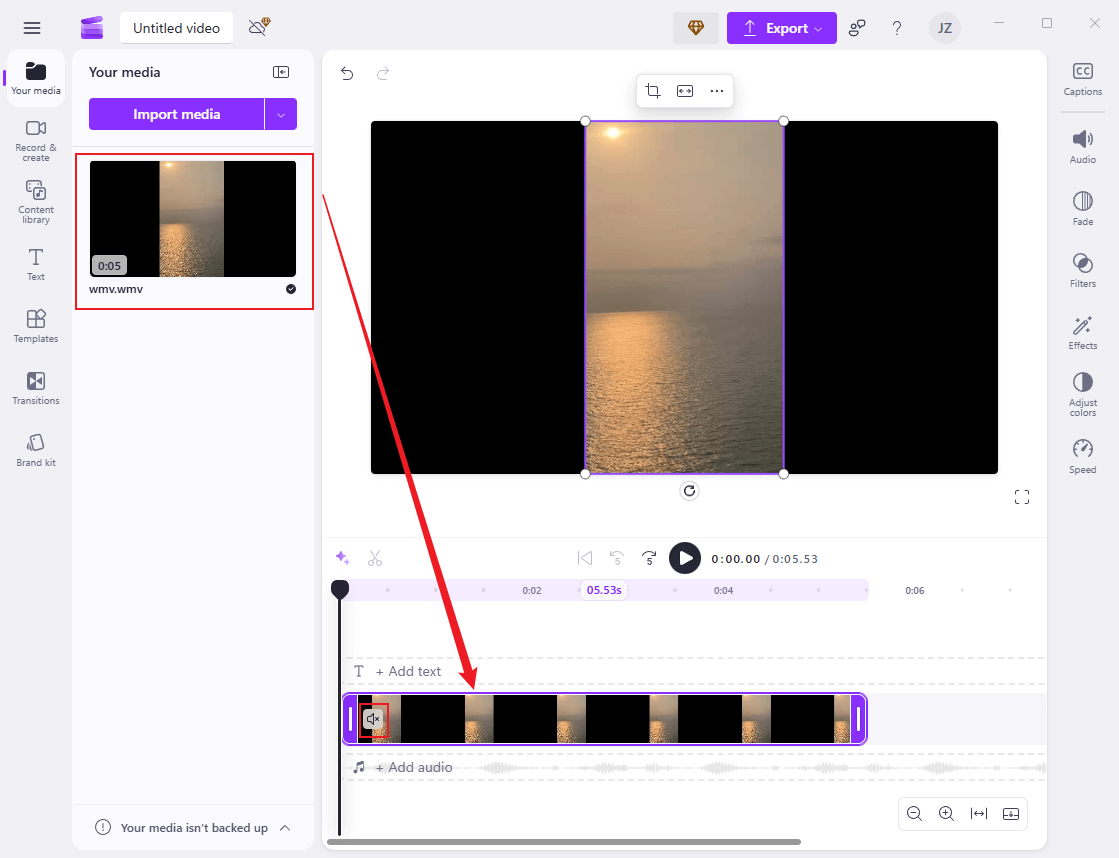
Drag the added video to the timeline. Then, click the Speaker icon on the video to mute the WMV video.
4. Export the WMV video.
Click the Export option in the upper right corner and choose the desired resolution (1080p is recommended). Then, click Save to your computer.
That’s it!
![Ultimate Guide on How to Remove Audio from 3GP [3 Tools]](https://images.minitool.com/moviemaker.minitool.com/images/uploads/2025/08/remove-audio-from-3gp-thumbnail.png)
In Summary
To remove audio from WMV quickly and easily, this post offers two reliable methods: using MiniTool MovieMaker and Microsoft Clipchamp. Feel free to select the one you prefer. Hope this article can do you a big favor!
User Comments :