This post from MiniTool MovieMaker – the best video editing app offers you a step-by-step guide on how to remove audio from QuickTime video.
How to Remove Audio from QuickTime Video with QuickTime Player
The most direct method to remove Audio from QuickTime video is to use QuickTime Player. This is a built-in player on Mac, but beyond a media player. It can edit a video, allowing you to make common movie edits like rearranging, rotating, trimming, splitting a movie into multiple clips, and manipulating each one individually. It can also record your screen, enabling you to capture your entire screen or just a portion of it.
Moreover, QuickTime Player can extract audio from your video. Here are the steps.
Step 1. Launch QuickTime Player on your Mac and open the video you want to work on.
Step 2. Once the video is opened in the QuickTime player, click Edit from the top menu and choose Remove Audio from the drop-down menu. Then your file is video only.
Step 3. Click the File menu and choose the Export As option to save the file.
How to Remove Audio from QuickTime Video with MiniTool MovieMaker
MiniTool MovieMaker is a free, easy-to-use video editor. With an intuitive interface, even if you are a beginner, you can navigate the software easily. It offers many editing tools, allowing you to cut unwanted parts, adjust the aspect ratio, change its speed, flip the video horizontally or vertically, modify the color, add background music, subtitles, filters, and transitions, split the video into multiple clips, etc.
More importantly, MiniTool Video Converter allows you to remove audio from video. Below is a detailed tutorial on how to remove audio from QuickTime video.
Step 1. Download and install MiniTool MovieMaker on your computer.
MiniTool MovieMakerClick to Download100%Clean & Safe
Step 2. Launch the program and close the Project Library window to enter its main interface.
Step 3. Click Import Media Files to import the QuickTime video. You can also directly drag and drop the target media files from your computer to the program. Then click the + icon at the bottom of the video to add it to the timeline.
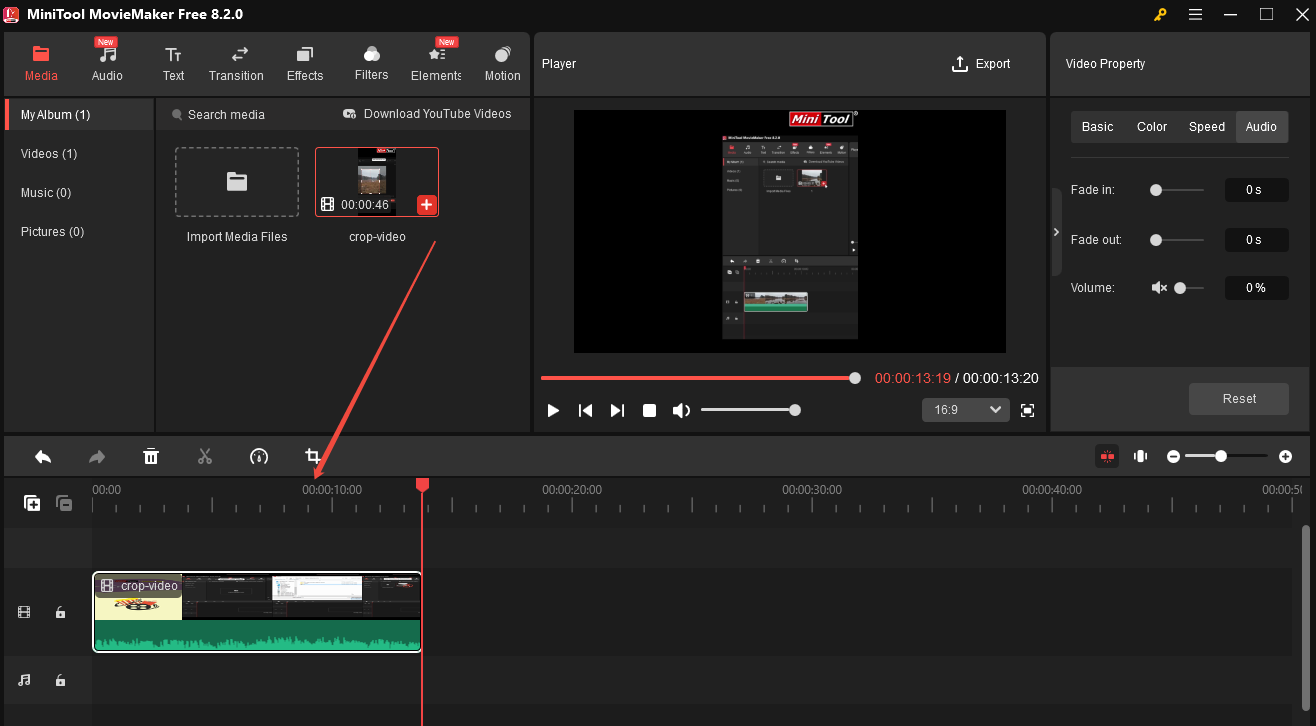
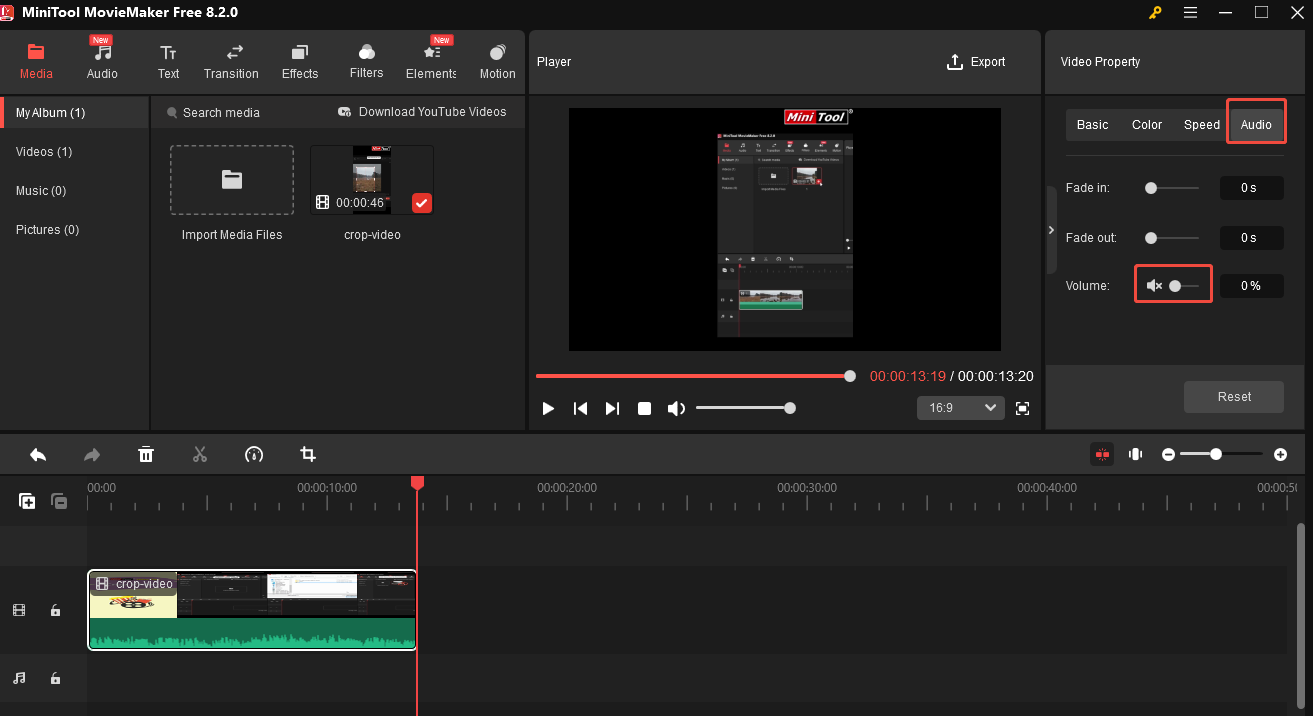
Step 4. Go to the Video Property, switch to the Audio tab, and click the Volume icon to turn it off.
Step 5. (Optional) Before exporting, you can edit the video.
- Cut unwanted parts: Move the playhead to the place where you want the trimming to start and click the scissors icon. Then move the playhead to the place where you want the trim to end and click the scissors icon. Right-click the unwanted part and choose Delete.
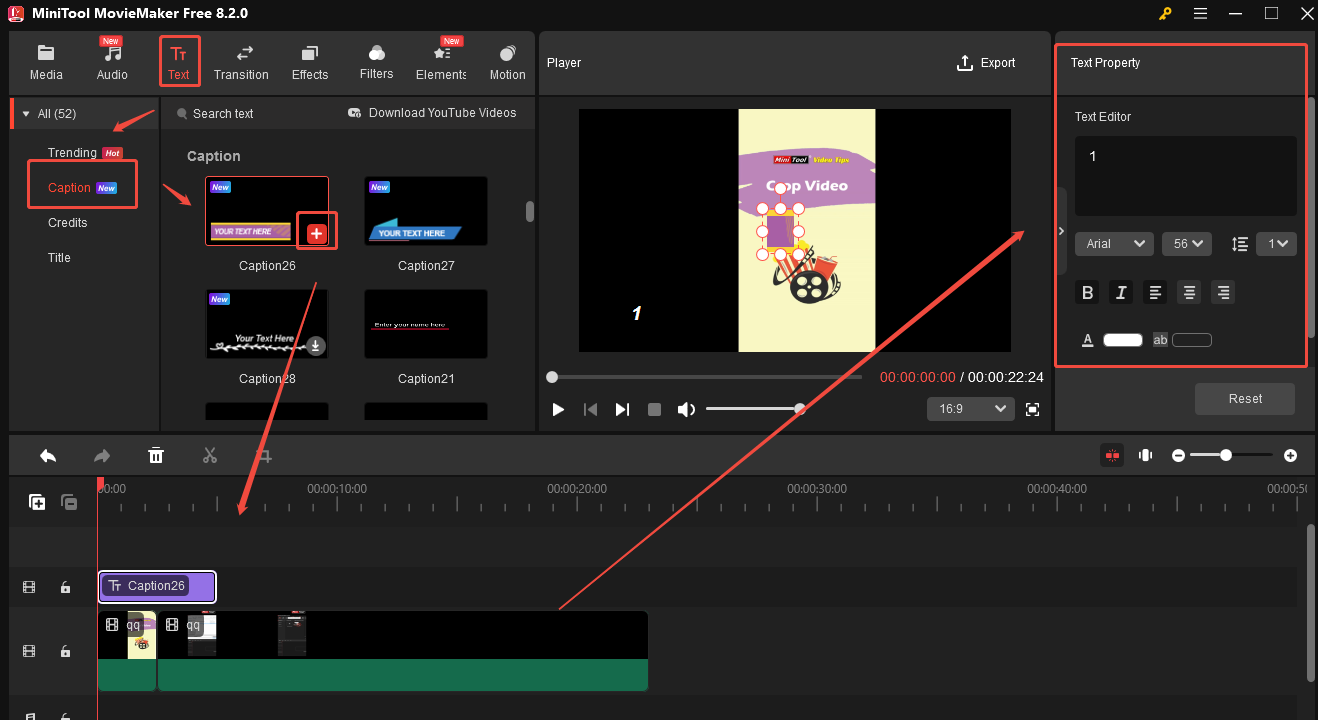
- Add Subtitles: Since the video has no audio, you may need to add some subtitles to explain something important. Under the Text tab, click Caption, choose a caption mode you like on the right, and click the + icon to add it to the timeline. Drag the Caption box on the timeline to where you want to add subtitles. Go to the Text Property section to type the subtitles. You can change the font, size, and color.
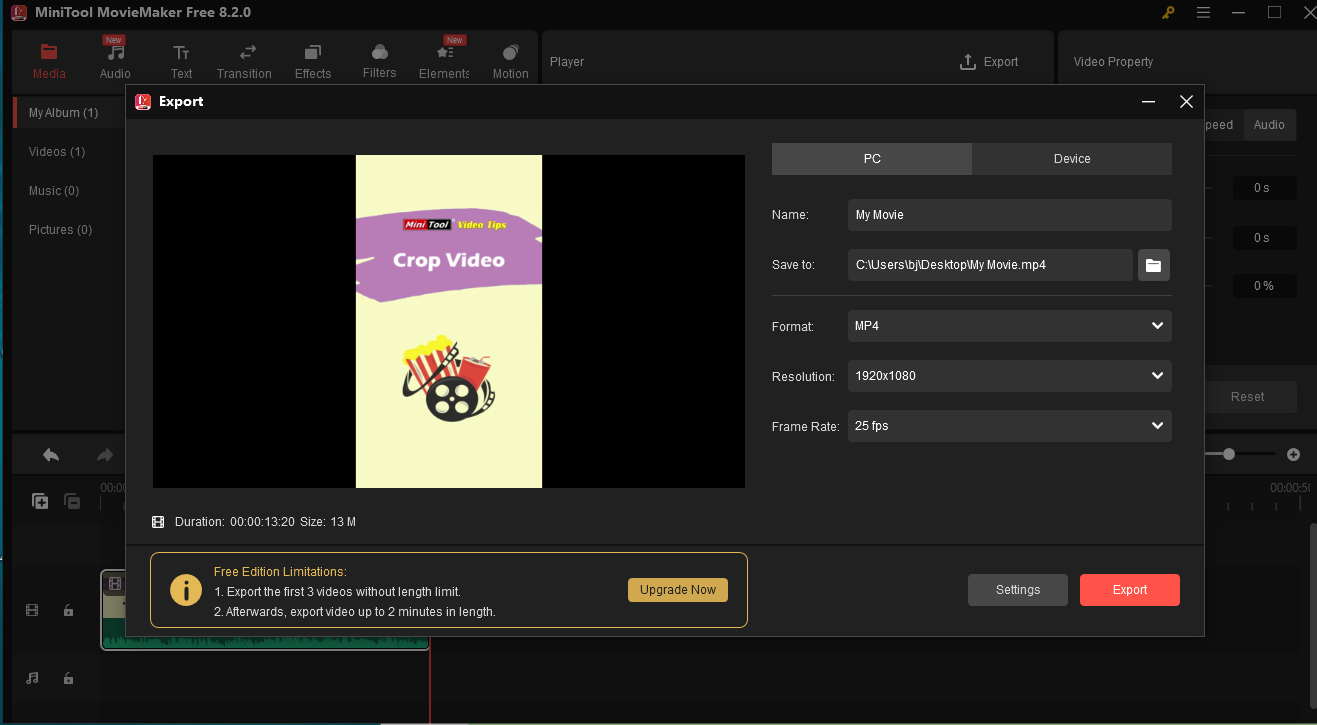
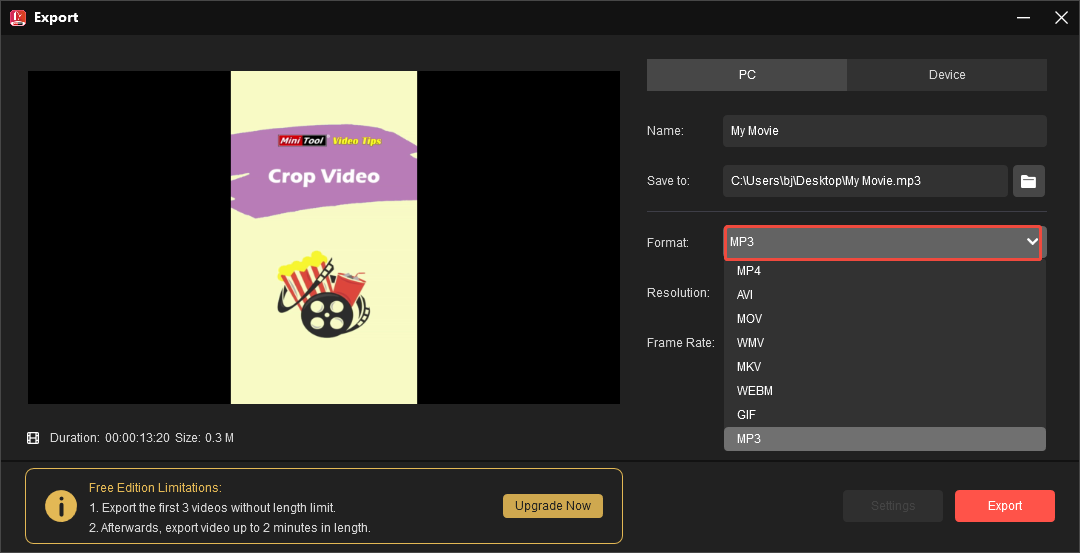
Step 6. Click Export on the upper right of the main window. In the Export pop-up window, you can customize the file name, output path, video format, resolution, and frame rate. Finally, click Export to save your video without audio.

Conclusion
If you don’t want the audio part of your QuickTime video, you can remove it. This post offers you 2 methods for this task. I hope you like it.
User Comments :