How to use color replacement tool in Photoshop? This article offers a step-by-step guide. As a bonus, it also shows you how to merge multiple pictures into a video with MiniTool MovieMaker.
What Is Color Replacement
Color replacement is an image editing technique that replaces one color in an image with another. This operation can be applied to a single object, a portion of the image, or the entire picture. The tool first identifies pixels that match a certain hue or a range of colors. Once identified, users select a new color to replace those pixels.
The color replacement tool is a quick way to change colors. Changing colors can help objects stand out or mix better with the background, resulting in a more cohesive overall style for the image. How to use color replace in Photoshop? Keep reading.
How to Use Color Replacement Tool in Photoshop
Photoshop is an industry-leading graphic editing software developed by Adobe. It offers a wide range of image editing tools, including color replacement, color correction, cropping, etc.
With Photoshop, you can process different parts of a picture as distinct layers that can be individually masked, edited, or filtered without affecting the other parts of the image. In addition, this program offers AI-powered tools, which make the image process easier and faster. Moreover, Photoshop supports multiple formats, including JPEG, PNG, etc.
Now, follow the instructions below to see how to use color replacement in Photoshop.
1. Get Adobe Photoshop
Purchase Photoshop and install it on your computer.
2. Import Your Image
Launch this program and click the Open… option to import the target image.
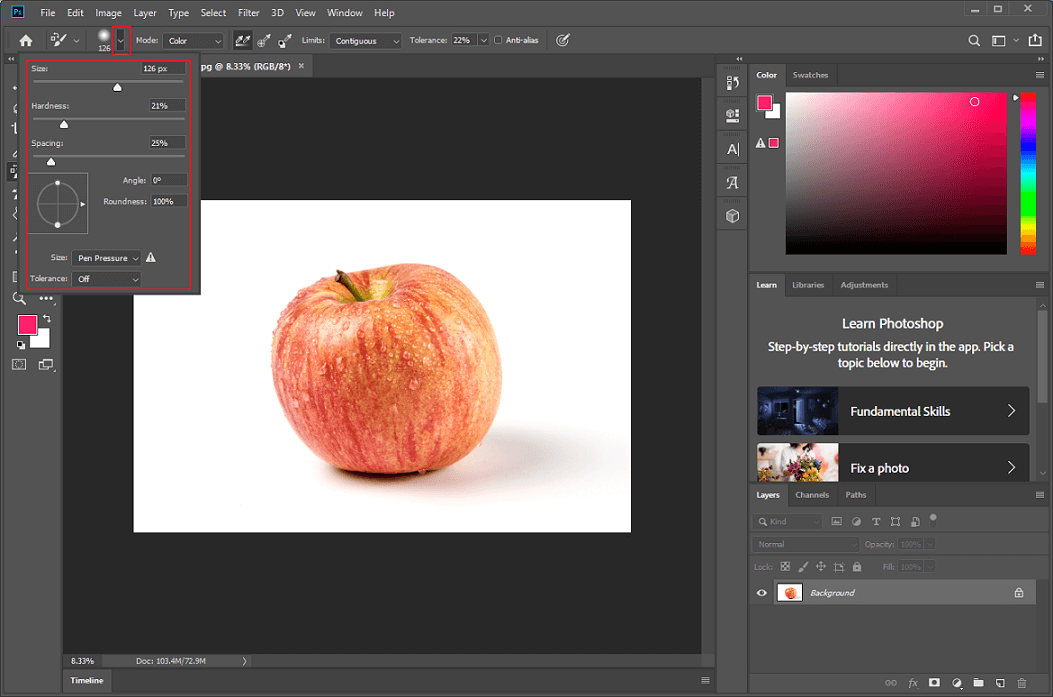
3. Activate the Color Replacement Tool
In the left toolbar, right-click the Brush tool option and choose Color Replacement Tool.

Expand the brush preset option at the top left and set some settings for the brush based on your needs.
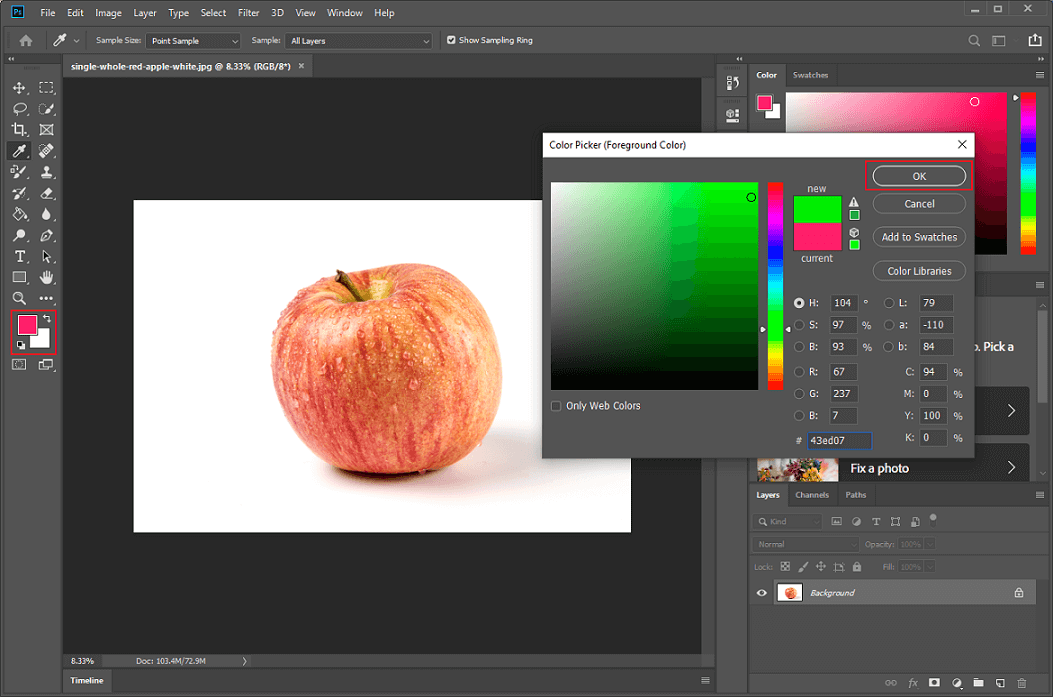
4. Choose the New Color
In the left toolbar, open the Set foreground color option, select the desired color, and click the OK button.
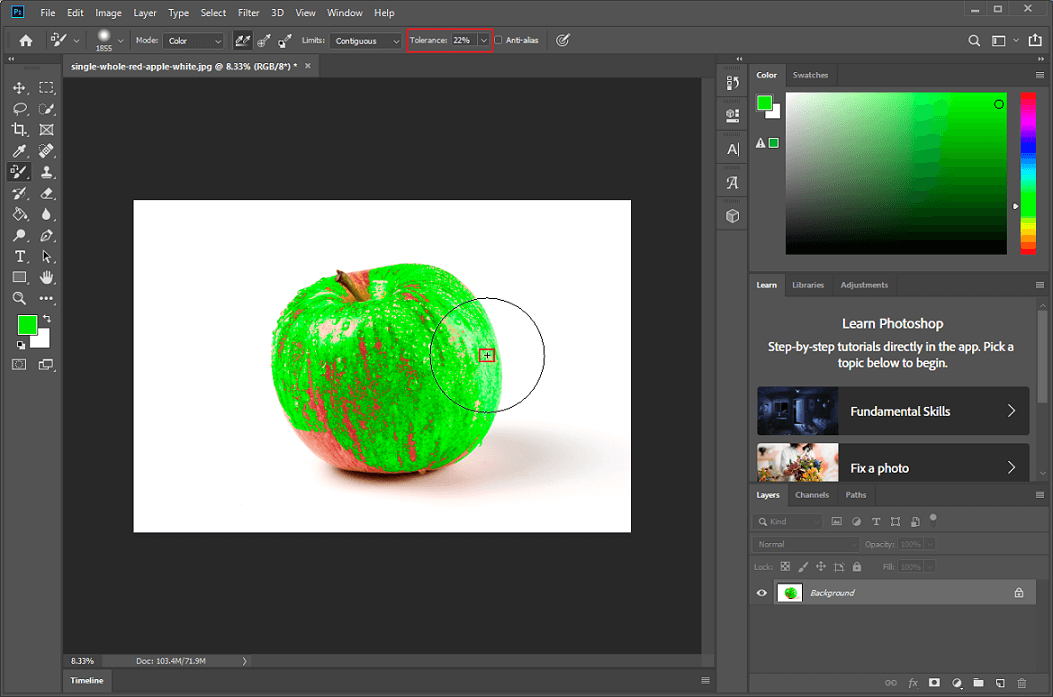
5. Perform Color Replacement
Set the tolerance option to approximately 22% to automatically detect object edges. Click the target object in the image to replace the color. Please note that the plus icon must remain inside the object.
6. Save the Image
Click the File option at the top left and click Save as… to save the image to the local folder.
All done! Color replacement is a quick method for changing a single color, such as the color of objects like cars, fruits, or flowers.
Bonus: Turn Multiple Photos into a Video
Want to turn multiple photos into a video so they play like a PowerPoint presentation? MiniTool MovieMaker can do you a favor! It is a feature-rich and free video editor that can merge photos into a video, extract audio from a video, overlap audio, edit videos by cropping, splitting, and trimming, and more. With MiniTool MovieMaker, you can turn your precious photos into a video filled with memories.
Here is a quick guide:
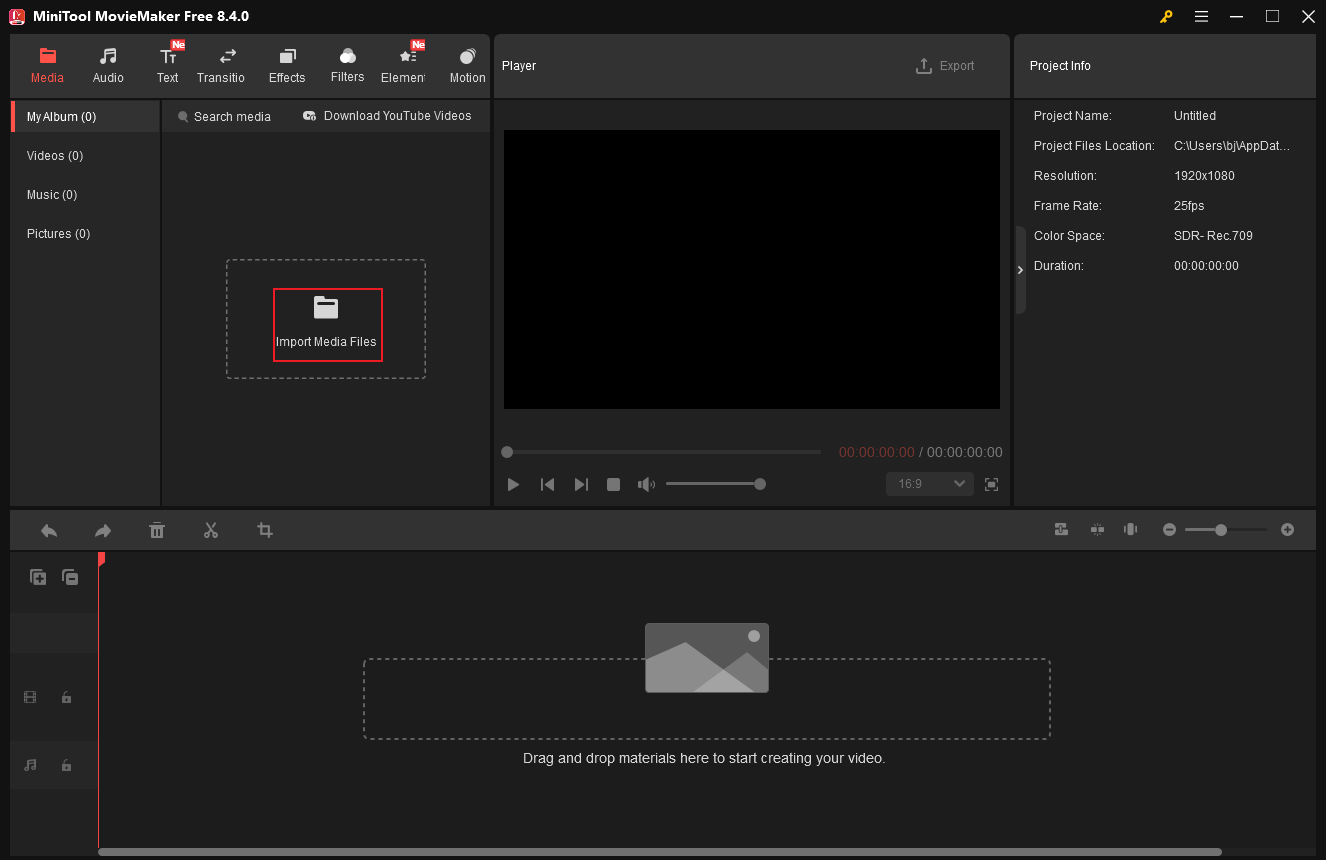
1. Download and Install MiniTool MovieMaker
Click the download button below to download and install this program on your computer.
2. Import Your Pictures
Click the Import Media Files option to add your photos.
3. Adjust Settings for the Pictures
Drag all the added pictures to the timeline. To adjust the duration of an image’s appearance in a video, drag the edges of each picture inward on the timeline.
4. Add a Background Music
You can click the Import Media Files to add music from your own collection. Or you can go to the Audio section to download and add music to the video.
5. Export the Video
Click the Export button at the top right of the Player window, set video settings based on your needs, and click Export.
That’s it!
In Summary
This post shows you how to use color replacement tool in Photoshop. Follow the guides above to complete your task. Hope this article can help you a lot!
User Comments :