Double exposure techniques originated in the early days of film photography and remain widely popular to this day. With the widespread adoption of digital cameras, this technology is now more accessible than ever before. In this article, we will explore what double exposure is and how to create it using Photoshop. Read on.
What Is Double Exposure
Double exposure is a photographic technique that creates surreal, symbolic, or dreamlike effects by superimposing two or more pictures onto a single frame. This process creates a transparent overlay effect, where the brighter areas of one photograph reveal the image from another. Silhouettes or high-contrast scenes are typically used to achieve a distinctive artistic effect.
Typically, double exposure is achieved by repeatedly exposing the same frame onto film, but today it can be easily accomplished within the camera itself or using editing software like Photoshop.
Common Tools for Double Exposure
When shooting double exposure photos, the right tools are essential for achieving the desired results. Below are tools commonly used in double:
- Camera: Film cameras and most modern digital cameras can create photos using multiple exposure modes. However, film cameras require greater skill and more practice, while digital cameras come equipped with built-in double exposure modes.
- Software: Many software programs can create double exposure effects, such as Adobe Photoshop, GIMP, BeFunky, ON1 Photo RAW, and more.
How to Do Double Exposure in Photoshop
Adobe Photoshop is an industry-leading and powerful tool for photo editing, graphic design, etc. For the best image processing, it provides accurate layer management, strong tools, and deep pixel-level manipulation. Photoshop is capable of doing double exposure and editing pictures by cropping, resizing, adjusting color, using the healing brush, etc.
For more advanced functions, this application is powered by AI, allowing you to create new images using text prompts, fill in blank areas, remove objects, and more. Moreover, Photoshop seamlessly integrates with other Adobe applications to streamline workflows.
How to do double exposure in Photoshop? Just follow the step-by-step guides below.
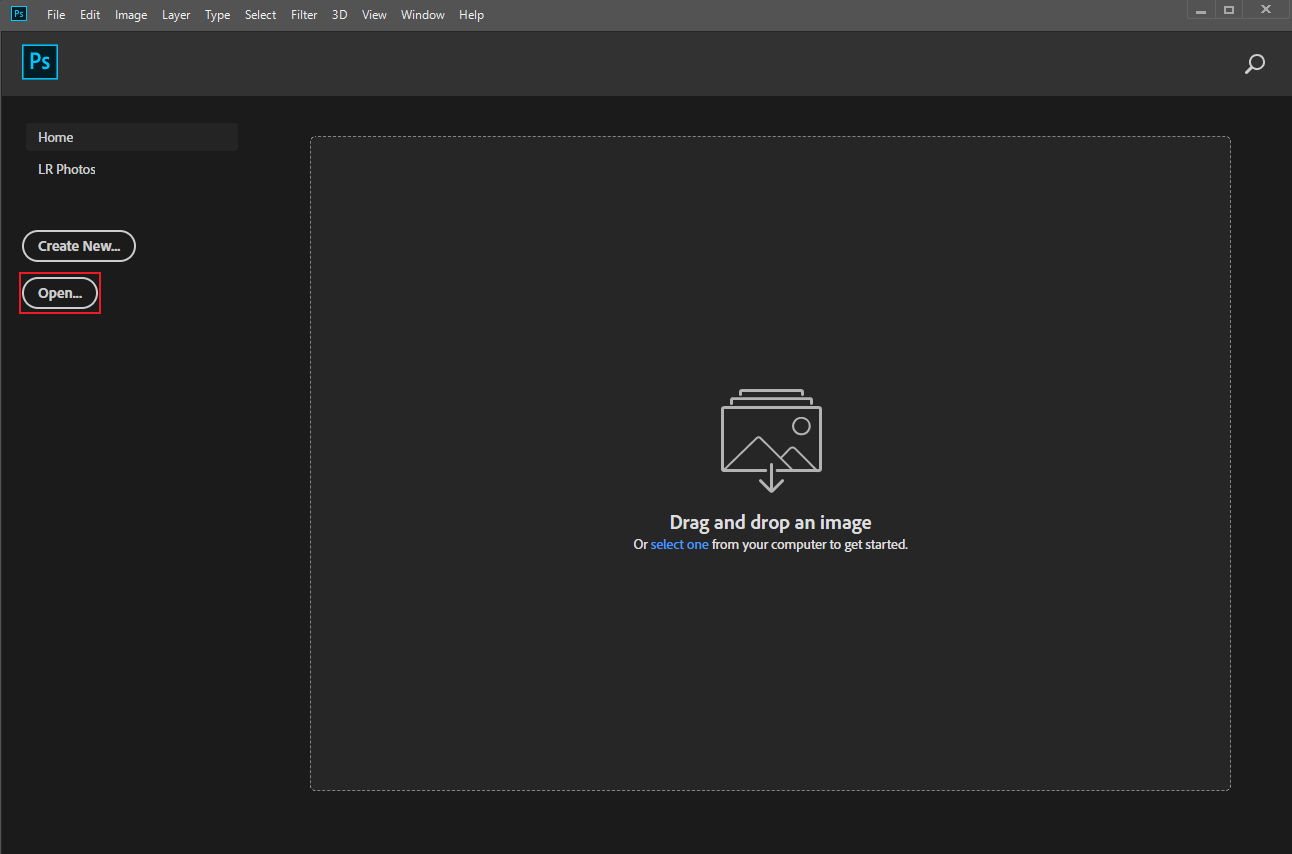
1. Import Your Image
Launch Adobe Photoshop and click the Open… option to add the main image.
Click the File option at the top left and select Place embedded to import another picture. Ensure the main image is positioned below the other one.
2. Create a Mask
Choose the main picture layer and click the Add layer mask option at the bottom of the Layer panel.
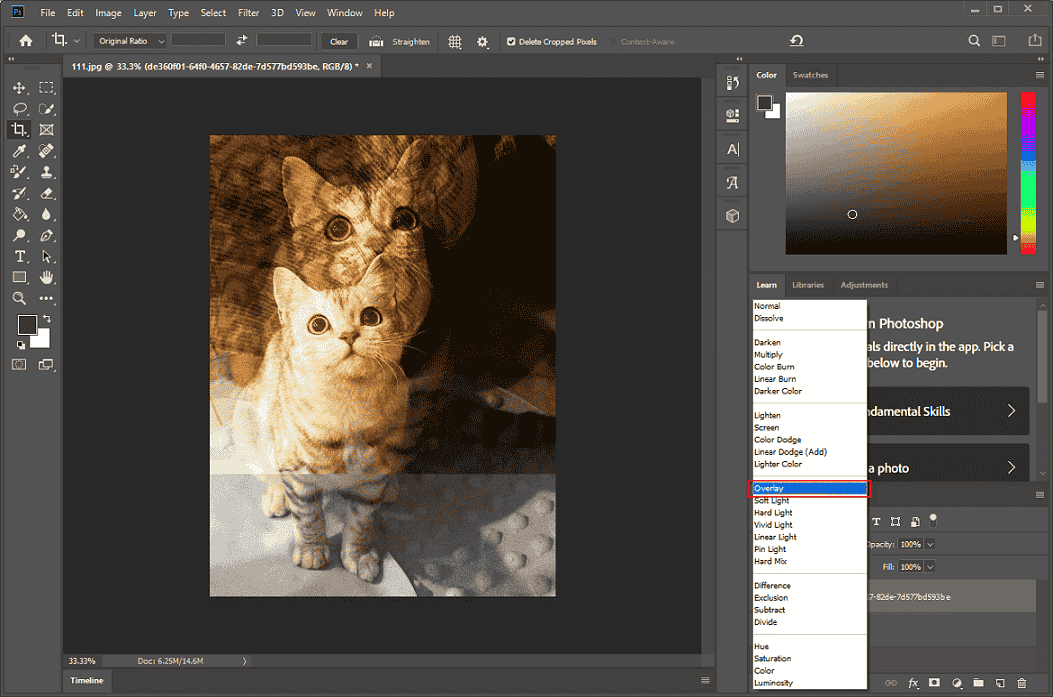
3. Blend the Layers
Select the other image at the top of the Layer panel. Then, expand the Blend Mode option and choose Screen, Lighten, or Overlay based on your needs. Change the opacity as you prefer.
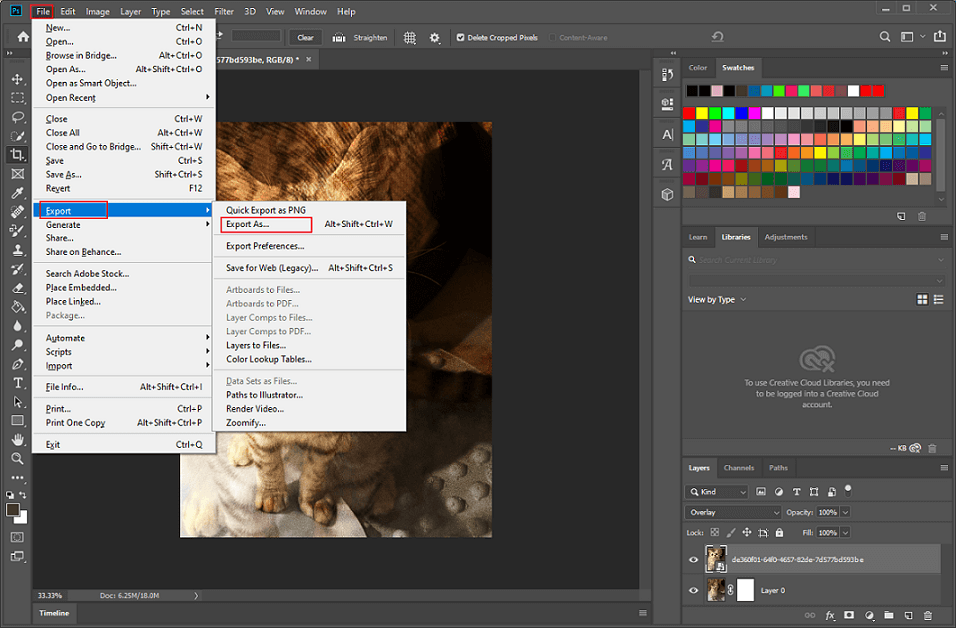
4. Export the Image
Click the File option at the top left, choose Export, and click Export As… to save the picture.
That’s it!
MiniTool MovieMakerClick to Download100%Clean & Safe
Bonus: Tips for Photographing a Double Exposure Picture
Double exposure photography is a technique used by photographers to generate photos that pique interest, stimulate the imagination, or deliver important messages by contrasting disparate scenes or themes. Here are some tips to make a double exposure photo stand out when photographing it:
- Using a seamless background can make the background of double exposure portraits cleaner.
- Shoot in well-lit environments and minimize exposure. You can also use a flash to supplement lighting.
- Use a shutter release cable and a tripod to make shooting easier.

In Summary
How to do double exposure in Photoshop? This post discusses what double exposure is, tools that enable double exposure, specific operational steps, and related tips. Hope this article can help you a lot!
User Comments :