How to Add Transitions in Final Cut Pro
Transitions are crucial in film and video as they help connect various scenes and shots, making the story flow seamlessly. It can add a professional touch to your video projects and make them more engaging and dynamic. You can add transitions to multiple video clips using a video editor.
Final Cut Pro is an amazing tool that can be used for adding transitions. It comes with a variety of different video transitions for you to choose from. Here, we will show you how to add a transition in Final Cut Pro using different ways.
Before we begin to add transitions to a video project, you must ensure that you have imported your video clips to Final Cut Pro. Then, you can follow one of the ways below to add transitions in Final Cut Pro.

Way 1: Using Transitions Browser
The Transitions browser is where you can find all the available Final Cut Pro transitions. It has different categories of transitions, such as Dissolves, Wipes, Slides, and more. To add them, you need to:
- Go to the main toolbar and click the transition icon, which likes two triangles.
- Select the desired transition as you like.
- Drag and drop the transition between the clips where you want to apply it to on the timeline.
Way 2: Using Edit Menu
This method is only useful for default transitions. There can only be one default transition, which is usually a cross dissolve, and you can apply using the Edit menu. First, you need to select an edit point between two clips in your timeline. With the clip selected, go to the Edit menu. Click Add Cross Dissolve or press Command + T on your keyboard.
Bonus Tip: How to Add Transitions with a Final Cut Pro Alternative
In addition to Final Cut Pro, there are many other apps that can add transitions to video. MiniTool MovieMaker is the one you can’t miss. It features almost 100 transitions, categorized into 6 different types, including Advanced, Diagonals, Iris, PagePeel, Reveals, and Wipe.
Here’s how to add transitions with MiniTool MovieMaker:
Step 1. Download and install MiniTool MovieMaker by clicking the download button below.
MiniTool MovieMakerClick to Download100%Clean & Safe
Step 2. Click on Import Media Files to import video clips to this program.
Step 3. Click + in the lower right corner of the imported video to add it to the timeline.
Step 4. Select a clip where you want to add a transition on the timeline and go to the Transition tab.
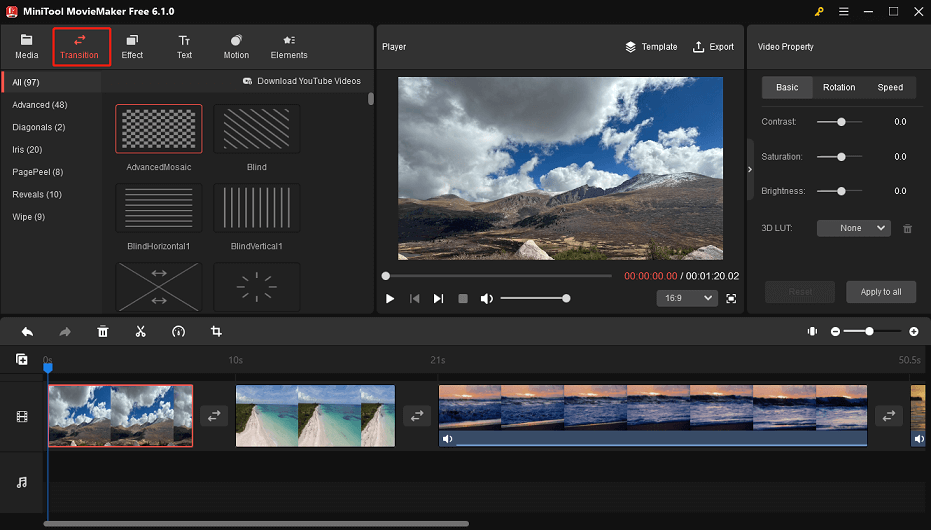
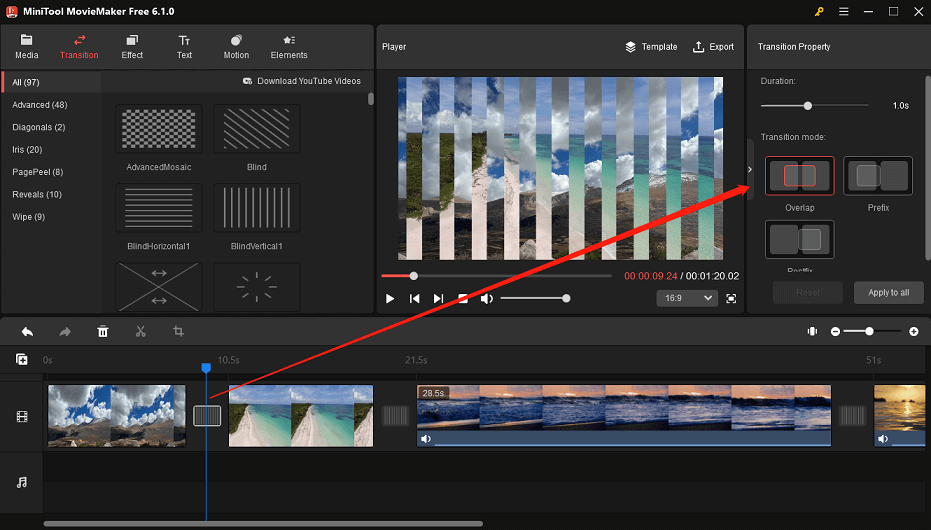
Step 5. Choose the desired transition and then click the + icon on it. Or, you can drag and drop it between two target clips.
Step 6. Select the transition on the timeline and edit it under Transition Property.
Strep 7. Click on Export on the toolbar to save this project to your device.
Conclusion
Adding transitions to your video projects can enhance their visual appeal and give them a more polished and professional look. Final Cut Pro provides a range of transitions that you can effortlessly add and modify. Check out the ways outlined in this post for guidance.
User Comments :