This post is a complete guide to the Google Drive video editor – Google Vids, covering its main features and a quick user tutorial. Besides, this post will give you an alternative – MiniTool MovieMaker to help you create videos with ease.
What Is Google Drive Video Editor
On April 9, 2024, Google Drive launched its AI-powered video creation app – Google Vids. The application is designed to simplify the video creation process, making video production as easy as creating a slideshow.
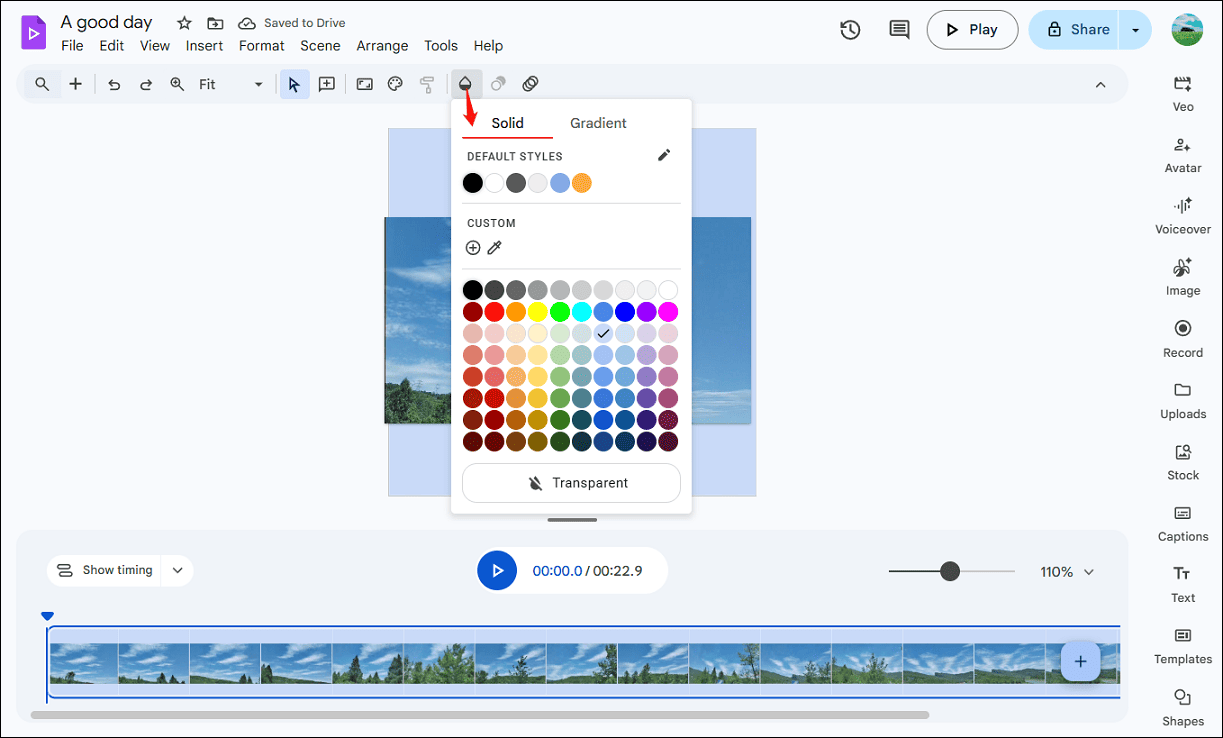
The Google Drive video editor offers common editing tools, such as trimming, cropping, adding music, and adding text. It also allows users to add animation effects, adjust volume, and loop videos. Besides, the video editor for Google Drive features a stock media library that contains videos, images, music, sound effects, GIFs, and stickers, giving you more options to enrich your content.
In addition to the basic editing features, Google Vids provides AI functions. For instance, it can generate 8-second videos using your image and script, convert text to speech, create avatars, etc. Moreover, Google Vids supports recording yourself, the screen, or both with audio, making it easy to create presentations, demonstrations, and training tutorials.
Unlike professional software like Adobe Premiere Pro, Google Vids is a lightweight, accessible tool for quick video creation and stands out due to its integration with Google Workspace and powerful AI features.
How to Use Google Drive Video Editor
Here’s how to edit videos using Google Vids.
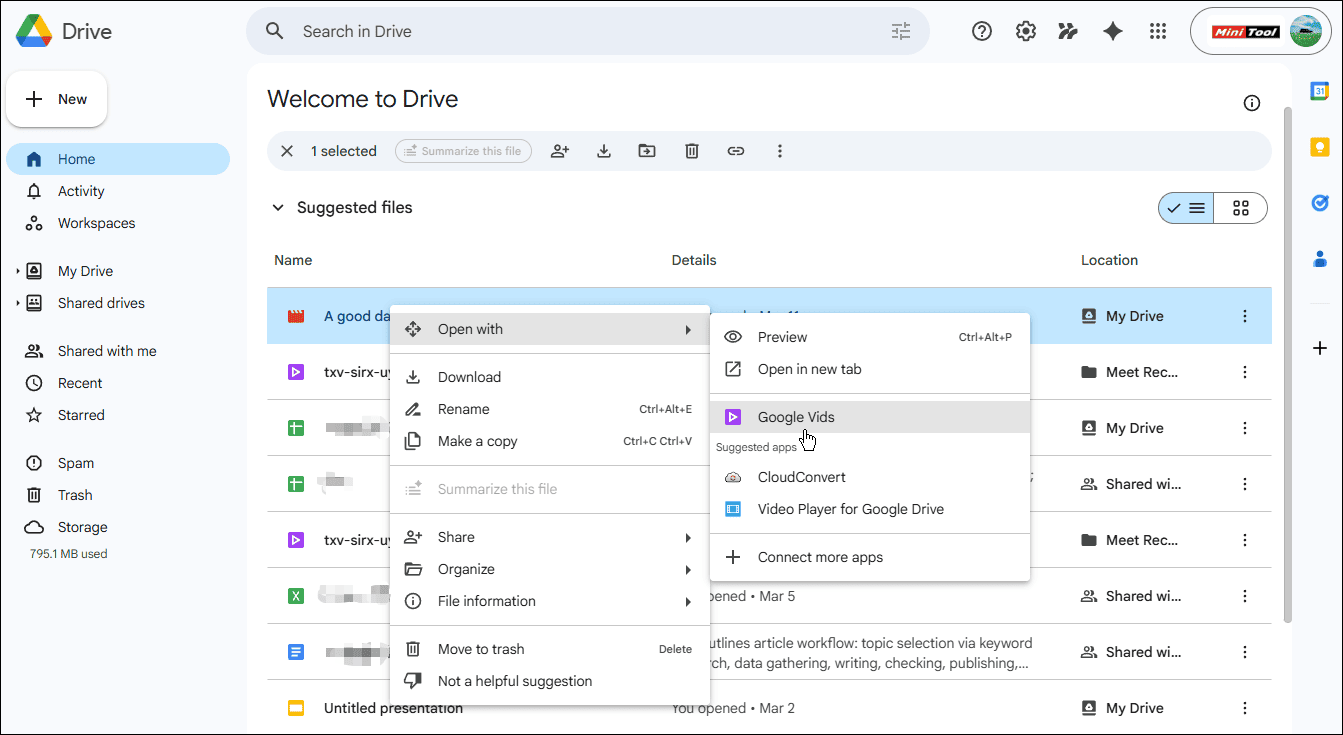
Step 1: Access Google Vids
Open Google Chrome, click the Google apps icon in the top-right corner, and click Drive. Right-click the target video, select Open with, and click Google Vids to open your video with Google Vids.
Step 2: Edit the Video
Do one of the following to edit your video:
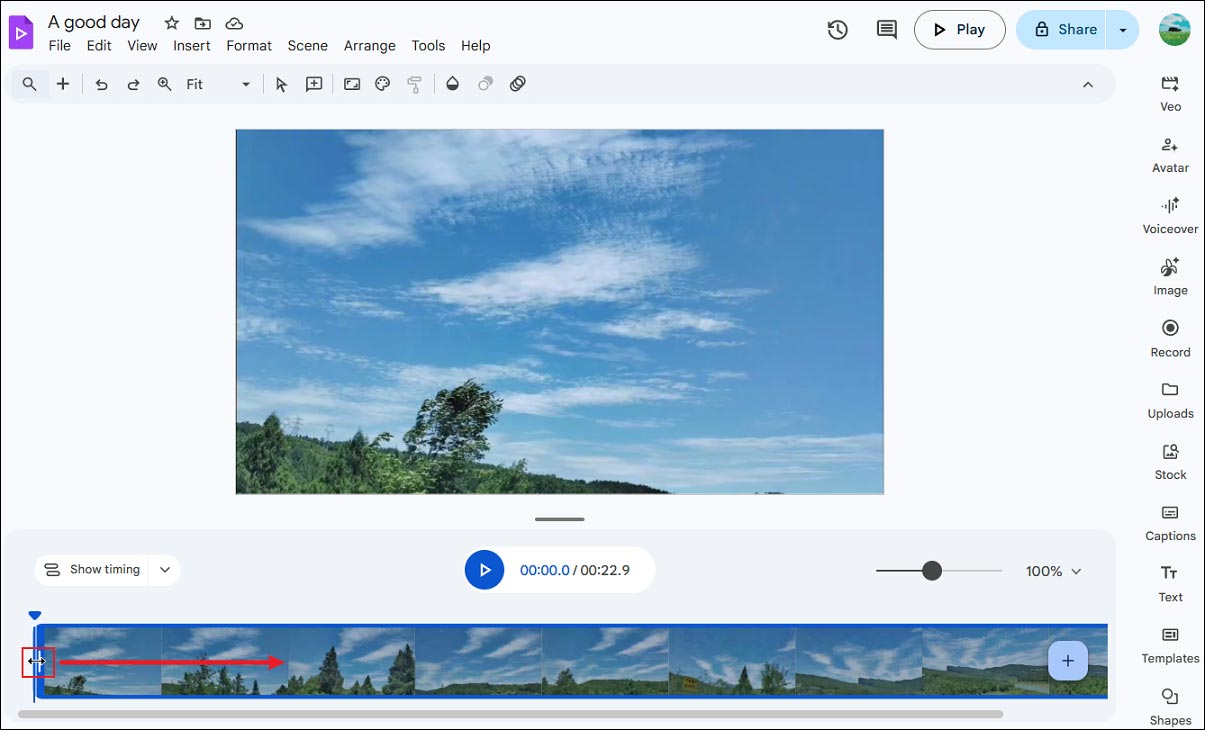
1. Trim: Hover your mouse cursor over either end of the clip until you see a double-headed arrow. Drag the arrow inward to remove the beginning or end of the video.
2. Resize: Click the Video size icon in the top menu bar, select an aspect ratio from the pop-up window: Landscape 16:9, Portrait 9:16, or Square 1:1, and click Apply to save changes.
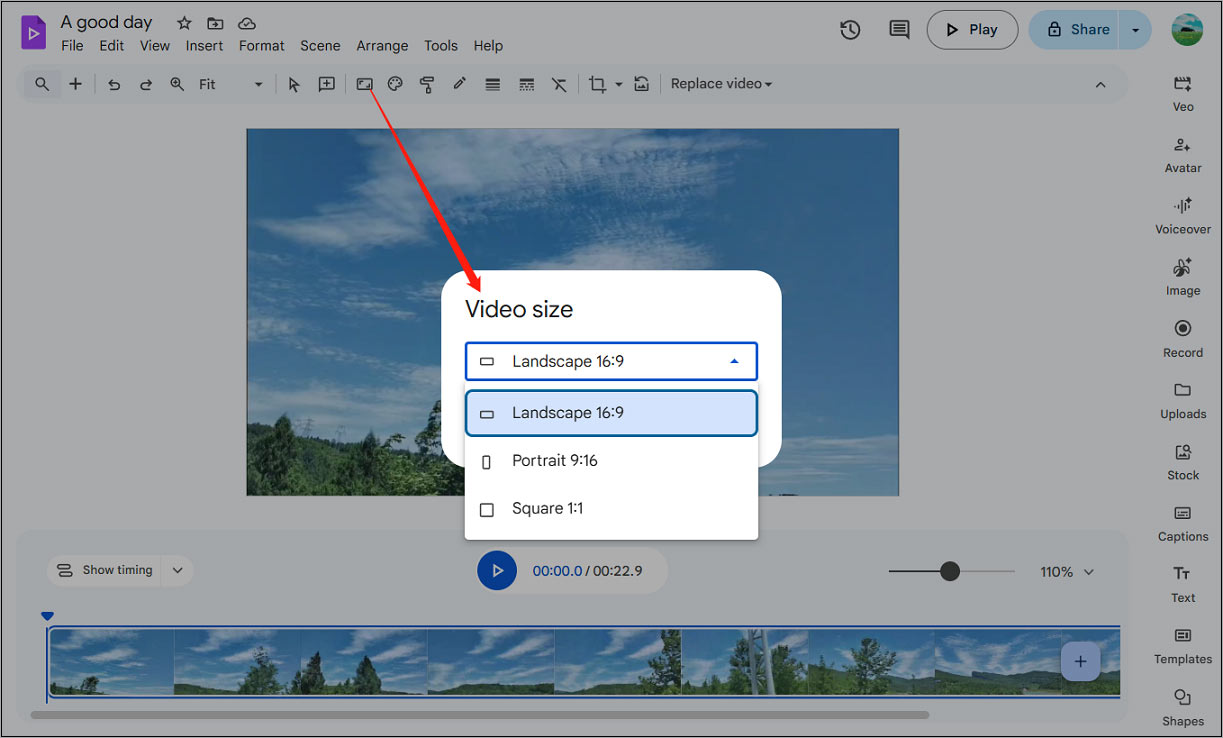
Next, you can then drag and drop the video to change its position on the canvas. To add a background color to the resized video, click the Background icon and choose a color to apply.
3. Crop: Click the video player window and click the Crop video icon in the top toolbar. Next, drag the black handles to choose the portion of the video you want to keep.
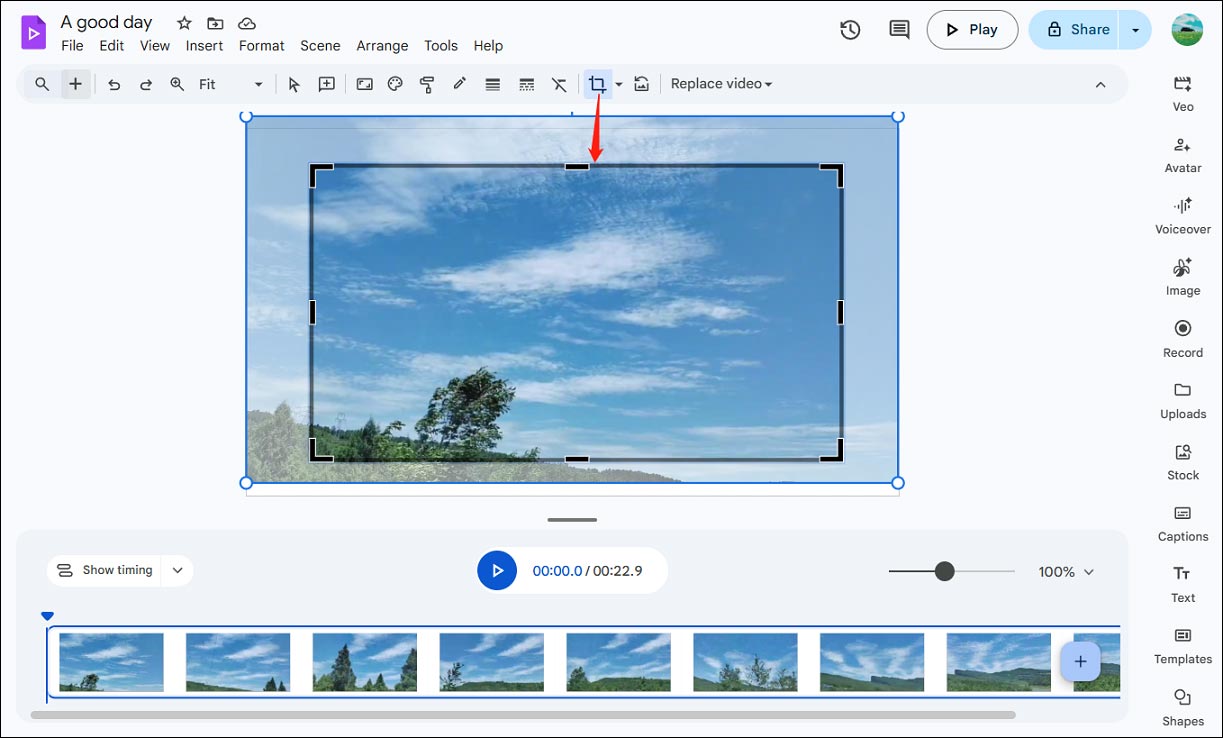
When I cropped a video on Drive, I found that when I was trying to move the cropping rectangle to choose the video area I wanted to save, it actually changed the position of the video canvas, not the cropping rectangle.
If you want to fit a video into a different shape, such as circles, ovals, or squares, click the Mask video icon on the right of the Crop video icon, and choose a shape to give your footage a stylized look.
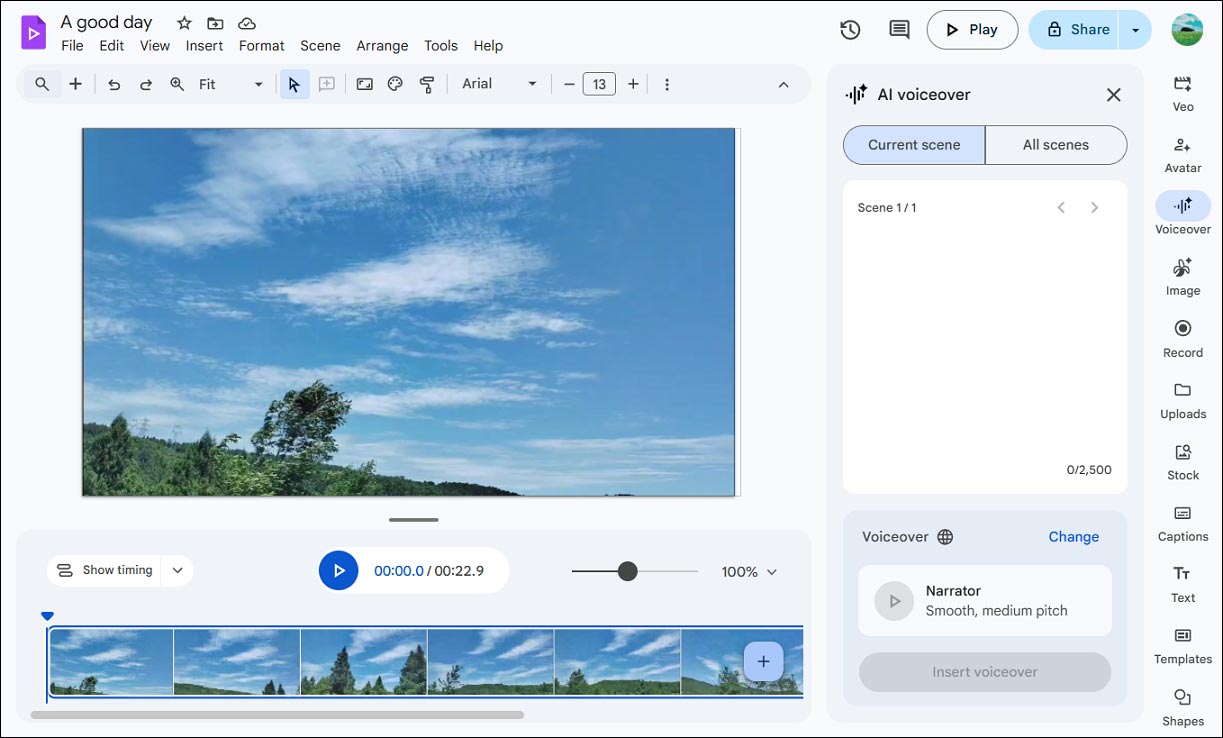
4. Voiceover: Click Voiceover on the right sidebar, enter your script, click Change to choose a voice for your video, and click the Insert voiceover button to start the conversion.
5. Captions: This feature can automatically convert spoken audio in the video to captions and add them to the video. Click Captions and choose a style to generate captions.
6. Add text: Click Text on the right sidebar, choose a text template, and type your text.
Step 3. Save the Video
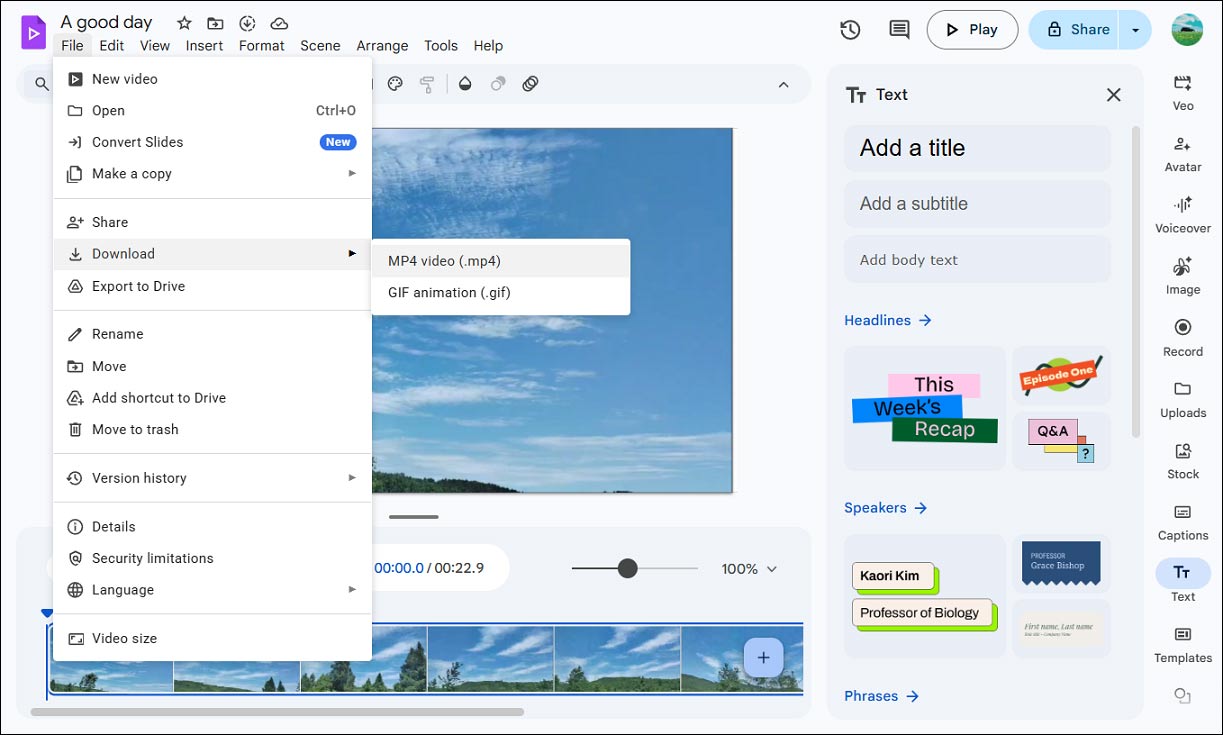
All the edits will be saved automatically. If you want to download the edited video to your computer, go to File > Download > MP4 video.
![How to Fix Video Not Uploading to Google Drive [Ultimate Guide]](https://images.minitool.com/moviemaker.minitool.com/images/uploads/2024/10/video-not-uploading-to-google-drive-thumbnail.jpg)
An Alternative to Google Drive Video Editor
Google Vids is a great browser-based video editing tool with essential features, but it still has limitations. Each video should not exceed 30 minutes for maximum viewer engagement. In other words, it doesn’t support editing videos longer than 30 minutes. Therefore, if you want a video editor without a length limit, then MiniTool MovieMaker is a great choice.
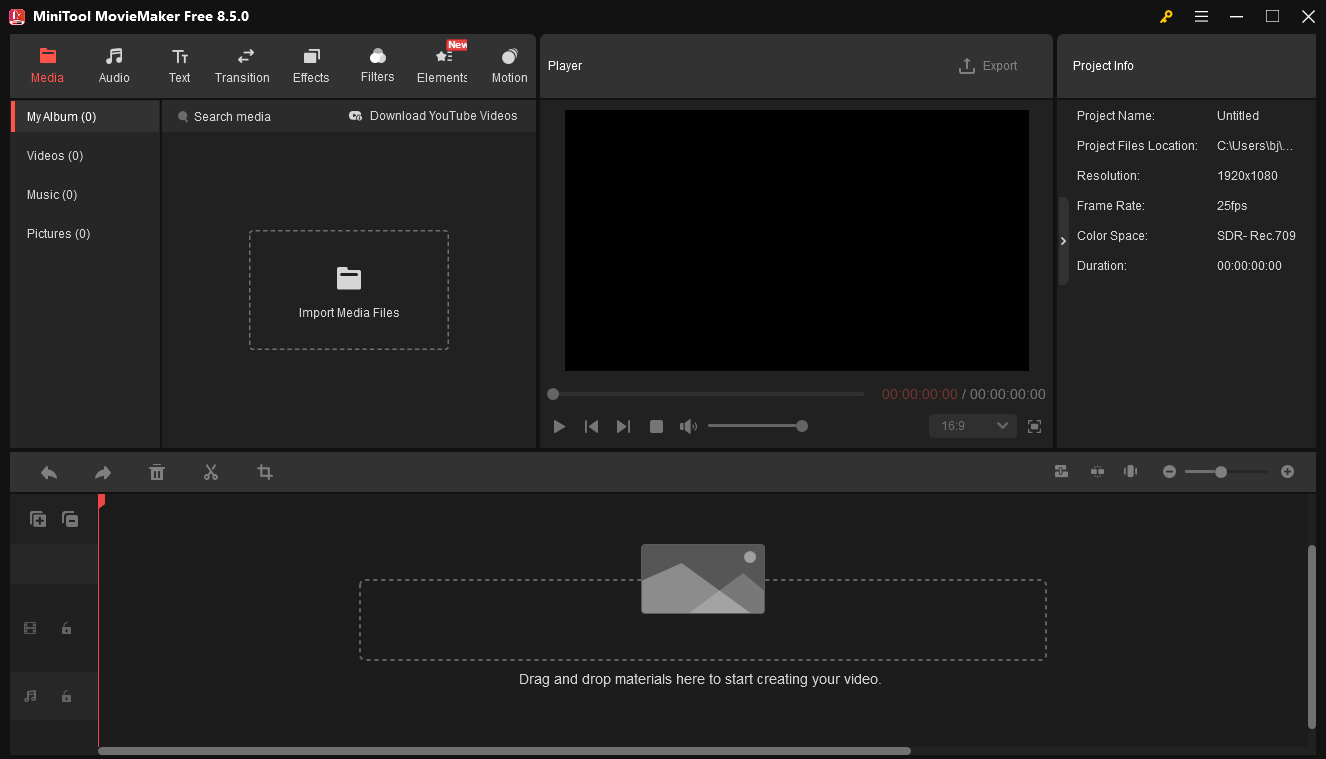
MiniTool MovieMaker is a user-friendly video editor without watermarks. The software provides all the basic editing tools and a huge collection of filters, transitions, effects, and stickers to enhance your video.
MiniTool MovieMakerClick to Download100%Clean & Safe
Conclusion
After you upload videos to Drive, you can easily edit them using Google Vids. It can be directly accessed through your browser, and there is no need to download and install the application. With a good internet connection, you’ll enjoy a smooth editing experience.
About The Author

Position: Columnist
Cora is a tech writer specializing in digital media workflows, with over six years of hands-on experience in video post-production, media transcoding, and screen capture. Her writing is always clear and practical. Cora also produces in-depth software reviews for users across skill levels to help them find the right tool and enjoy video editing.
User Comments :