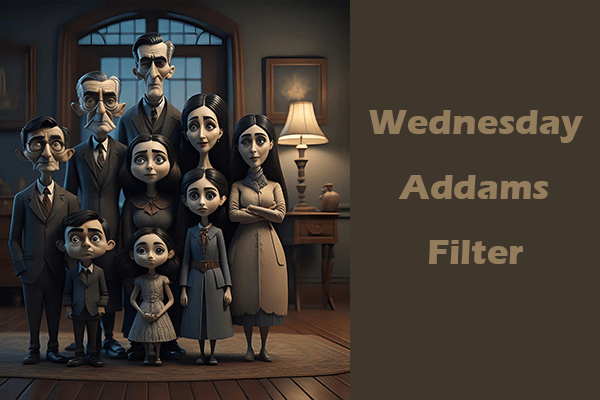
Felt art photography utilizes colored wool fibers and barbed needles or wet felting techniques to create richly detailed images inspired by or based on photographs. Nowadays, some tools can convert photo to felt art style. Without requiring many professional steps, you can obtain felt art photos with just a few clicks. In the following content, I provide three top-grade and robust felt art-style photo generators. Read on.
Convert Photo to Felt Art with FlexClip
FlexClip is a browser-based and professional image editor that can convert your pictures to stunning felt art in minutes. It is powered by AI, transforming your pictures quickly and highly reproducing character features. In addition, FlexClip offers high-quality outputs and supports various image formats, like PNG, JPG, WEBP, SVG, GIF, etc. With its intuitive user interface, converting your photo to felt art is a breeze. Just follow the guides below.
1. Go to FlexClip’s Felt Art Generator
Visit https://www.flexclip.com/tools/photo-to-felt-art/.
2. Upload Your Photo
Click the Upload Image button to upload the image you want to convert.
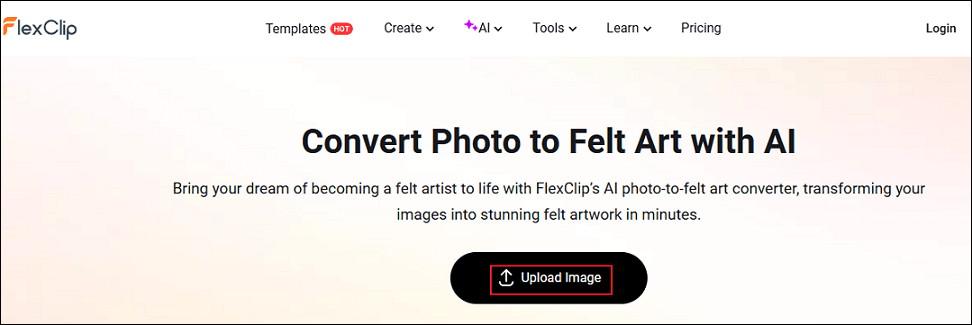
3. Convert Photo to Felt Art
The Felt filter is selected by default. Click the Generate button to start the conversion.
4. Download the Picture
When the generating process completes, click the Download option to save the photo.
Convert Photo to Felt Art with insMind
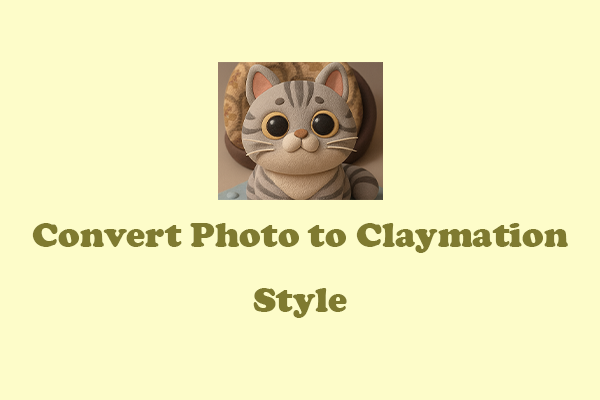
insMind is a user-friendly and expert image generator, offering a quick photo conversion. It provides other filters, like 3D cartoon, Lego, Claymation, etc., bringing infinite possibilities to your pictures. Besides, insMind provides more functions, including removing backgrounds from photos, upscaling pictures, and more. It’s easy to turn self-portraits, group photos, or pet photos into eye-catching felt artworks with insMind. How to transform photo into felt art? You can follow the instructions below.
1. Access insMind’s Felt Art Generator
Visit https://www.insmind.com/ai-felt-art-generator/.
2. Upload Your Picture
Delete the image above the prompt box and click the + icon to add your photo.
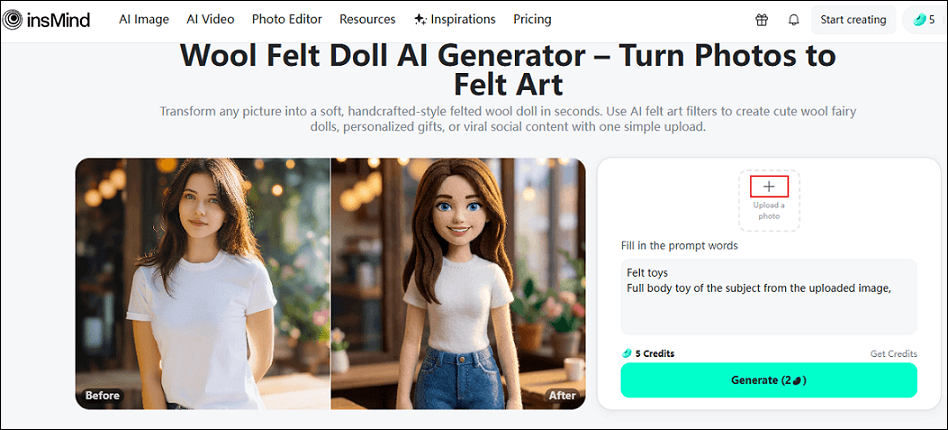
3. Generate the Photo
Click Generate to start converting the photo to a felt art-style image.
4. Download the Photo
When the photo is generated, click the Download option to save your photo.
Convert Photo to Felt Art with Media.io
Media.io is a robust image editor that can be used without installation, instantly transforming people, pets, or objects into soft-to-the-touch felt-style art pieces. It features a straightforward interface, allowing both beginners and experienced users to handle it with ease. Moreover, Media.io offers AI melt effect, AI alive filter, AI arrested filter, and more.
Follow the instructions below to convert photo to felt art.
1. Go to Media.io’s AI Effect Filter Section
Visit https://www.media.io/image-effects/ai-felt-effect.html. Then, click the Create Felt Effect option to enter the main page.
2. Upload Your Pictures
Click the Upload option to import the picture you want to convert.
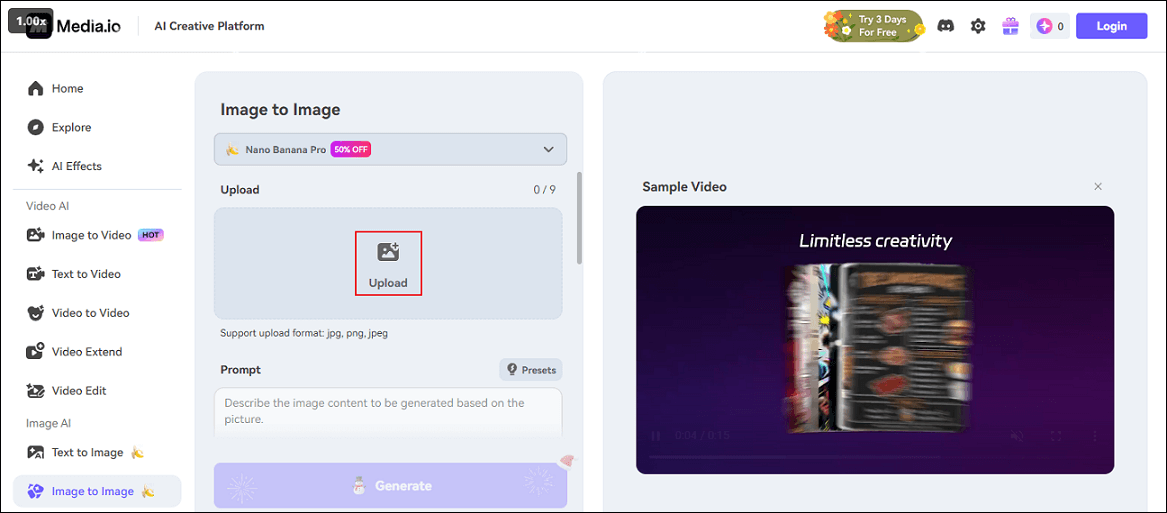
3. Input Prompt
Type an appropriate prompt (convert the photo to felt art) into the Prompt box.
4. Convert the Picture to Felt Art
Click the Generate button to start generating a felt art photo.
5. Download the Photo
When the picture is ready, click Download to save the photo.
That’s all!
Bonus: Best Tool to Convert Photos to a Video
Looking for methods to turn photos into a video? MiniTool MovieMaker can do you a big favor! It is a free and professional video/GIF editor, enabling you to make a video with multiple pictures. Plus, this application features an extensive resource library, allowing you to polish videos by adding effects, transitions, filters, text, music, etc. MiniTool MovieMaker has no ads, bundles, or watermarks, offering an enjoyable user experience. Click the download button below and give it a try!
MiniTool MovieMakerClick to Download100%Clean & Safe
In Summary
This post provides three effective and quick methods to convert photo to felt art. They are all easy to use and are capable of creating unique felt art pictures. Feel free to choose the one you prefer!
User Comments :