A rainbow is a meteorological phenomenon that appears as a spectrum of light in the sky, caused by the reflection, refraction, and dispersion of sunlight within water droplets. Rainbows are often seen as symbols of happiness and hope.
Rainbow effects in photos can create a vibrant, dreamy look and enhance the artistic appeal of images. Adding rainbow effects to photos can be done using tools such as rainbow filters, rainbow stickers, rainbow brushes, rainbow vignettes, and more. This post introduces three reliable methods to add rainbow effect to photo, including Fotor, BeFunky, and Picsart.
How to Add Rainbow Effect to Photo
This section guides you through detailed steps on how to add rainbow effect to photos online.
Method 1: Add Rainbow Effect Using Fotor
Fotor is an all-in-one image editing platform suitable for both beginners and experienced users. It offers a wide range of editing tools, such as background removal, unblurring images, and generating images from prompts.
When it comes to adding a rainbow effect, Fotor offers an easy-to-use rainbow filter that applies a soft and colorful gradient across your entire photo. In addition, Fotor provides rainbow stickers if you want to add a specific rainbow graphic to your image. You can customize the sticker’s orientation, transparency, and other settings to create a stunning effect.
How to add rainbow effect to photos using Fotor? Follow the steps below.
Step 1: Access Fotor
Go to the Fotor official website (https://www.fotor.com/photo-editor-app/) in your browser. Click the Upload Image button in the main editing interface to import your photo.
Step 2: Add a Rainbow Sticker to the Photo
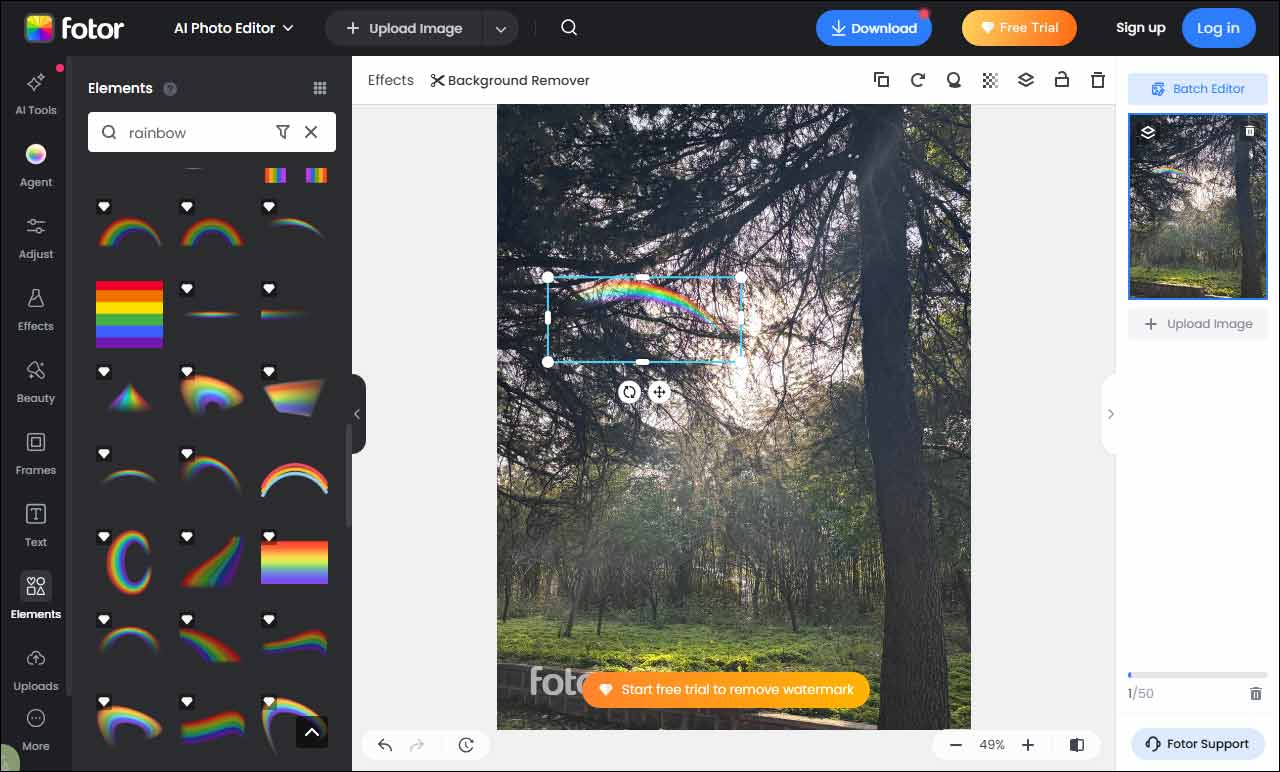
Click the Elements tab in the left menu. Type rainbow in the search bar and you can see a wide range of rainbow stickers. Choose the one you desire and click it to add it to the photo.
Simply drag the sticker on the canvas to reposition it. Hover your cursor over its border until an arrow icon appears and drag it inwards or outwards to resize. Adjust its transparency and shadow by moving the sliders above the canvas.
Step 3: Save the Image
Once editing is finished, click the Download option at the top of the menu. In the export window, you can rename the file and select an appropriate format.
Method 2: Add Rainbow Effect Using BeFunky
BeFunky is a versatile photo editing platform with a wide range of features, including turning photos into watercolor, retouching portraits, and creating photo collages. For adding rainbow effects, BeFunky provides rainbow pop filters that add vibrant colors to your photo. You can adjust the filter intensity and the silhouette amount to achieve the desired effect.
Here is how to add rainbow filter to photos using BeFunky.
Step 1: Open BeFunky’s Photo Editor
Navigate to the official BeFunky website (https://www.befunky.com/create/). Drag your image to the main interface to upload it.
Step 2: Apply a Rainbow Filter
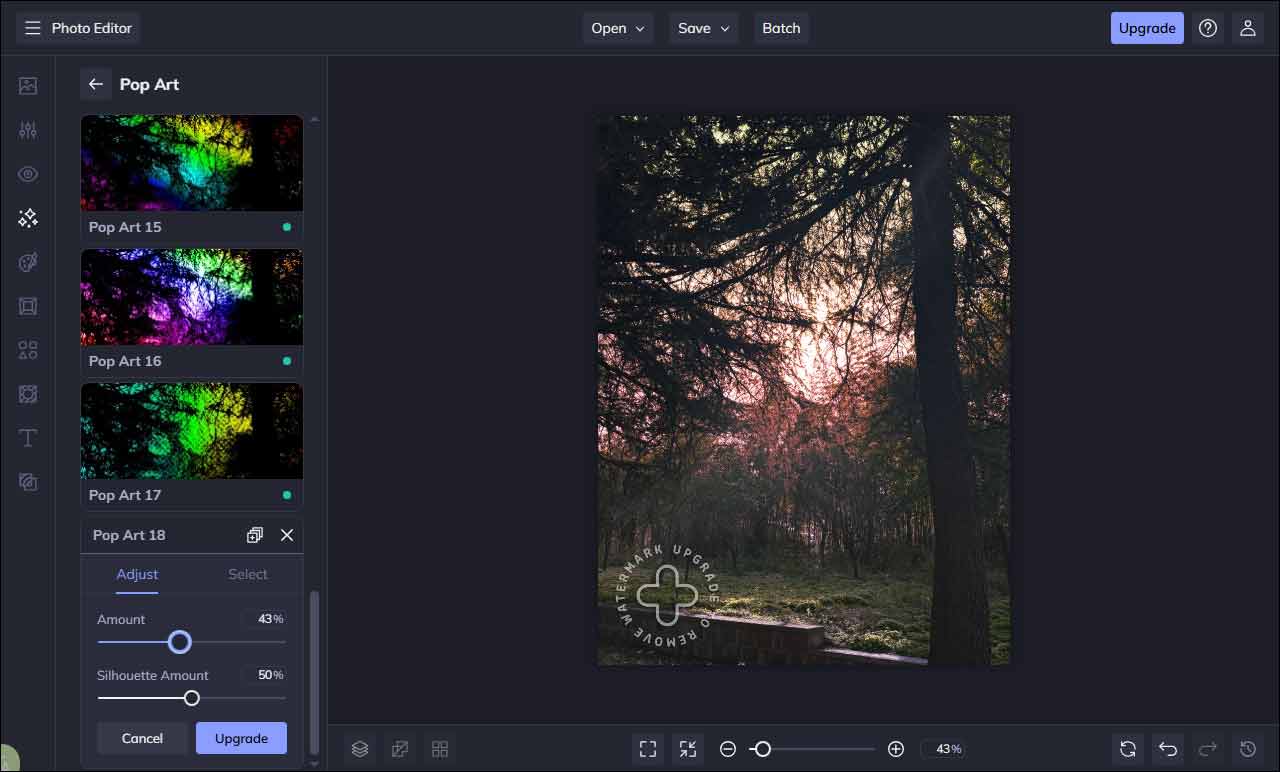
Click the Effects tab in the side menu. Scroll down to Pop Art and choose a preferred rainbow filter. Click the Settings icon and use the sliders to adjust the amount and silhouette amount.
Step 3: Save the Photo with Rainbow Filter
After editing, click Save at the top of the screen and select Computer to save it locally. You can also choose other options to share it on social platforms.
Method 3: Add Rainbow Effect Using Picsart
Picsart is a popular and comprehensive photo and video editing platform available on mobile, web, and desktop. Powered by AI, it allows users to design and create stunning content from prompts with ease. For adding a rainbow effect to photos, Picsart includes diverse rainbow stickers that can be added as overlays.
Follow the guide below to add rainbow effect to photo using Picsart.
Step 1: Go to Picsart’s Editor
Visit the official Picsart website (https://picsart.com/create) and sign in to your account. Click Start new design in the sidebar, then drag and drop your image to upload it.
Step 2: Add Rainbow Effect to Photo
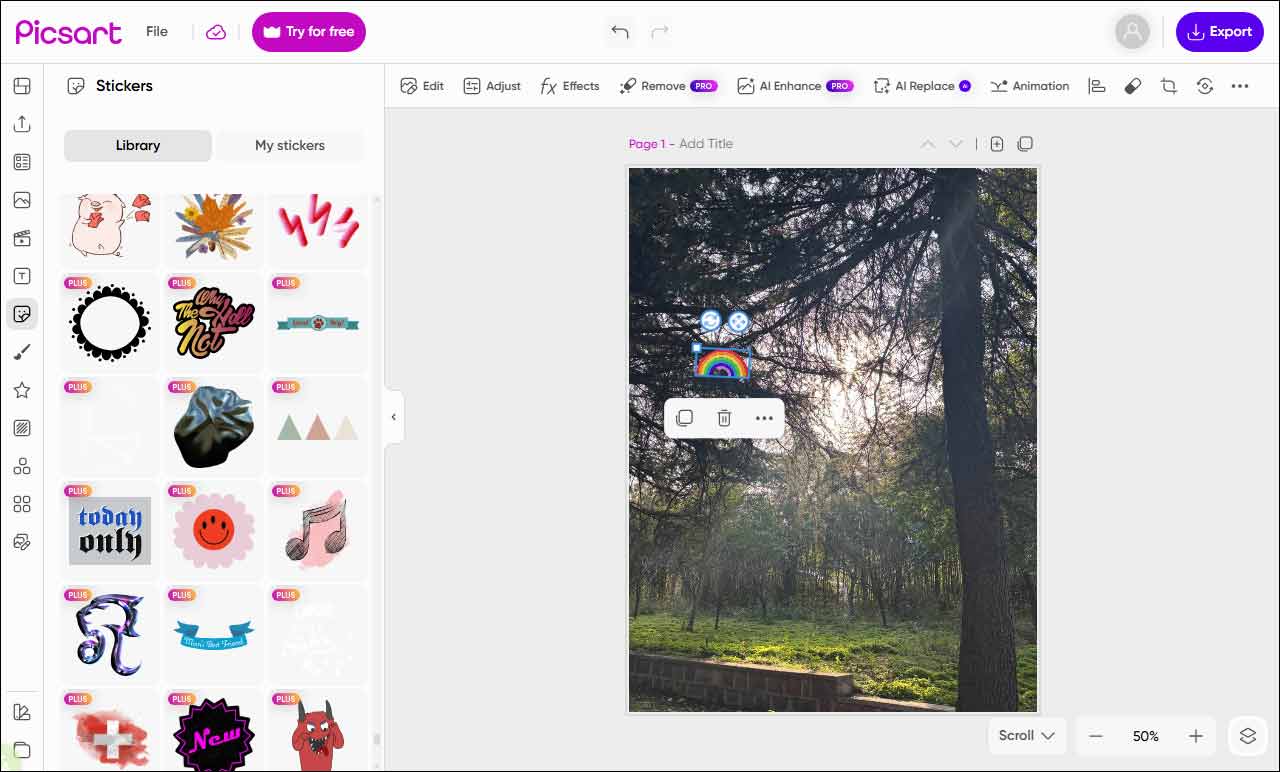
Click the Stickers icon in the sidebar. Scroll down to find a suitable rainbow sticker and click it to add to your photo. You can directly reposition, resize, and rotate the sticker by dragging it in the canvas.
Step 3: Save the Image with a Rainbow Sticker
If you are satisfied with your edits, click Export at the upper-right corner and select Download to save the photo to your computer.

Conclusion
This post introduces three easy-to-use methods to add rainbow effect to photo online. Each tool can help you make your images more vibrant and visually appealing. Choose the method that best fits your needs and add an artistic touch to your photos.
About The Author

Position: Columnist
Alice is a tech writer at MiniTool, specializing in tutorials and guides on video editing and screen recording. She stays up to date with the latest tools and techniques to ensure her content is accurate and easy to follow. By combining hands-on testing with continuous learning, Alice aims to help readers solve tech problems efficiently.
User Comments :