Google Docs is a word processor and can work as a web application, mobile app for iOS, Android, Windows, BlackBerry, and as a desktop program for Google’s ChromeOS. When you insert an image into Google Docs and you find it’s in the wrong orientation, how to rotate image in Google docs or how to flip it?
To help you out, this post will give you clear instructions on how to rotate image in Google docs and how to how to flip an image in Google Docs. If you want to rotate videos or flip videos, try the best free video ediditing software – MiniTool MovieMaker.
How to Rotate an Image in Google Docs?
How to rotate image in Google docs? Here are 2 method for you.
Method 1 – How to Rotate an Image with Image Options
Step 1. Log into Google Docs.
Step 2. Click the large red circle with the + icon to start a new document or open an existing document.
Step 3. Insert an image. Option 1: Click the Insert and select Image, and then import an image from the computer, Google Drive, Google Photos, camera, web, or a URL.
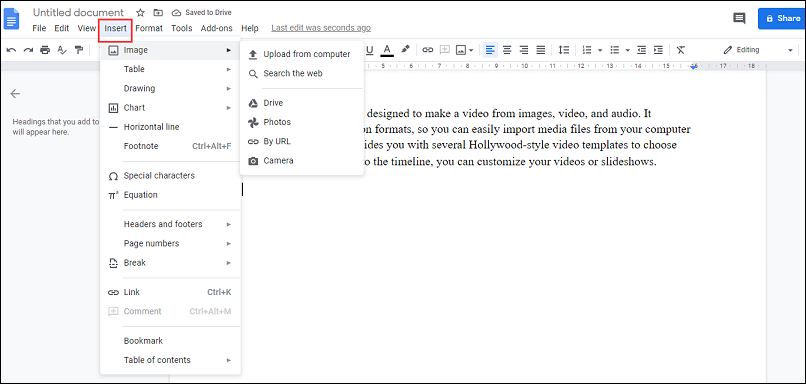
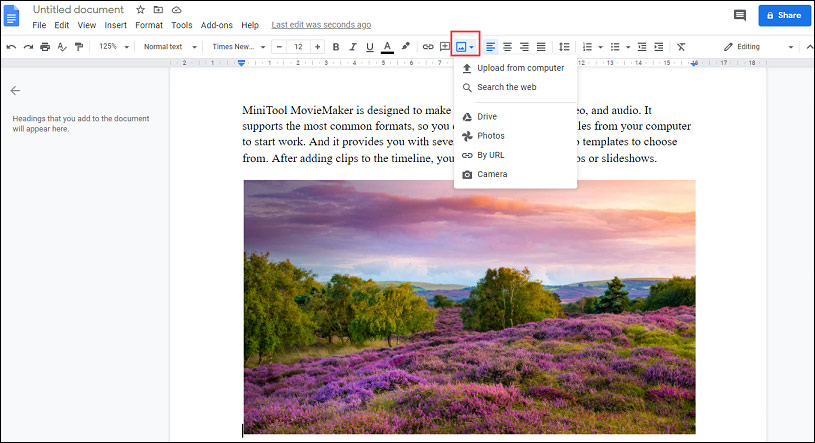
Option 2: click the Insert Image icon, then select one from Upload from the computer, Search for web, Drive, Photos, By URL, and Camera, and find and open the target image.
Step 4. In your Google Docs, select and right-click the image, and choose Image options.
Step 5. In the Image options part, find the Rotate, then you can change the angle of the image to rotate the image as you wish or click the Rotate 90° to rotate the image 90 degrees.
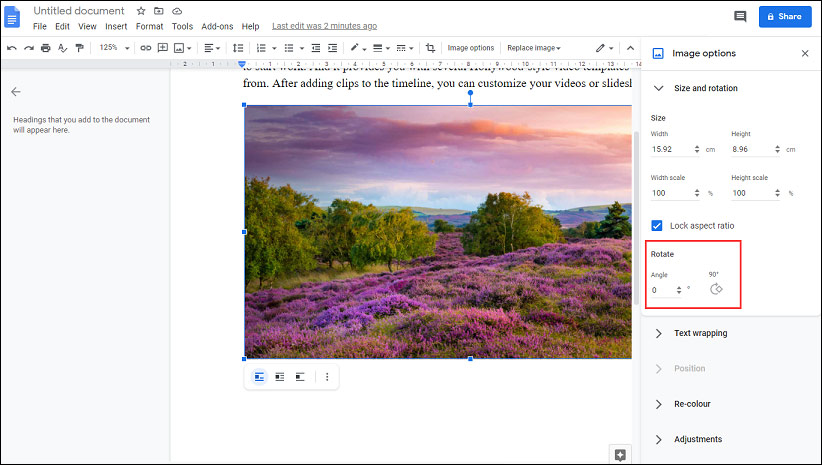
Step 6. When you finish the image rotation, click the Close (X button) on the right of the Image options.
Step 7. If necessary, you can crop image: select and right-click the image, then tap the Crop image, and move the cursor to crop it.
Method 2 – How to Rotate an Image in Google Docs Using the Rotation Handle
Step 1. Open a document in Google Docs or create a new document.
Step 2. Insert an image as the way in method 1.
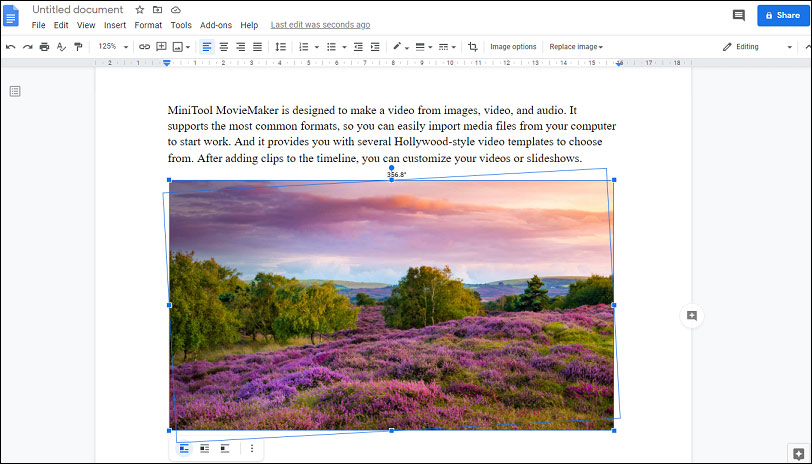
Step 3. Click the image and keep the cursor to rotate the picture.
Step 4. Click and hold the blue circle, then drag and drop the mouse to rotate the photo with any degrees.
Also read: How to rotate a video
How to Flip an Image in Google Docs?
You’ve learned 2 ways on how to rotate image in Google Docs. But how to flip an image in Google Docs? Let’s look at the following part.
Step 1. Create a new document or open one including text and pictures open in Google Docs.
Step 2. To insert a photo, select the Insert > Drawing > New.
Step 3. In the Drawing window, click the Image icon, and go to the target folder to add an image.
Step 4. Select the image, and click the Actions > Rotate to get 4 choices.
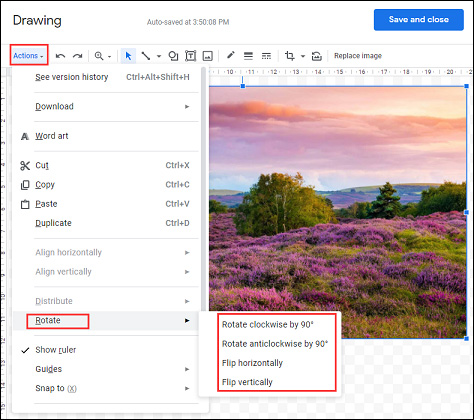
Step 5. Choose Flip horizontally or Flip vertically to flip the picture.
Step 6. Rotate the photo: click the Rotate clockwise by 90° or Rotate anticlockwise by 90°.
Also read: how to flip a video on computer and phone
Conclusion
Now, do you know how to rotate image in Google docs or how to flip an image in Google docs? Try to rotate or flip an image on Google Docs by yourself and you’ll find it very simple to change the orientation of a picture in Google Docs. If you have any questions, please contact us via [email protected]
About The Author

Position: Columnist
Cora is a tech writer specializing in digital media workflows, with over six years of hands-on experience in video post-production, media transcoding, and screen capture. Her writing is always clear and practical. Cora also produces in-depth software reviews for users across skill levels to help them find the right tool and enjoy video editing.
User Comments :